In this article, we will go through how to install VirtualBox 7 on Windows 10. VirtualBox is a type-2 hypervisor for x86 virtualization solution for enterprise as well as home use developed by Oracle Corporation.
How to Install VirtualBox 7 on Windows 10
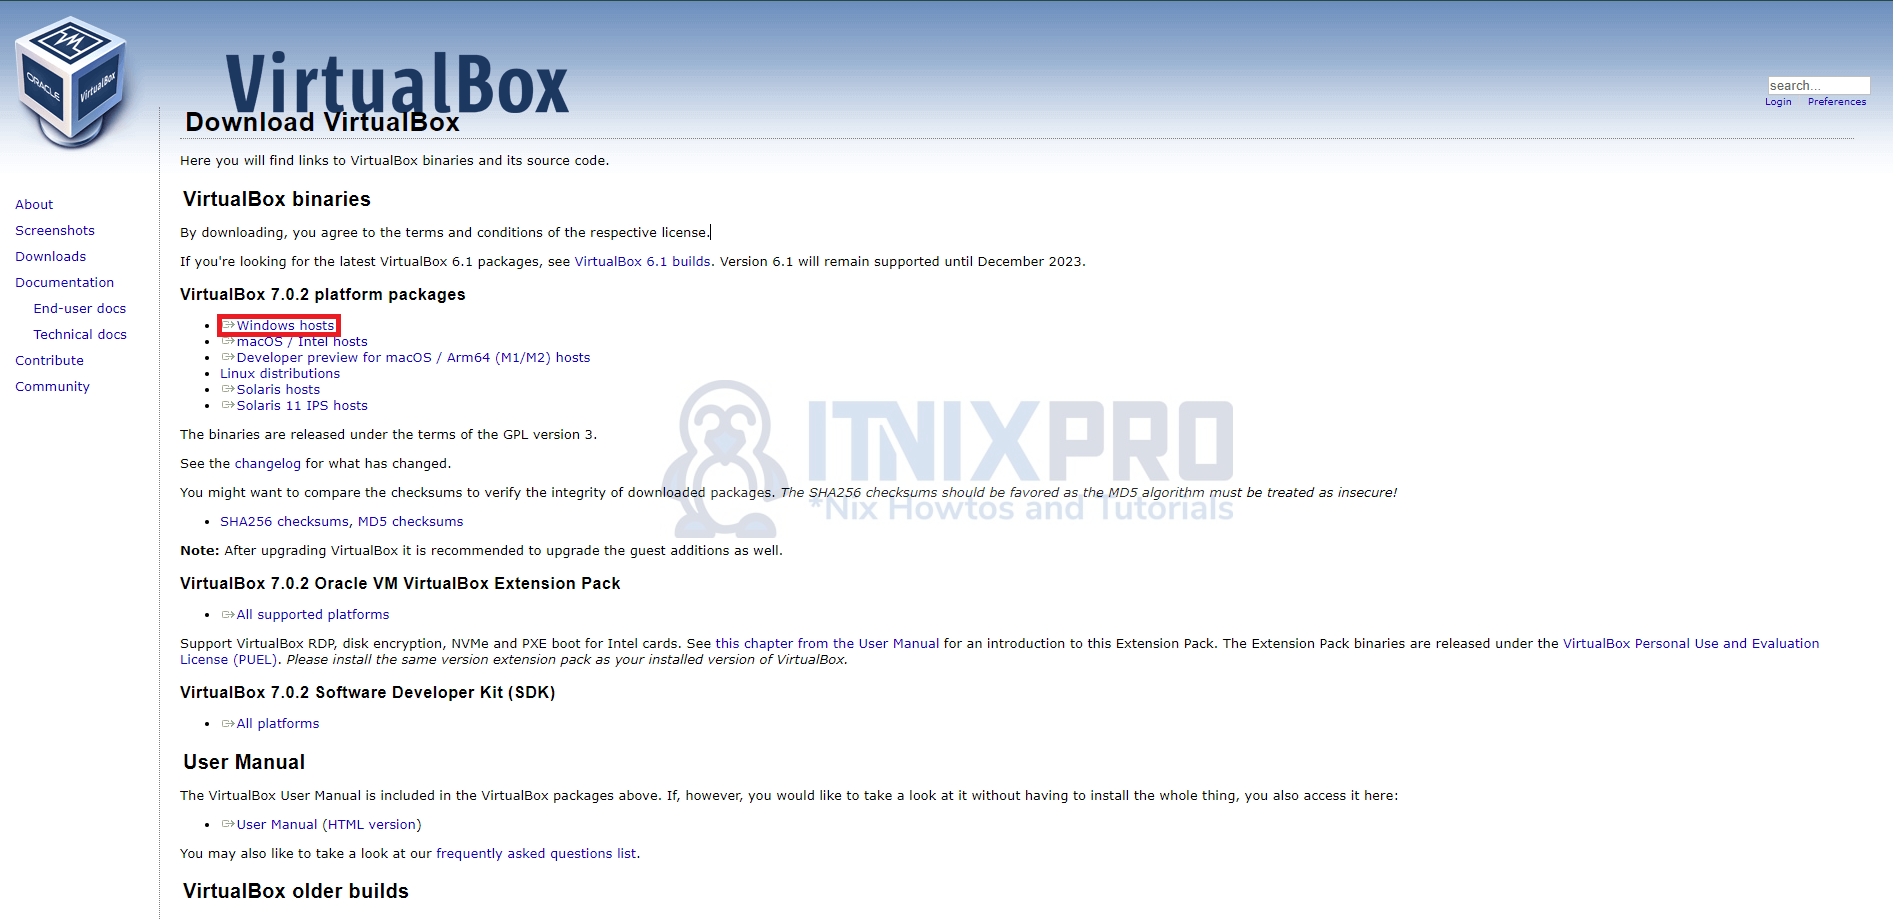
- Start by navigating to the VirtualBox download page then click on Windows hosts as shown below. VirtualBox will start downloading.
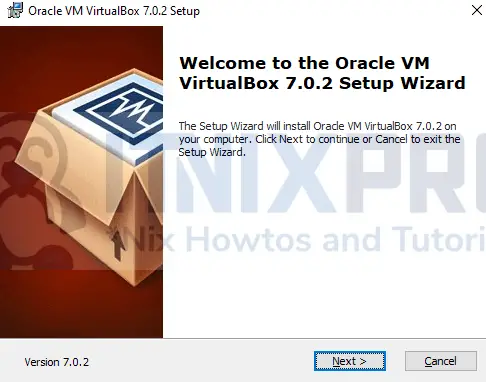
- After downloading, double-click it to install and run as an administrator. Click the next button to continue as shown below.
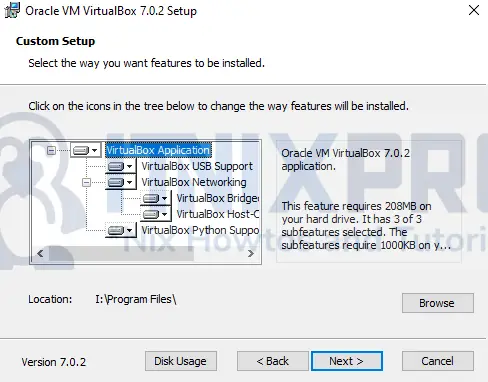
- On the page that will appear click the next button to proceed.
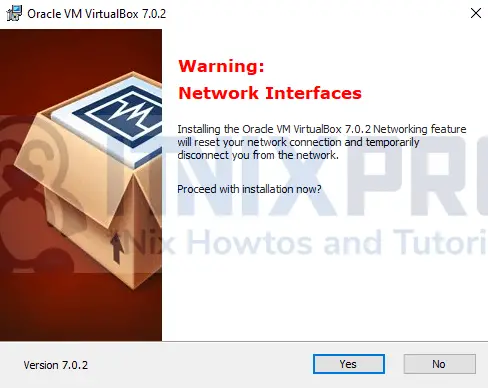
- Accept the network interface warning by clicking Yes.
- Next, click yes on the window that will appear.
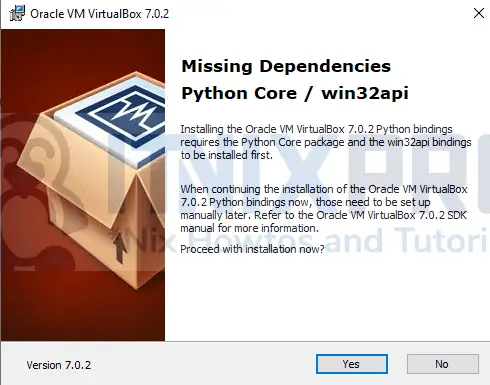
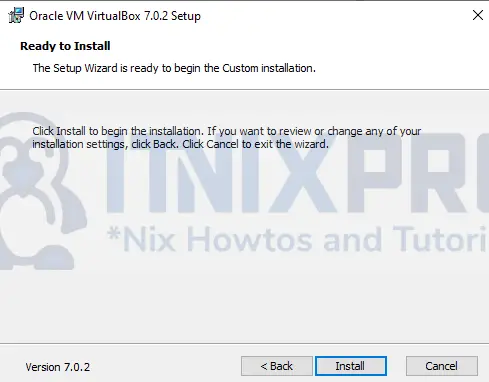
- Then click install to start the installation.
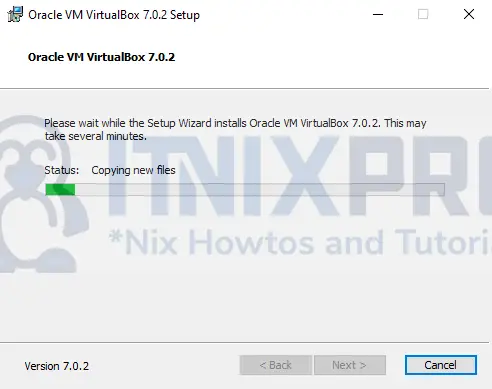
- It will take a few seconds to complete.
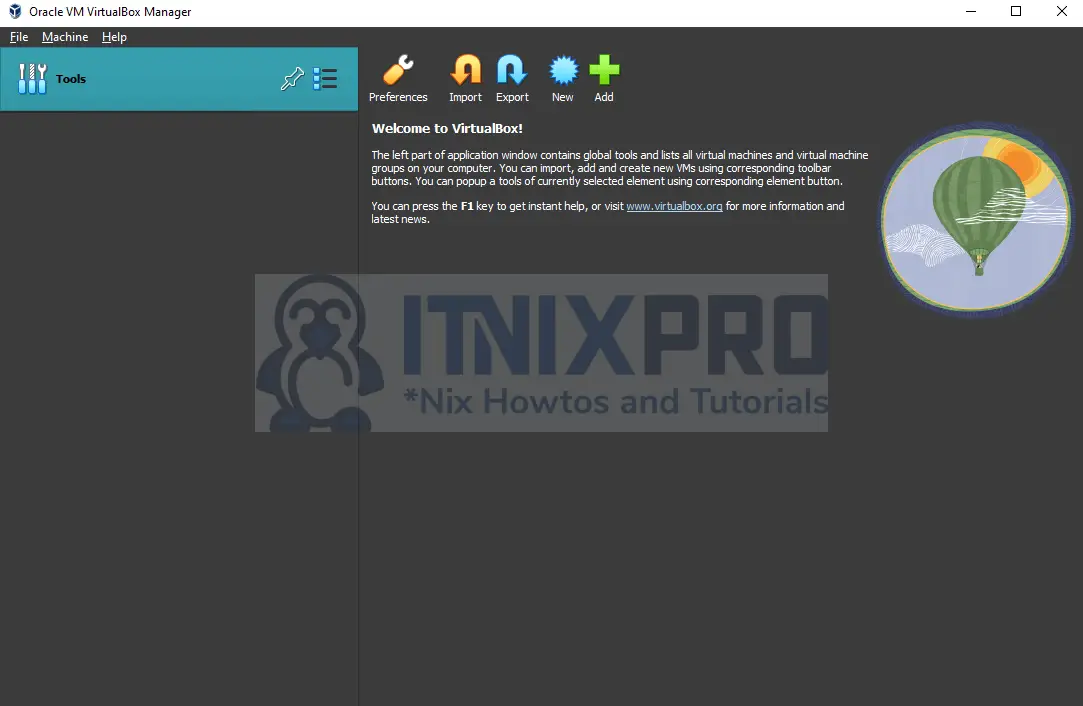
- Click Finish to launch VirtualBox 7, Sample VirtualBox 7 interface.
Install VirtualBox 7 Extension Pack
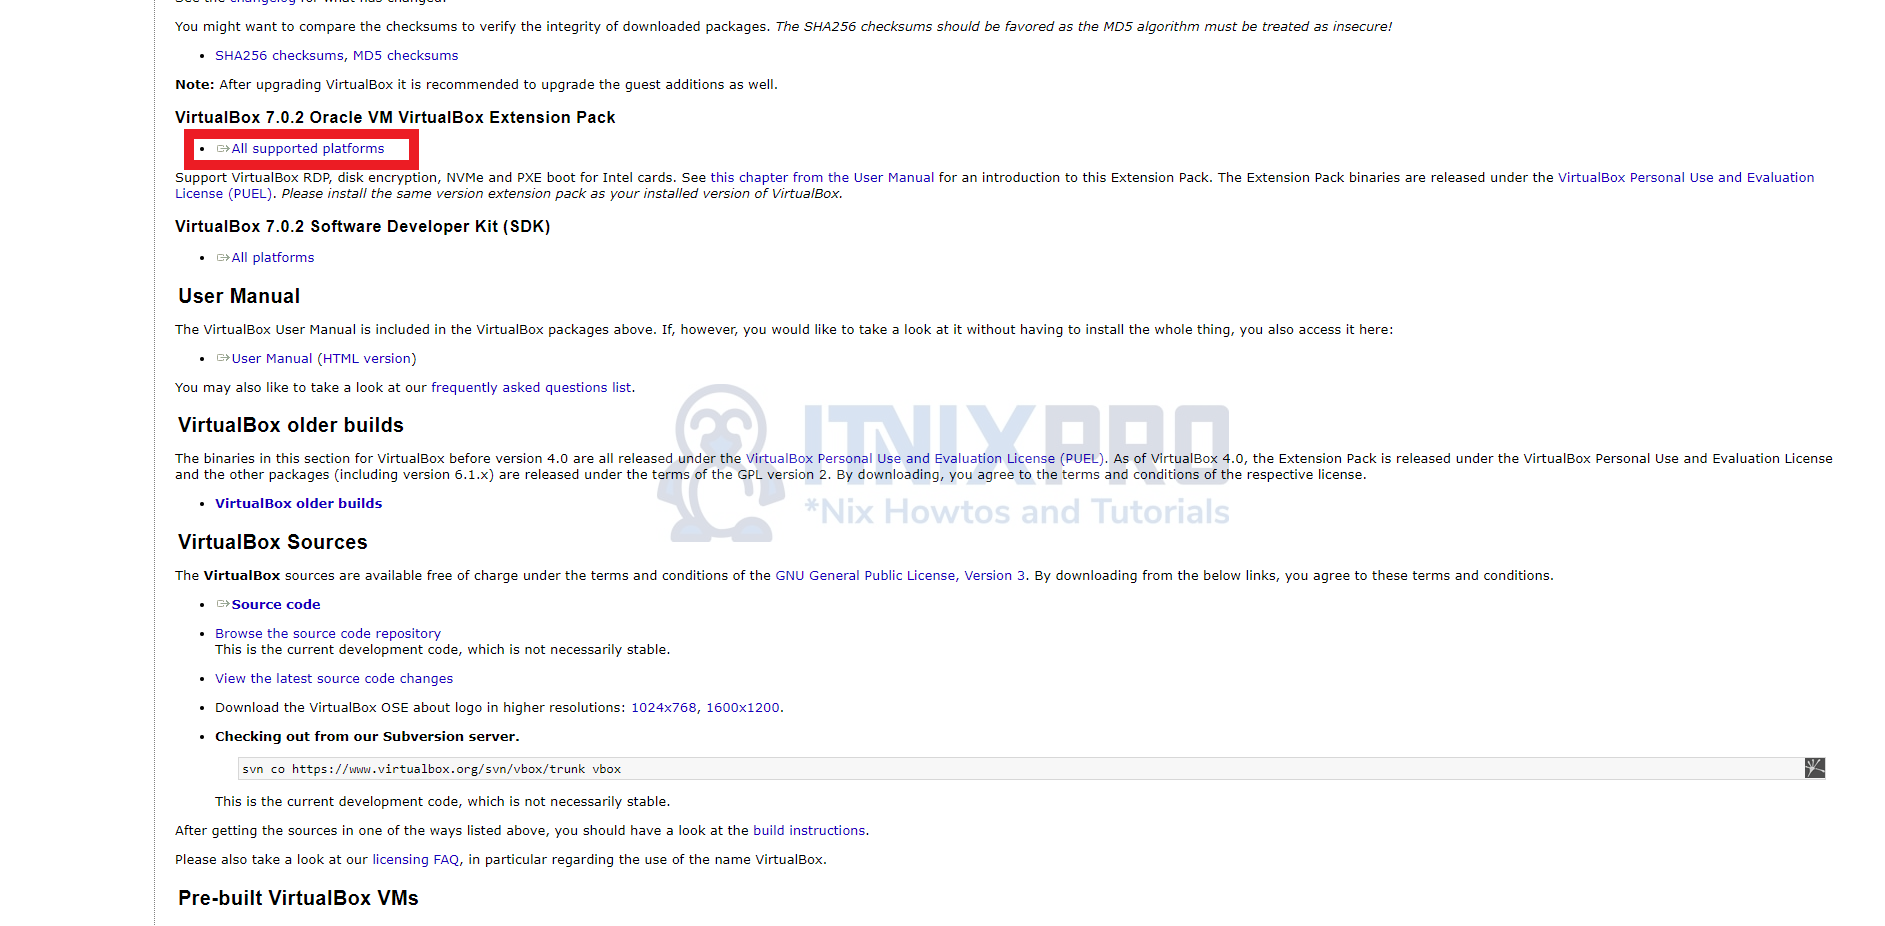
- Go to the VirtualBox download page and scroll down to the Extension Pack part then click it to download as shown below.
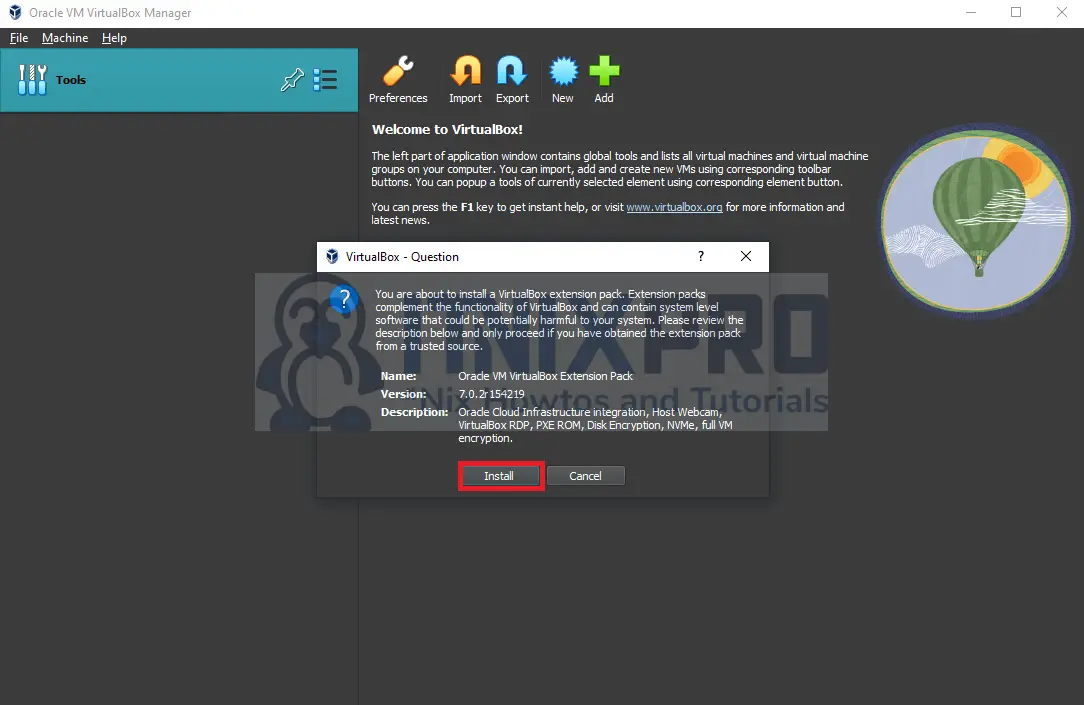
- After the installation, double-click it to install then click the install button on the pop window that will appear as shown below.
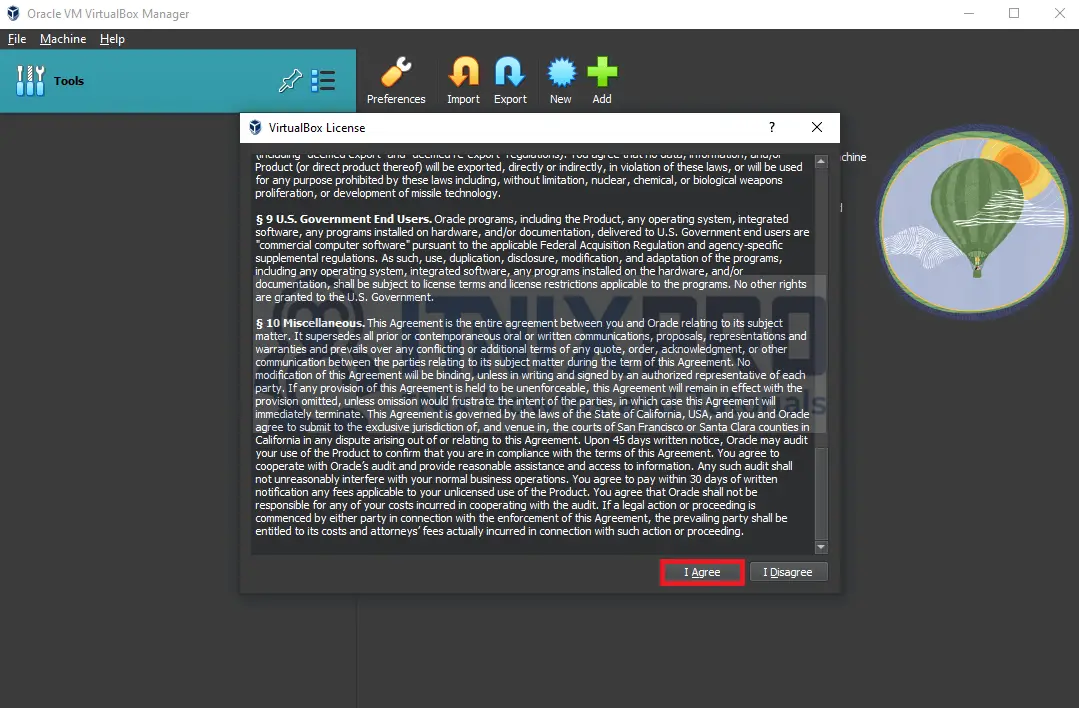
- Scroll down and accept the license.
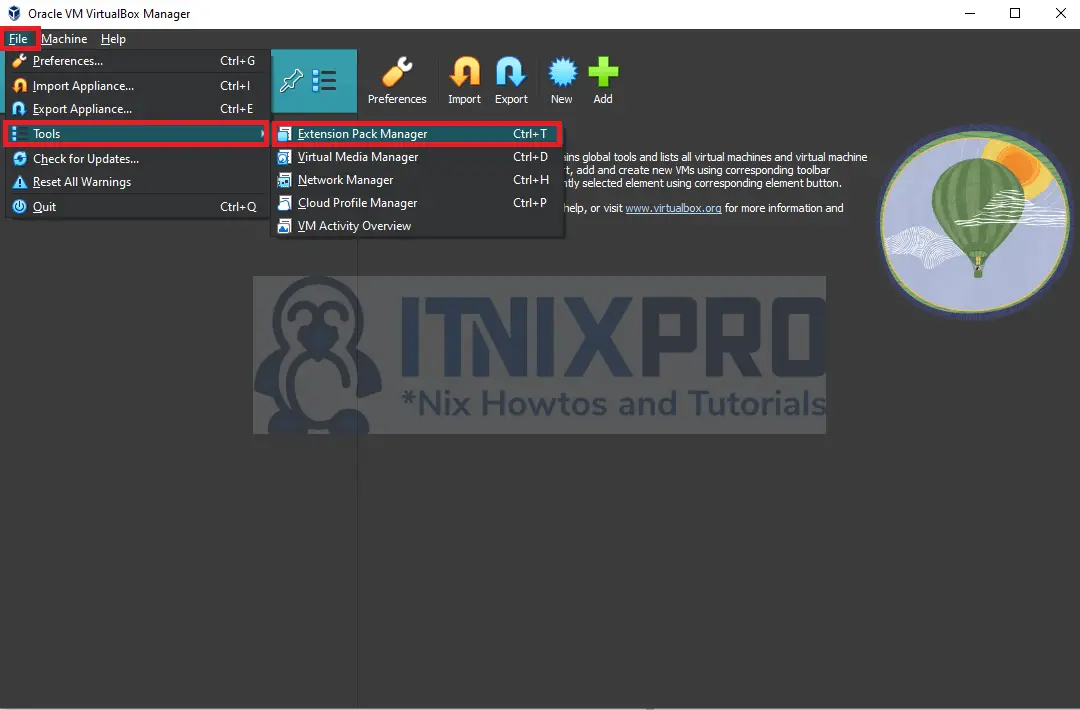
- To confirm the extension pack is installed, open the file menu, tools then extension manager as shown below.
- That concludes our article on how to install VirtualBox7 on Windows 10.
Read more on VirtualBox Documentation
Other Tutorials
Install VirtualBox 7 on Debian 11
