
This article will take you through how to install Rocky Linux 9 on VirtualBox. Rocky Linux 9 was released in July, bringing security enhancements and better performance for enterprise users. Let’s try it on VirtualBox and see how it looks.
Requirements
- Navigate to the VirtualBox download page and download it if you haven’t.
- Next, download Rocky Linux from its download page.
Install Rocky Linux 9
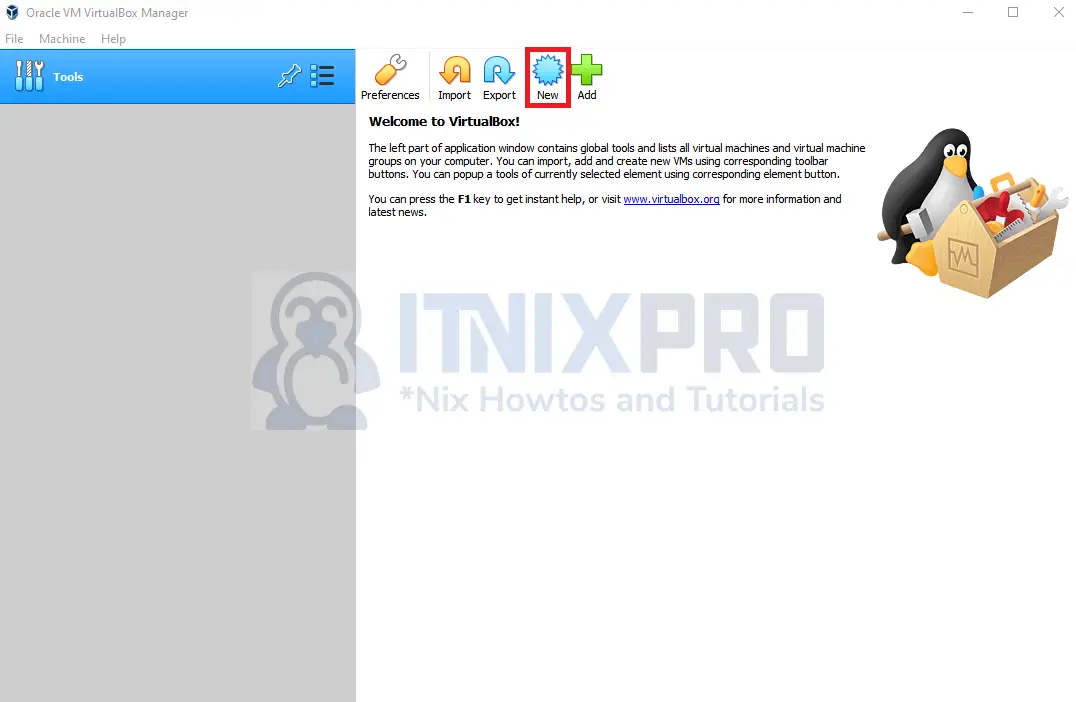
- Open your VirtualBox and click on New.
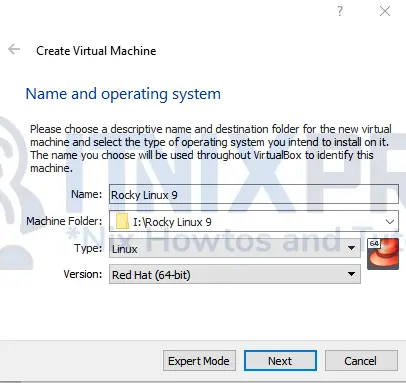
- Enter your OS name, Type and version.
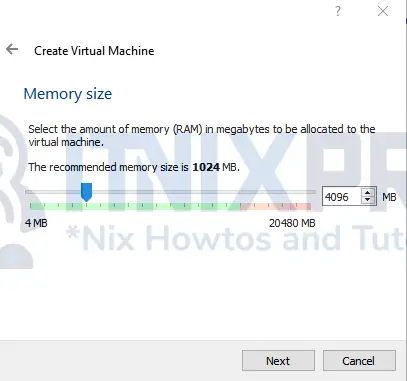
- Next, allocate memory size.
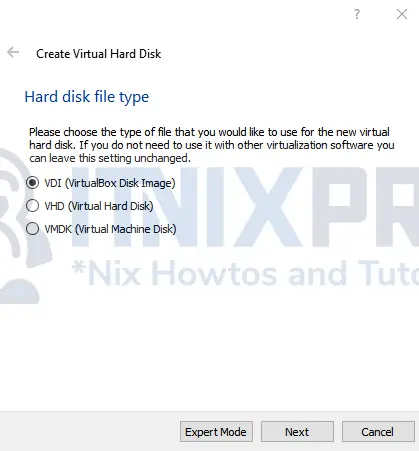
- Then create a virtual hard disk.

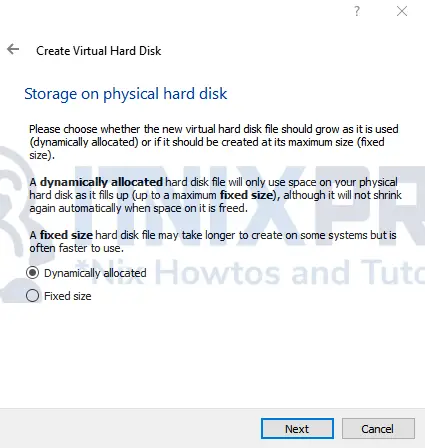
- Choose hard disk file type.
- Select storage type.
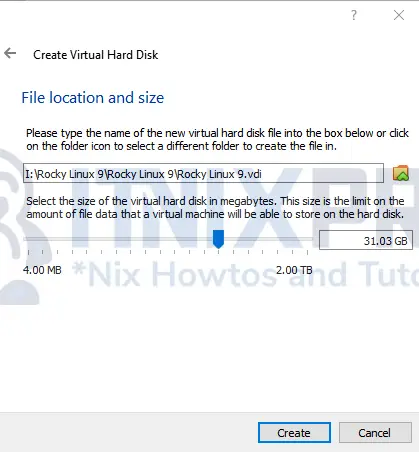
- Next, allocate the storage amount.
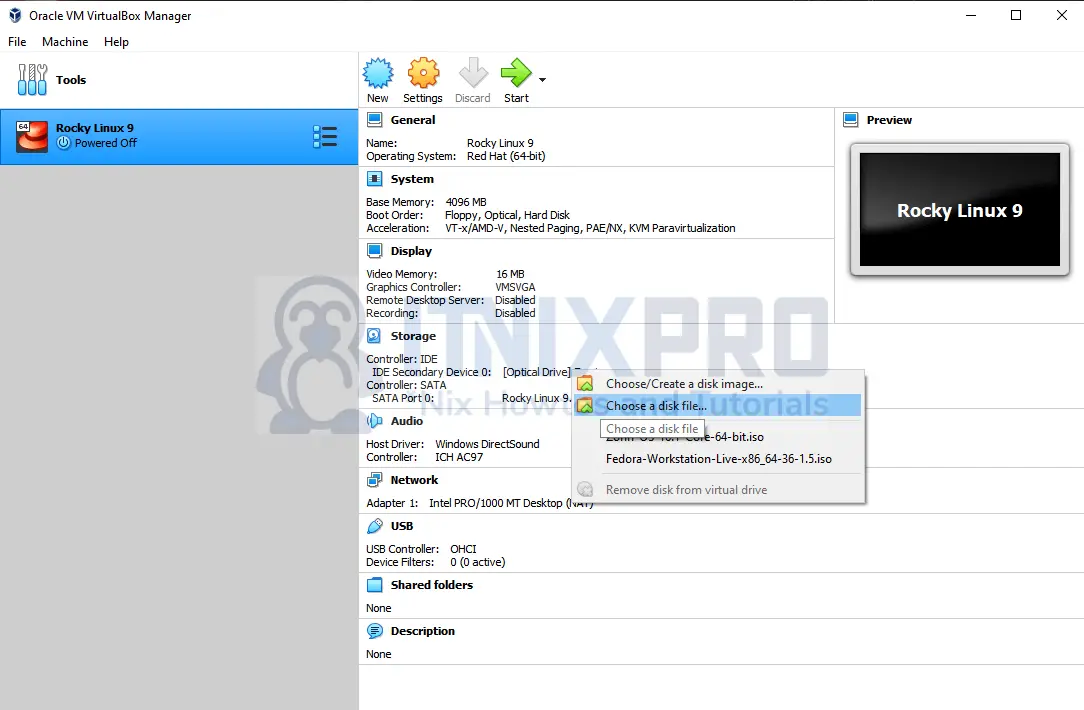
- After that select your Rocky Linux 9 image from choose a disk file by clicking on Empty drive as shown below.
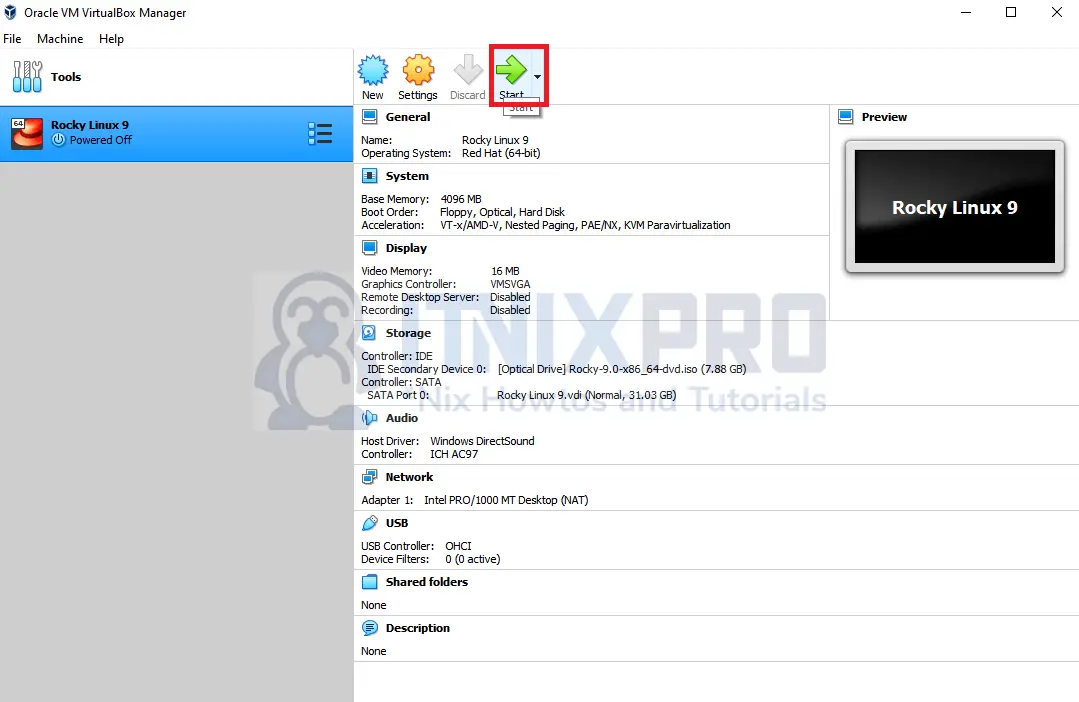
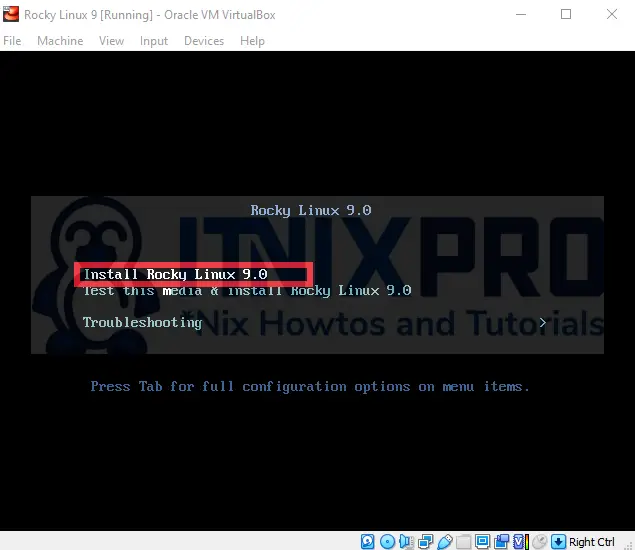
- Click the start button to boot the added OS.
- Select Install Rocky Linux 9.0.
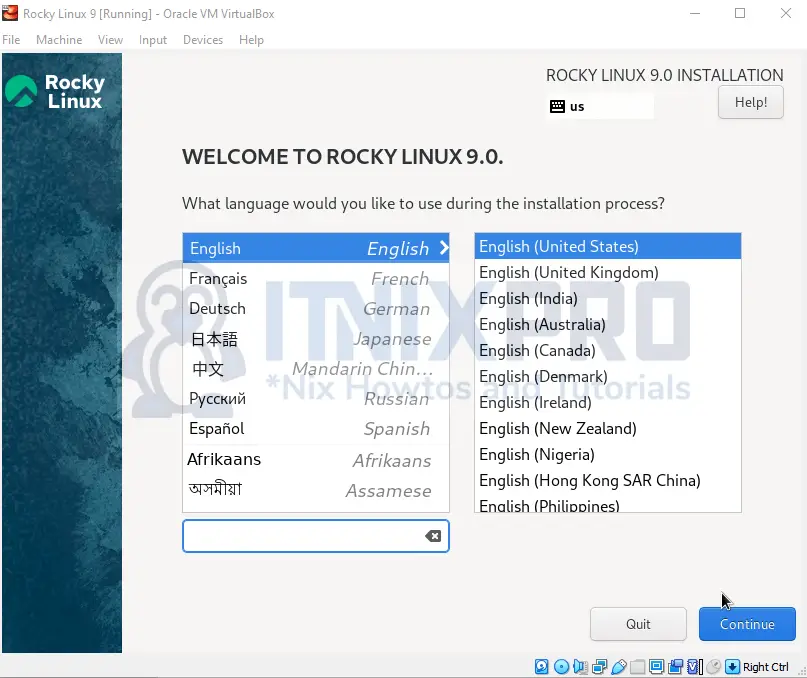
- Select language.
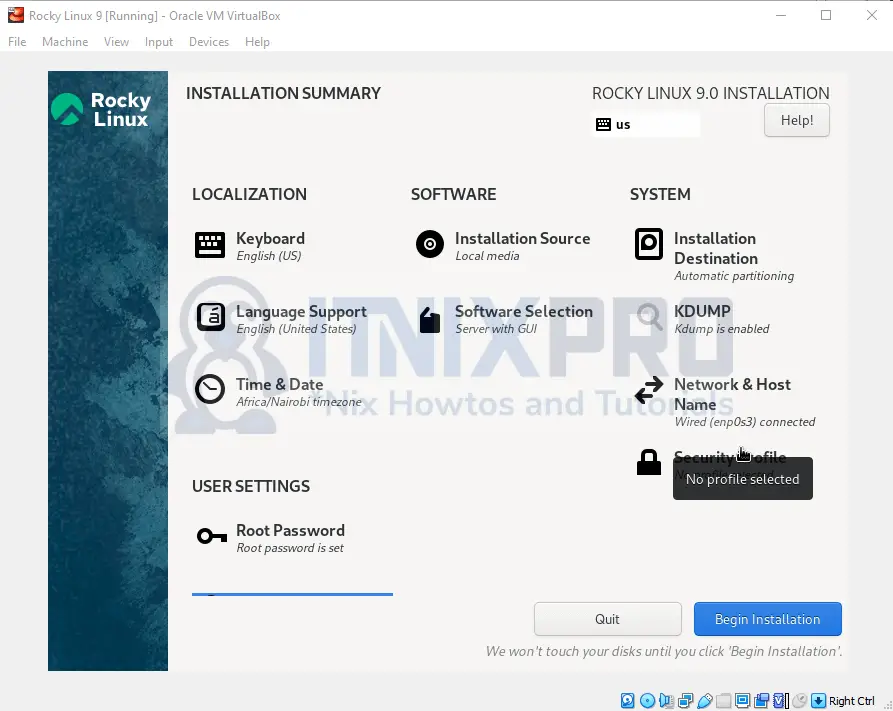
- Next, select your installation destination, root password then create a user.
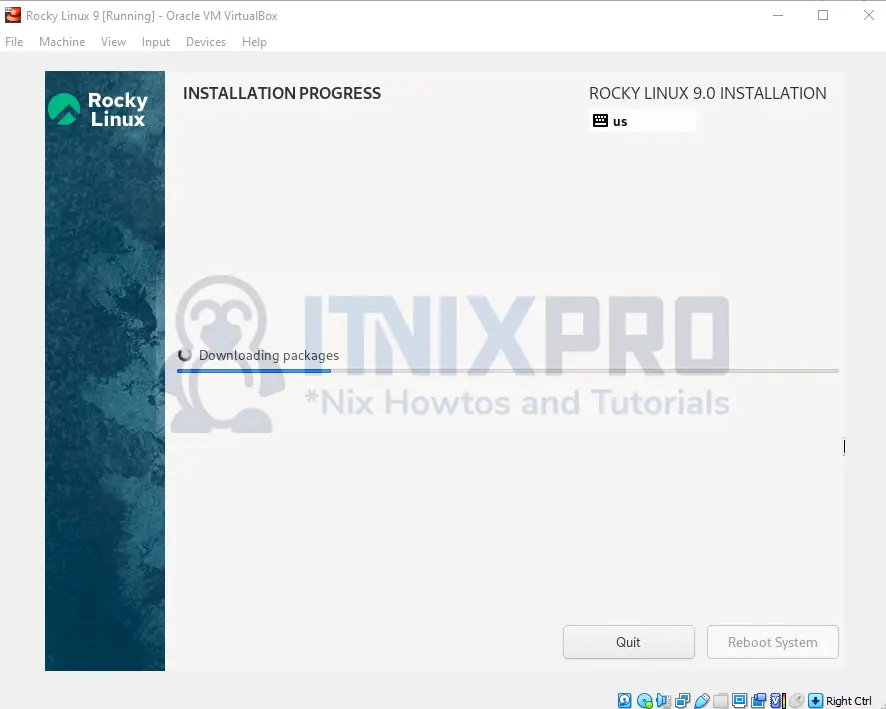
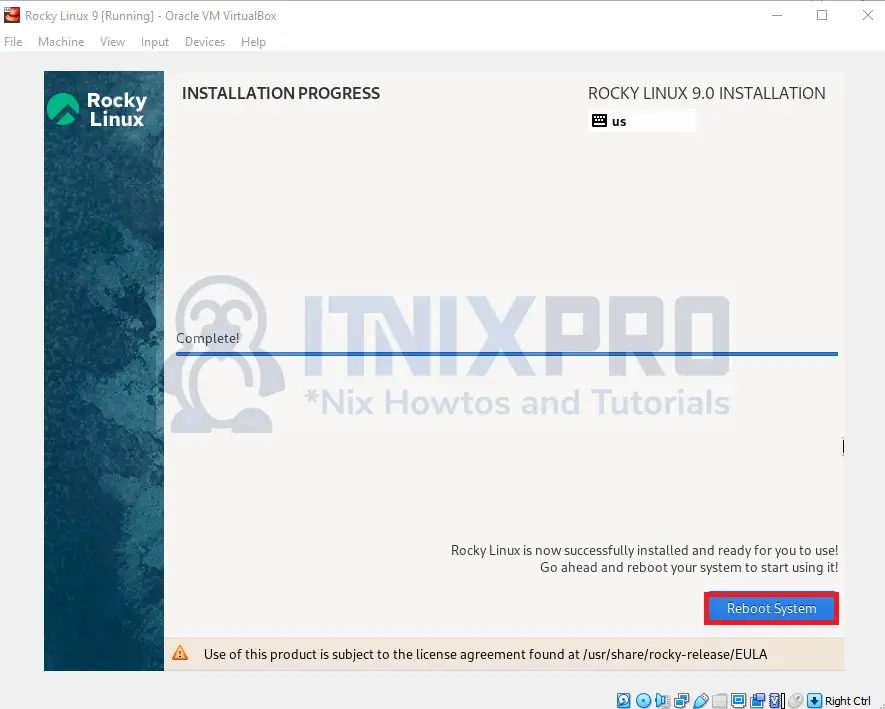
- Wait for the installation to finish.
- After the installation click the Reboot System button.
- Log in to your new system.
- Enjoy your Rocky Linux 9.

- You have reached the end of our article. We have gone through how to install Rocky Linux 9 on VirtualBox.
VirtualBox Guest Additions on Rocky Linux 9
Read more on Rocky Linux Documentation
Other Tutorials
Install OpenSUSE on VirtualBox