
Welcome Rocky Linux users to this tutorial on how to install phpMyAdmin with Apache on Rocky Linux. PhpMyAdmin is GUI MySQL/MariaDB administration tool accessed via a web interface. It is free, open source and easy to use.
PhpMyAdmin interacts with your database thus allowing database admins to manage all functionalities related to tables, databases, import and export database, user creation and privilege management and creating relationships. Apache is a web server for connecting your site to the database.
Install phpMyAdmin with Apache on Rocky Linux
Step 1: Install Apache on Rocky Linux
- Update system packages are updated:
sudo dnf update && sudo dnf upgrade- Install Apache and required extensions
sudo dnf install -y @httpd- Enable and start apache service
sudo systemctl enable --now httpd- Apache server will be up and running if you have no other server running at the same port. Check status
systemctl status httpd- Output
$ systemctl status httpd
● httpd.service - The Apache HTTP Server
   Loaded: loaded (/usr/lib/systemd/system/httpd.service; enabled; vendor prese>
   Active: active (running) since Thu 2022-05-12 07:03:38 EAT; 4s ago
     Docs: man:httpd.service(8)
 Main PID: 8003 (httpd)
   Status: "Started, listening on: port 443, port 80"
    Tasks: 213 (limit: 17722)
   Memory: 25.3M
   CGroup: /system.slice/httpd.service
           ├─8003 /usr/sbin/httpd -DFOREGROUND
           ├─8011 /usr/sbin/httpd -DFOREGROUND
           ├─8012 /usr/sbin/httpd -DFOREGROUND
           ├─8014 /usr/sbin/httpd -DFOREGROUND
           └─8015 /usr/sbin/httpd -DFOREGROUND

May 12 07:03:36 localhost.localdomain systemd[1]: Starting The Apache HTTP Serv>
May 12 07:03:38 localhost.localdomain httpd[8003]: AH00558: httpd: Could not re>
May 12 07:03:38 localhost.localdomain systemd[1]: Started The Apache HTTP Serve>
May 12 07:03:38 localhost.localdomain httpd[8003]: Server configured, listening>
lines 1-19/19 (END)
- Enable connection through ports
80and443
sudo firewall-cmd --permanent --add-service={http,https}- Reload the firewall
sudo firewall-cmd --reload- Confirm if apache is running in the browser
http://your.ser.ver.IPorhttp://localhost
Managing Apache process
To start, stop, reload, enable, disable and restart Apache server, use the command below with the function to be performed
sudo systemctl [start|stop|reload|enable|disable|restart] httpdStep 2: Install MariaDB Server
- Install MariaDB database server.
sudo dnf -y install mariadb mariadb-server- Enable and start MariaDB server simultaneously.
sudo systemctl enable --now mariadb- Secure your database server installation. Input Y and hit enter till the end
sudo mysql_secure_installation- Login to MySQL console
sudo mysql -u root- Create a database: itnixpro, user: itnixpro and password: YOURStr0ngPassw0rd
CREATE DATABASE itnixpro;
GRANT ALL ON itnixpro.* TO itnixpro@localhost IDENTIFIED BY 'YOURStr0ngPassw0rd';
FLUSH PRIVILEGES;
QUIT;
Step 3: Install PHP
- Check PHP versions available in Rocky Linux
sudo dnf module list php- In case you want to install PHP 8.0, add remi repository and update system packages(optional step)
sudo dnf install http://rpms.remirepo.net/enterprise/remi-release-8.rpm
sudo dnf update- Deselect any selected version
sudo dnf module reset php- Enable PHP 7.4 or the version you want to install
sudo dnf module enable php:7.4- Install PHP and required modules.
sudo dnf -y install php php-fpm php-mysqlnd php-opcache php-gd php-xml php-mbstring php-zip- Enable
php-fpmfor PHP to function
sudo systemctl enable --now php-fpmNow install phpMyAdmin with Apache on Rocky Linux.
Step 4: Install phpMyAdmin with Apache on Rocky Linux
- PhpMyAdmin available in the repository is outdated. Download the latest version of phpMyAdmin from phpMyAdmin download page
wget https://www.phpmyadmin.net/downloads/phpMyAdmin-latest-all-languages.tar.gz- Unpack the files
tar xvf phpMyAdmin-*-all-languages.tar.gz- Move the files to
/usr/share/folder
sudo mv phpMyAdmin-*/ /usr/share/phpmyadmin- Create a temporary folder
sudo mkdir -p /usr/share/phpmyadmin/tmp- Grant Apache permission to access phpMyAdmin files:
sudo chown -R apache:apache /usr/share/phpmyadmin- Copy the existing configuration file for editing to allow cookie authentication using Blowfish cipher string
sudo cp /usr/share/phpmyadmin/config.sample.inc.php /usr/share/phpmyadmin/config.inc.php- Now edit the file
sudo nano /usr/share/phpmyadmin/config.inc.php- Enter the value as
uyFxu+tR2iLB/2vAKc5Q/o4dUcREACMkor any random 32-bit string.
$cfg['blowfish_secret'] = 'uyFxu+tR2iLB/2vAKc5Q/o4dUcREACMk';- Add the
TempDirdirectory you created above.
$cfg['TempDir'] = '/usr/share/phpmyadmin/tmp';Step 5: Configure Apache web server
- Create a new Apache configuration file to be used by phpMyAdmin:
sudo nano /etc/httpd/conf.d/phpmyadmin.conf- Add the content below:
Alias /phpmyadmin /usr/share/phpmyadmin

<Directory /usr/share/phpmyadmin/>
   AddDefaultCharset UTF-8

   <IfModule mod_authz_core.c>
     # Apache 2.4
     <RequireAny>
      Require all granted
     </RequireAny>
   </IfModule>
</Directory>

<Directory /usr/share/phpmyadmin/setup/>
   <IfModule mod_authz_core.c>
     # Apache 2.4
     <RequireAny>
       Require all granted
     </RequireAny>
   </IfModule>
</Directory>
- Set proper permission for SELinux policies (optional)
sudo chcon -Rv --type=httpd_sys_content_t /usr/share/phpmyadmin/*- Restart Apache
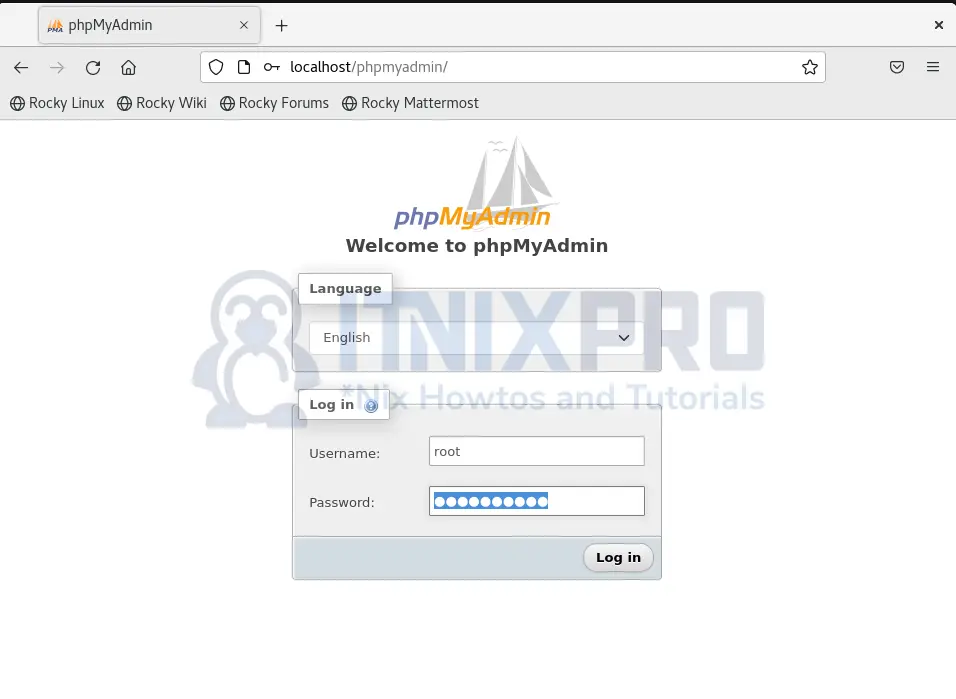
sudo systemctl restart httpdStep 6: Accessing phpMyAdmin Web interface
In your browser, type in http://localhost/phpmyadmin or http://your.ser.ver.IP/phpmyadmin. Enter your username you created or root and password in the login page below.
You will be send to phpMyAdmin dashboard after successful login.
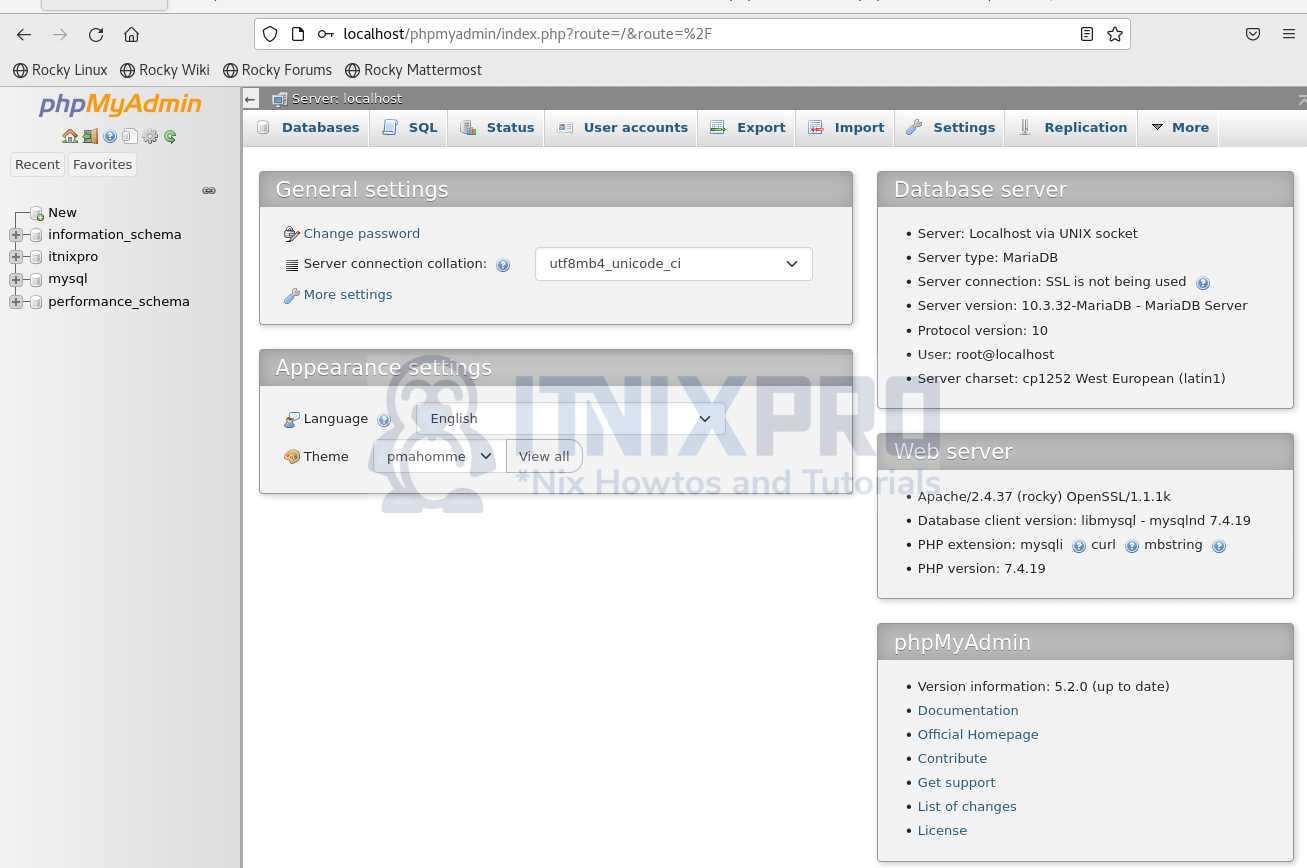
Try creating a database by clicking on the Databases tab.
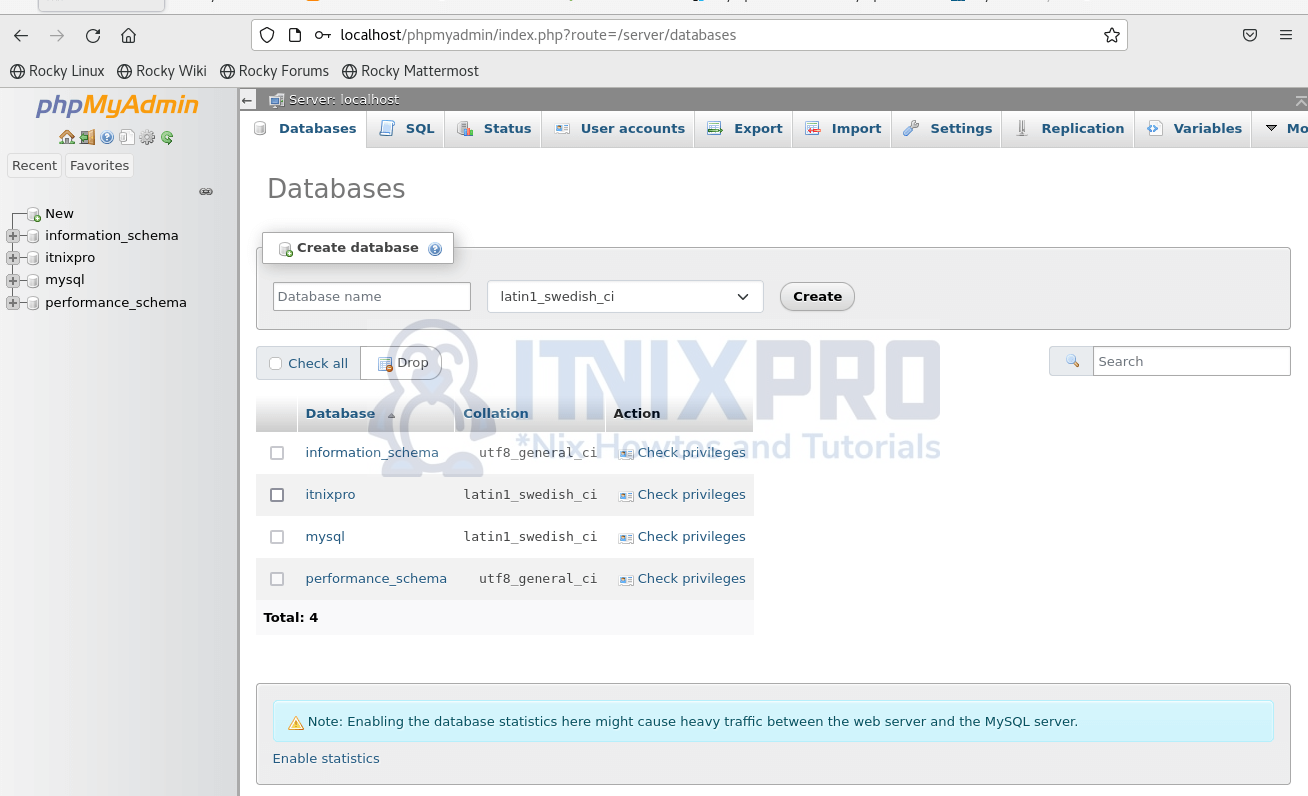
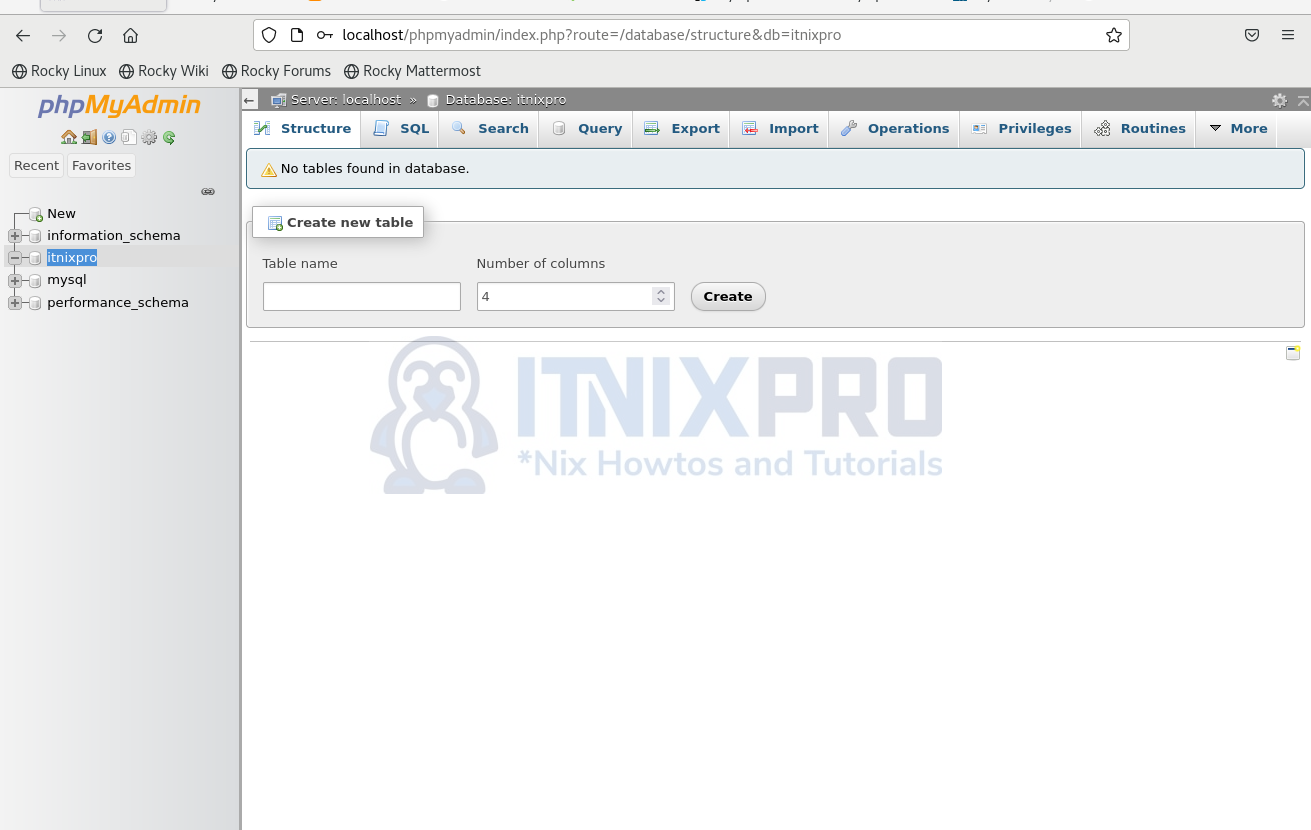
Create a table by clicking on the database name, itnixpro on the left navigation bar
Well done! You have just managed to install phpMyAdmin with Apache on Rocky Linux.
Conclusion
In this article, you were able to install phpMyAdmin with Apache on Rocky Linux. You also installed and configured PHP, MariaDB and Apache server.
Find more information in phpMyAdmin documentation.
Similar interesting tutorials
Install ELK Stack 8 on Rocky Linux