
This is a guide that will show you how to install Caddy Web Server on Rocky Linux. Caddy is open-source web server written in Go. It redirects HTTP requests to HTTPS thus making your site secure. Additionally, it is fast and powerful and can be used as a reverse proxy.
Proceed with the guide and install Caddy Web Server on Rocky Linux.
Install Caddy Web Server on Rocky Linux
You can install Caddy Web Server on Rocky Linux through Docker, from official repositories or by compiling from source.
In this guide, you will install Caddy Web Server on Rocky Linux from the official repositories.
Install Caddy Web Server on Rocky Linux
Run the commands below to install Caddy Web Server on Rocky Linux
sudo yum install yum-plugin-coprsudo yum copr enable @caddy/caddysudo yum install caddyCheck if Caddy is installed
caddy versionCaddy web server runs automatically after installation. Check the status of Caddy
sudo systemctl status caddyYou can stop, restart, enable, start and reload caddy by running the command:
sudo systemctl [start|stop|restart|reload|enable|disable] caddyTest Caddy Web Server
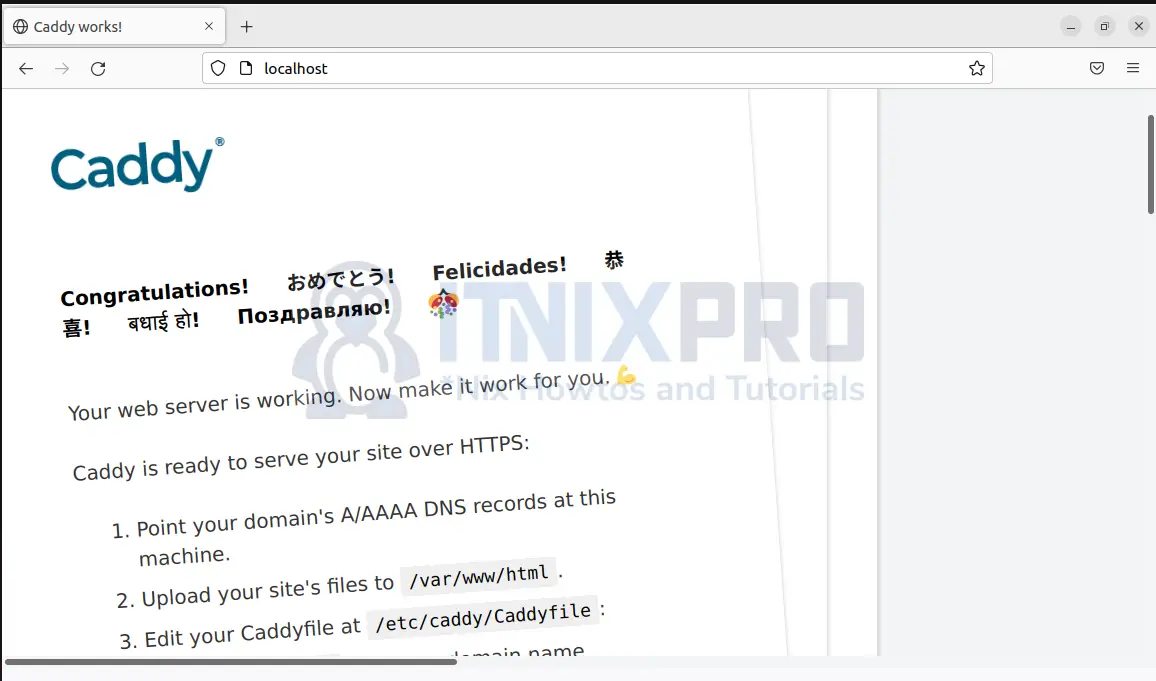
In your browser address bar, type in localhost or your IP address. The page below loads confirming that Caddy was installed successful and it is running without issues.
The firewall runs by default. You need to enable ports 80 and 443to run Caddy by non-root users.
Enable HTTP connection, port 80
sudo firewall-cmd --permanent --add-service=httpEnable HTTPS connection, port 443
sudo firewall-cmd --permanent --add-service=httpsRestart the firewall to apply changes.
sudo systemctl reload firewalldYou have managed to install Caddy Web Server on Rocky Linux. Let’s see how you can now use Caddy to run your site.
Running your site using Caddy Web Server
Create a directory under/var/www/html/caddy to store your site files. You can change the path given to where your site is located.
sudo mkdir -p /var/www/html/caddyAssign ownership of the your site files to caddy group
sudo chown -R caddy:caddy /var/www/html/caddyNow create a simple HTML named index.html under you website directory i.e /var/www/html/caddy
sudo nano /var/www/html/caddy/index.htmlCopy and paste the content below into the file and save it.
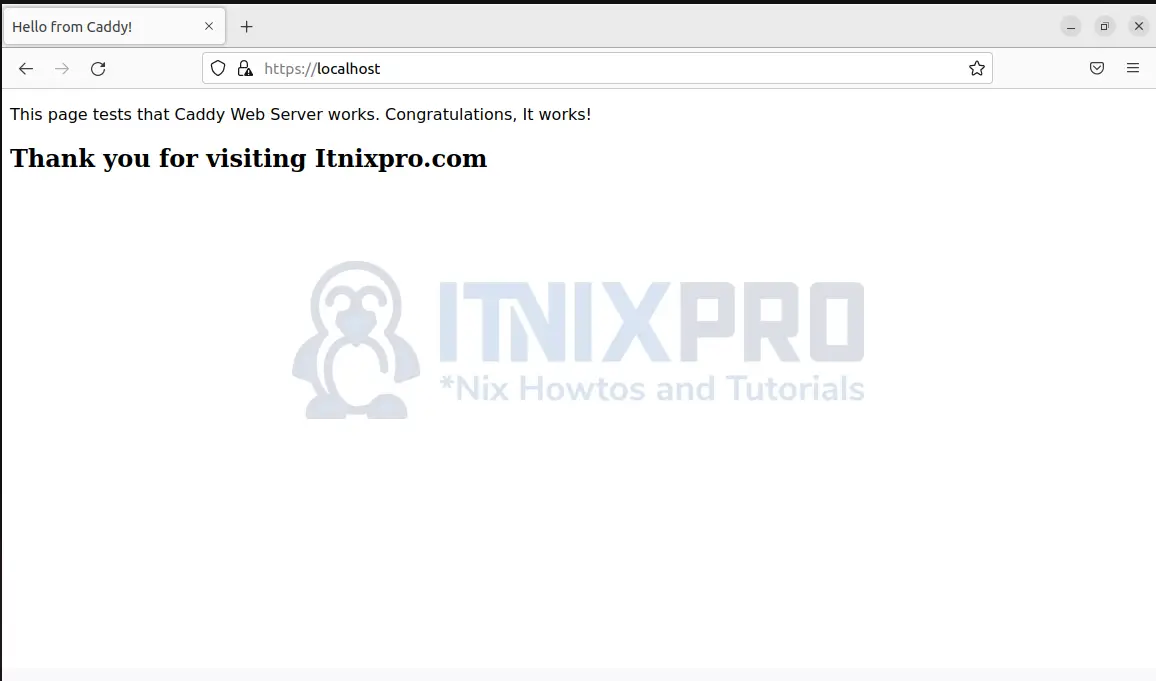
Hello from Caddy!


This page tests that Caddy Web Server works. Congratulations, It works!
Thank you for visiting Itnixpro.com
Configure the Caddyfile
Edit the Caddyfile configuration file you created earlier:
sudo nano /etc/caddy/CaddyfileAdd the following lines, replacing localhost with the domain name of your site
localhost {
    root * /var/www/html/caddy
    encode gzip
    file_server
}
This configuration enables Caddy to direct all HTTP traffic to your server, serve files using (file_server) from /var/www/html/caddy and use gzip compression to reduce page loading times on the client side.
Reload the restart Caddy Web server:
sudo systemctl reload caddyIn your browser, type in localhost or your domain name. The web page opens as below:
Now that you can run your site, you can install PHP, database server and setup you site using a CMS like WordPress, Drupal etc.
Note: Reload Caddy every time you make changes to the Caddyfile file.
Uninstall Caddy web server on Rocky Linux
To uninstall Caddy web server from your system, run the following command.
sudo yum remove caddyConclusion
Thank you for taking your time to learn how to install Caddy Web Server on Rocky Linux.
More information is available on Caddy Server official website and Caddy Web Server documentation.
More similar interesting tutorials
Install and Configure DHCP client on Rocky Linux