In this tutorial, you will learn how to install Elastic agents on Windows systems. Elastic agent is a single, unified way to add monitoring for logs, metrics, and other types of data to a host. It can also protect hosts from security threats, query data from operating systems, forward data from remote services or hardware, and more.
Install Elastic Agents on Windows Systems
In this guide, we are using a Windows 10 system for demo purposes.
Thus, to install Elastic agents on a Windows system;
- Install and Setup ELK Stack server
- Install and setup Fleet Server
- Install and enroll Elastic agent on a Windows system
Install and Setup ELK Stack server
Check the guide below to install and setup ELK stack server.
Install ELK Stack 8 on Ubuntu 22.04/Ubuntu 20.04
Install ELK Stack 8 on Rocky Linux
Install ELK/Elastic Stack on Debian 10
Note that we are using ELK Stack 8 in this guide.
Install and Setup Fleet Server
Refer to our guide below on how to install and setup ELK stack Fleet server;
How to Setup ELK Stack Fleet Server
Install Elastic agent on a Windows system
Once you have ELK and Fleet server setup, you can proceed to install Elastic agent on the Windows system.
- Navigate to Kibana menu > Management > Fleet.
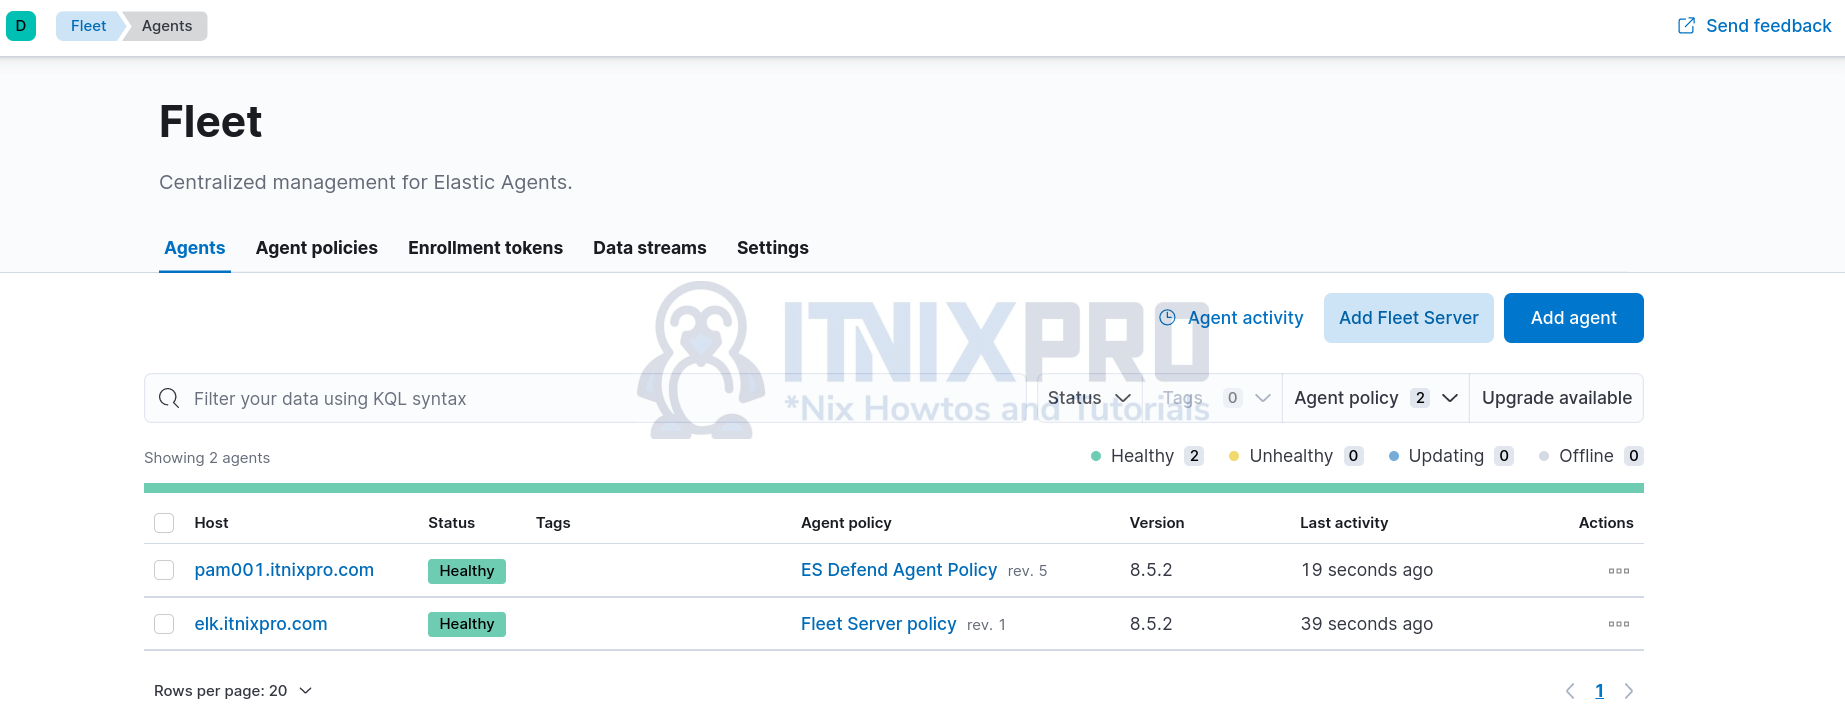
- On the Fleet interface, click click Add agent. This opens up Agent configuration page.
- Choose an agent policy for the Elastic Agent from the list. In this demo, we only have Elastic Defend policy with two associated integrations.

- Select the recommended method agent enrollment method, Enroll in Fleet.
- Next, select the system onto which you are installing the agent from the list and copy the respective installation command.
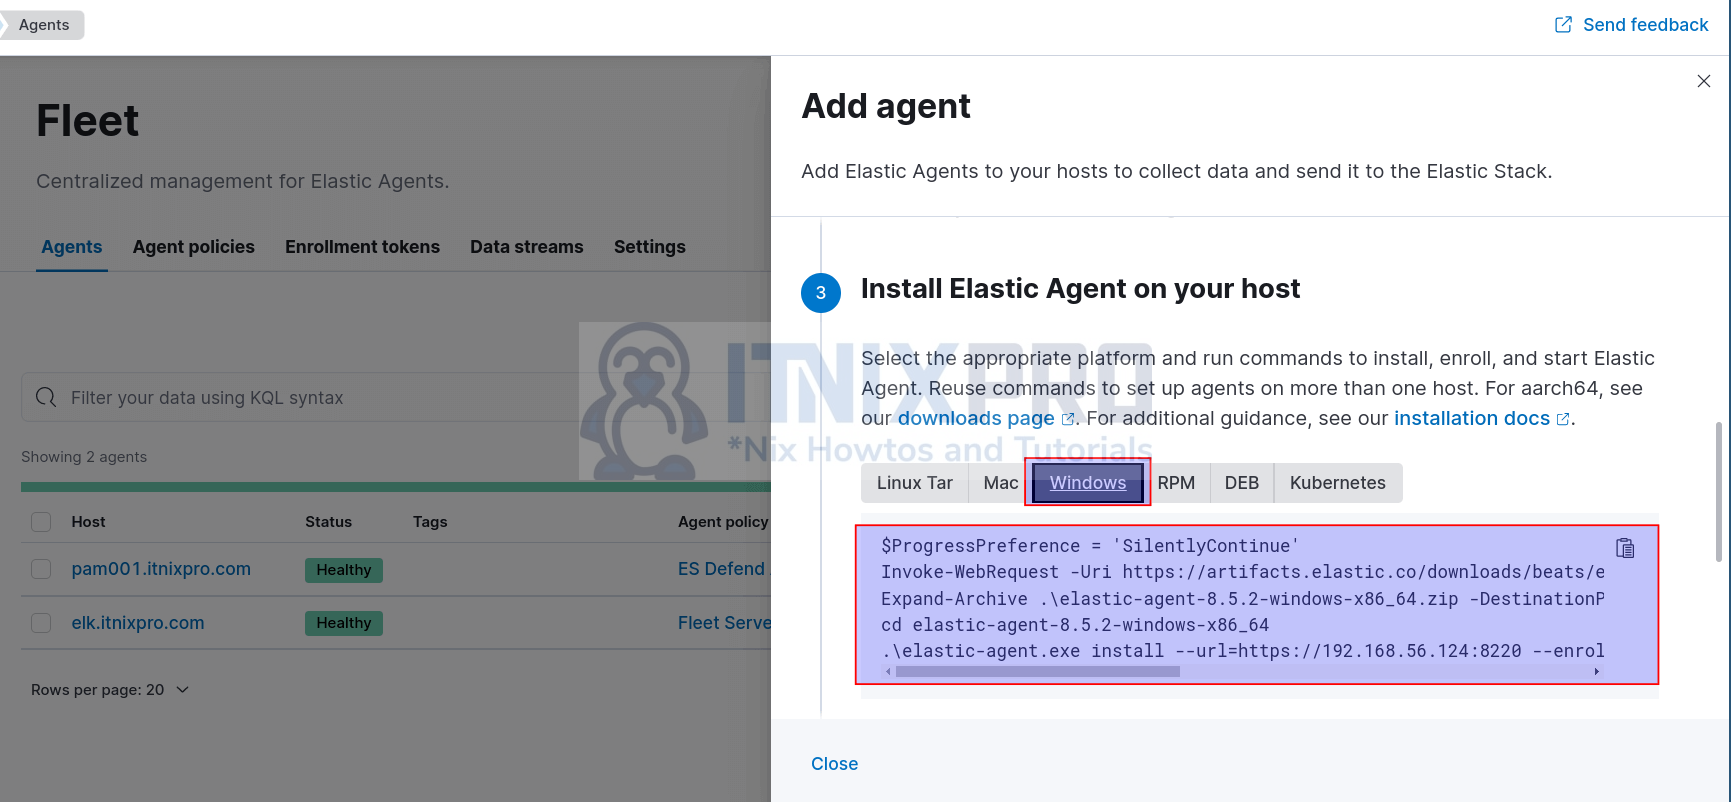
- Copy the appropriate command and execute on the remote host to install and enroll the agent into the Fleet server.
- We will be running the above commands on Windows 10 powershell.
- Launch Powershell as admin and paste the commands one by one.
cd $env:userprofile\Downloads$ProgressPreference = 'SilentlyContinue'Invoke-WebRequest -Uri https://artifacts.elastic.co/downloads/beats/elastic-agent/elastic-agent-8.5.2-windows-x86_64.zip -OutFile elastic-agent-8.5.2-windows-x86_64.zipExpand-Archive .\elastic-agent-8.5.2-windows-x86_64.zip -DestinationPath .cd elastic-agent-8.5.2-windows-x86_64.\elastic-agent.exe install --url=https://192.168.56.124:8220 --enrollment-token=cjB2MEVZVUIxQ1FPMlRReXd2MGU6M1FMaVRqSmJTWGFCZ0pnLUlONHk2Zw== --insecure- Note the use of –insecure option because we are using self-signed SSL certificates.
- Sample installation output;
Elastic Agent will be installed at C:\Program Files\Elastic\Agent and will run as a service. Do you want to continue? [Y/n]:Y
{"log.level":"warn","@timestamp":"2022-12-20T02:54:48.375-0800","log.logger":"tls","log.origin":{"file.name":"tlscommon/tls_config.go","file.line":104},"message":"SSL/TLS verifications disabled.","ecs.version":"1.6.0"}
{"log.level":"info","@timestamp":"2022-12-20T02:54:48.491-0800","log.origin":{"file.name":"cmd/enroll_cmd.go","file.line":471},"message":"Starting enrollment to URL: https://192.168.56.124:8220/","ecs.version":"1.6.0"}
{"log.level":"warn","@timestamp":"2022-12-20T02:54:48.717-0800","log.logger":"tls","log.origin":{"file.name":"tlscommon/tls_config.go","file.line":104},"message":"SSL/TLS verifications disabled.","ecs.version":"1.6.0"}
{"log.level":"info","@timestamp":"2022-12-20T02:54:49.426-0800","log.origin":{"file.name":"cmd/enroll_cmd.go","file.line":273},"message":"Successfully triggered restart on running Elastic Agent.","ecs.version":"1.6.0"}
Successfully enrolled the Elastic Agent.
Elastic Agent has been successfully installed.
- The agent should be installed, enrolled and collecting and sending event data into ELK stack.
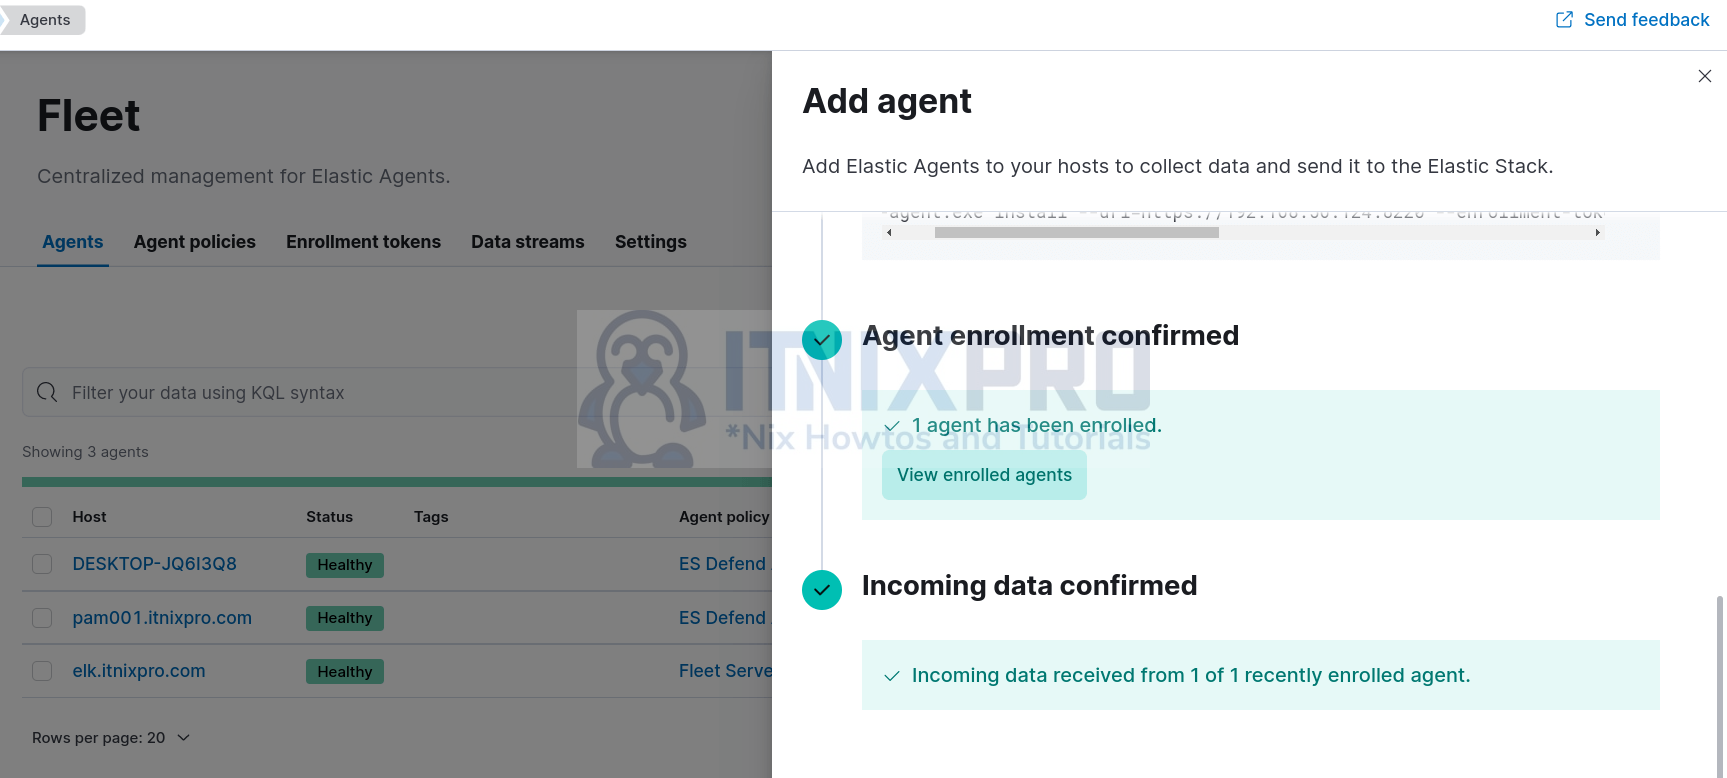
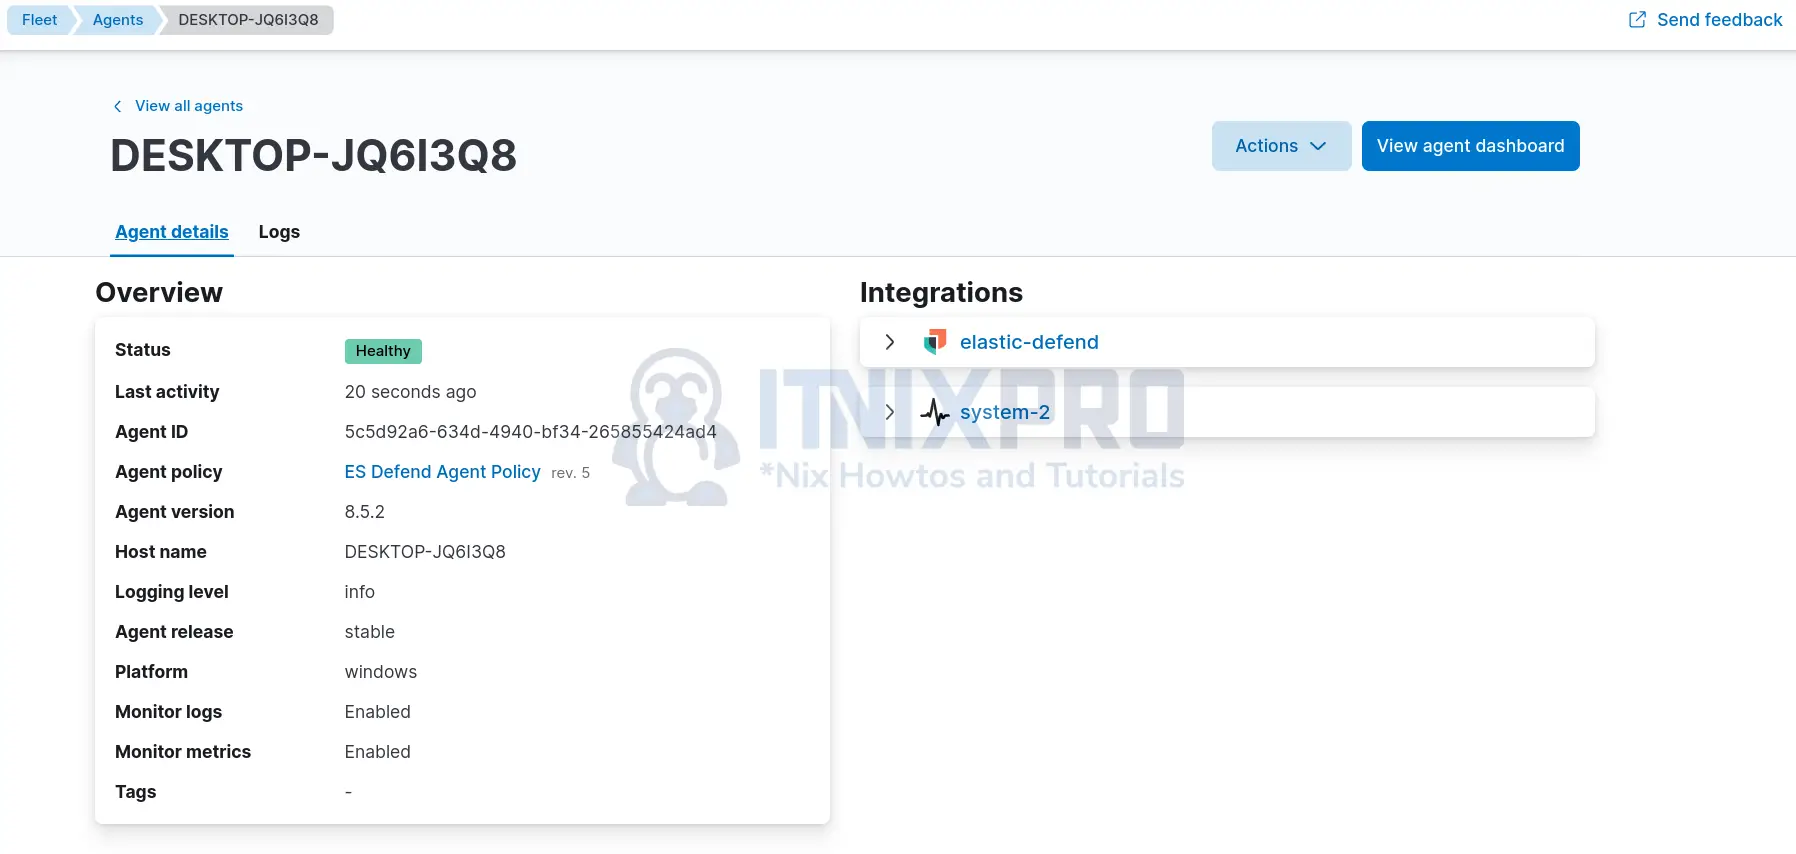
You can also check the agent status from Fleet > Agents page.
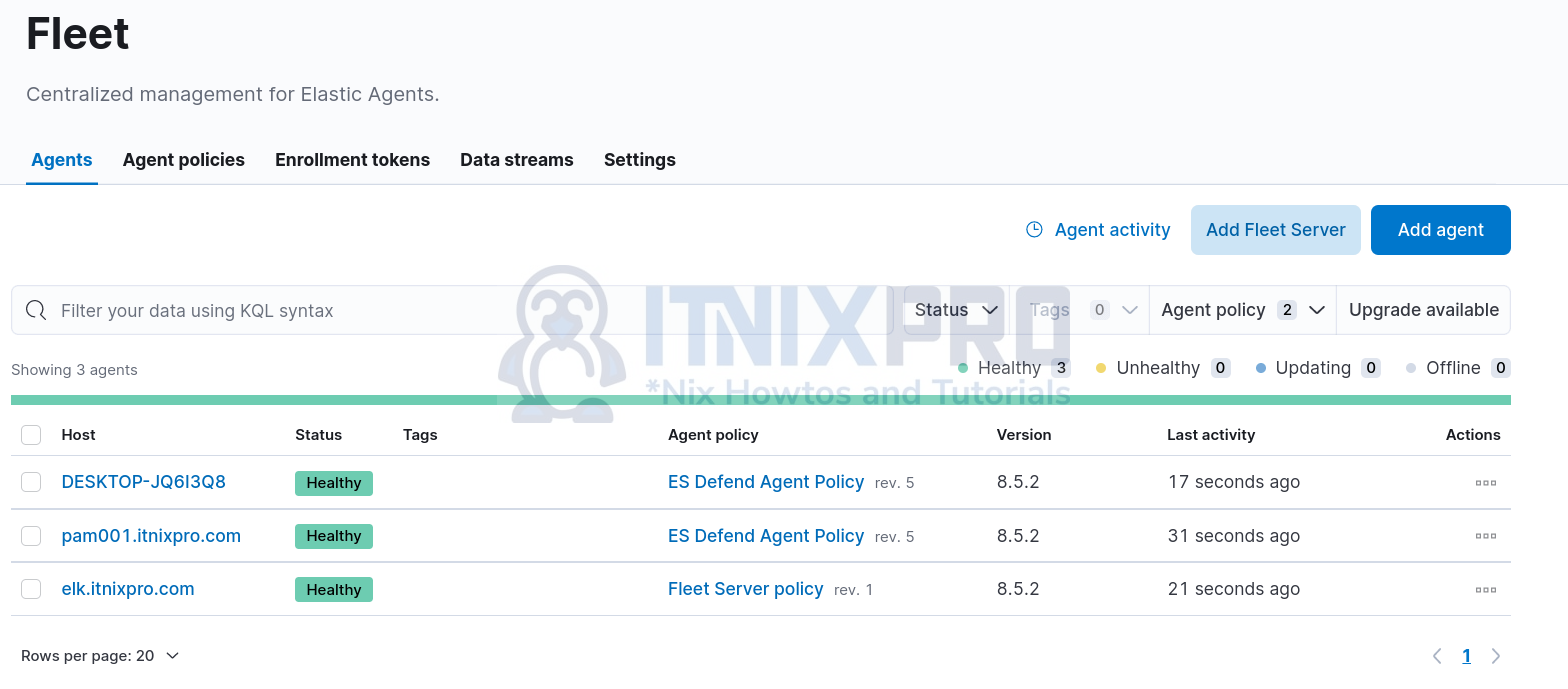
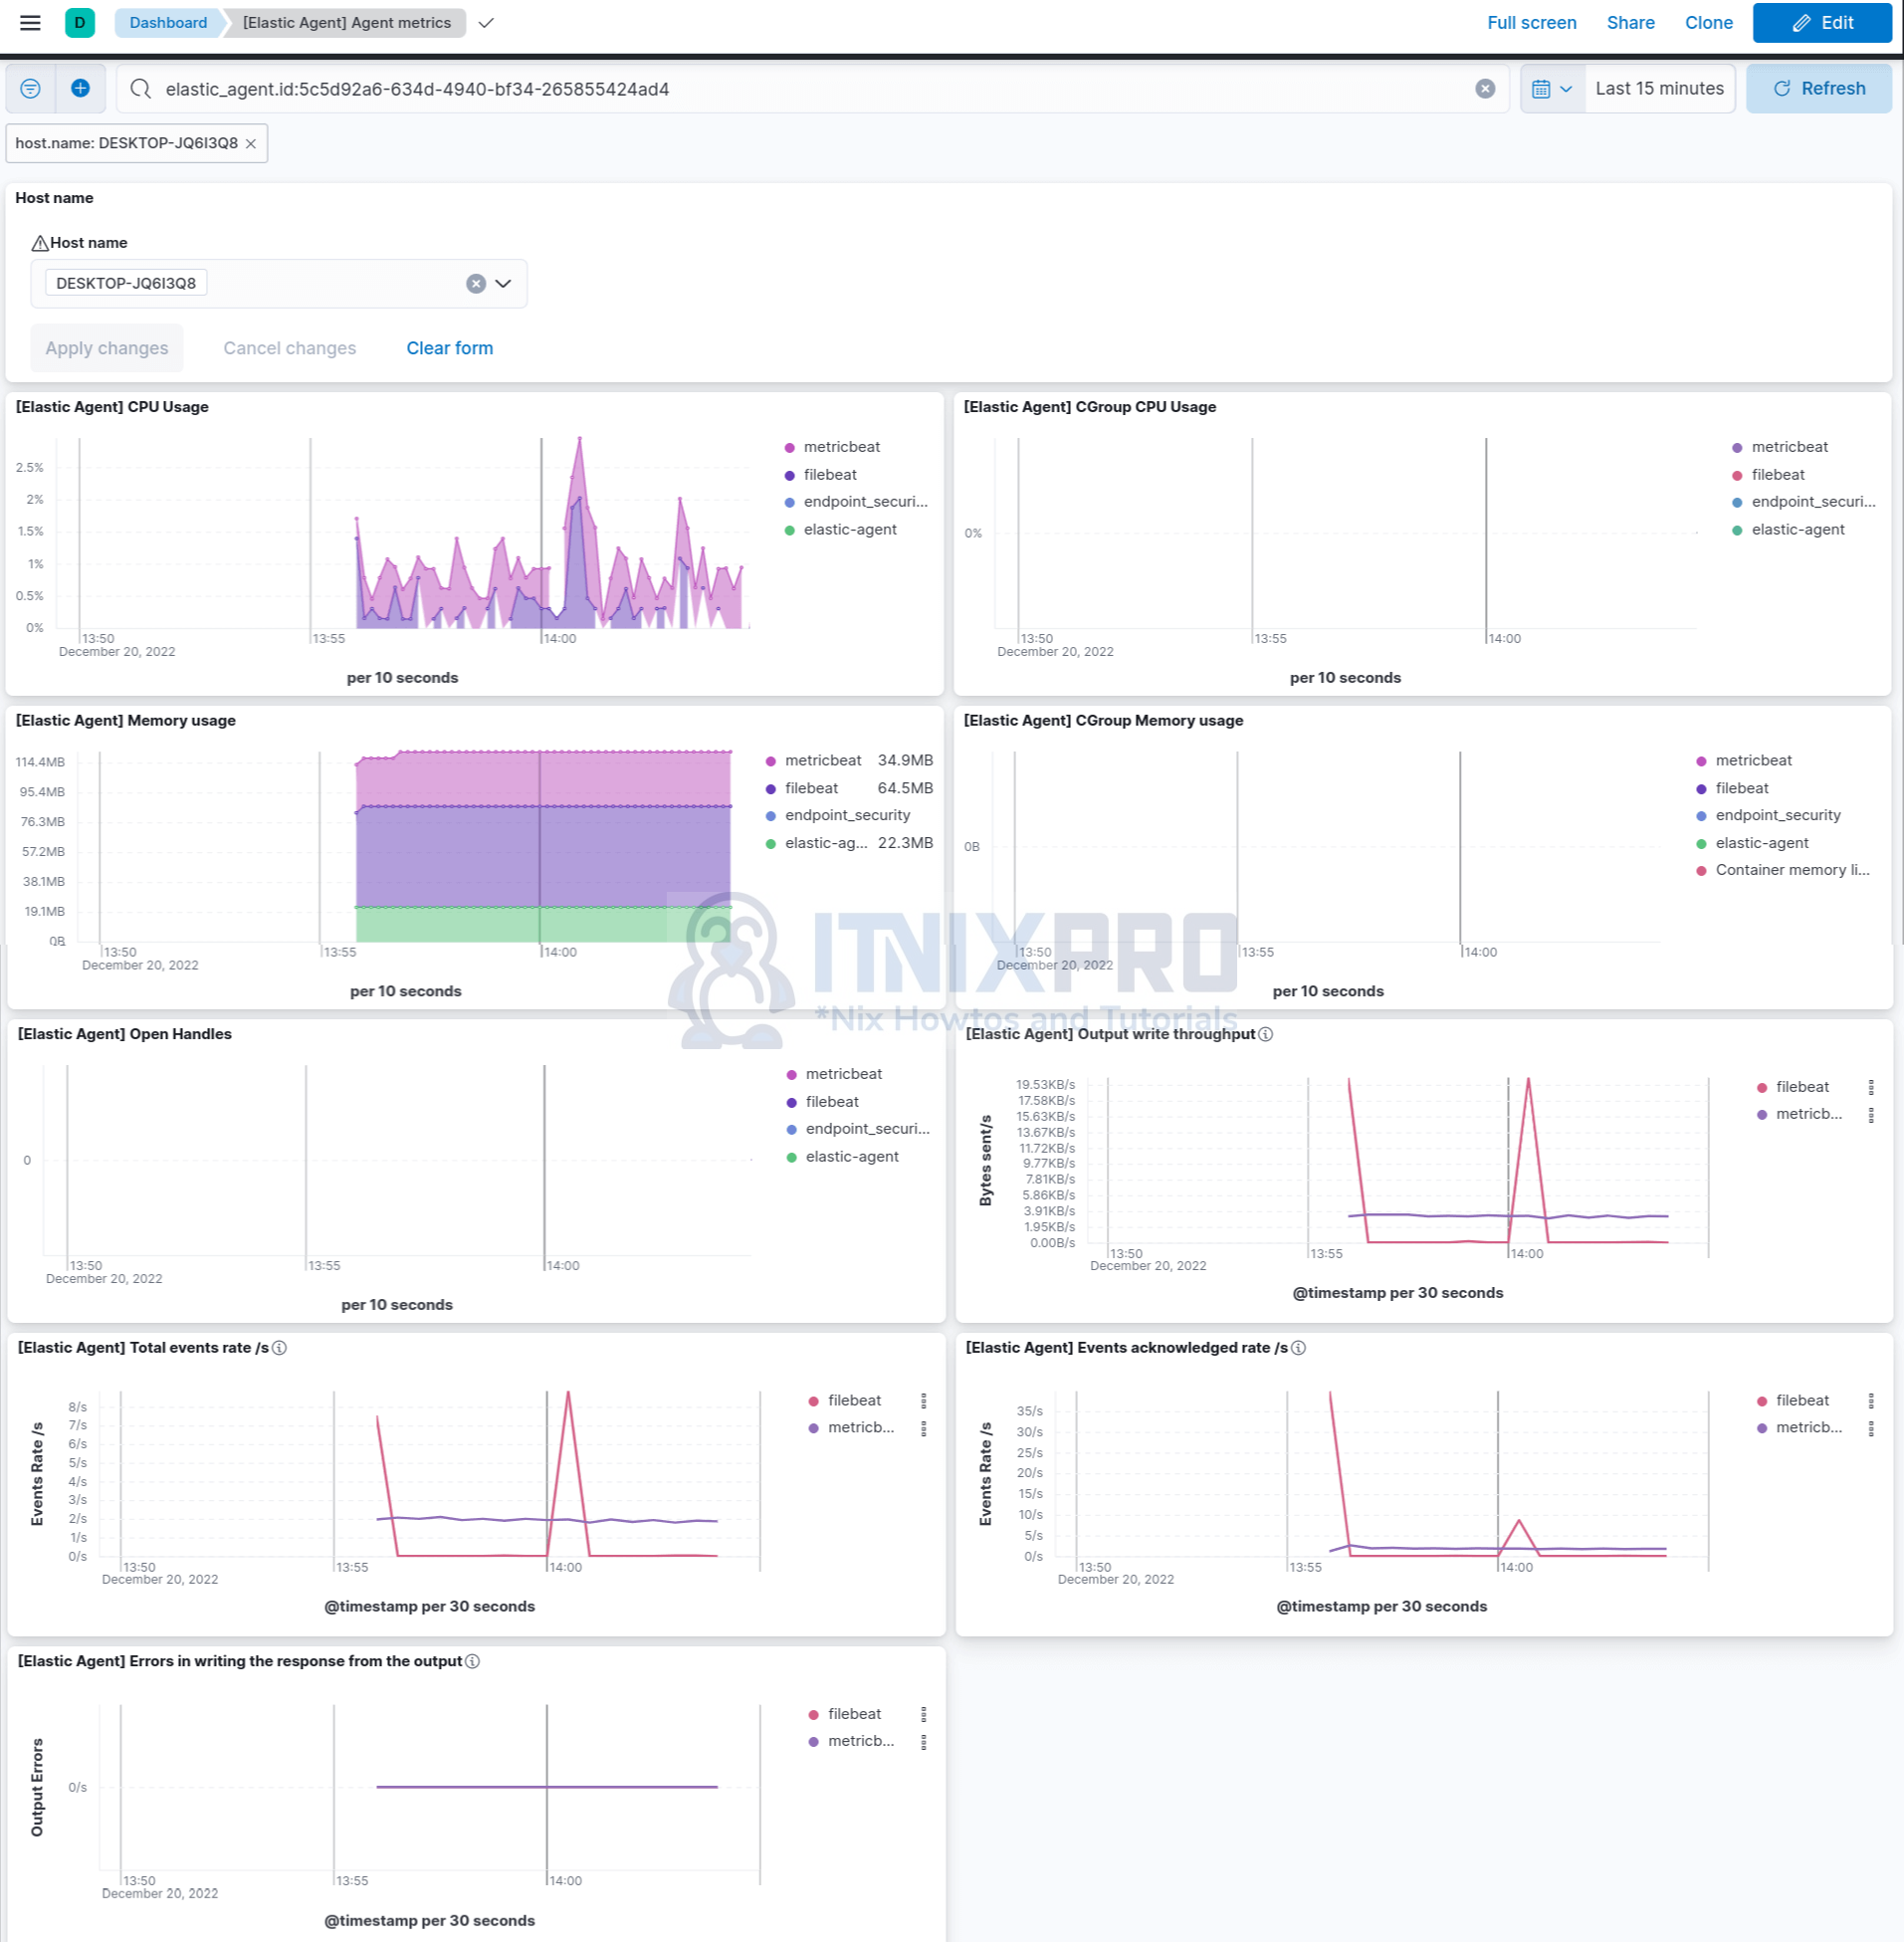
Click on the agent to view more details including events it is sending and even related dashboard;
View agent dashboards;
And that is how easy it is to install Elastic Agents on Windows Systems.
Other Tutorials

I need the Windows instructions to be in Powershell, that can be mass deployed via management tool.