You will learn how to install Ubuntu 21.04 Desktop on VirtualBox in this guide. Canonical launched Ubuntu 21.04 on April 22, 2021, with native Microsoft Active Directory integration, default Wayland graphics, and a Flutter application development SDK. Separately, Canonical and Microsoft announced performance improvements for Microsoft SQL Server on Ubuntu, as well as collaborative support.
Want to use Ubuntu 22.04 instead? Check the link below;
Install Ubuntu 22.04 Desktop on VirtualBox
Install Ubuntu 21.04 Desktop on VirtualBox
Download Ubuntu 21.04 ISO
To get the ISO image for installing Ubuntu 21.04 on VirtualBox, go to the Ubuntu 21.04 download page.
You may just grab the ISO URL and use the wget command to download it.
wget https://releases.ubuntu.com/21.04/ubuntu-21.04-desktop-amd64.isoInstall Ubuntu 21.04 Desktop on VirtualBox
Create New Virtual Machine
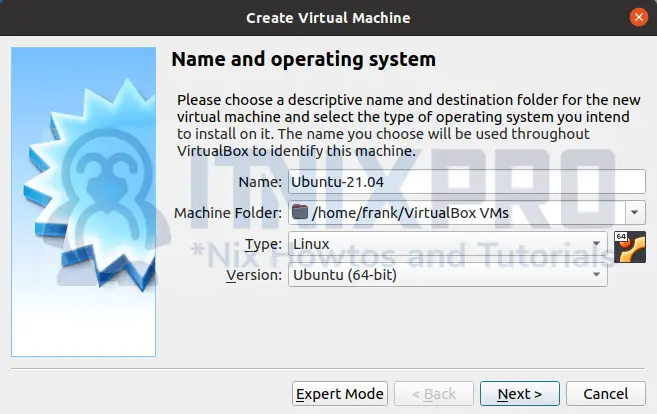
Launch VirtualBox and build a new Virtual Machine after you’ve downloaded the Focal Fossa ISO file.
Follow the steps below to complete Virtual Machine settings:
- Assign at least 1024 MB of RAM to the virtual Machine.
- For the virtual machine, create a virtual hard disk.
- Select the type of virtual hard drive you want to make. We’ll use the default VDI in this demonstration.
- Select how the disk should be partitioned. In this demonstration, dynamic allocation is chosen.
- Set the disk image’s size and placement.
To build the Virtual Machine, click the Create button.
Attach Installation ISO File
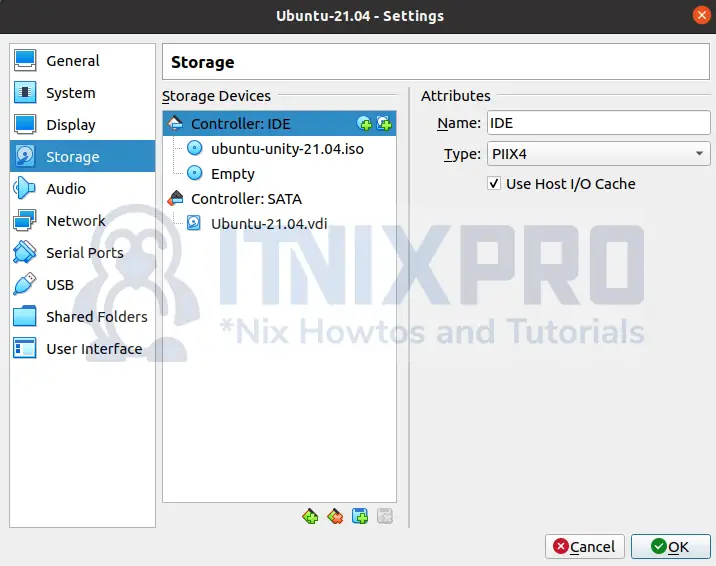
Select the virtual machine and click Ctrl+s to open the VM settings wizard after it has been built. You may also select the vm, right-click, and choose settings.
Attach the ISO file as an IDE controller by going to storage options and selecting it.
vCPUs and Memory
Feel free to modify any additional settings to your liking, such as RAM size and the number of CPU cores to allocate to the VM.
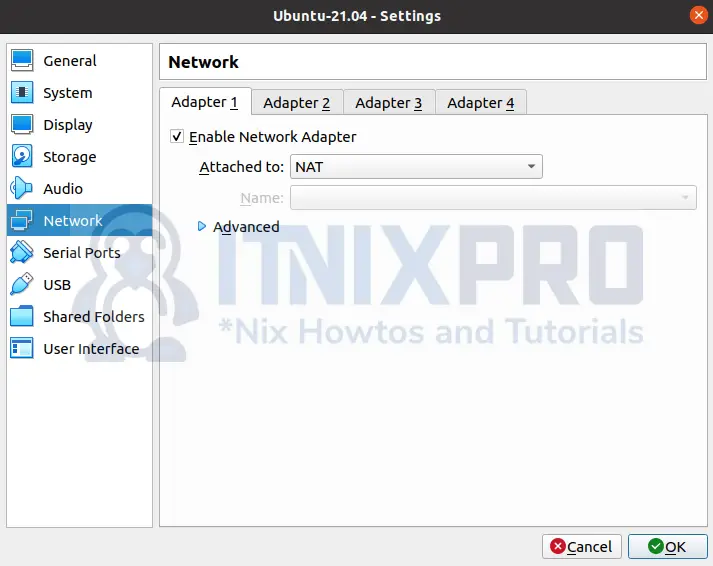
Virtual Machine Networking
You might wish to add extra Network interfaces as well. Go to Network settings and choose it in order to allow internet access.
Install Ubuntu 21.04
Once you’ve finished configuring the VM, click the Start button to begin installing Ubuntu 21.04 on VirtualBox.
When you get a screen like this, click Enter to continue installing Ubuntu 21.04 on VirtualBox.
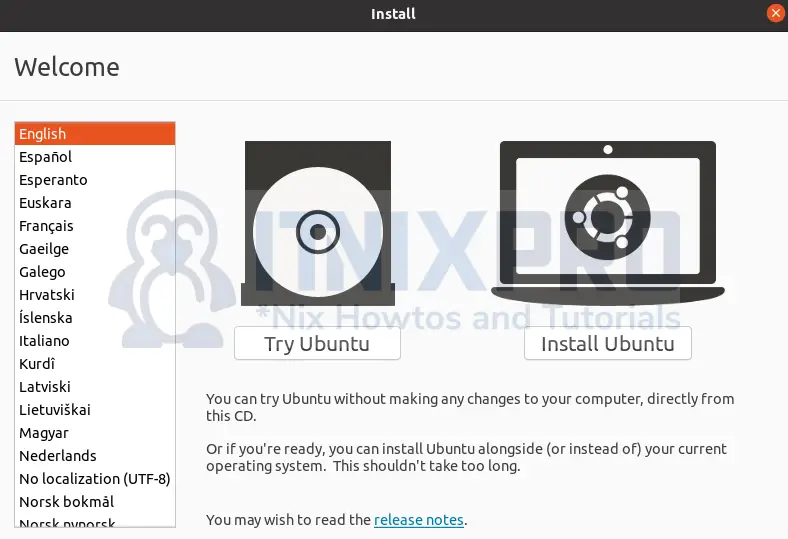
You have two choices at this moment. You may either sample Ubuntu 21.04 without installing it or install it on your hard drive permanently.
Let’s get Ubuntu 21.04 up and running. Install Ubuntu after selecting your installation language.
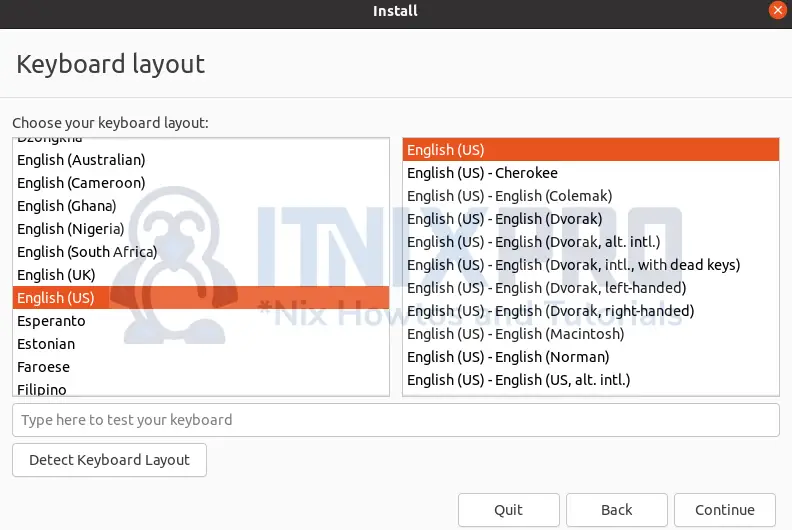
Keyboard layout
Continue after selecting your keyboard layout.
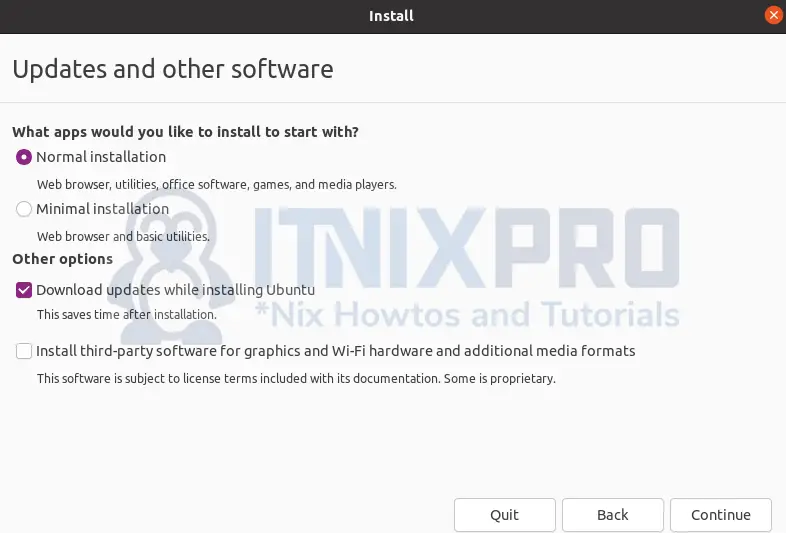
Update and other software
You may choose which applications to install first under the Updates and Software selection section.
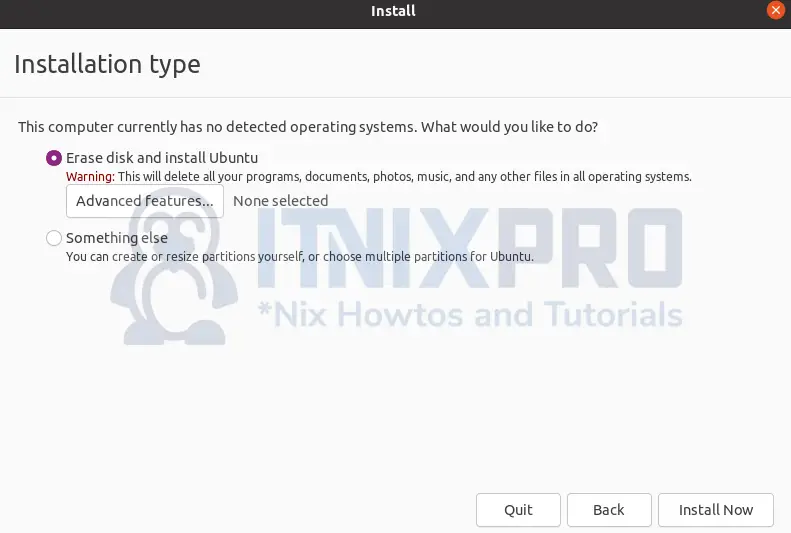
Installation type
You can select to erase the disk and install Ubuntu from the Installation type menu. You may also use advanced features to set up LVM, disk encryption, or check out experimental ZFS by clicking advanced features.
And for custom disk partitioning, click Something else.
Click Install Now to save your modifications to the disk and begin the installation process.
Location
Select your preferred location and click continue.
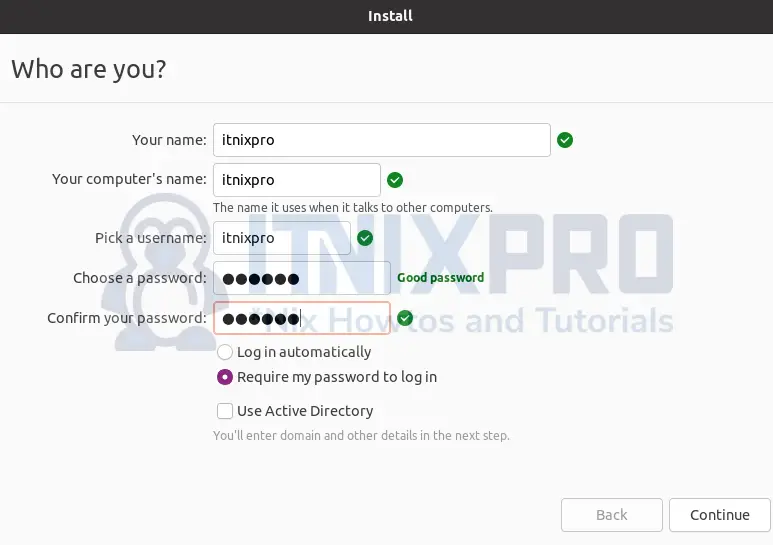
Create a username and password for your login.
Installation Progress
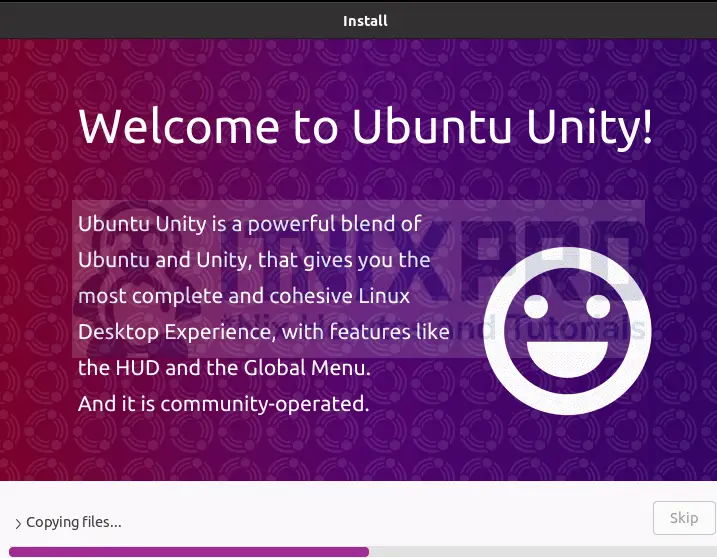
After that, select Continue to begin the Ubuntu 21.04 installation on VirtualBox.
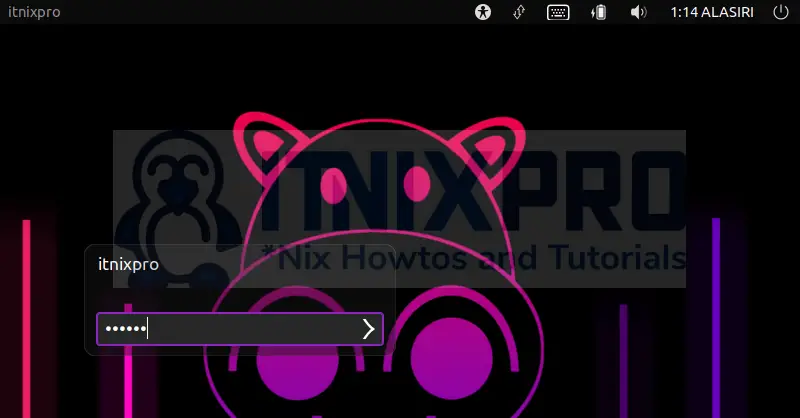
Log in to your Ubuntu 21.04 virtual machine. You will not be prompted for a user password if you have enabled automatic login. Otherwise, log in to your Ubuntu 21.04 desktop and continue.
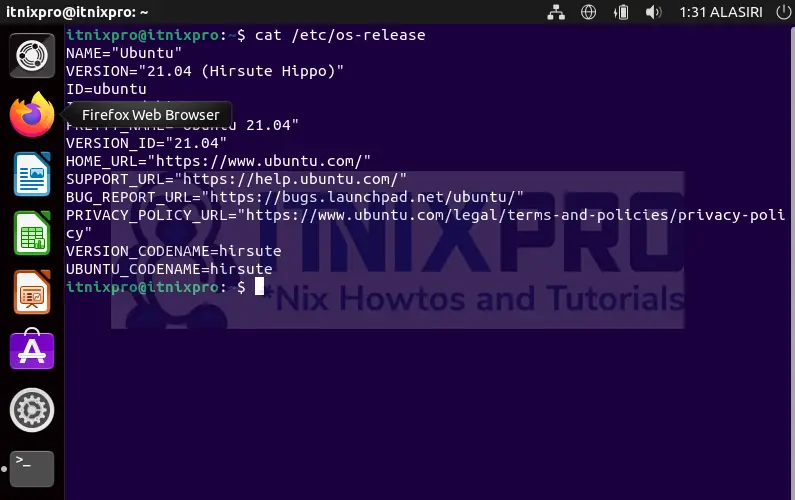
And Finally you are in.You can check OS release.
Conclusion
You’ve completed the installation of Ubuntu 21.04 on VirtualBox. Enjoy your time with this fantastic operating system.

