
In this article, you will learn how to install Nitrux Linux on VirtualBox. Nitrux Linux is one of the Linux distros based on Debian. It uses the most customizable, friendly, and rich desktop environment, KDE Plasma 5. Like most Unix systems, it’s open-source and free to use. It uses AppImage format for application distribution.
Nitrux Linux has many usages from word processing, media editing, gaming, communication, surfing, entertainment, and so on.
Install Nitrux Linux on VirtualBox
Prerequisites for Nitrux Linux
I will demonstrate the installation of Nitrux Linux on VirtualBox using Windows 11 but you can use any OS supported by VirtualBox.
- Nitrux Linux 2.0.1 ISO image
- VirtualBox 6.1
- Windows 7+ with free 8GB storage
- 4GB+ RAM on your host OS
- 128+ VRAM, OpenGL 2.1 Support screen resolution
Download Nitrux OS Image file
Download the latest ISO file from the Nitrux Linux download page.
You can also download the ISO file using wget/curl commands as shown below
wget https://updates.nxos.org/nitrux-release-amd64_2022.02.28.iso
Create New VirtualBox VM
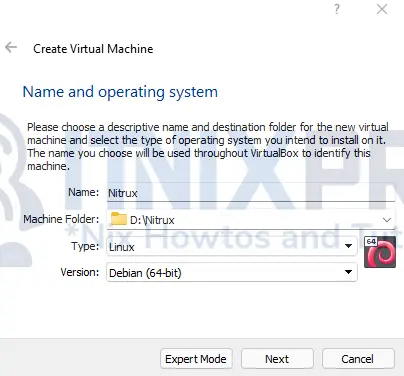
Open VirtualBox and clilick New, enter the name as Nitrux, type as Linux, and version as Debian (64-bit).
Select RAM as 2GB (2048MB) and click on create virtual disk now. On the next screen, select hard disk file type as VDI(Virtual Disk Image), the select dynamically allocated or fixed. Enter storage as 8GB on the last screen
Enable sharing clipboard (optional)
This allows you to copy data between the two operating systems.
On VirtualBox Windows VM, select Devices > Insert Guest Additions CD image.
Choose Computer > CD Drive, double-click VirtualBox Guest, and complete the installation as given.
Then click the advanced tab and make sure Shared Clipboard and Drag’n’Drop are selected as bidirectional.

Select ISO file
The next step is to choose the ISO file. Under the Settings, select Storage on the left panel, click on empty under controller: IDE.
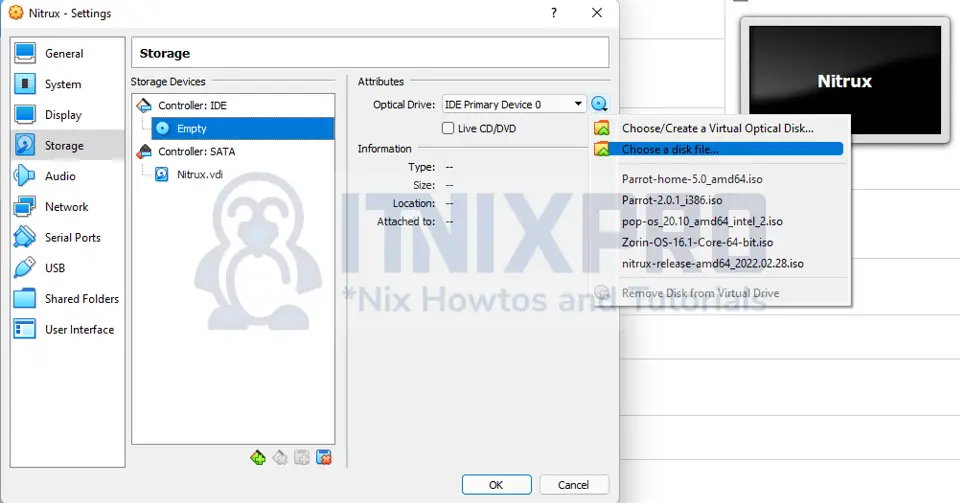
Under the attributes on the right side, click on the disc icon and locate the Nitrux ISO file then click OK.
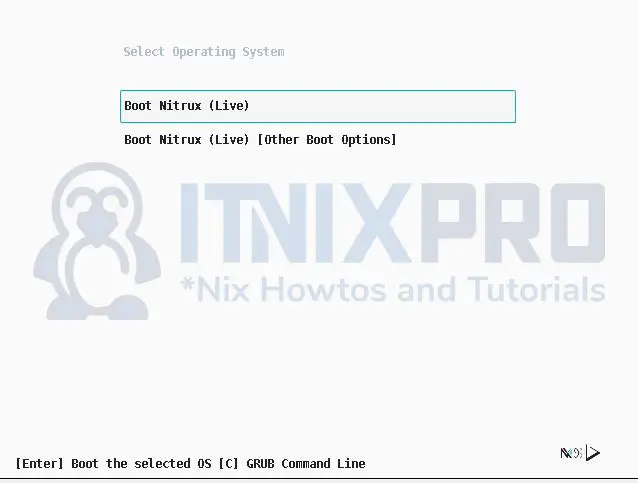
Install Nitrux Linux on VirtualBox
Start the installation by selecting Nitrux and clicking on Start. Select the first option of Boot Nitrux(Live) and press enter.
Wait for the welcome screen to finish and display as below.
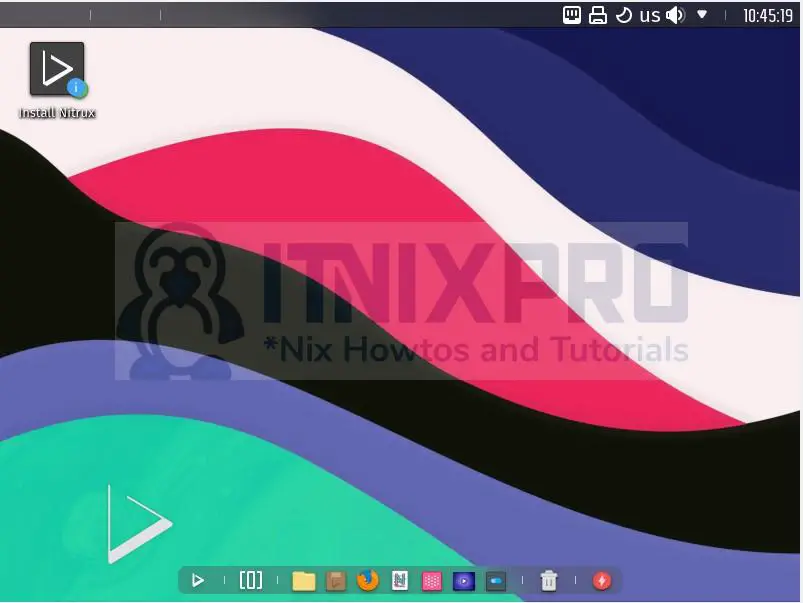
To install, click on Install Nitrux on the desktop, follow the next steps by selecting language and time zone.
Keyboard layout
The wizard will display the keyboard options below. Use the default option;

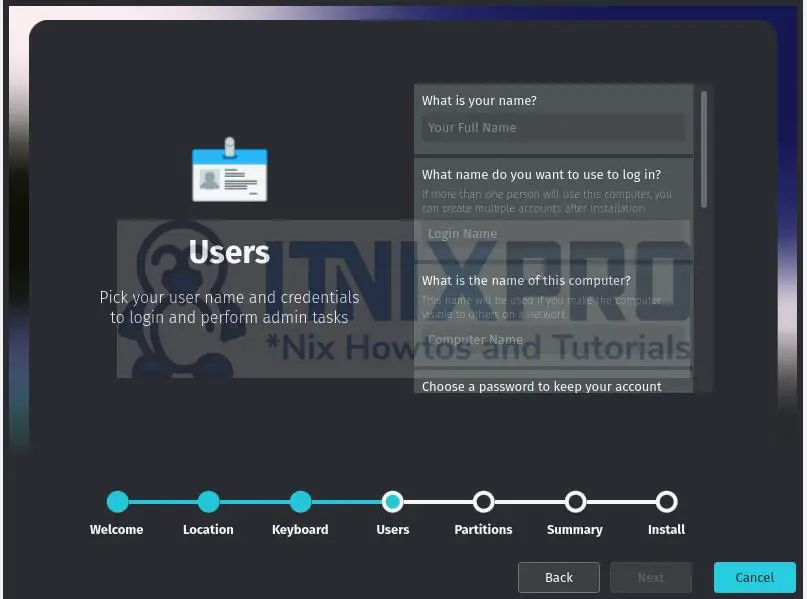
Enter your login credentials on the next screen(Users). You can enter or skip the root password.
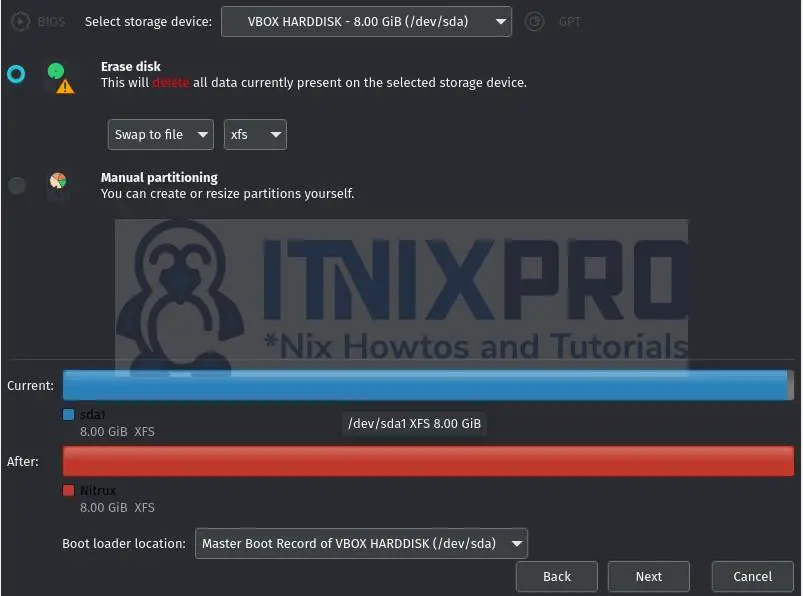
Installation type
Next under partitioning, select erase disk as shown below
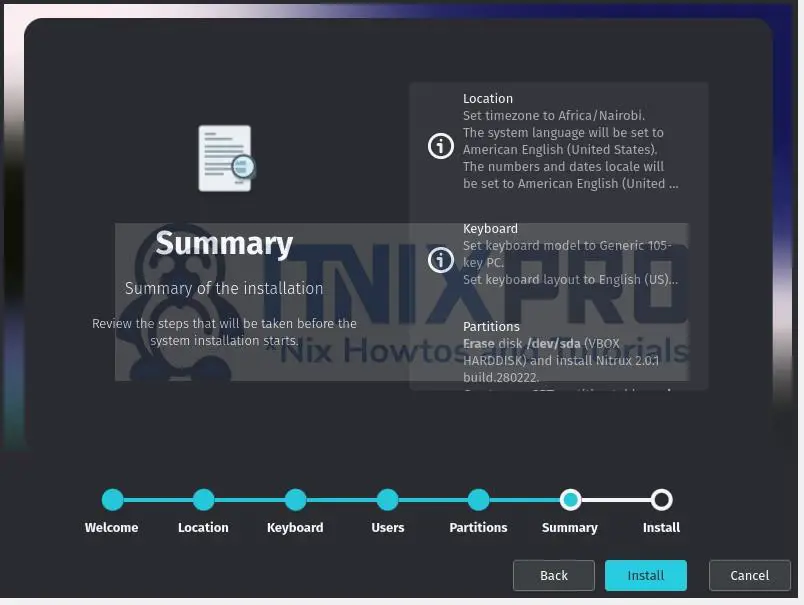
Preview your settings and install.
Reboot
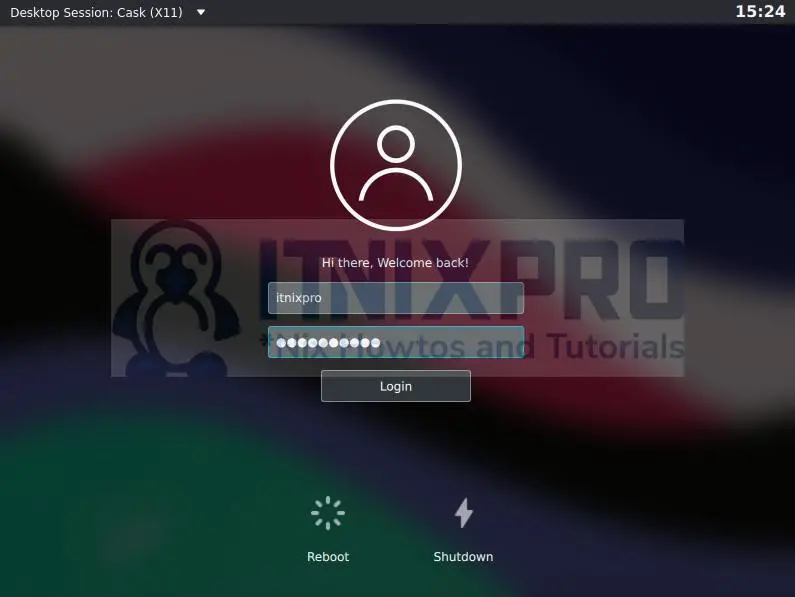
Once installation is complete, you can reboot the system and login using the username and password you created. Below is the login screen.
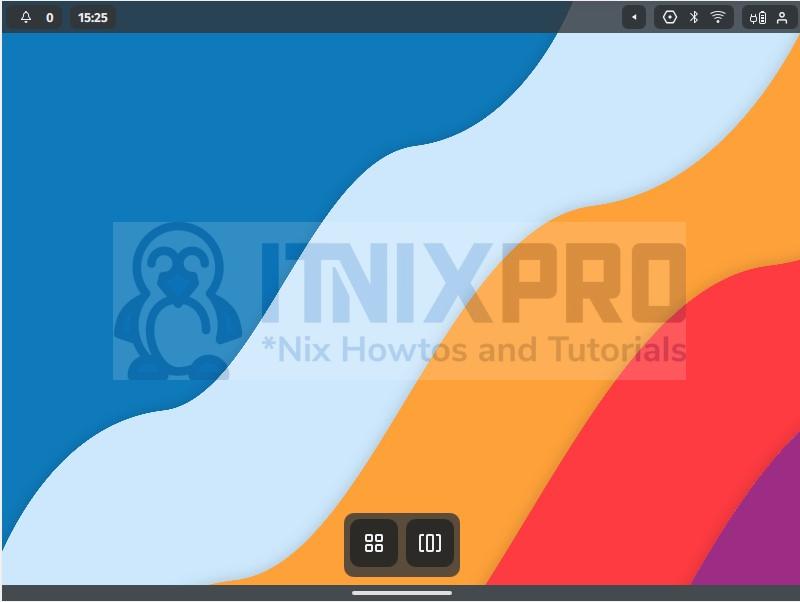
You will see the welcome screen below meaning you have successfully managed to install Nitrux Linux on VirtualBox.
Note:
In case you reboot to the first screen asking for boot options, go to settings and remove the Nitrux ISO attachment. Please refer to the image below.

Conclusion
This tutorial has guided on how to install Nitrux Linux on VirtualBox.
More tutorials.
Learn more about Nitrux Linux.
Other tutorials
How to Install VirtualBox on Ubuntu 22.04
Install Ubuntu 22.04 Desktop on VirtualBox