
Follow through this tutorial to learn how to install Monitorix on Rocky Linux 8. Monitorix is a free, open source, lightweight system monitoring tool designed to monitor as many services and system resources as possible. It consists mainly of two programs: a collector, called monitorix, which is a Perl daemon that is started automatically like any other system service, and a CGI script called monitorix.cgi. Monitorix includes its own HTTP server built in (which is listening by default on port 8080/TCP) to see the statistics graphs.
Some of the Monitorix Features include;
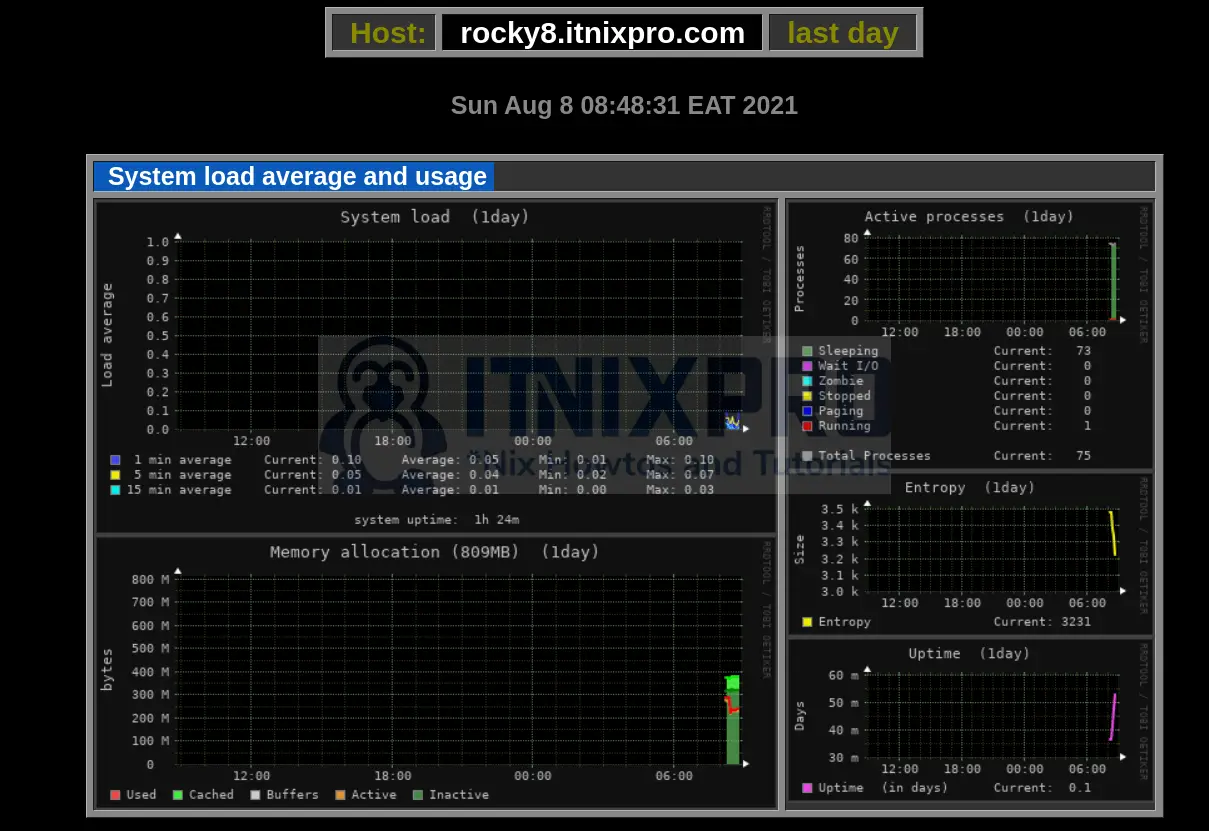
- System load average and usage (
system.pm)- System load.
- Active processes.
- Memory allocation.
- System entropy.
- System uptime.
- Filesystem usage and I/O activity (
fs.pm)- Unlimited number of filesystems graphs supported.
- Up to 8 filesystems per graph.
- Ability to hide the real name of each mount point (filesystem).
- Inode usage for each filesystem.
- Disk I/O activity for each filesystem.
- Time spent in disk I/O for each filesystem.
- Disk sectors activity for each filesystem.
- Alerts capabilities for each filesystem defined.
- Directory usage (
du.pm)- Unlimited number of groups of directories.
- Ability to define up to 9 directories per group or graph.
- Ability to hide (change) the real name of each directory.
- Ability to count size or files for every directory defined.
- Network traffic and usage (
net.pm)- Unlimited number of network devices supported.
- Including packet traffic and traffic error graphs.
- Netstat statistics (
netstat.pm)- Includes statistics for IPv4 and IPv6 connections.
- All connection states are represented
Read more on Features page.
Install Monitorix on Rocky Linux 8
Install EPEL repository
Monitorix, is available on the EPEL repository which can be installed by running the command below;
dnf install epel-release -y
Install Perl Modules and Other Required Packages
Monitorix is perl based program. You need to install additional Perl modules to improve the functionality.
dnf install rrdtool-perl perl-Config-General perl-LWP-Protocol-https perl-LWP-UserAgent-Determined perl-HTTP-Server-Simple httpd-tools -y
Install Monitorix on Rocky Linux 8
Next, run the command below to install Monitorix on Rocky Linux 8.
dnf install monitorix -y
Configure Monitorix on Rocky Linux 8
/etc/monitorix/monitorix.conf is the default configuration for monitorix.
There are only a few changes that we are going to make, in our setup, as outlined below.
vim /etc/monitorix/monitorix.conf
- Set the title
title = ITNIXPRO System Monitoring
- Set the system hostname
hostname = rocky8.itnixpro.com
- Set the theme color if you want (options are black and white). We go with the default black.
theme_color = black
- Bind Monitorix web service to specific interface and restrict Access to Monitorix dashboard by updating the lines below under the
<httpd_builtin>
    host = monitorix.itnixpro.com
    hosts_deny = all
hosts_allow = 192.168.50.0/24- Enable basic authentication;
        <auth>
                enabled = y
                hosts_deny = all
                hosts_allow = 192.168.50.0/24
                msg = Monitorix: Restricted access
                htpasswd = /var/lib/monitorix/htpasswd
</auth>- Enable/disable the graphs as you wish
Go through the Graph (de)activation section and enable/disable graphs as you so wish.
NOTE: The best way to configure Monitorix is by creating a custom config on the /etc/monitorix/conf.d directory to avoid having to re-do the configurations in case of an upgrade. You can place your changes on this custom config file.
Configure Monitorix Basic Authentication
Since we have enabled basic authentication, simply set the authentication credentials.
htpasswd -c /var/lib/monitorix/htpasswd itnixproadmin
Running Monitorix
To start and enable Monitorix to run on system boot, run the command below;
systemctl enable --now monitorix
You can check the status;
systemctl status monitorix
Also confirm the port is opened;
ss -altnp | grep :8080
LISTEN 0 128 192.168.50.19:8080 0.0.0.0:* users:(("monitorix-httpd",pid=7651,fd=6))You can also check the log files;
/var/log/monitorix
/var/log/monitorix-httpd
Access Monitorix Web Interface
Open Monitorix port on Firewall, port 8080/tcp, if you havent changed it;
firewall-cmd --add-port=8080/tcp --permanent
firewall-cmd --reload
Next, on your browser, you can access Monitorix via the url, http://host:8080/monitorix.
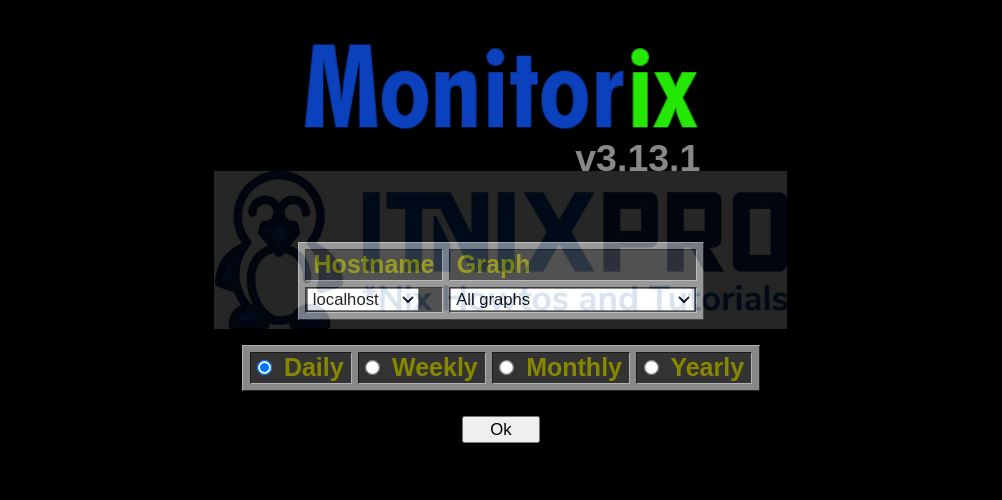
Select the Graphs to show from the menu.
- System load average and usage
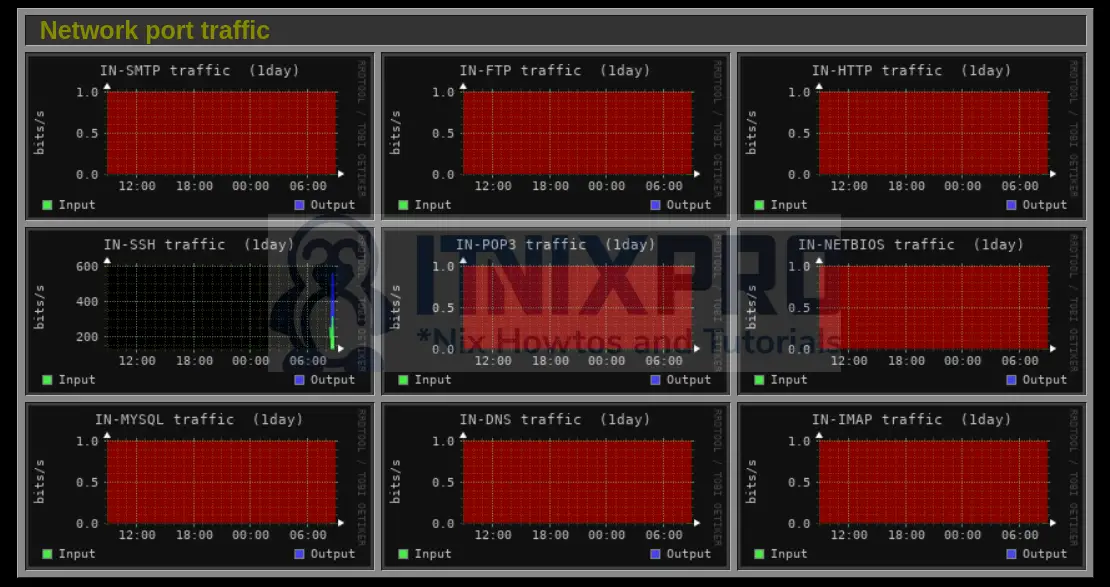
- Network Port traffic
And that is it on how to install Monitorix on Rocky Linux 8.
Further Reading
Read more on the documentation page.
Other Tutorials
Install Arkime/Moloch on CentOS 8
Install Node.js/NPM on Rocky Linux 8
Install and Setup Wazuh Server with ELK Stack on Ubuntu 20.04