
In this tutorial, you will learn how to install Arkime/Moloch on CentOS 8. Arkime (formerly Moloch) is a large scale, open source, indexed packet capture and search tool.
Install Arkime/Moloch on CentOS 8
Install Arkime
You can install Arkime/Moloch on CentOS 8 either by building from the source code or using OS specific pre-built binary packages.
In this guide, we will use Arkime pre-built binaries for CentOS 8, which can be downloaded from the Arkime Downloads page.
Before you install Arkime, enable PowerTools repos, which provides some of the required packages.
dnf config-manager --set-enabled powertools
Arkime 2.7.1 is the current stable release as of this writing. Thus, you can simply get the link to the RPM file and install it as follows;
dnf install https://s3.amazonaws.com/files.molo.ch/builds/centos-8/moloch-2.7.1-1.x86_64.rpm
Install Elasticsearch
The Arkime system monitors network traffic, writes PCAP formatted files to disk, parses the captured packets, and sends metadata (SPI data) to Elasticsearch.
While configuring Arkime, you will be prompted to install Elasticsearch, but we choose to install it before.
To install Elasticsearch, run the commands below;
cat > /etc/yum.repos.d/elasticstack.repo << EOL
[elasticsearch]
name=Elasticsearch repository for 7.x packages
baseurl=https://artifacts.elastic.co/packages/7.x/yum
gpgcheck=1
gpgkey=https://artifacts.elastic.co/GPG-KEY-elasticsearch
enabled=1
autorefresh=1
type=rpm-md
EOL
dnf install elasticsearchOnce the installation is done, there are only a few changes you can make on Elasticsearch, and that is updating the JVM heap size.
Depending on the size of your RAM, you need to set the JVM to no more than 50% of your system RAM.
Note: You must have at least 3G of memory on your system to run Arkime.
sed -i '/4g/s/^## //;s/4g/1g/' /etc/elasticsearch/jvm.options
We set the JVM heap size to 1GB.
Configure Arkime (Moloch) on CentOS 8
Once the installation above is done, run the script below to configure Arkime (Moloch).
Answer the script prompts accordingly;
/data/moloch/bin/ConfigureSelect an interface to monitor;
Found interfaces: lo;enp0s3;enp0s8
Semicolon ';' seperated list of interfaces to monitor [eth1] enp0s8
Choose whether to install Elasticsearch automatically or you want to install manually yourself (We have already installed Elasticsearch, hence choose no).
Install Elasticsearch server locally for demo, must have at least 3G of memory, NOT recommended for production use (yes or no) [no] noSet Elasticsearch server URL, localhost:9200 in this setup. Just press Enter to accept the defaults.
Elasticsearch server URL [http://localhost:9200] ENTERSet encryption password. Be sure to replace the password.
Password to encrypt S2S and other things [no-default] changemeThe configuration of Arkime then runs.
...
Moloch - Creating configuration files
Installing systemd start files, use systemctl
Moloch - Installing /etc/logrotate.d/moloch to rotate files after 7 days
Moloch - Installing /etc/security/limits.d/99-moloch.conf to make core and memlock unlimited
Download GEO files? (yes or no) [yes] yes
Moloch - Downloading GEO files
...
Sample config output;
Moloch - Configured - Now continue with step 4 in /data/moloch/README.txt

      /sbin/start elasticsearch # for upstart/Centos 6/Ubuntu 14.04
      systemctl start elasticsearch.service # for systemd/Centos 7/Ubuntu 16.04
 5) Initialize/Upgrade Elasticsearch Moloch configuration
  a) If this is the first install, or want to delete all data
      /data/moloch/db/db.pl http://ESHOST:9200 init
  b) If this is an update to moloch package
      /data/moloch/db/db.pl http://ESHOST:9200 upgrade
 6) Add an admin user if a new install or after an init
      /data/moloch/bin/moloch_add_user.sh admin "Admin User" THEPASSWORD --admin
 7) Start everything
   a) If using upstart (Centos 6 or sometimes Ubuntu 14.04):
      /sbin/start molochcapture
      /sbin/start molochviewer
   b) If using systemd (Centos 7 or Ubuntu 16.04 or sometimes Ubuntu 14.04)
      systemctl start molochcapture.service
      systemctl start molochviewer.service
 8) Look at log files for errors
      /data/moloch/logs/viewer.log
      /data/moloch/logs/capture.log
 9) Visit http://MOLOCHHOST:8005 with your favorite browser.
      user: admin
      password: THEPASSWORD from step #6

If you want IP -> Geo/ASN to work, you need to setup a maxmind account and the geoipupdate program.
See https://molo.ch/faq#maxmind

Any configuration changes can be made to /data/moloch/etc/config.ini
See https://molo.ch/faq#moloch-is-not-working for issues

Additional information can be found at:
  * https://molo.ch/faq
  * https://molo.ch/settings
Running Elasticsearch
Start and enable Elasticsearch to run on system boot;
systemctl enable --now elasticsearchVerify if Elasticsearch is running;
curl http://localhost:9200{
"name" : "centos8",
"cluster_name" : "elasticsearch",
"cluster_uuid" : "9QDgNAvFQ0GwHXGdBN5DRg",
"version" : {
"number" : "7.13.4",
"build_flavor" : "default",
"build_type" : "rpm",
"build_hash" : "c5f60e894ca0c61cdbae4f5a686d9f08bcefc942",
"build_date" : "2021-07-14T18:33:36.673943207Z",
"build_snapshot" : false,
"lucene_version" : "8.8.2",
"minimum_wire_compatibility_version" : "6.8.0",
"minimum_index_compatibility_version" : "6.0.0-beta1"
},
"tagline" : "You Know, for Search"
}Initialize Elasticsearch Moloch configuration
Run the command below to initialize Elasticsearch Arkime/Moloch configuration.
/data/moloch/db/db.pl http://localhost:9200 initCreate Arkime/Moloch Admin User Account
You can use the /data/moloch/bin/moloch_add_user.sh script to create Arkime/Moloch user account;
/data/moloch/bin/moloch_add_user.sh --helpaddUser.js [<config options>] <user id> <user friendly name> <password> [<options>]
Options:
--admin Has admin privileges
--apionly Can only use api, not web pages
--email Can do email searches
--expression <expr> Forced user expression
--remove Can remove data (scrub, delete tags)
--webauth Can auth using the web auth header or password
--webauthonly Can auth using the web auth header only, password ignored
--packetSearch Can create a packet search job (hunt)
Config Options:
-c <config file> Config file to use
-n <node name> Node name section to use in config file
--insecure Allow insecure HTTPSRun the command below to create Arkime/Moloch admin user account. Replace the username and password accordingly.
/data/moloch/bin/moloch_add_user.sh admin "Moloch SuperAdmin" changeme --adminRunning Arkime Services
Arkime is made up of 3 components:
- capture – A threaded C application that monitors network traffic, writes PCAP formatted files to disk, parses the captured packets, and sends metadata (SPI data) to elasticsearch.
- viewer – A node.js application that runs per capture machine. It handles the web interface and transfer of PCAP files.
- elasticsearch – The search database technology powering Arkime.
We already started Elasticsearch.
Now start and enable Moloch Capture and viewer services to run on system boot;
systemctl enable --now molochcapturesystemctl enable --now molochviewerCheck the status;
systemctl status molochcapture● molochcapture.service - Moloch Capture
Loaded: loaded (/etc/systemd/system/molochcapture.service; enabled; vendor preset: disabled)
Active: active (running) since Fri 2021-07-30 10:52:20 EDT; 17s ago
Main PID: 3273 (sh)
Tasks: 5 (limit: 23695)
Memory: 230.6M
CGroup: /system.slice/molochcapture.service
├─3273 /bin/sh -c /data/moloch/bin/moloch-capture -c /data/moloch/etc/config.ini >> /data/moloch/logs/capture.log 2>&1
└─3275 /data/moloch/bin/moloch-capture -c /data/moloch/etc/config.ini
Jul 30 10:52:20 centos8 systemd[1]: Starting Moloch Capture...
Jul 30 10:52:20 centos8 systemd[1]: Started Moloch Capture.systemctl status molochviewer● molochviewer.service - Moloch Viewer
Loaded: loaded (/etc/systemd/system/molochviewer.service; enabled; vendor preset: disabled)
Active: active (running) since Fri 2021-07-30 10:52:33 EDT; 23s ago
Main PID: 3309 (sh)
Tasks: 8 (limit: 23695)
Memory: 75.4M
CGroup: /system.slice/molochviewer.service
├─3309 /bin/sh -c /data/moloch/bin/node viewer.js -c /data/moloch/etc/config.ini >> /data/moloch/logs/viewer.log 2>&1
└─3310 /data/moloch/bin/node viewer.js -c /data/moloch/etc/config.ini
Jul 30 10:52:33 centos8 systemd[1]: Started Moloch Viewer.Log Files
You can find Arkime/Moloch logs and Elasticsearch logs on the log files;
/data/moloch/logs/viewer.log/data/moloch/logs/capture.log/var/log/elasticsearch/*Adjusting Arkime/Moloch configurations;
if you ever want to update Arkime/Moloch configs, check the configuration file /data/moloch/etc/config.ini.
Accessing Arkime/Moloch Web Interface
Moloch is listening on port 8005/tcp by default.
If Firewalld is running, open this port on it to allow external access.
firewall-cmd --add-port=8005/tcp --permanentfirewall-cmd --reloadYou can then access Arkime/Moloch using the URL, http://MOLOCHHOST:8005 with your favorite browser.
You will be prompted to enter the basic user authentication credentials you create above.
Upon successful authentication, you land on Arkime Web interface.

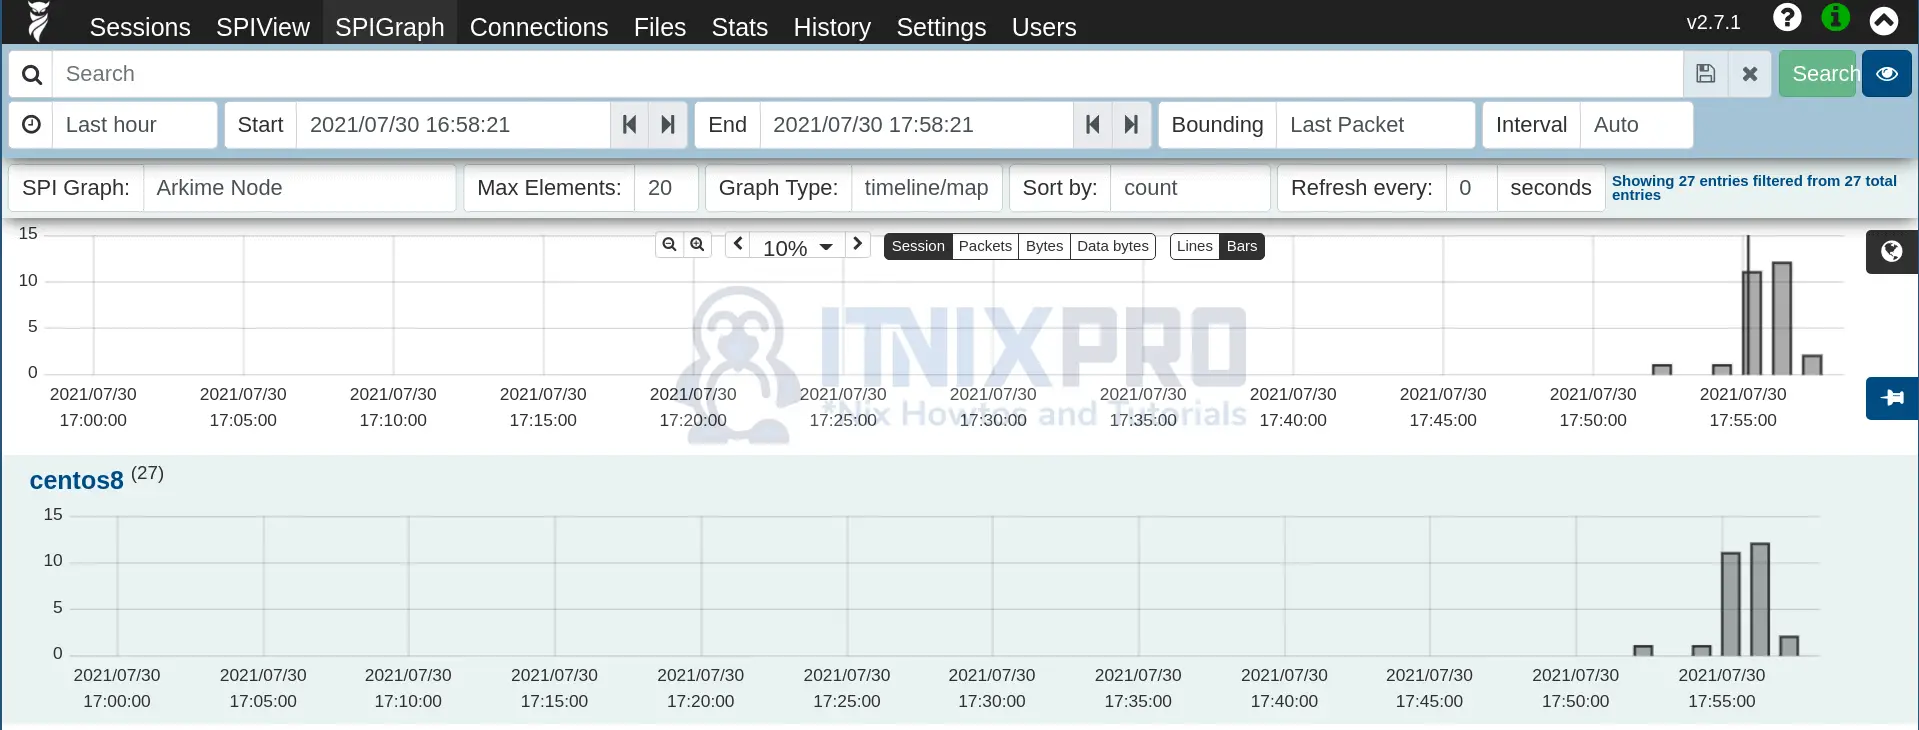
You can go through other menu to see what Arkime has.
Read more on the Arkime Documentation page.
That marks the end of our tutorial on how to install Arkime/Moloch on CentOS 8.
Thanks for the detailed instructions. Do you have instructions on how to setup a cert so its using SSL to hit https://MOLOCHHOST:8005 vs http?
Hi Kevin. Update the config file, /data/moloch/etc/config.ini and uncomment the lines:
certFileandkeyFile.and set the correct paths to your files.