
This article will take you through how to install Lighttpd on Ubuntu 22.04. Lighttpd pronounced ‘lighty’ is an open-source web server optimized for speed-critical environments while remaining standards-compliant, secure, and flexible. Its feature set includes, but is not limited to, FastCGI, CGI, basic and digest HTTP authentication, output compression, and URL rewriting.
How to Install Lighttpd on Ubuntu 22.04
- Update your system.
sudo apt update- Install Lighttpd on Ubuntu 22.04 using the command below.
sudo apt install lighttpdSample output
Reading package lists... Done
Building dependency tree... Done
Reading state information... Done
The following packages were automatically installed and are no longer required:
  linux-headers-5.15.0-25 linux-headers-5.15.0-25-generic
  linux-image-5.15.0-25-generic linux-modules-5.15.0-25-generic
  linux-modules-extra-5.15.0-25-generic
Use 'sudo apt autoremove' to remove them.
The following additional packages will be installed:
  lighttpd-mod-deflate lighttpd-mod-openssl spawn-fcgi
Suggested packages:
  rrdtool php-cgi php-fpm apache2-utils lighttpd-doc
  lighttpd-mod-authn-gssapi lighttpd-mod-authn-pam
  lighttpd-mod-authn-sasl lighttpd-mod-geoip
  lighttpd-mod-maxminddb lighttpd-mod-trigger-b4-dl
  lighttpd-mod-vhostdb-pgsql lighttpd-mod-webdav
  lighttpd-modules-dbi lighttpd-modules-ldap
  lighttpd-modules-lua lighttpd-modules-mysql
The following NEW packages will be installed:
  lighttpd lighttpd-mod-deflate lighttpd-mod-openssl spawn-fcgi
0 upgraded, 4 newly installed, 0 to remove and 0 not upgraded.
Need to get 437 kB of archives.
After this operation, 1,471 kB of additional disk space will be used.
Do you want to continue? [Y/n] y
Get:1 http://ke.archive.ubuntu.com/ubuntu jammy/universe amd64 lighttpd amd64 1.4.63-1ubuntu3 [389 kB]
Get:2 http://ke.archive.ubuntu.com/ubuntu jammy/universe amd64 lighttpd-mod-deflate amd64 1.4.63-1ubuntu3 [11.7 kB]
Get:3 http://ke.archive.ubuntu.com/ubuntu jammy/universe amd64 lighttpd-mod-openssl amd64 1.4.63-1ubuntu3 [21.5 kB]
Get:4 http://ke.archive.ubuntu.com/ubuntu jammy/universe amd64 spawn-fcgi amd64 1.6.4-2 [14.9 kB]
Fetched 437 kB in 1s (701 kB/s)
Selecting previously unselected package lighttpd.
(Reading database ... 230855 files and directories currently installed.)
Preparing to unpack .../lighttpd_1.4.63-1ubuntu3_amd64.deb ...
Unpacking lighttpd (1.4.63-1ubuntu3) ...
Selecting previously unselected package lighttpd-mod-deflate.
Preparing to unpack .../lighttpd-mod-deflate_1.4.63-1ubuntu3_amd64.deb ...
Unpacking lighttpd-mod-deflate (1.4.63-1ubuntu3) ...
Selecting previously unselected package lighttpd-mod-openssl.
Preparing to unpack .../lighttpd-mod-openssl_1.4.63-1ubuntu3_amd64.deb ...
Unpacking lighttpd-mod-openssl (1.4.63-1ubuntu3) ...
Selecting previously unselected package spawn-fcgi.
Preparing to unpack .../spawn-fcgi_1.6.4-2_amd64.deb ...
Unpacking spawn-fcgi (1.6.4-2) ...
Setting up lighttpd (1.4.63-1ubuntu3) ...
Enabling unconfigured: ok
Run "service lighttpd force-reload" to enable changes
Created symlink /etc/systemd/system/multi-user.target.wants/light
tpd.service → /lib/systemd/system/lighttpd.service.
Setting up lighttpd-mod-openssl (1.4.63-1ubuntu3) ...
Setting up spawn-fcgi (1.6.4-2) ...
Setting up lighttpd-mod-deflate (1.4.63-1ubuntu3) ...
Processing triggers for man-db (2.10.2-1) ...
Processing triggers for ufw (0.36.1-4build1) ...
- Enable Lighttpd to start on boot.
sudo systemctl enable lighttpd- Next, start Lighttpd using the following command.
sudo systemctl start lighttpd- Lighttpd should be up and running, check its status using the following command.
systemctl status lighttpdSample output
● lighttpd.service - Lighttpd Daemon
     Loaded: loaded (/lib/systemd/system/lighttpd.service; enabled; vendor preset: enabled)
     Active: active (running) since Tue 2022-07-05 12:15:02 EAT; 1min 19s ago
   Main PID: 25576 (lighttpd)
      Tasks: 1 (limit: 4588)
     Memory: 1.0M
        CPU: 397ms
     CGroup: /system.slice/lighttpd.service
             └─25576 /usr/sbin/lighttpd -D -f /etc/lighttpd/lighttpd.conf

Jul 05 12:15:02 itnixpro systemd[1]: Starting Lighttpd Daemon...
Jul 05 12:15:02 itnixpro systemd[1]: Started Lighttpd Daemon.
- In case you are using a firewall allow the ports below.
sudo ufw allow 80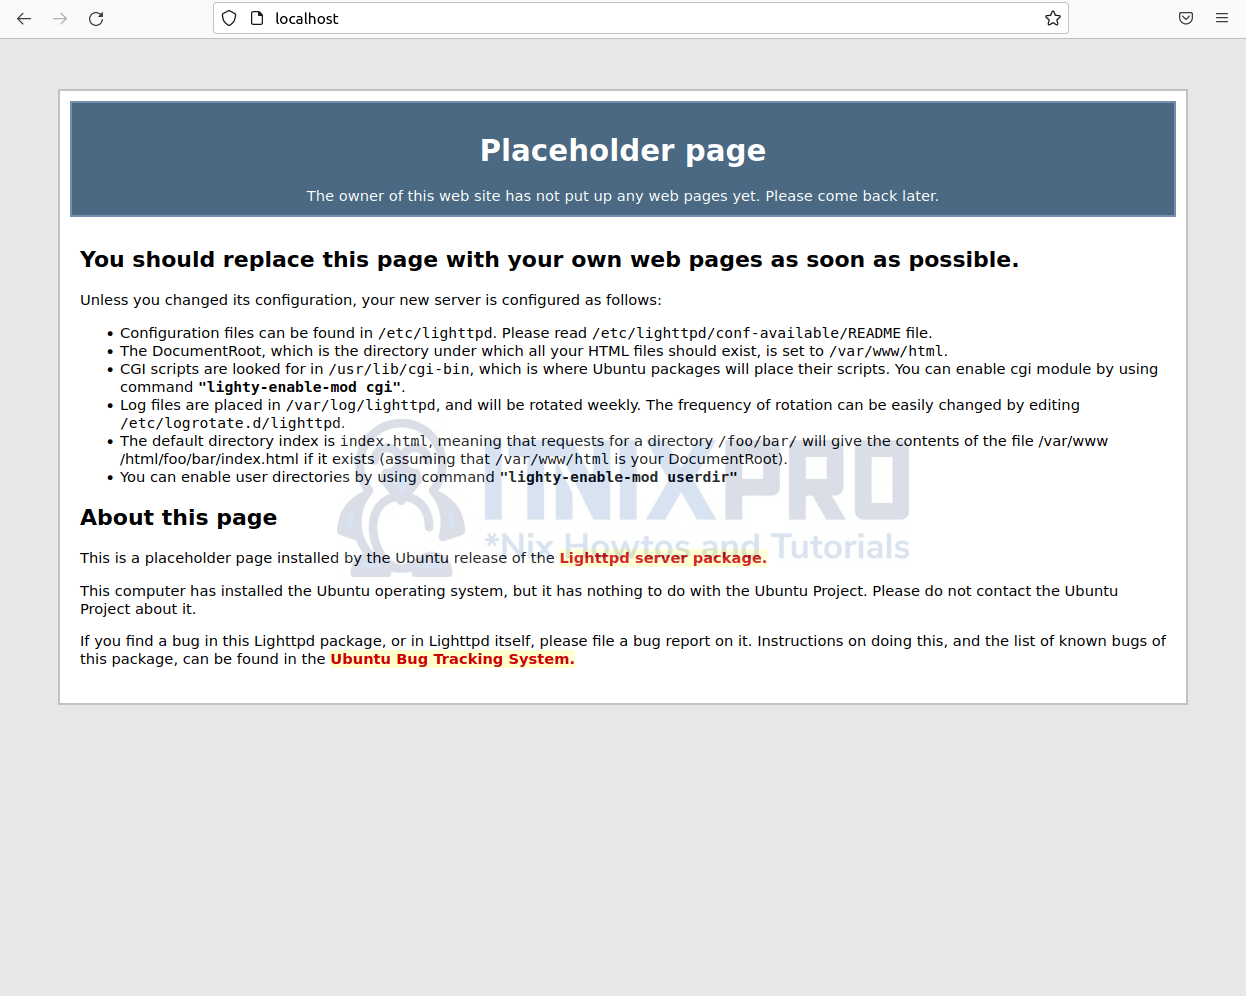
sudo ufw allow 443- Test if Lighttpd is working by entering your server IP in the browser e.g.
http//:server-IPorhttp://localhost
Install PHP on Ubuntu 22.04
- Run the command below to install PHP with some commonly used extensions.
sudo apt install php php-cgi php-cli php-fpm php-curl php-gd php-mysql php-mbstring zip unzip Sample output
Reading package lists... Done
Building dependency tree... Done
Reading state information... Done
unzip is already the newest version (6.0-26ubuntu3).
unzip set to manually installed.
zip is already the newest version (3.0-12build2).
zip set to manually installed.
The following packages were automatically installed and are no longer required:
  linux-headers-5.15.0-25 linux-headers-5.15.0-25-generic
  linux-image-5.15.0-25-generic linux-modules-5.15.0-25-generic
  linux-modules-extra-5.15.0-25-generic
Use 'sudo apt autoremove' to remove them.
The following additional packages will be installed:
  apache2 apache2-bin apache2-data apache2-utils
  libapache2-mod-php8.1 libapr1 libaprutil1
  libaprutil1-dbd-sqlite3 libaprutil1-ldap libonig5 php-common
  php8.1 php8.1-cgi php8.1-cli php8.1-common php8.1-curl
  php8.1-fpm php8.1-gd php8.1-mbstring php8.1-mysql
  php8.1-opcache php8.1-readline
Suggested packages:
  apache2-doc apache2-suexec-pristine | apache2-suexec-custom
  www-browser php-pear
The following NEW packages will be installed:
  apache2 apache2-bin apache2-data apache2-utils
  libapache2-mod-php8.1 libapr1 libaprutil1
  libaprutil1-dbd-sqlite3 libaprutil1-ldap libonig5 php php-cgi
  php-cli php-common php-curl php-fpm php-gd php-mbstring
  php-mysql php8.1 php8.1-cgi php8.1-cli php8.1-common
  php8.1-curl php8.1-fpm php8.1-gd php8.1-mbstring php8.1-mysql
  php8.1-opcache php8.1-readline
0 upgraded, 30 newly installed, 0 to remove and 0 not upgraded.
Need to get 11.5 MB of archives.
After this operation, 48.0 MB of additional disk space will be used.
Do you want to continue? [Y/n] y
- To check the version of installed PHP run the following command.
php -vConfigure PHP-FPM and FastCGI for Lighttpd
- Let us start by configuring PHP-FPM. Open the config file below.
sudo nano /etc/php/*/fpm/pool.d/www.conf- Replace the line below.
listen = /run/php/php*-fpm.sock- With the following line then save and exit the file.
listen = 127.0.0.1:9000- Next, enable the FastCGI module by opening the config file below.
sudo nano /etc/lighttpd/conf-available/15-fastcgi-php.conf- Under fastcgi.server, replace the line below.
"bin-path" => "/usr/bin/php-cgi",
"socket" => "/var/run/lighttpd/php.socket",- With the following lines.
"host" => "127.0.0.1",
"port" => "9000",- Next, enable FastCGI module to work with PHP.
sudo lighty-enable-mod fastcgisudo lighty-enable-mod fastcgi-php- Check if the Lighttpd server works with PHP by creating a test file.
sudo nano /var/www/html/phpinfo.php- Then paste the code below into the file created above.
<?php
 phpinfo();
?>- Next, run the commands below to make Lighttpd the owner of the directory serving PHP web pages.
sudo chown -R www-data:www-data /var/www/html/ sudo chmod -R 755 /var/www/html/- Restart your Lighttpd server to apply changes.
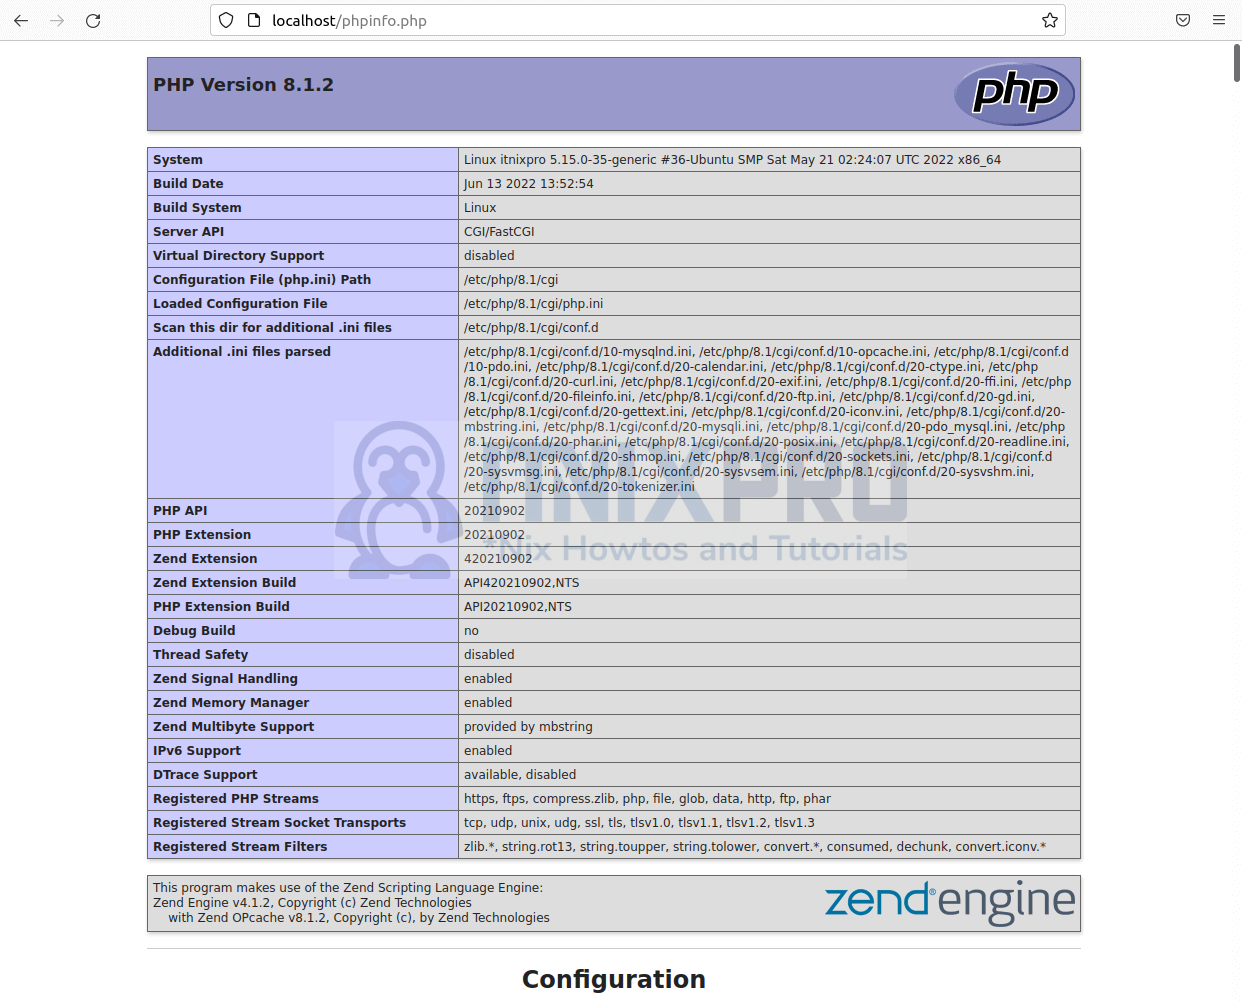
sudo /etc/init.d/lighttpd restart - Confirm the PHP test file is working by entering your server IP on your browser URL. e.g.
server-IP/phpinfo.phporlocalhost/phpinfo.php
Install MariaDB on Ubuntu 22.04
- Install MariaDB on Ubuntu 22.04 by running the command below.
sudo apt install mariadb-server- Next, secure MariaDB.
mysql_secure_installationSample output
NOTE: RUNNING ALL PARTS OF THIS SCRIPT IS RECOMMENDED FOR ALL MariaDB
      SERVERS IN PRODUCTION USE!  PLEASE READ EACH STEP CAREFULLY!

In order to log into MariaDB to secure it, we'll need the current
password for the root user. If you've just installed MariaDB, and
haven't set the root password yet, you should just press enter here.

Enter current password for root (enter for none):
OK, successfully used password, moving on...

Setting the root password or using the unix_socket ensures that nobody
can log into the MariaDB root user without the proper authorisation.

You already have your root account protected, so you can safely answer 'n'.

Switch to unix_socket authentication [Y/n] n
 ... skipping.

You already have your root account protected, so you can safely answer 'n'.

Change the root password? [Y/n] n
 ... skipping.

By default, a MariaDB installation has an anonymous user, allowing anyone
to log into MariaDB without having to have a user account created for
them.  This is intended only for testing, and to make the installation
go a bit smoother.  You should remove them before moving into a
production environment.

Remove anonymous users? [Y/n] y
 ... Success!

Normally, root should only be allowed to connect from 'localhost'.  This
ensures that someone cannot guess at the root password from the network.

Disallow root login remotely? [Y/n] y
 ... Success!

By default, MariaDB comes with a database named 'test' that anyone can
access.  This is also intended only for testing, and should be removed
before moving into a production environment.

Remove test database and access to it? [Y/n] y
 - Dropping test database...
 ... Success!
 - Removing privileges on test database...
 ... Success!

Reloading the privilege tables will ensure that all changes made so far
will take effect immediately.

Reload privilege tables now? [Y/n] y
 ... Success!

Cleaning up...

All done!  If you've completed all of the above steps, your MariaDB
installation should now be secure.

Thanks for using MariaDB!
- Log in to MariaDB by running the command below.
sudo mysql -u root -p- You have made it to the end of our article, Cheers! We have gone through how to install Lighttpd on Ubuntu 22.04.
Read more on Lighttpd Documentation
Other Tutorials
Install LAMP Stack on OpenSUSE