
This article is going to show you how to install WordPress with LAMP Stack on Ubuntu 22.04. WordPress is a well-known open-source content management system that is free to use. Even if you don’t know how to code, WordPress makes it simple to create and maintain websites and blogs.
LAMP Stack acronym meaning
L– Linux Operating System
A– Apache server
M– MySQL database
P– PHP/Perl/Python
How to Install WordPress with LAMP Stack on Ubuntu 22.04
- Make sure your system packages are current.
sudo apt update
sudo apt upgrade
Use the links below to travel to the future, -:).
Install Apache
- Run the command below to install Apache web server on Ubuntu 22.04.
sudo apt install apache2- Then enable the Apache service to start automatically upon system boot using the command below.
sudo systemctl enable apache2- Restart Apache
sudo service apache2 restart- Verify if Apache web server is running on your system using the command below.
sudo systemctl status apache2● apache2.service - The Apache HTTP Server
Loaded: loaded (/lib/systemd/system/apache2.service; enabled; vendor preset: enabled)
Active: active (running) since Mon 2022-02-07 10:53:59 EAT; 5s ago
Docs: https://httpd.apache.org/docs/2.4/
Process: 10674 ExecStart=/usr/sbin/apachectl start (code=exited, status=0/SUCCESS)
Main PID: 10678 (apache2)
Tasks: 6 (limit: 9419)
Memory: 15.2M
CGroup: /system.slice/apache2.service
├─10678 /usr/sbin/apache2 -k start
├─10679 /usr/sbin/apache2 -k start
├─10680 /usr/sbin/apache2 -k start
├─10681 /usr/sbin/apache2 -k start
├─10682 /usr/sbin/apache2 -k start
└─10683 /usr/sbin/apache2 -k start
Feb 07 10:53:59 ubuntu systemd[1]: Starting The Apache HTTP Server...
Feb 07 10:53:59 ubuntu apachectl[10677]: AH00112: Warning: DocumentRoot [/srv/nextcloud/] does not exist
Feb 07 10:53:59 ubuntu apachectl[10677]: AH00558: apache2: Could not reliably determine the server's fully qualified >
Feb 07 10:53:59 ubuntu systemd[1]: Started The Apache HTTP Server.
lines 1-20/20 (END)
Install MySQL Database
- Run the command below to install MySQL database on your Ubuntu 22.04.
sudo apt install mysql-server- Then secure your database by running the command below.
sudo mysql_secure_installation- Enter password that you will use and click y for yes on the remaining question depending with your preference as shown below.
Securing the MySQL server deployment.

Connecting to MySQL using a blank password.
The 'validate_password' component is installed on the server.
The subsequent steps will run with the existing configuration
of the component.
Please set the password for root here.

New password:

Re-enter new password:

Estimated strength of the password: 25
Do you wish to continue with the password provided?(Press y|Y for Yes, any other key for No) : y
By default, a MySQL installation has an anonymous user,
allowing anyone to log into MySQL without having to have
a user account created for them. This is intended only for
testing, and to make the installation go a bit smoother.
You should remove them before moving into a production
environment.

Remove anonymous users? (Press y|Y for Yes, any other key for No) : y
Success.


Normally, root should only be allowed to connect from
'localhost'. This ensures that someone cannot guess at
the root password from the network.

Disallow root login remotely? (Press y|Y for Yes, any other key for No) : y
Success.

By default, MySQL comes with a database named 'test' that
anyone can access. This is also intended only for testing,
and should be removed before moving into a production
environment.


Remove test database and access to it? (Press y|Y for Yes, any other key for No) : y
 - Dropping test database...
Success.

 - Removing privileges on test database...
Success.

Reloading the privilege tables will ensure that all changes
made so far will take effect immediately.

Reload privilege tables now? (Press y|Y for Yes, any other key for No) : y
Success.

All done!
- Also enable MySQL database using the command below.
sudo systemctl enable mysqlInstall PHP on Ubuntu 22.04
- We require PHP to process the dynamic content on our WordPress site because WordPress is a PHP-based CMS. That said, run the command below to install PHP on your Ubuntu 22.04.
sudo apt install php libapache2-mod-php php-mysql- Additional installation.
sudo apt install php-curl php-gd php-mbstring php-xml php-xmlrpc php-soap php-intl php-zipInstall WordPress on Ubuntu 22.04
- Download latest WordPress;
wget https://wordpress.org/latest.tar.gz- Extract the WordPress tarball to web root directory using the command below.
sudo tar -xzvf latest.tar.gz -C /var/www/html/- Run the following command to change the owner and provide the necessary permissions for the extracted files.
sudo chown -R www-data:www-data /var/www/html/wordpress- Create MySQL Database user and a database for WordPress.
sudo mysql -u root -p- Run the command below to create new database
CREATE DATABASE wpdemo_db;
CREATE USER wpdemo_user@localhost IDENTIFIED BY '@Pass1234';
GRANT ALL PRIVILEGES ON wpdemo_db.* TO wpdemo_user@localhost;
FLUSH PRIVILEGES;
exit
Sample command Output
Welcome to the MySQL monitor.  Commands end with ; or \g.
Your MySQL connection id is 22
Server version: 8.0.28-0ubuntu0.20.04.3 (Ubuntu)

Copyright (c) 2000, 2022, Oracle and/or its affiliates.

Oracle is a registered trademark of Oracle Corporation and/or its
affiliates. Other names may be trademarks of their respective
owners.

Type 'help;' or '\h' for help. Type '\c' to clear the current input statement.

mysql> CREATE DATABASE wpdemo_db;
Query OK, 1 row affected (0.01 sec)

mysql> CREATE USER wpdemo_user@localhost IDENTIFIED BY '-pa55word';
ERROR 1819 (HY000): Your password does not satisfy the current policy requirements
mysql> CREATE USER wpdemo_user@localhost IDENTIFIED BY '@Pass1234';
Query OK, 0 rows affected (0.01 sec)

mysql> GRANT ALL PRIVILEGES ON wpdemo_db.* TO wpdemo_user@localhost;
Query OK, 0 rows affected (0.00 sec)

mysql> FLUSH PRIVILEGES;
Query OK, 0 rows affected (0.01 sec)

mysql> exit
Bye
- Next, navigate to WordPress directory.
cd /var/www/html/wordpress - Rename sample configuration file
sudo mv wp-config-sample.php wp-config.php- Open the wp-config.php file.
sudo nano wp-config.php- In the opened nano text editor, enter the database name, user account, and password we created.
// ** Database settings - You can get this info from your web host ** //
/** The name of the database for WordPress */
define( 'DB_NAME', 'wpdemo_db' );

/** Database username */
define( 'DB_USER', 'wpdemo_user' );

/** Database password */
define( 'DB_PASSWORD', '@Pass1234' );

/** Database hostname */
define( 'DB_HOST', 'localhost' );

/** Database charset to use in creating database tables. */
define( 'DB_CHARSET', 'utf8' );

/** The database collate type. Don't change this if in doubt. */
define( 'DB_COLLATE', '' );

/**#@+
 * Authentication unique keys and salts.
 *
- Create your own WordPress Security Salt Keys by navigating to the WordPress secret-key API and filling in it the
wp-config.phpas shown below;.
/**#@+
 * Authentication unique keys and salts.
 *
 * Change these to different unique phrases! You can generate these using
 * the {@link https://api.wordpress.org/secret-key/1.1/salt/ WordPress.org secret-key service}.
 *
 * You can change these at any point in time to invalidate all existing cookies.
 * This will force all users to have to log in again.
 *
 * @since 2.6.0
 */

define('AUTH_KEY',         '`0J &%Ppj++1,yHb|_)lZD0VhFmT_5V7fJ*lzG6{5*CbVm}u|y[Hn0yaOA1WLLTk');
define('SECURE_AUTH_KEY',  'qBLZ]Hxjk|DoNtPY|DC|dO-$.q4-MVjeke=EV1,f<tY}m%hsy#Nf~).eC-aN]wf-');
define('LOGGED_IN_KEY',    'u6-w6sAyjeoa!JOpfsRxOtK0)a):dGNO*<-B.wm4-csJ~*5JBrndp1a$DfPQ{1nW');
define('NONCE_KEY',        '8U7,8? riWqDKs_7XZK_U;5-/S;cR-.b{dF6AV,Ep#hWJ=i{odG,hCq{XBSiaNUl');
define('AUTH_SALT',        'O3/`J- !c6s<bHniN-z`G0x{:`ZX,-M&Jednp;x93U6)_C,mo^y|loW|mh7qp*{8+aR+|>!{O-6@6q%J1l@');


/**#@-*/
Configure Apache Virtual Host
- Create the virtual host configuration file using the command below
sudo nano /etc/apache2/sites-available/yourexampledomain.com.conf- Replace
yourexampledomain.comwith your actual domain name
<VirtualHost *:80>

ServerAdmin [email protected]
ServerName yourexampledomain.com
ServerAlias www.yourexampledomain.com
DocumentRoot /var/www/html/wordpress

ErrorLog ${APACHE_LOG_DIR}/yourexampledomain.com_error.log
CustomLog ${APACHE_LOG_DIR}/yourexampledomain.com_access.log combined

<VirtualHost>
- Then run the command below to enable virtual host
sudo a2ensite yourexampledomain.com.conf- Disable Default site;
sudo a2dissite 000-default.conf- Next restart Apache web server
systemctl restart apache2- If all goes well, you should be able to access the site from in your browser using the url that you set
http://yourexampledomain.com
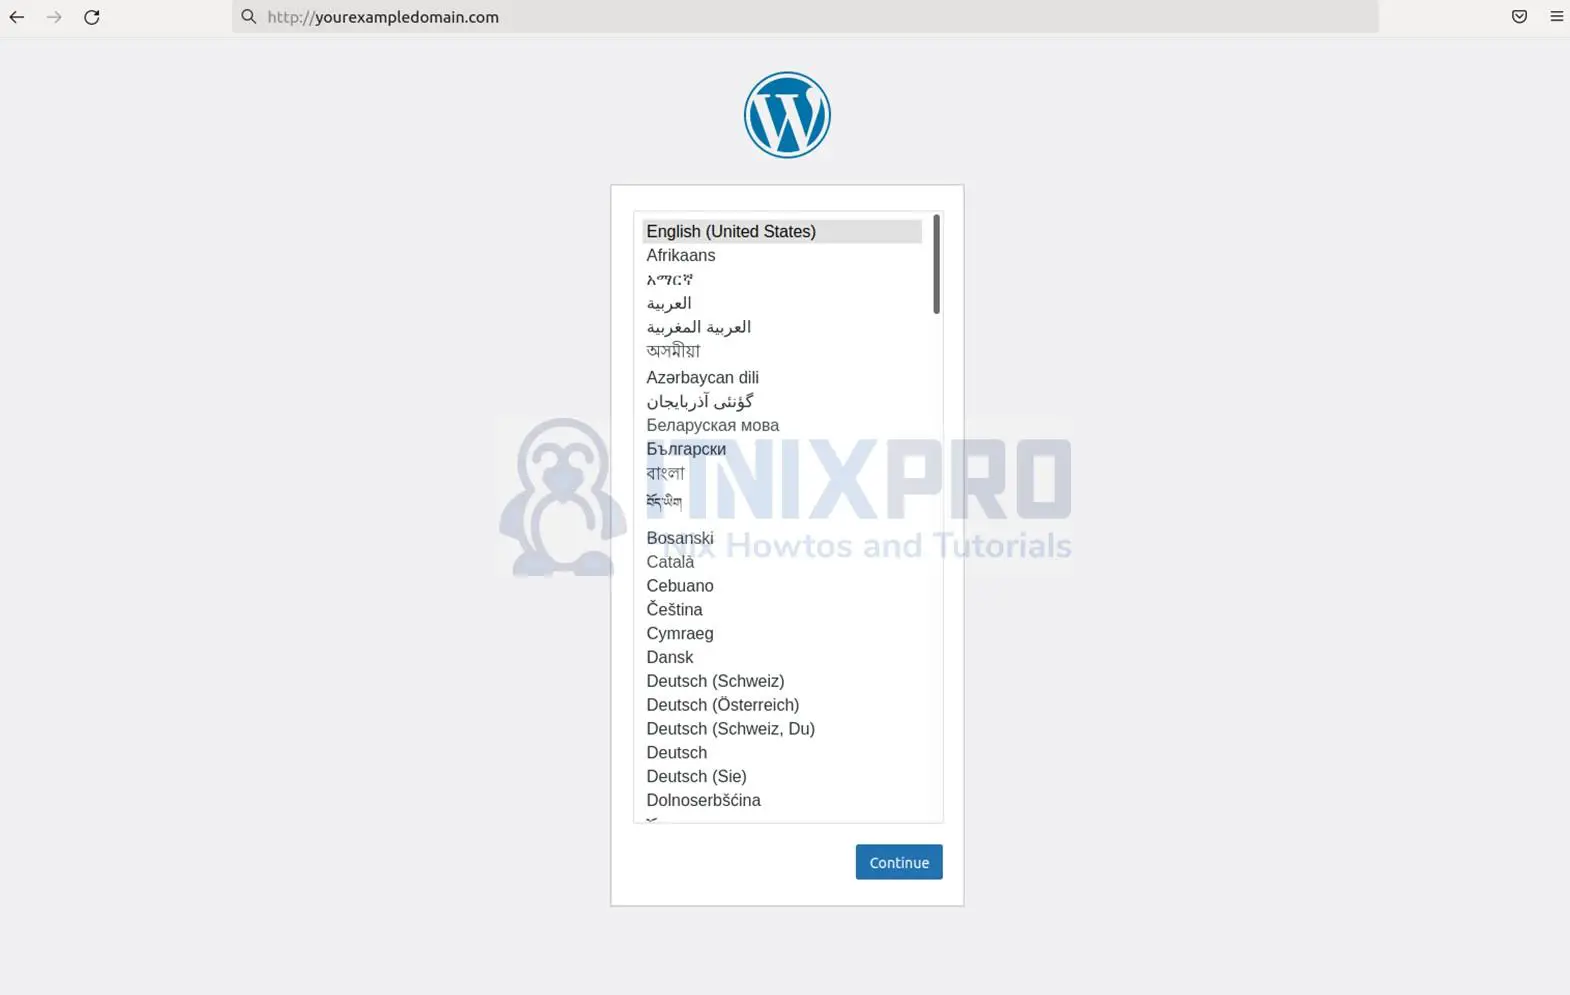
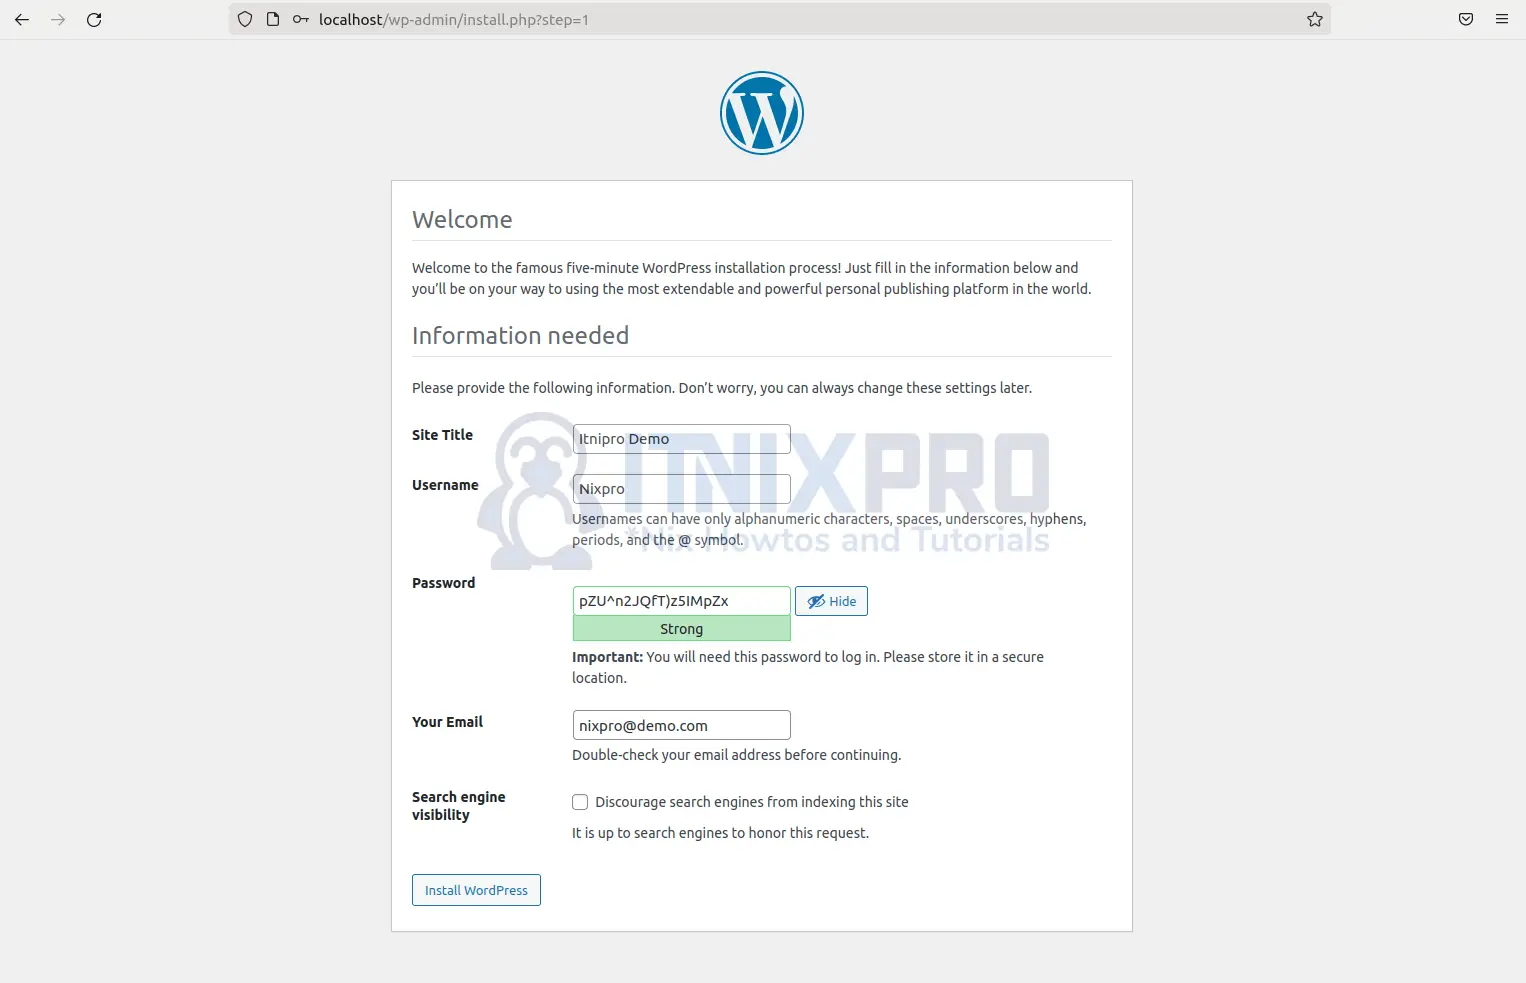
- Set up your website details
- Log in to your website using the details used above. You will be taken to dashboard.
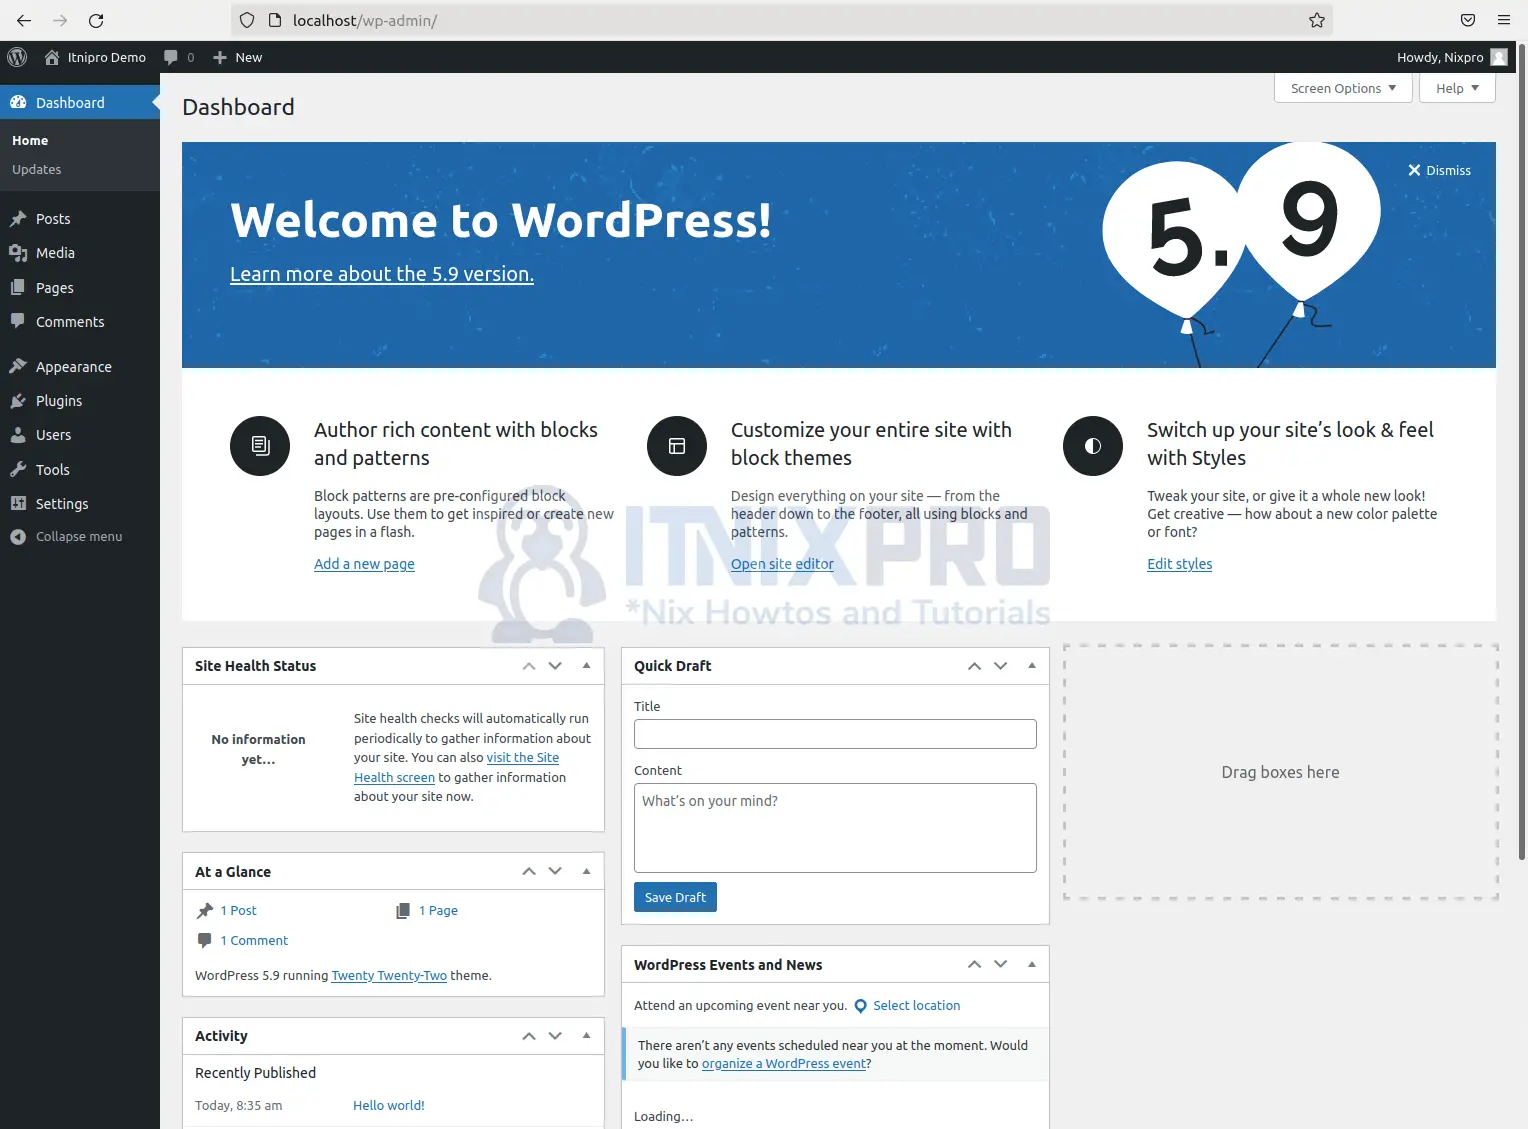
- Congratulations you have reached the end of the article. You have learned how to install WordPress with LAMP Stack on Ubuntu 22.04.
Other Tutorials
How to Install VMware workstation player on Ubuntu 22.04