
In this article you are going to learn how to install NoMachine on Ubuntu 22.04. NoMachine aka NX is a software application that enables remote access, desktop sharing, virtual desktops, and file transfers between computers.
How to install NoMachine on Ubuntu 22.04
In this tutorial you are going to learn how to install NoMachine on Ubuntu 22.04 using two methods;
- Install NoMachine on Ubuntu 22.04 via the GUI method using DEB Binary package
- Install NoMachine on Ubuntu 22.04 via terminal using DEB Binary package
Install NoMachine on Ubuntu 22.04 via the GUI method
To install NoMachine via the GUI method;
Navigate to NoMachine official website, under download page, select Linux then NoMachine for Linux deb package. On the download page, click Download button.

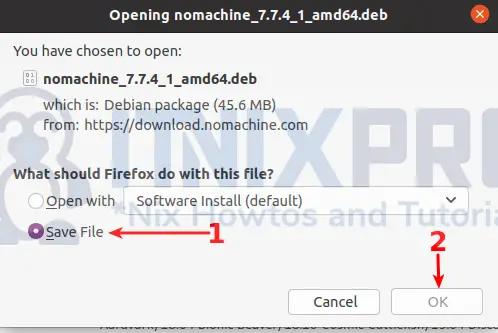
On the pop up window that appears, select save file and then click OK button to save the package.
You will find the downloaded package on the downloads folder.
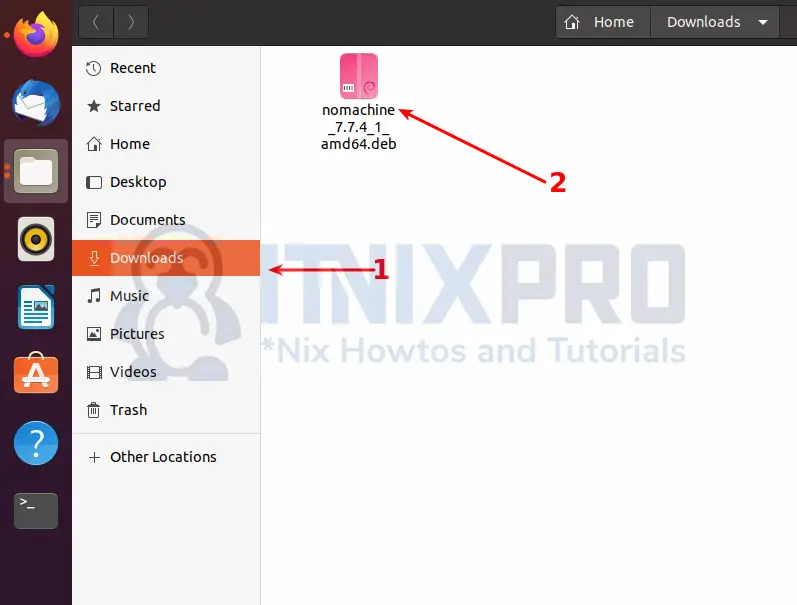
Double click the file to install it.
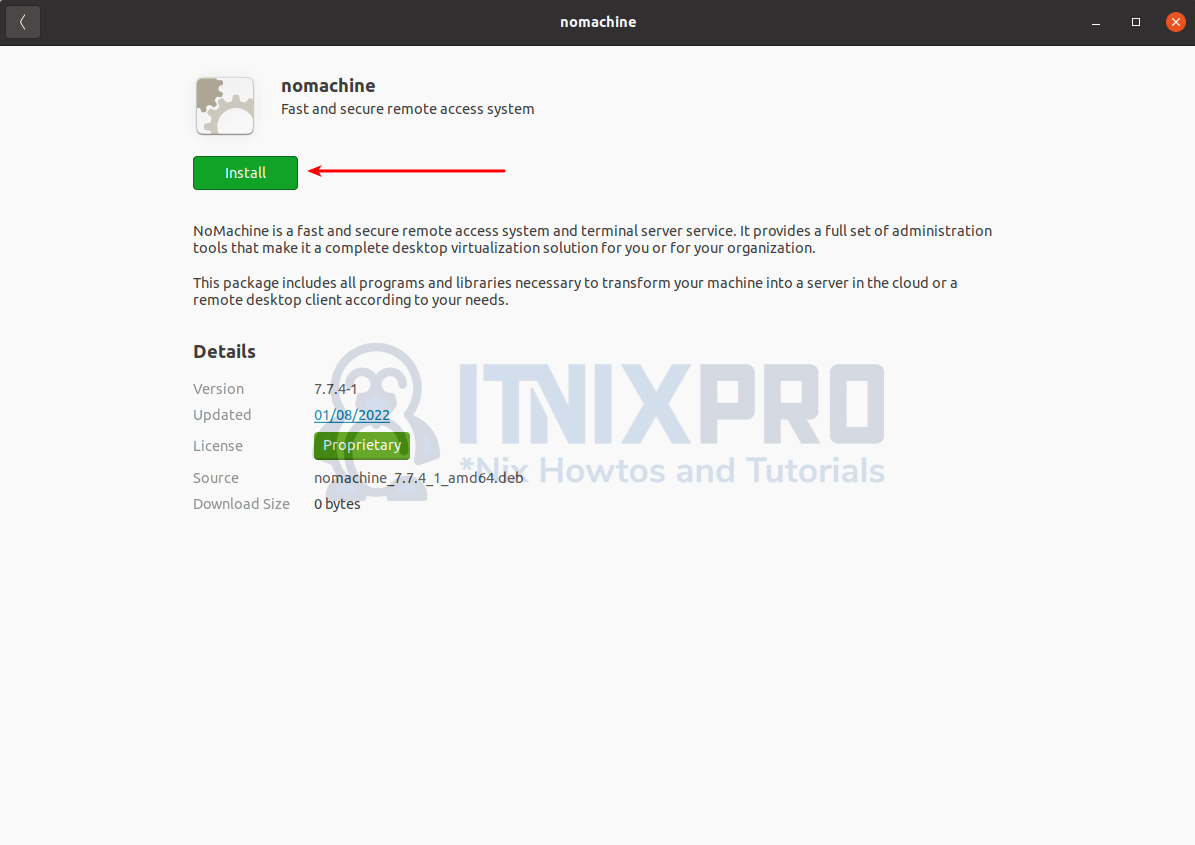
When the installation window pops up as shown below, click install button to begin installation of NoMachine on Ubuntu 22.04. Note, you will be required to enter your password for the installation to take place.
When the installation percentage reaches 100%, NoMachine will have been installed on your system.
You can launch NoMachine by searching it on the applications menu.

Install NoMachine on Ubuntu 22.04 via terminal using DEB Binary package
You can also use terminal with wget command to download NoMachine deb package for Ubuntu. To download the package, type the command below and hit enter key.
wget https://download.nomachine.com/download/7.7/Linux/nomachine_7.7.4_1_amd64.debAfter downloading run the command below to install the package.
sudo apt install -f ./nomachine_7.7.4_1_amd64.debSample Output
Reading package lists... Done
Building dependency tree
Reading state information... Done
Note, selecting 'nomachine' instead of './nomachine_7.7.4_1_amd64.deb'
The following packages were automatically installed and are no longer required:
  libfprint-2-tod1 libllvm9
Use 'sudo apt autoremove' to remove them.
The following NEW packages will be installed:
  nomachine
0 upgraded, 1 newly installed, 0 to remove and 13 not upgraded.
After this operation, 201 MB of additional disk space will be used.
Get:1 /home/kigz/nomachine_7.7.4_1_amd64.deb nomachine amd64 7.7.4-1 [47.8 MB]
Selecting previously unselected package nomachine.
(Reading database ... 186399 files and directories currently installed.)
Preparing to unpack .../nomachine_7.7.4_1_amd64.deb ...
Unpacking nomachine (7.7.4-1) ...
Setting up nomachine (7.7.4-1) ...
You are done, NoMachine can now be launched from the application menu by searching it on the search bar.
Uninstall NoMachine on Ubuntu
If you want to remove NoMachine from your Ubuntu machine, run the command below;
sudo apt remove --purge --auto-remove nomachine -yCongratulations you have reached the end of the article. You have learned how to install NoMachine on Ubuntu 22.04. You can now connect to other remote computer. Note, both computers should have NoMachine installed.
Other Tutorials
Enable Authentication Authorization and Audit Logging in Apache Solr