
This article will take you through how to install Joomla on Rocky Linux. Joomla is a content management system (CMS) used to create websites such as discussion forums, photo galleries, e-Commerce and user communities. It is made by a group of volunteers with the aid of the administrative, financial, and legal resources of Open Source Matters, Inc.
How to Install Joomla on Rocky Linux
In this example, we will use the LAMP stack.
Update your packages.
sudo dnf -y updateInstall Apache Web Server on Rocky Linux
- Install Apache web server.
sudo dnf -y install httpd- Start Apache server.
sudo systemctl start httpd- Enable Apache server to start on boot.
sudo systemctl enable httpd- Allow HTTP and HTTPS on your firewall using the following command.
sudo firewall-cmd --add-service={http,https} --permanent- Restart the firewall.
sudo firewall-cmd --reloadInstall PHP 8 on Rocky Linux
- Start by adding a PHP repository to your system.
sudo dnf -y install http://rpms.remirepo.net/enterprise/remi-release-8.rpm- Reset the PHP module using the command below.
sudo dnf module -y reset php- Install PHP using the following command.
sudo dnf module install php:remi-8.0 -y- Install PHP extensions.
sudo dnf install -y php-cli php-devel php-gd php-pear php-fpm php-zip php-mcrypt php-mbstring php-bcmath php-json php-curl php-xml php-mysqlnd- Restart the Apache server.
sudo systemctl restart httpdInstall MariaDB Database Server on Rocky Linux
- Install MariaDB.
sudo dnf install mariadb mariadb-server -y- Start MariaDB.
sudo systemctl start mariadb- Enable MariaDB to start on boot on your system.
sudo systemctl enable mariadb- Secure MariaDB.
sudo mysql_secure_installationSample output
NOTE: RUNNING ALL PARTS OF THIS SCRIPT IS RECOMMENDED FOR ALL MariaDB
      SERVERS IN PRODUCTION USE!  PLEASE READ EACH STEP CAREFULLY!

In order to log into MariaDB to secure it, we'll need the current
password for the root user.  If you've just installed MariaDB, and
you haven't set the root password yet, the password will be blank,
so you should just press enter here.

Enter current password for root (enter for none):
OK, successfully used password, moving on...

Setting the root password ensures that nobody can log into the MariaDB
root user without the proper authorisation.

Set root password? [Y/n] y
New password:
Re-enter new password:
Password updated successfully!
Reloading privilege tables..
 ... Success!


By default, a MariaDB installation has an anonymous user, allowing anyone
to log into MariaDB without having to have a user account created for
them.  This is intended only for testing, and to make the installation
go a bit smoother.  You should remove them before moving into a
production environment.

Remove anonymous users? [Y/n] y
 ... Success!

Normally, root should only be allowed to connect from 'localhost'.  This
ensures that someone cannot guess at the root password from the network.

Disallow root login remotely? [Y/n] y
 ... Success!

By default, MariaDB comes with a database named 'test' that anyone can
access.  This is also intended only for testing, and should be removed
before moving into a production environment.

Remove test database and access to it? [Y/n] y
 - Dropping test database...
 ... Success!
 - Removing privileges on test database...
 ... Success!

Reloading the privilege tables will ensure that all changes made so far
will take effect immediately.

Reload privilege tables now? [Y/n] y
 ... Success!

Cleaning up...

All done!  If you've completed all of the above steps, your MariaDB
installation should now be secure.

Thanks for using MariaDB!
Create Joomla Database on Rocky Linux
- Login to your MariaDB using the command below.
sudo mysql -u root -p- Create a Joomla database.
CREATE DATABASE Joomla_db;- Create database user and password.
CREATE USER 'joomla_user'@'localhost' IDENTIFIED BY 'Joomla_password';- Give all privileges to the created user.
GRANT ALL PRIVILEGES ON Joomla_db.* TO 'joomla_user'@'localhost';- Flush privileges.
FLUSH PRIVILEGES;- Exit MariaDB.
exit;Sample output
Enter password:
Welcome to the MariaDB monitor.  Commands end with ; or \g.
Your MariaDB connection id is 17
Server version: 10.3.32-MariaDB MariaDB Server

Copyright (c) 2000, 2018, Oracle, MariaDB Corporation Ab and others.

Type 'help;' or '\h' for help. Type '\c' to clear the current input statement.

MariaDB [(none)]> CREATE DATABASE Joomla_db;
Query OK, 1 row affected (0.001 sec)

MariaDB [(none)]> CREATE USER 'joomla_user'@'localhost' IDENTIFIED BY 'Joomla_password';
Query OK, 0 rows affected (0.001 sec)

MariaDB [(none)]> GRANT ALL PRIVILEGES ON Joomla_db.* TO 'joomla_user'@'localhost';
Query OK, 0 rows affected (0.001 sec)

MariaDB [(none)]> FLUSH PRIVILEGES;
Query OK, 0 rows affected (0.005 sec)

MariaDB [(none)]> exit;
Bye
Install Joomla on Rocky Linux
- Get the download link from the Joomla download page and download it.
wget https://downloads.joomla.org/cms/joomla4/4-1-5/Joomla_4-1-5-Stable-Full_Package.zip?format=zip- Create a Joomla directory inside
/var/www/html/.
sudo mkdir /var/www/html/joomla- Unzip Joomla to the directory created above.
sudo unzip Joomla_4-1-5-Stable-Full_Package.zip?format=zip -d /var/www/html/joomla- Give the required permission to the Apache server.
sudo chown -R apache:apache /var/www/html/joomlasudo chmod 755 /var/www/html/joomlaJoomla Apache virtual host configuration
- Start by creating Apache virtual host configuration file.
sudo nano nano /etc/httpd/conf.d/joomla.confPaste the configuration settings below. Note, change www.your-server.com with your actual domain.
   ServerAdmin [email protected]
   DocumentRoot "/var/www/html/joomla"
   ServerName www.your-server.com
   ErrorLog "/var/log/httpd/example.com-error_log"
   CustomLog "/var/log/httpd/example.com-access_log" combined


   DirectoryIndex index.html index.php
   Options FollowSymLinks
   AllowOverride All
   Require all granted
Save(ctrl+s) and exit(ctrl+x) the file.
- Put SELinux in permissive mode if you don’t use it.
sudo setenforce 0- You can also disable it permanently using the following command.
sudo sed -i 's/^SELINUX=.*/SELINUX=disabled/g' /etc/selinux/config- Check its status.
sudo sestatus- Restart Apache web server.
sudo systemctl restart httpdAccess Joomla Web Interface on Rocky Linux
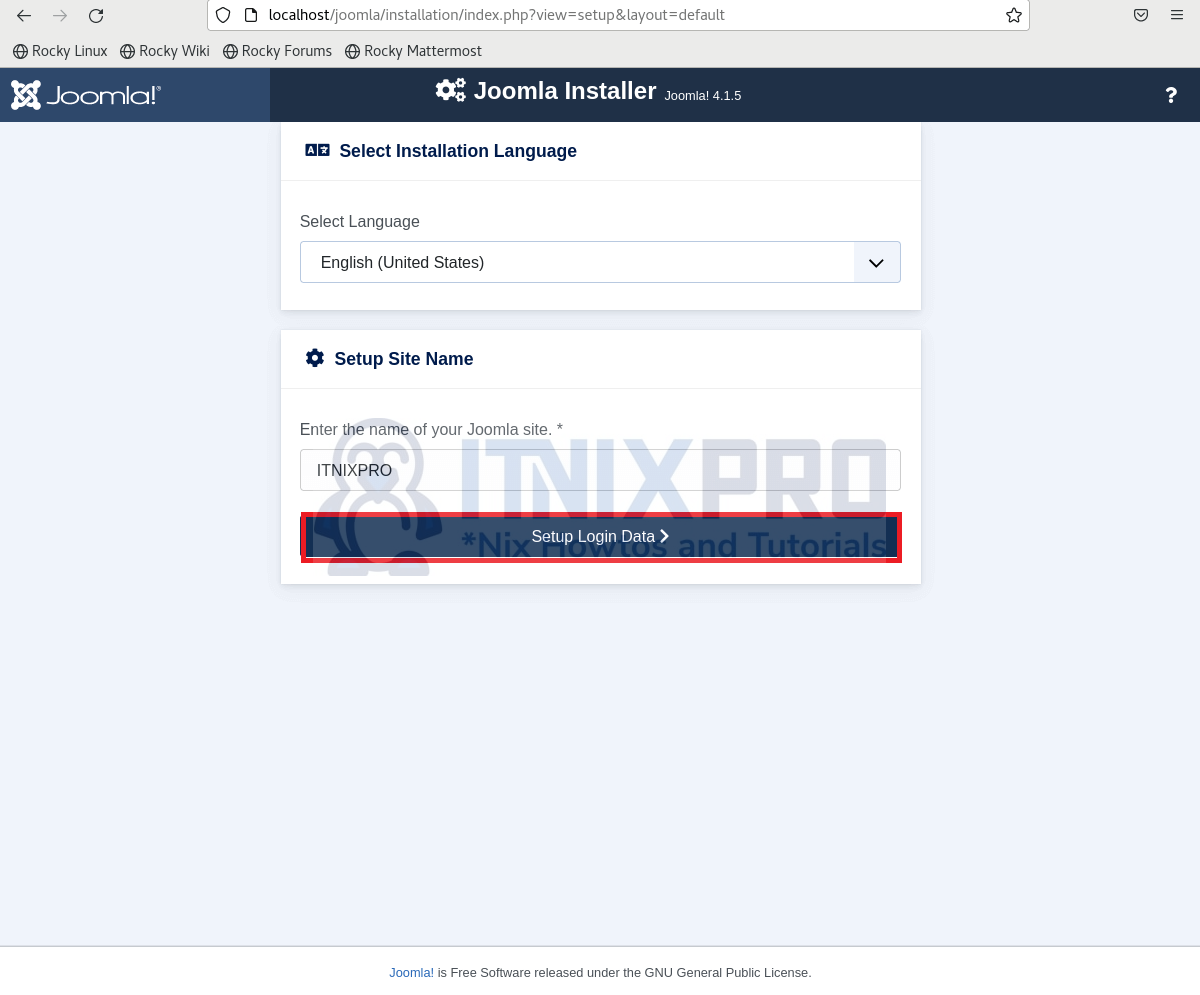
- To access Joomla, enter your server IP or domain name e.g.
https://localhost/joomlaor https://127.0.0.1/joomla on your browser. Select your language and site name.
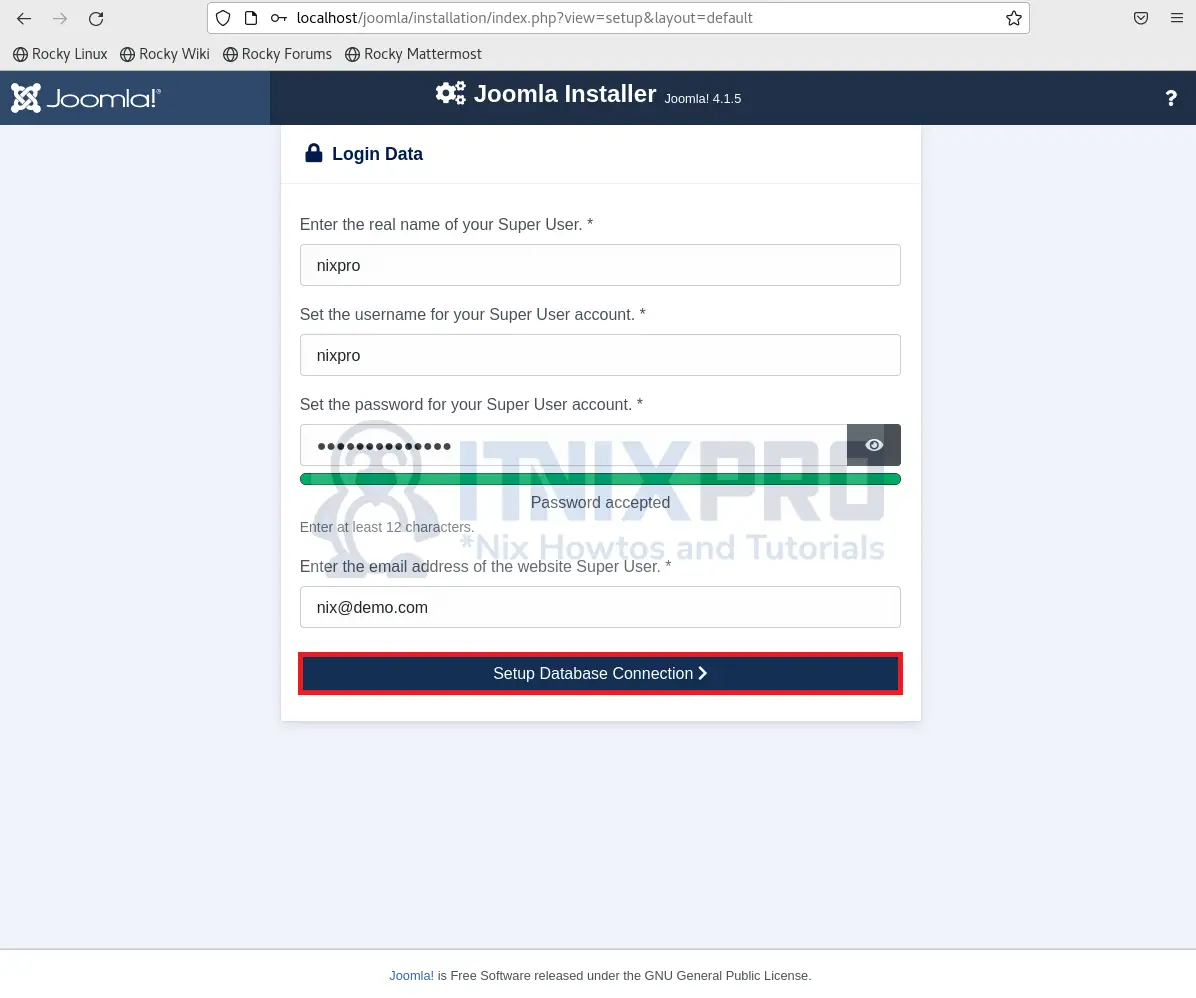
- Enter login details.
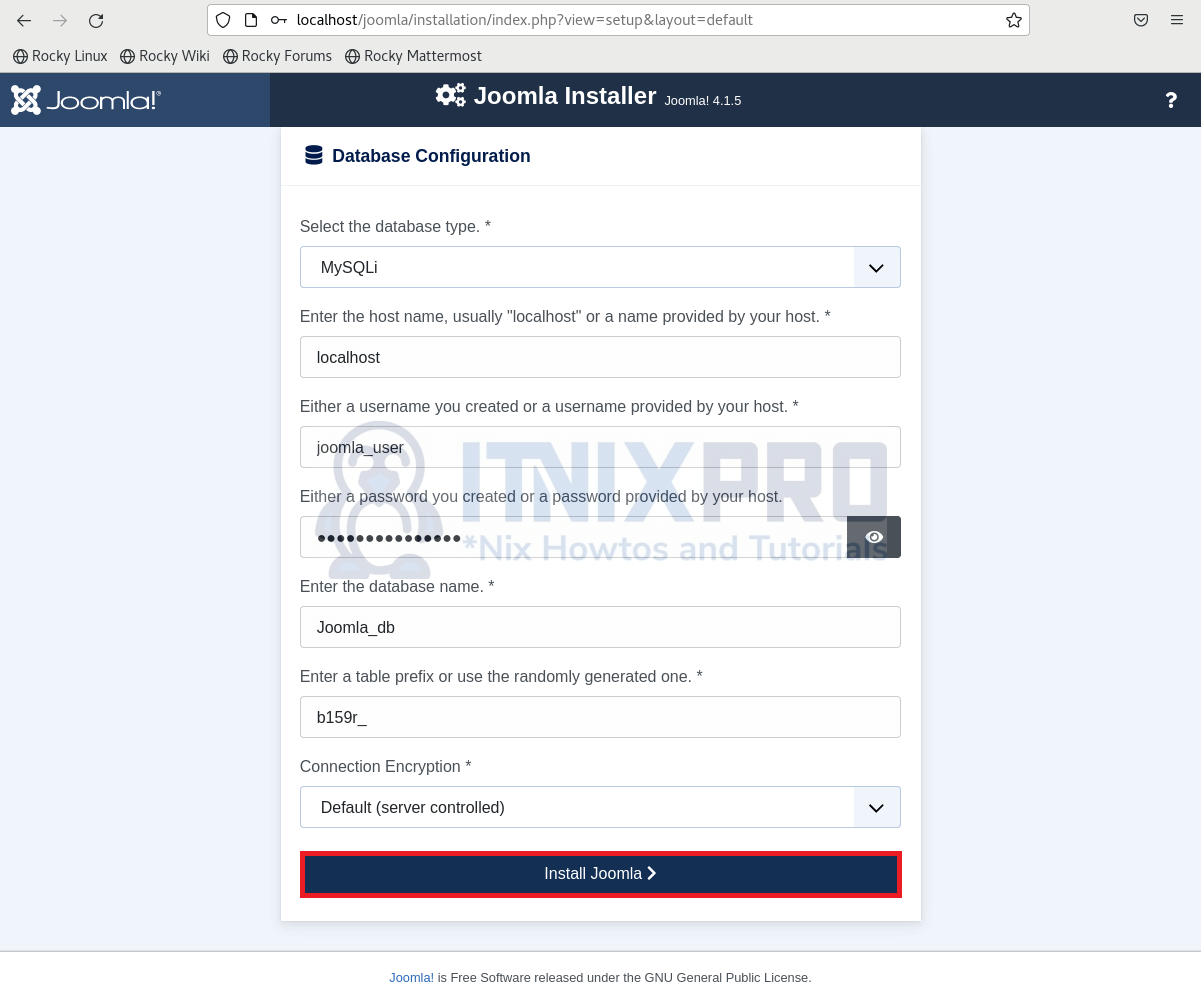
- Enter database details.
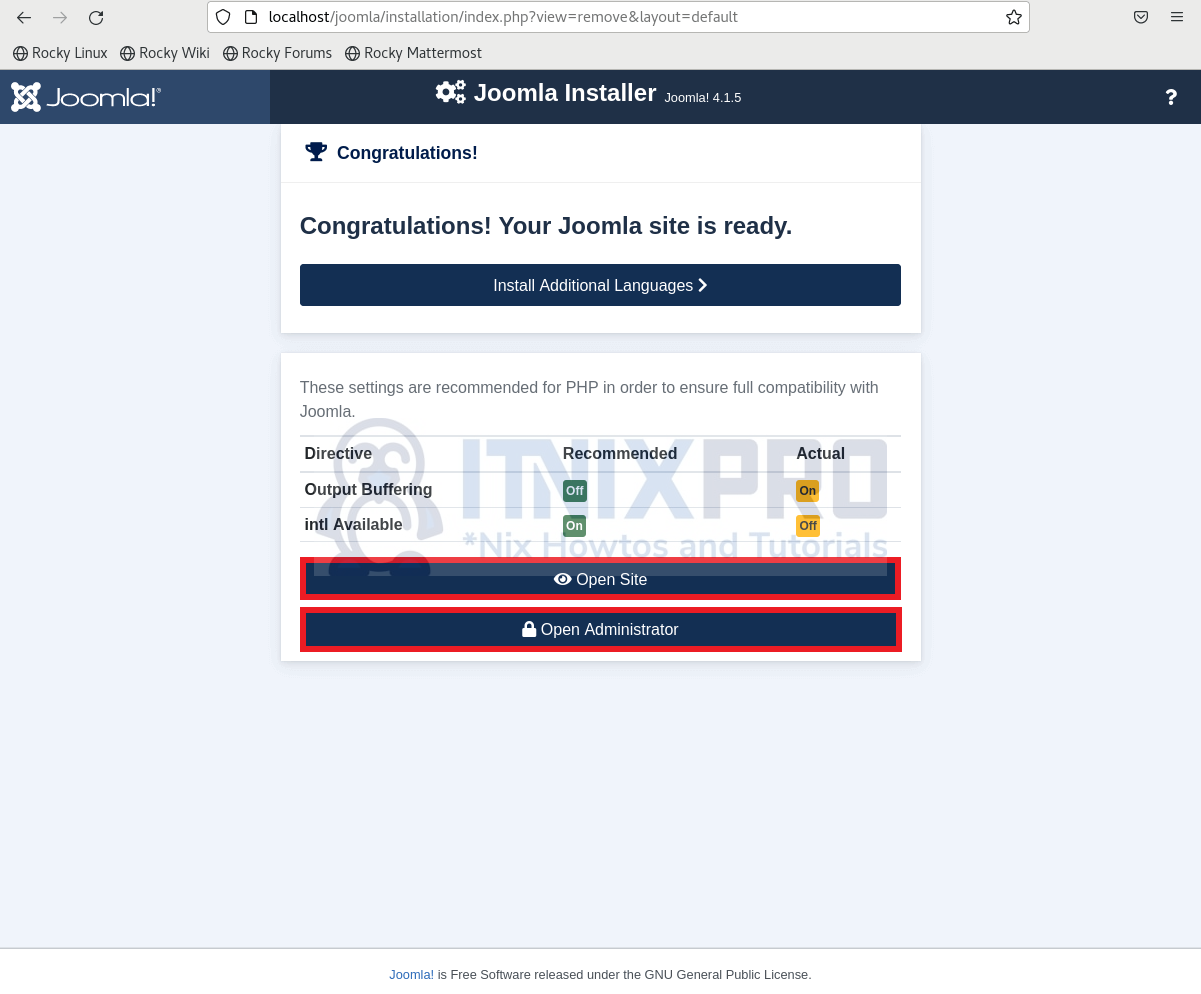
- Next, log in to your administrator by clicking on the open administrator button.
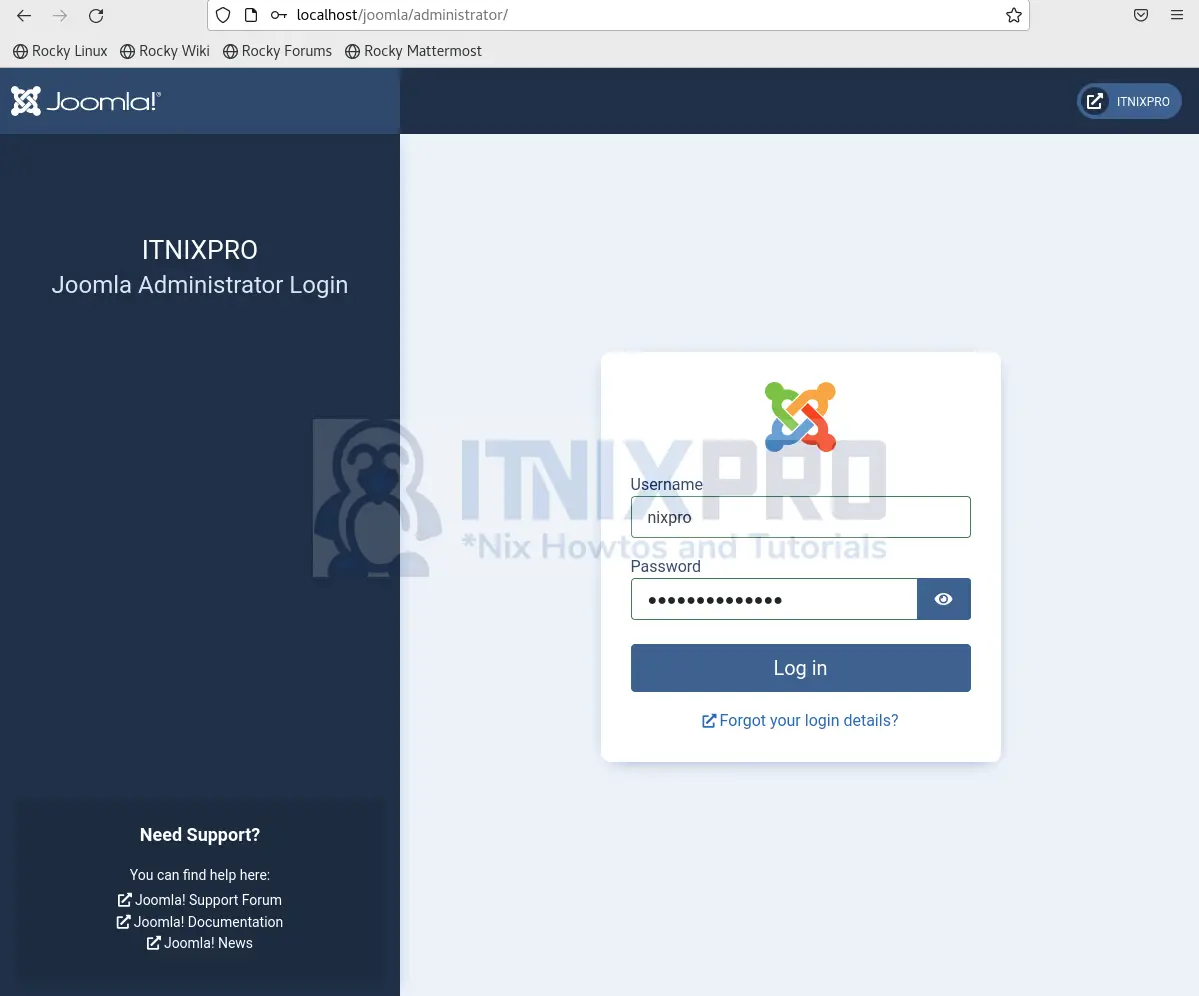
- Enter your username and password to log in to your administrator.
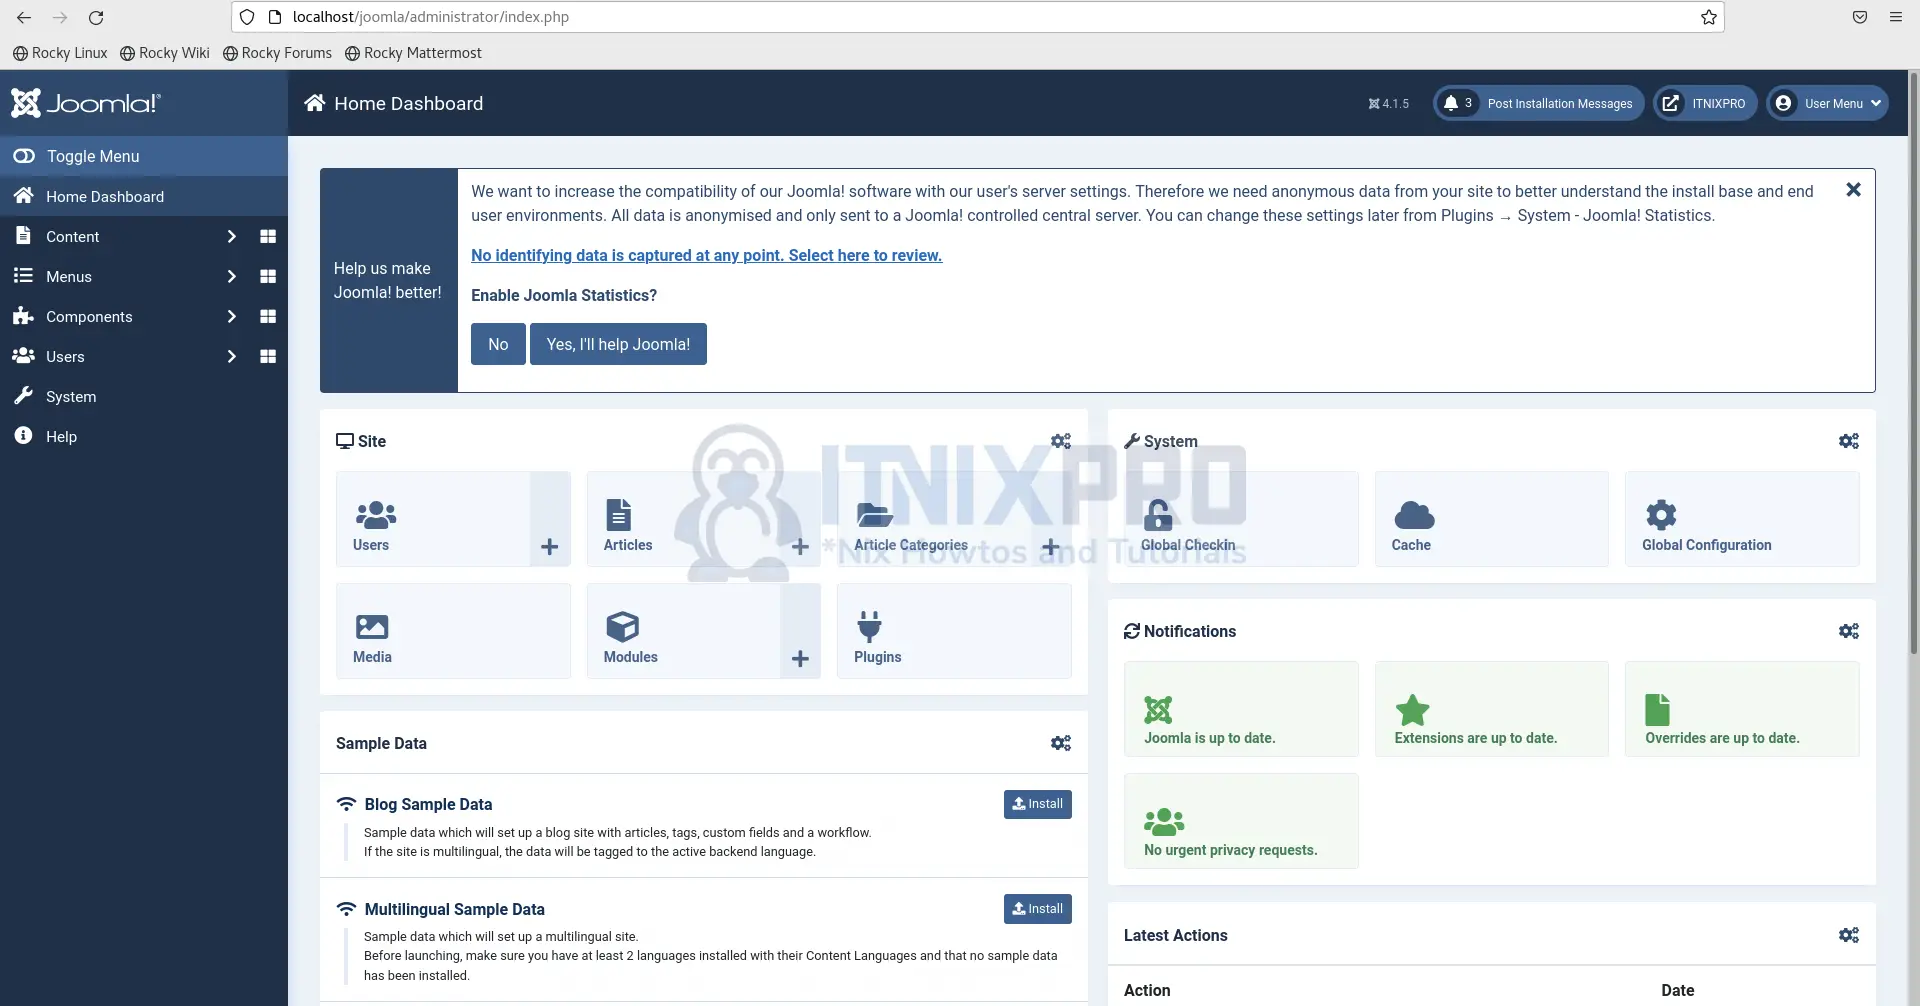
- Administrator dashboard.
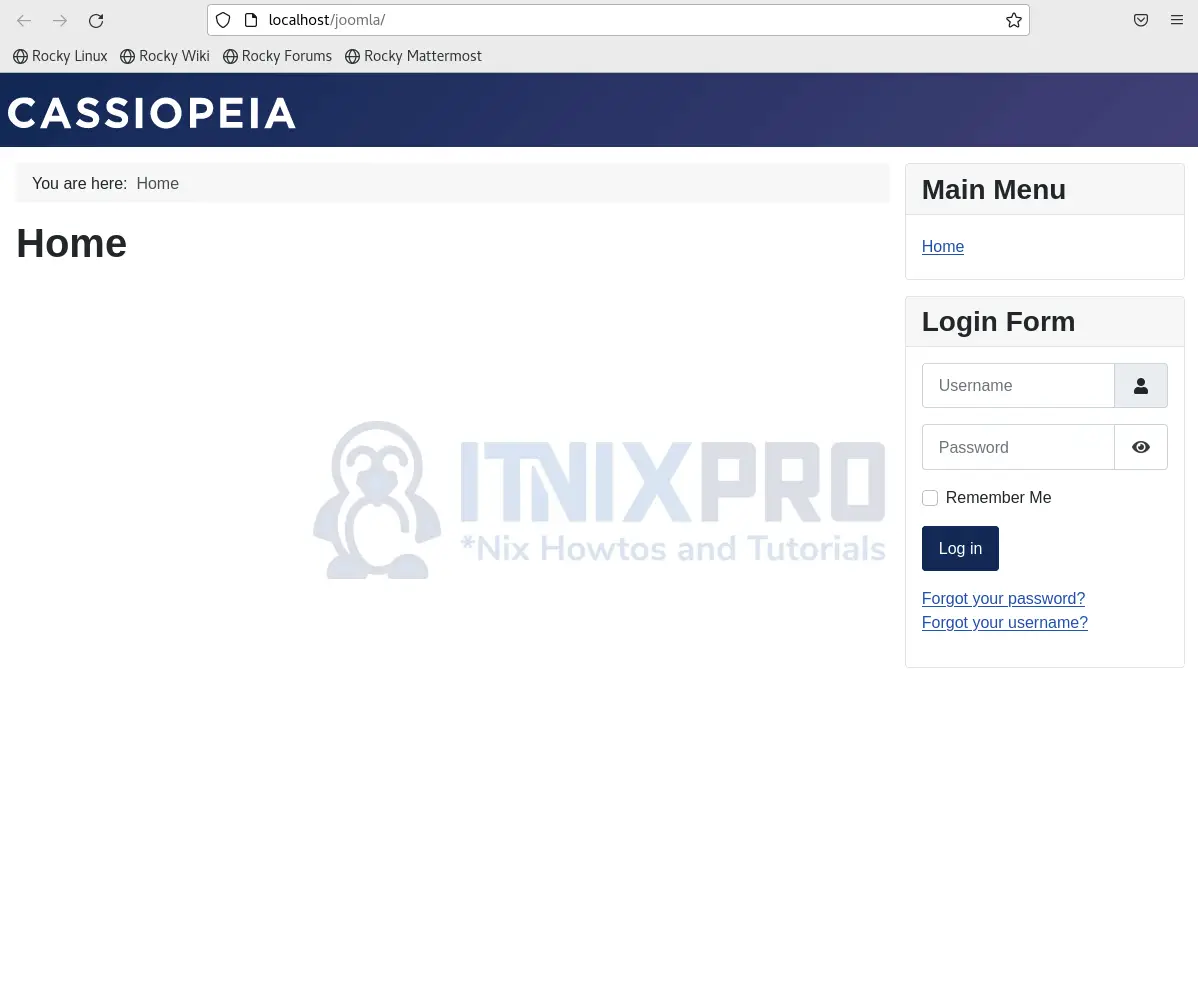
- Sample Joomla site.
- You have made it to the end of our article, congratulations. We have gone through how to install Joomla on Rocky Linux.
Read more on Joomla Documentation
Other Tutorials
Install WordPress with Apache on OpenSUSE