
This tutorial is going to teach you how to install WordPress with LEMP Stack on Ubuntu 22.04. WordPress is a well-known free and open-source content management system. You can simply develop and maintain websites and blogs with WordPress, even if you don’t know how to code.
WordPress is written with PHP programming language, it works with either a MySQL or MariaDB database. A plugin architecture and a template system, referred to as Themes in WordPress, are among its features.
LEMP is a popular open source development stack for deploying web applications, such as WordPress.
LEMP acronym meaning
- L– Linux Operating System
- E– Nginx Server(It’s pronounced as engine-x thus the E in the abbreviation)
- M– MySQL Database
- P– PHP scripting language
How to Install WordPress with LEMP Stack on Ubuntu 22.04
- Lets start by updating your operating system by running the command below to install WordPress with LEMP Stack on Ubuntu 22.04
sudo apt update - Then run the command below to upgrade your Ubuntu 22.04.
sudo apt upgradeInstall Nginx, MySQL/MariaDB and PHP on Ubuntu 22.04
- After updating and upgrading your operating system your can now install Nginx server, MySQL/MariaDB database and PHP at once using the command below.
sudo apt install nginx mysql-server php php-curl php-mysql php-gd php-intl php-mbstring php-soap php-xml php-xmlrpc php-zip php-fpm -ySample Ouput
Reading package lists... Done
Building dependency tree
Reading state information... Done
The following additional packages will be installed:
  libaio1 libapache2-mod-php7.4 libevent-core-2.1-7 libevent-pthreads-2.1-7
  libhtml-template-perl libmecab2 libnginx-mod-http-image-filter
  libnginx-mod-http-xslt-filter libnginx-mod-mail libnginx-mod-stream libonig5
  libxmlrpc-epi0 libzip5 mecab-ipadic mecab-ipadic-utf8 mecab-utils
  mysql-client-8.0 mysql-client-core-8.0 mysql-common mysql-server-8.0
  mysql-server-core-8.0 nginx-common nginx-core php7.4 php7.4-cli
  php7.4-common php7.4-curl php7.4-fpm php7.4-gd php7.4-intl php7.4-json
  php7.4-mbstring php7.4-mysql php7.4-opcache php7.4-readline php7.4-soap
  php7.4-xml php7.4-xmlrpc php7.4-zip
Suggested packages:
  php-pear libipc-sharedcache-perl mailx tinyca fcgiwrap nginx-doc
The following NEW packages will be installed:
  libaio1 libapache2-mod-php7.4 libevent-core-2.1-7 libevent-pthreads-2.1-7
  libhtml-template-perl libmecab2 libnginx-mod-http-image-filter
  libnginx-mod-http-xslt-filter libnginx-mod-mail libnginx-mod-stream libonig5
  libxmlrpc-epi0 libzip5 mecab-ipadic mecab-ipadic-utf8 mecab-utils
  mysql-client-8.0 mysql-client-core-8.0 mysql-common mysql-server
  mysql-server-8.0 mysql-server-core-8.0 nginx nginx-common nginx-core php
  php-curl php-fpm php-gd php-intl php-mbstring php-mysql php-soap php-xml
  php-xmlrpc php-zip php7.4 php7.4-cli php7.4-common php7.4-curl php7.4-fpm
  php7.4-gd php7.4-intl php7.4-json php7.4-mbstring php7.4-mysql
  php7.4-opcache php7.4-readline php7.4-soap php7.4-xml php7.4-xmlrpc
  php7.4-zip
0 upgraded, 52 newly installed, 0 to remove and 0 not upgraded.
Need to get 38.1 MB of archives.
After this operation, 289 MB of additional disk space will be used.
Get:1 http://us.archive.ubuntu.com/ubuntu focal/main amd64 mysql-common all 5.8+1.0.5ubuntu2 [7,496 B]
Get:2 http://us.archive.ubuntu.com/ubuntu focal-updates/main amd64 mysql-client-core-8.0 amd64 8.0.28-0ubuntu0.20.04.3 [4,429 kB]
Get:3 http://us.archive.ubuntu.com/ubuntu focal-updates/main amd64 mysql-client-8.0 amd64 8.0.28-0ubuntu0.20.04.3 [22.0 kB]
- Run the command below to restart nginx.
sudo systemctl start nginx php7.4-fpm mysql- Then check nginx status using the command below.
sudo systemctl status nginx php7.4-fpm mysqlSample Output
● nginx.service - A high performance web server and a reverse proxy server
     Loaded: loaded (/lib/systemd/system/nginx.service; enabled; vendor preset: enabled)
     Active: active (running) since Fri 2022-02-04 13:20:24 EAT; 1h 5min ago
       Docs: man:nginx(8)
   Main PID: 67753 (nginx)
      Tasks: 3 (limit: 9419)
     Memory: 3.4M
     CGroup: /system.slice/nginx.service
             ├─67753 nginx: master process /usr/sbin/nginx -g daemon on; master_process on;
             ├─67754 nginx: worker process
             └─67755 nginx: worker process

Feb 04 13:20:24 ubuntu systemd[1]: Starting A high performance web server and a reverse proxy server...
Feb 04 13:20:24 ubuntu systemd[1]: Started A high performance web server and a reverse proxy server.

● php7.4-fpm.service - The PHP 7.4 FastCGI Process Manager
     Loaded: loaded (/lib/systemd/system/php7.4-fpm.service; enabled; vendor preset: enabled)
     Active: active (running) since Fri 2022-02-04 12:33:14 EAT; 1h 52min ago
       Docs: man:php-fpm7.4(8)
   Main PID: 59097 (php-fpm7.4)
     Status: "Processes active: 0, idle: 2, Requests: 0, slow: 0, Traffic: 0req/sec"
      Tasks: 3 (limit: 9419)
     Memory: 9.9M
     CGroup: /system.slice/php7.4-fpm.service
             ├─59097 php-fpm: master process (/etc/php/7.4/fpm/php-fpm.conf)
             ├─59098 php-fpm: pool www
             └─59099 php-fpm: pool www

Feb 04 12:33:14 ubuntu systemd[1]: Starting The PHP 7.4 FastCGI Process Manager...
Feb 04 12:33:14 ubuntu systemd[1]: Started The PHP 7.4 FastCGI Process Manager.

● mysql.service - MySQL Community Server
     Loaded: loaded (/lib/systemd/system/mysql.service; enabled; vendor preset: enabled)
     Active: active (running) since Fri 2022-02-04 12:33:07 EAT; 1h 52min ago
   Main PID: 57045 (mysqld)
     Status: "Server is operational"
      Tasks: 37 (limit: 9419)
     Memory: 355.5M
     CGroup: /system.slice/mysql.service
             └─57045 /usr/sbin/mysqld

Feb 04 12:33:06 ubuntu systemd[1]: Starting MySQL Community Server...
Feb 04 12:33:07 ubuntu systemd[1]: Started MySQL Community Server.
- After that, enable nginx using the command below
sudo systemctl enable nginx php7.4-fpm mysqlSetup MySQL database for WordPress installation
- First, secure your MySQL installation by running the command below.
sudo mysql_secure_installationOuput
Securing the MySQL server deployment.

Connecting to MySQL using a blank password.

VALIDATE PASSWORD COMPONENT can be used to test passwords
and improve security. It checks the strength of password
and allows the users to set only those passwords which are
secure enough. Would you like to setup VALIDATE PASSWORD component?

Press y|Y for Yes, any other key for No: y

There are three levels of password validation policy:

LOW    Length >= 8
MEDIUM Length >= 8, numeric, mixed case, and special characters
STRONG Length >= 8, numeric, mixed case, special characters and dictionary                  file

Please enter 0 = LOW, 1 = MEDIUM and 2 = STRONG: 5716

Invalid option provided.

There are three levels of password validation policy:

LOW    Length >= 8
MEDIUM Length >= 8, numeric, mixed case, and special characters
STRONG Length >= 8, numeric, mixed case, special characters and dictionary                  file

Please enter 0 = LOW, 1 = MEDIUM and 2 = STRONG: 0
Please set the password for root here.

New password:

Re-enter new password:

Estimated strength of the password: 25
Do you wish to continue with the password provided?(Press y|Y for Yes, any other key for No) : y
By default, a MySQL installation has an anonymous user,
allowing anyone to log into MySQL without having to have
a user account created for them. This is intended only for
testing, and to make the installation go a bit smoother.
You should remove them before moving into a production
environment.

Remove anonymous users? (Press y|Y for Yes, any other key for No) : y
Success.


Normally, root should only be allowed to connect from
'localhost'. This ensures that someone cannot guess at
the root password from the network.

Disallow root login remotely? (Press y|Y for Yes, any other key for No) : n

 ... skipping.
By default, MySQL comes with a database named 'test' that
anyone can access. This is also intended only for testing,
and should be removed before moving into a production
environment.


Remove test database and access to it? (Press y|Y for Yes, any other key for No) : n

 ... skipping.
Reloading the privilege tables will ensure that all changes
made so far will take effect immediately.

Reload privilege tables now? (Press y|Y for Yes, any other key for No) : y
Success.

All done!
- Then Log in to your MySQL shell with the root user credentials you just created using the command given below.
sudo mysql -u root -p- Create a new database, user, and assign the user privileges.
mysql> CREATE DATABASE wordpress_db;
mysql> CREATE USER 'wpdemo'@'localhost' IDENTIFIED BY '@1234Demo';
mysql> GRANT ALL ON wordpress_db.* TO 'wpdemo'@'localhost';
mysql> FLUSH PRIVILEGES;
mysql> exit
Sample Ouput
Welcome to the MySQL monitor.  Commands end with ; or \g.
Your MySQL connection id is 13
Server version: 8.0.28-0ubuntu0.20.04.3 (Ubuntu)

Copyright (c) 2000, 2022, Oracle and/or its affiliates.

Oracle is a registered trademark of Oracle Corporation and/or its
affiliates. Other names may be trademarks of their respective
owners.

Type 'help;' or '\h' for help. Type '\c' to clear the current input statement.

mysql> CREATE DATABASE wordpress_db;
Query OK, 1 row affected (0.01 sec)

mysql> CREATE USER 'wpdemo'@'localhost' IDENTIFIED BY '@1234Demo';
Query OK, 0 rows affected (0.01 sec)

mysql> GRANT ALL ON wordpress_db.* TO 'wpdemo'@'localhost';
Query OK, 0 rows affected (0.00 sec)
Setup MySQL database for WordPress installation
mysql> FLUSH PRIVILEGES;
Query OK, 0 rows affected (0.00 sec)
mysql> exit
Bye
- Navigate to
/var/www/htmldirectory using the command below
cd /var/www/html- Next, download latest WordPress by running the command below
sudo wget http://wordpress.org/latest.tar.gzSample Ouput
--2022-02-04 17:41:17--  http://wordpress.org/latest.tar.gz
Resolving wordpress.org (wordpress.org)... 198.143.164.252
Connecting to wordpress.org (wordpress.org)|198.143.164.252|:80... connected.
HTTP request sent, awaiting response... 301 Moved Permanently
Location: https://wordpress.org/latest.tar.gz [following]
--2022-02-04 17:41:18--  https://wordpress.org/latest.tar.gz
Connecting to wordpress.org (wordpress.org)|198.143.164.252|:443... connected.
HTTP request sent, awaiting response... 200 OK
Length: 19128627 (18M) [application/octet-stream]
Saving to: ‘latest.tar.gz’

latest.tar.gz                          27%[===================>
- Extract WordPress files using the command below
sudo tar -xzvf latest.tar.gz- After that set the proper directory permissions
sudo chown -R www-data:www-data /var/www/html/wordpress

sudo chmod -R 775 /var/www/html/wordpress- Navigate to WordPress directory using the command below
cd wordpress- Set up WordPress Configuration Files
sudo mv wp-config-sample.php wp-config.phpsudo nano wp-config.php- When nano text editor opens, enter the database name, user account and password we created as shown below.
// ** Database settings - You can get this info from your web host ** //
/** The name of the database for WordPress */
define( 'DB_NAME', 'wordpress_db' );

/** Database username */
define( 'DB_USER', 'wpdemo' );

/** Database password */
define( 'DB_PASSWORD', '@1234Demo' );

/** Database hostname */
define( 'DB_HOST', 'localhost' );

/** Database charset to use in creating database tables. */
define( 'DB_CHARSET', 'utf8' );

/** The database collate type. Don't change this if in doubt. */
define( 'DB_COLLATE', '' );
- While nano text is still open, create your own WordPress Security Salt Keys by going to the WordPress secret-key API and fill it in as shown below.
Sample filled keys
/**#@+
 * Authentication unique keys and salts.
 *
 * Change these to different unique phrases! You can generate these using
 * the {@link https://api.wordpress.org/secret-key/1.1/salt/ WordPress.org secret-key service}.
 *
 * You can change these at any point in time to invalidate all existing cookies.
 * This will force all users to have to log in again.
 *
 * @since 2.6.0
 */
define('AUTH_KEY',         'Y/U6@$r|N|J.yKYRvKjV:scYz;oyL}yNo#1?Zfm+:JRl32xg+<f+Cm6C5^@6`<`!');
define('SECURE_AUTH_KEY',  'atv j}G#DCNvM#wi.0@q00PV#S~<Iui XccP~L3&R-cWVR+B]ny[w&}b4rjB,U)Z');
define('LOGGED_IN_KEY',    'p:`Kk2?,&Co`o3nz}4 rXTH+iZ<QbD]!g3HjKl}<=)JBl:,[uT/NXa+_QFk!U6ec');
define('NONCE_KEY',        '-OVa5E60%/}Gy(+(L:7+-669s1FjW{{+MZb^+r2{0{(n^GB0m-*2?v-6b,F');
define('AUTH_SALT',        '1mH31}_!}|&pG.+Bs_xYo[[email protected]>~:w-ko? p!isH+fd0P_Drq&W_#Lwx);t?(&Jp6,(gP]Pht7y#qsQt?92ktUVs|&D3Z|&{!^?>|ee');
Nginx Server Block Configuration
- Replace the example with your domain name in a new server configuration file created with the following command.
sudo nano /etc/nginx/conf.d/wordpress.conf- Your file’s implementation should look like the example file below.
<VirtualHost *:80>

ServerAdmin [email protected]
ServerName itinixpto.demo
ServerAlias www.itinixpto.demo
DocumentRoot /var/www/html/wordpress

ErrorLog ${APACHE_LOG_DIR}/itinixpto.demo_error.log
CustomLog ${APACHE_LOG_DIR}/itinixpto.demo_access.log combined

<VirtualHost>
- To prevent Nginx from automatically routing requests, remove the default Nginx server blocks using the command below.
sudo rm /etc/nginx/sites-enabled/default /etc/nginx/sites-available/default- Then look for syntax mistakes in the Nginx configuration.
sudo nginx -t- After confirming that your Nginx dry run test was successful, restart the Nginx service.
sudo systemctl restart nginxInstall WordPress Using the Wizard
- To install WordPress open your browser and type
localhost/wordpressand hit enter key to open.
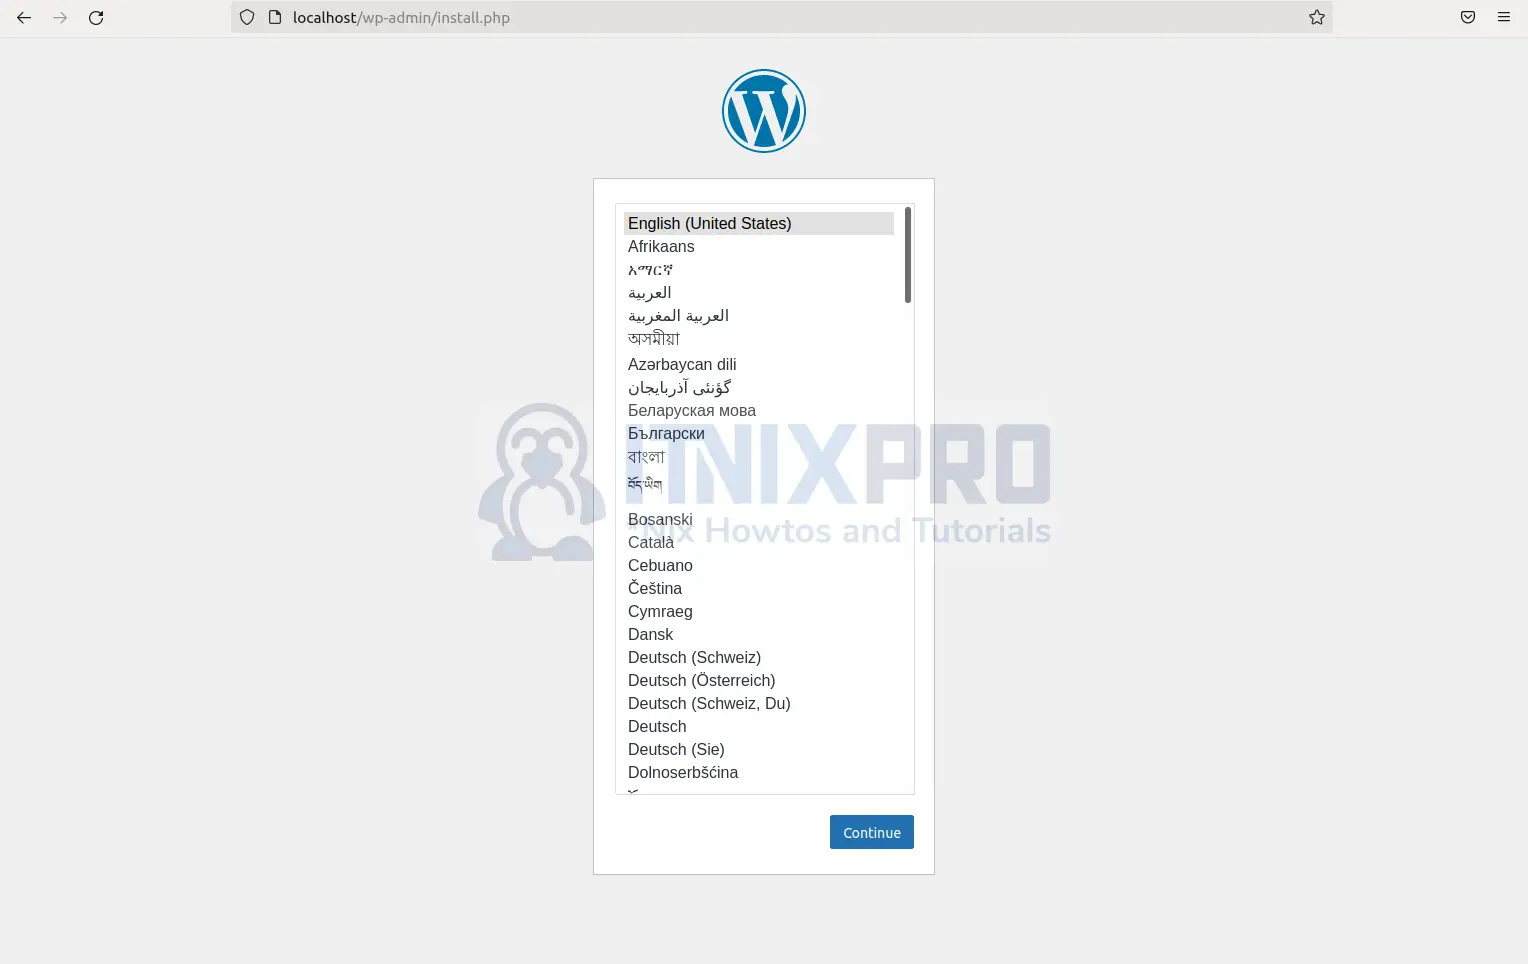
- Enter the required information i.e. title etc. that you will use to log in your WordPress site

- If everything goes well, you will see the success screen below.
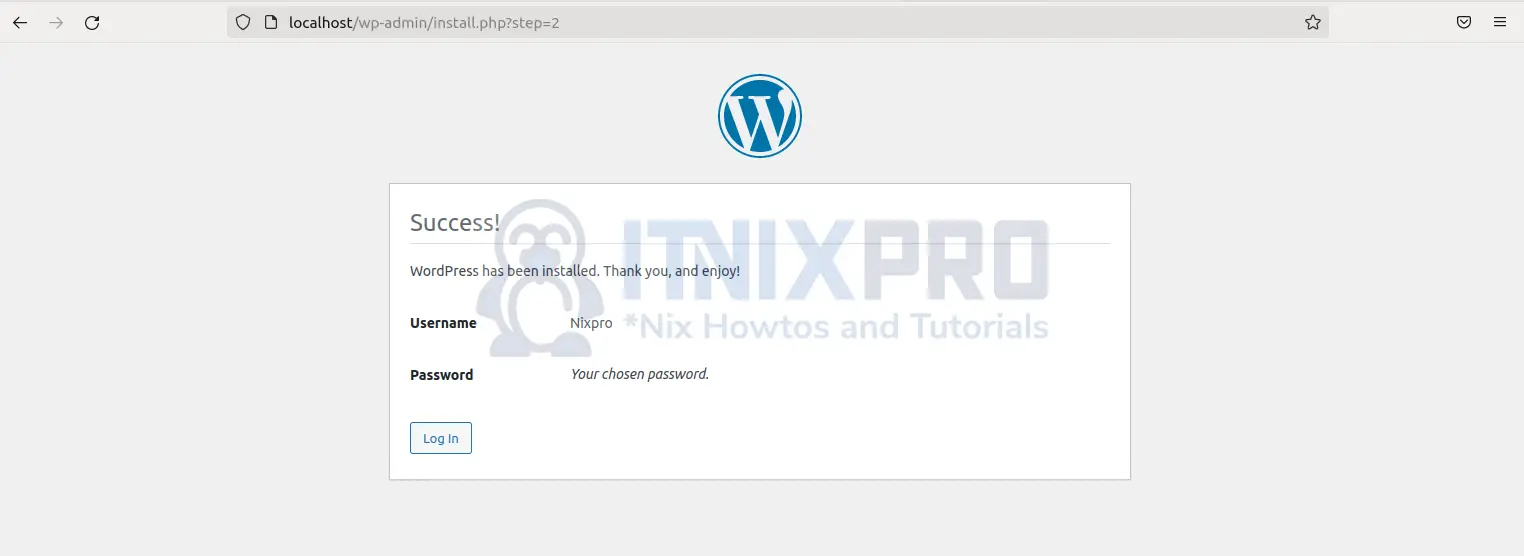
- You can now log in with the username and password you used to setup.

- You will be directed to the dashboard as shown below.
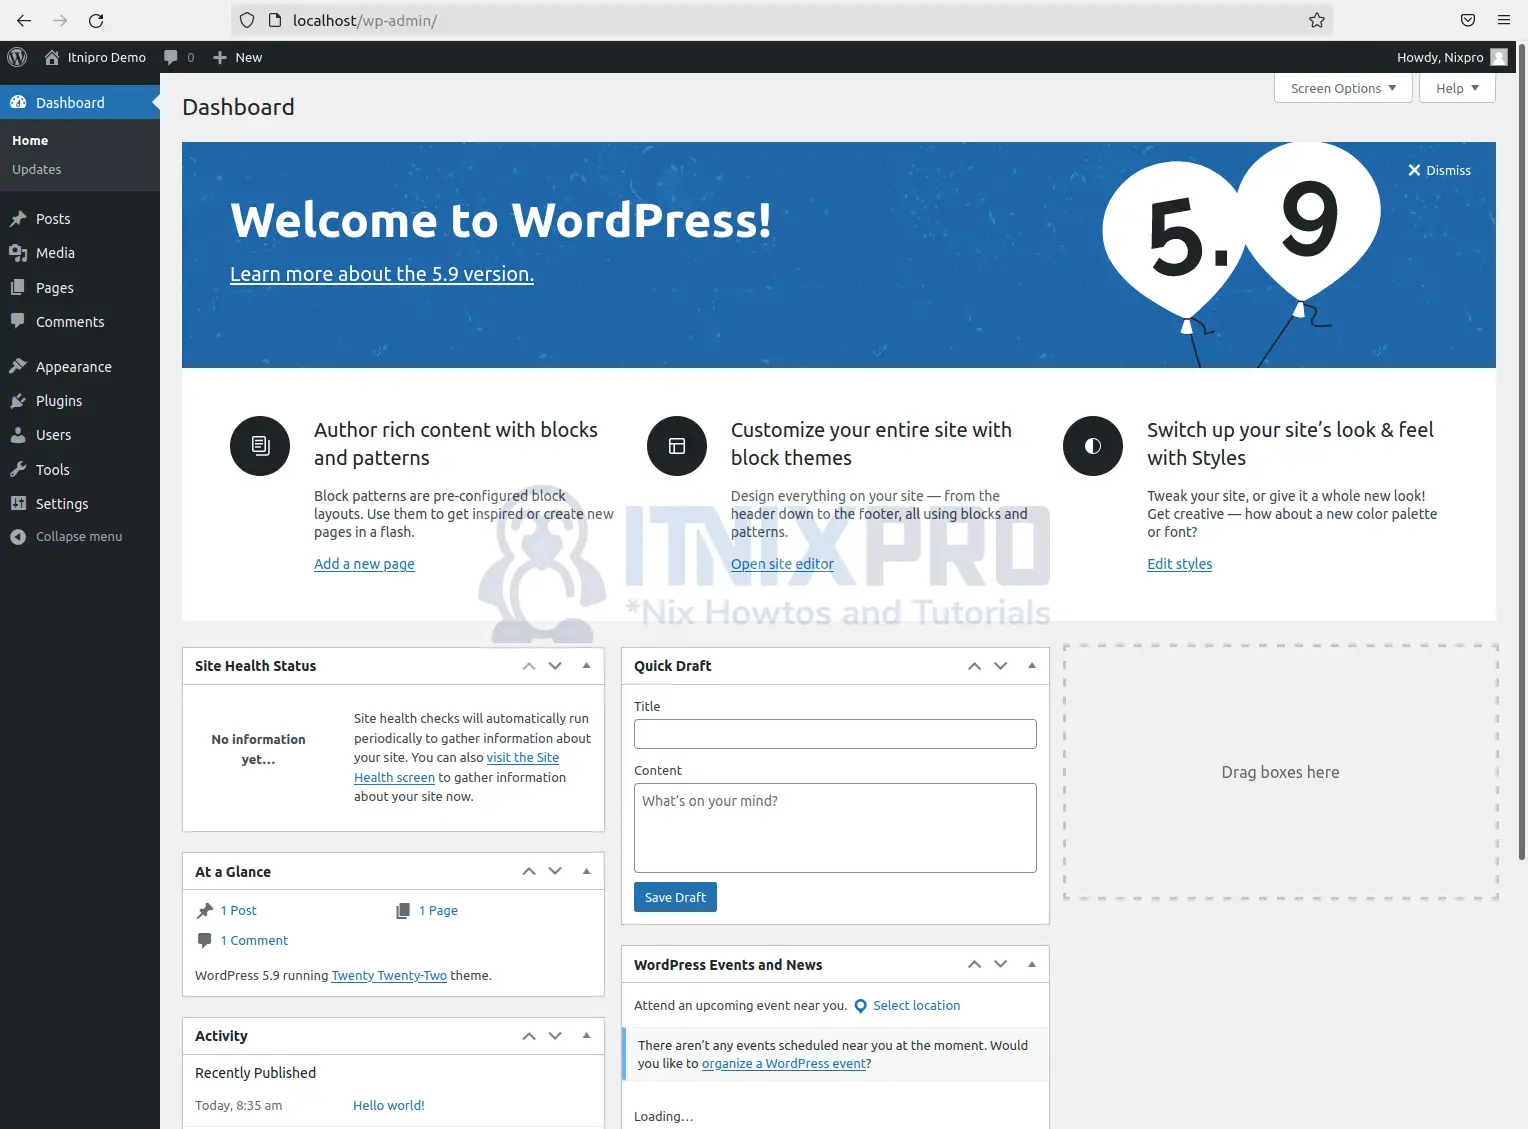
Congratulations you have reached the end of the article. You have learned how to install WordPress with LEMP Stack on Ubuntu 22.04
Other Tutorials
Install htop command on Ubuntu 22.04