
This article is going to show you how ti install Guacamole remote desktop tool on Ubuntu 22.04. The Apache Software Foundation maintains Apache Guacamole, a free and open-source cross-platform Remote Desktop Gateway. It lets a user to utilize a web browser to control a distant computer or virtual machine. The server is compatible with most Linux distributions, while the client is compatible with any modern web browser.
The guacd component provides remote access to resources by using the RDP, VNC, or SSH remote protocols. Guacamole is clientless, which means it doesn’t need an agent installed on the resources it’s accessing. Users can access to their remote desktops without installing a remote desktop client because the client runs on web browsers.
How to Install Guacamole remote desktop tool on Ubuntu 22.04
- Lets start by installing the required dependencies. To do so, run the command below.
sudo apt updatesudo apt install make gcc g++ libcairo2-dev libjpeg-turbo8-dev libpng-dev libtool-bin libossp-uuid-dev libavcodec-dev libavutil-dev libswscale-dev freerdp2-dev libpango1.0-dev libssh2-1-dev libvncserver-dev libtelnet-dev libssl-dev libvorbis-dev libwebp-devSample output
Reading package lists... Done
Building dependency tree
Reading state information... Done
g++ is already the newest version (4:9.3.0-1ubuntu2).
gcc is already the newest version (4:9.3.0-1ubuntu2).
libcairo2-dev is already the newest version (1.16.0-4ubuntu1).
libpango1.0-dev is already the newest version (1.44.7-2ubuntu4).
libpng-dev is already the newest version (1.6.37-2).
libtool-bin is already the newest version (2.4.6-14).
libvorbis-dev is already the newest version (1.3.6-2ubuntu1).
make is already the newest version (4.2.1-1.2).
make set to manually installed.
libossp-uuid-dev is already the newest version (1.6.2-1.5build7).
libssh2-1-dev is already the newest version (1.8.0-2.1build1).
libtelnet-dev is already the newest version (0.21-5).
libjpeg-turbo8-dev is already the newest version (2.0.3-0ubuntu1.20.04.1).
libssl-dev is already the newest version (1.1.1f-1ubuntu2.10).
libvncserver-dev is already the newest version (0.9.12+dfsg-9ubuntu0.3).
libwebp-dev is already the newest version (0.6.1-2ubuntu0.20.04.1).
libavcodec-dev is already the newest version (7:4.2.4-1ubuntu0.1).
libavutil-dev is already the newest version (7:4.2.4-1ubuntu0.1).
libswscale-dev is already the newest version (7:4.2.4-1ubuntu0.1).
The following packages were automatically installed and are no longer required:
  libfprint-2-tod1 libllvm9
Use 'sudo apt autoremove' to remove them.
The following additional packages will be installed:
  libfreerdp-server2-2 libfreerdp-shadow-subsystem2-2
  libfreerdp-shadow2-2 libwinpr-tools2-2 libwinpr2-dev
  winpr-utils
The following NEW packages will be installed:
  freerdp2-dev libfreerdp-server2-2
  libfreerdp-shadow-subsystem2-2 libfreerdp-shadow2-2
  libwinpr-tools2-2 libwinpr2-dev winpr-utils
0 upgraded, 7 newly installed, 0 to remove and 0 not upgraded.
- Next, proceed to Guacamole’s release page and download the most recent tarball source file. Guacamole version 1.4.0 is the most recent release at the time of writing this tutorial. Simply use the
wgetcommand below to download the most recent tarball file.
wget https://downloads.apache.org/guacamole/1.4.0/source/guacamole-server-1.4.0.tar.gz- Extract the Guacamole tarball file.
tar -xvf guacamole-server-1.4.0.tar.gz- Then navigate to the uncompressed folder.
cd guacamole-server-1.4.0- After that, run the configure script to see if any dependencies are missing. Be patient as the script does the dependency check, which normally takes around two minutes. As seen, a barrage of output will be shown, including information about the server version.
./configure --with-init-dir=/etc/init.dSample Output
------------------------------------------------
guacamole-server version 1.4.0
------------------------------------------------

   Library status:

     freerdp2 ............ no
     pango ............... yes
     libavcodec .......... yes
     libavformat.......... no
     libavutil ........... yes
     libssh2 ............. yes
     libssl .............. yes
     libswscale .......... yes
     libtelnet ........... yes
     libVNCServer ........ yes
     libvorbis ........... yes
     libpulse ............ no
     libwebsockets ....... no
     libwebp ............. yes
     wsock32 ............. no

   Protocol support:

      Kubernetes .... no
      RDP ........... no
      SSH ........... yes
      Telnet ........ yes
      VNC ........... yes

   Services / tools:

      guacd ...... yes
      guacenc .... no
      guaclog .... yes

   FreeRDP plugins: no
   Init scripts: /etc/init.d
   Systemd units: no

Type "make" to compile guacamole-server.
- Run the command below to compile Guacamole.
sudo make- Then install Guacamole using the following command.
sudo make install- Then, in the Guacamole server directory, run the
ldconfigcommand to create any relevant links and cache to the most recently shared libraries.
sudo ldconfig- We’ll launch the Guacamole Daemon – guacd – and enable it on boot-up to get the Guacamole server up and running, then check the status.
 sudo systemctl start guacd
 sudo systemctl enable guacd
 sudo systemctl status guacd
Sample Output
● guacd.service - LSB: Guacamole proxy daemon
     Loaded: loaded (/etc/init.d/guacd; generated)
     Active: active (running) since Mon 2022-02-14 11:11:47 >
       Docs: man:systemd-sysv-generator(8)
      Tasks: 1 (limit: 4590)
     Memory: 9.8M
     CGroup: /system.slice/guacd.service
             └─140334 /usr/local/sbin/guacd -p /var/run/guac>

Feb 14 11:11:47 ubuntu systemd[1]: Starting LSB: Guacamole p>
Feb 14 11:11:47 ubuntu guacd[140332]: Guacamole proxy daemon>
Feb 14 11:11:47 ubuntu guacd[140331]: Starting guacd:
Feb 14 11:11:47 ubuntu guacd[140332]: guacd[140332]: INFO:  >
Feb 14 11:11:47 ubuntu guacd[140331]: SUCCESS
Feb 14 11:11:47 ubuntu guacd[140334]: Listening on host 127.>
Feb 14 11:11:47 ubuntu systemd[1]: Started LSB: Guacamole pr>
lines 1-16/16 (END)
Install Tomcat Servlet
- Guacamole client material is served by Apache Tomcat to users that connect to the guacamole server via a web browser. Run the command below to install Tomcat.
sudo apt install tomcat9 tomcat9-admin tomcat9-common tomcat9-user- Tomcat service is not installed by default, you should create it.
sudo nano /etc/systemd/system/tomcat.service- Then add the following
[Unit]
Description=Tomcat9
After=network.target

[Service]
Type=forking

Environment=CATALINA_PID=/opt/tomcat/tomcat9.pid
Environment=JAVA_HOME=/usr/lib/jvm/java-1.8.0-openjdk-amd64
Environment=CATALINA_HOME=/opt/tomcat
Environment=CATALINA_BASE=/opt/tomcat
Environment="CATALINA_OPTS=-Xms512m -Xmx512m"    # optional
Environment="JAVA_OPTS=-Dfile.encoding=UTF-8"    # optional
ExecStart=/opt/tomcat/bin/startup.sh
ExecStop=/opt/tomcat/bin/shutdown.sh

[Install]
WantedBy=multi-user.target
- Restart the service Manager after saving the file.
sudo systemctl daemon-reload- Start Tomcat
sudo systemctl start tomcat9- Enable Tomcat
sudo systemctl enable tomcat9- Check server’s status if it’s running using the following command.
sudo systemctl status tomcat9Sample Output
● tomcat9.service - Apache Tomcat 9 Web Application Server
     Loaded: loaded (/lib/systemd/system/tomcat9.service; en>
     Active: active (running) since Mon 2022-02-14 16:49:43 >
       Docs: https://tomcat.apache.org/tomcat-9.0-doc/index.>
    Process: 145776 ExecStartPre=/usr/libexec/tomcat9/tomcat>
   Main PID: 145780 (java)
      Tasks: 35 (limit: 4590)
     Memory: 166.0M
     CGroup: /system.slice/tomcat9.service
             └─145780 /usr/lib/jvm/default-java/bin/java -Dj>

Feb 14 16:49:51 ubuntu tomcat9[145780]: Deployment of deploy>
Feb 14 16:49:51 ubuntu tomcat9[145780]: Deploying deployment>
Feb 14 16:49:51 ubuntu tomcat9[145780]: The path attribute w>
Feb 14 16:49:52 ubuntu tomcat9[145780]: At least one JAR was>
Feb 14 16:49:52 ubuntu tomcat9[145780]: Deployment of deploy>
Feb 14 16:49:52 ubuntu tomcat9[145780]: Deploying web applic>
Feb 14 16:49:53 ubuntu tomcat9[145780]: At least one JAR was>
Feb 14 16:49:53 ubuntu tomcat9[145780]: Deployment of web ap>
Feb 14 16:49:53 ubuntu tomcat9[145780]: Starting ProtocolHan>
Feb 14 16:49:53 ubuntu tomcat9[145780]: Server startup in [5>
lines 1-21/21 (END)
- Tomcat runs on port 8080 by default, and if you’re using the UFW, you’ll need to allow this port as stated.
sudo ufw allow 8080/tcp
sudo ufw reload
Guacamole Client Configuration in Ubuntu 22.04
- Guacamole has two key configuration files: /etc/guacamole and /etc/guacamole/guacamole.properties, both of which are utilized by Guacamole and its extensions.
- We must first establish directories for the extensions and libraries before proceeding.
sudo mkdir /etc/guacamole/{extensions,lib}- Next, add the home directory environment variable to the /etc/default/tomcat9 configuration file and configure it.
sudo sh -c "echo 'GUACAMOLE_HOME=/etc/guacamole' >> /etc/default/tomcat9"Define how Guacamole connects to guacd
- We’ll use the guacamole.properties file to figure out how Guacamole communicates with the Guacamole daemon – guacd.
sudo nano /etc/guacamole/guacamole.properties- Add the following and save the file.
guacd-hostname: localhost
guacd-port:     4822
user-mapping:   /etc/guacamole/user-mapping.xml
auth-provider: net.sourceforge.guacamole.net.basic.BasicFileAuthenticationProvider- The user-mapping.xml file, which describes the users who can connect and login to Guacamole via the web interface on a browser, will be created next.
- Before we can do that, we must first create a hashed password for the login user, as seen below. Make sure you use your personal password instead of demoStrongPassword.
echo -n demoStrongPassword | openssl md5Output sample
(stdin)= a12cff37728caea31314345a84253460You’ll need the hashed password in the user-mapping.xml file, so copy it and save it somewhere.
- Make the user-mapping.xml file now.
sudo nano /etc/guacamole/user-mapping.xml- Paste the content below with your hostname param
<user-mapping>
    <authorize
            username="guacadmin"
            password="a12cff37728caea31314345a84253460"
            encoding="md5">

        <connection name="Ubuntu20.04-Server">
            <protocol>ssh<protocol>
            <param name="hostname">192.168.171.128<param>
            <param name="port">22<param>
            <param name="username">root<param>
        <connection>
        <connection name="Windows Server">
            <protocol>rdp<protocol>
            <param name="hostname">192.168.171.129<param>
            <param name="port">3389<param>
        <connection>
    <authorize>
<user-mapping>
- Restart the Tomcat server and Guacamole to see the modifications take effect
sudo systemctl restart tomcat9
sudo systemctl restart guacd- To use the Guacamole web interface, open your browser and type your server-ip into the address bar with port 8080 e.g.
http://server-ip:8080/guacamole
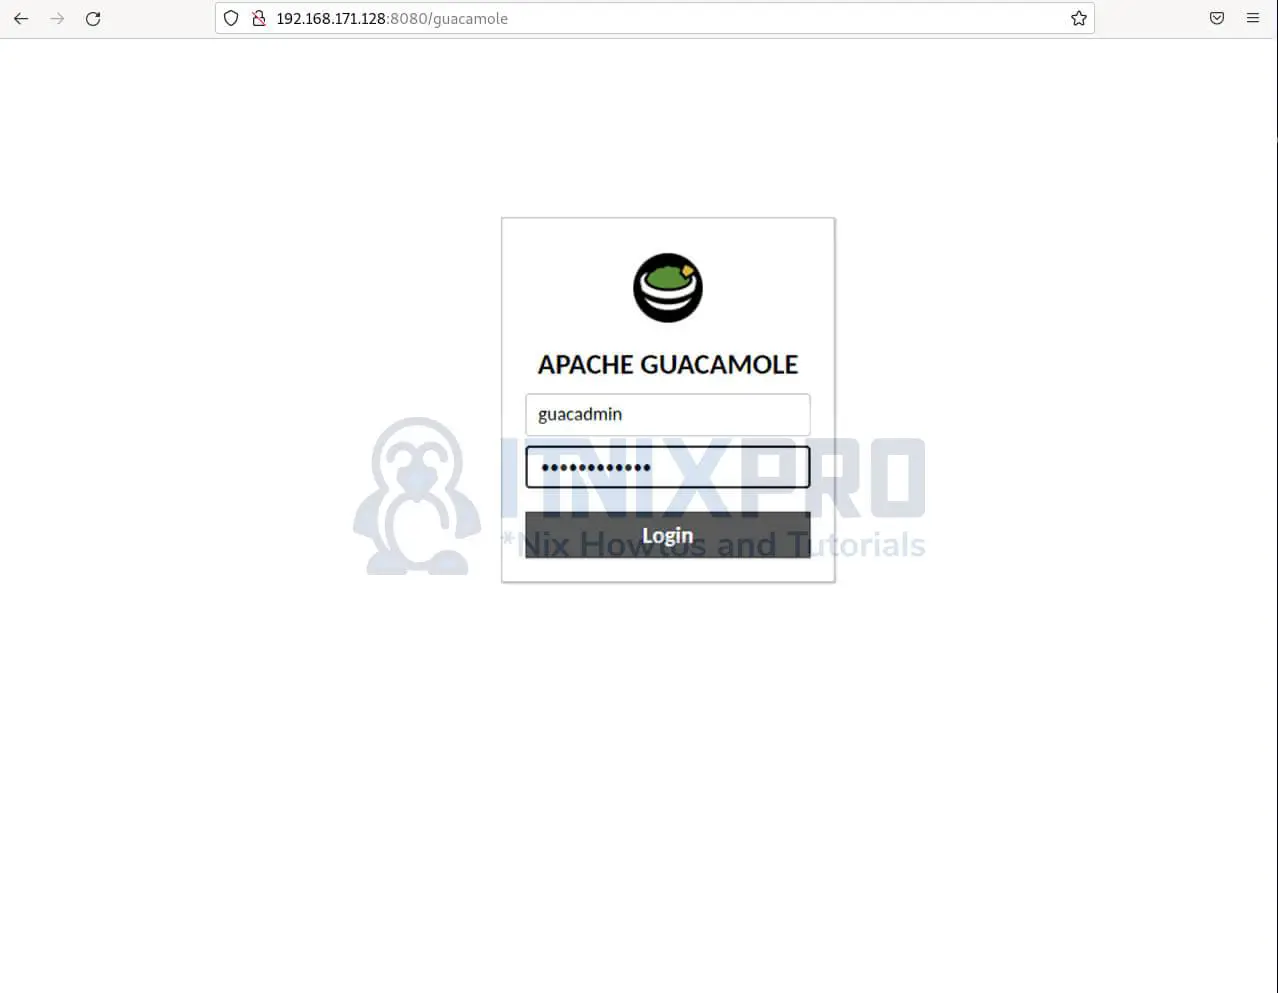
- Fill in the username and password that you specified in the user-mapping file before.
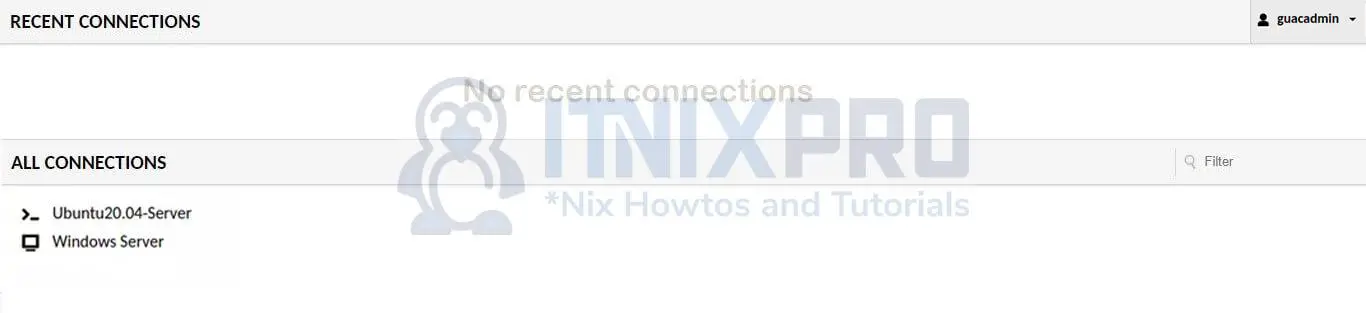
- Congratulations you have reached the end of the article. You have learned how to Install Guacamole remote desktop tool on Ubuntu 22.04
Other Tutorials
Install Webmin on Ubuntu 22.04
Hi,
Thank you for this tutorial, very interesting. I decided to give it a go.
I get errors at the end of “sudo make”
then I can run “sudo make install” also get errors at the end
then I run “sudo ldconfig” nothing happens
THEN… when I type “systemctl start guacd” I get the following error: Failed to start guacd.service: Unit guacd.service not found.
any pointers??
Hello Corven, would be good if you shared the error that you faced with make and make install.
If make fails, obviously make install will fail.
key.c: In function ‘guac_common_ssh_key_alloc’:
key.c:63:9: error: ‘PEM_read_bio_RSAPrivateKey’ is deprecated: Since OpenSSL 3.0 [-Werror=deprecated-declarations]
63 | rsa_key = PEM_read_bio_RSAPrivateKey(key_bio, NULL, NULL, passph rase);
| ^~~~~~~
In file included from key.c:33:
/usr/include/openssl/pem.h:447:1: note: declared here
447 | DECLARE_PEM_rw_cb_attr(OSSL_DEPRECATEDIN_3_0, RSAPrivateKey, RSA)
| ^~~~~~~~~~~~~~~~~~~~~~
key.c:79:9: error: ‘RSA_get0_key’ is deprecated: Since OpenSSL 3.0 [-Werror=depr ecated-declarations]
79 | RSA_get0_key(rsa_key, &key_n, &key_e, NULL);
| ^~~~~~~~~~~~
In file included from common-ssh/rsa-compat.h:26,
from key.c:25:
/usr/include/openssl/rsa.h:217:28: note: declared here
217 | OSSL_DEPRECATEDIN_3_0 void RSA_get0_key(const RSA *r,
| ^~~~~~~~~~~~
key.c:105:9: error: ‘PEM_read_bio_DSAPrivateKey’ is deprecated: Since OpenSSL 3. 0 [-Werror=deprecated-declarations]
105 | dsa_key = PEM_read_bio_DSAPrivateKey(key_bio, NULL, NULL, passph rase);
| ^~~~~~~
In file included from key.c:33:
/usr/include/openssl/pem.h:453:1: note: declared here
453 | DECLARE_PEM_rw_cb_attr(OSSL_DEPRECATEDIN_3_0, DSAPrivateKey, DSA)
| ^~~~~~~~~~~~~~~~~~~~~~
key.c:121:9: error: ‘DSA_get0_pqg’ is deprecated: Since OpenSSL 3.0 [-Werror=dep recated-declarations]
121 | DSA_get0_pqg(dsa_key, &key_p, &key_q, &key_g);
| ^~~~~~~~~~~~
In file included from common-ssh/dsa-compat.h:26,
from key.c:23:
/usr/include/openssl/dsa.h:201:28: note: declared here
201 | OSSL_DEPRECATEDIN_3_0 void DSA_get0_pqg(const DSA *d, const BIGNUM **p,
| ^~~~~~~~~~~~
key.c:122:9: error: ‘DSA_get0_key’ is deprecated: Since OpenSSL 3.0 [-Werror=dep recated-declarations]
122 | DSA_get0_key(dsa_key, &pub_key, NULL);
| ^~~~~~~~~~~~
In file included from common-ssh/dsa-compat.h:26,
from key.c:23:
/usr/include/openssl/dsa.h:204:28: note: declared here
204 | OSSL_DEPRECATEDIN_3_0 void DSA_get0_key(const DSA *d, const BIGNUM **pub _key,
| ^~~~~~~~~~~~
key.c: In function ‘guac_common_ssh_key_free’:
key.c:164:9: error: ‘RSA_free’ is deprecated: Since OpenSSL 3.0 [-Werror=depreca ted-declarations]
164 | RSA_free(key->rsa);
| ^~~~~~~~
In file included from common-ssh/rsa-compat.h:26,
from key.c:25:
/usr/include/openssl/rsa.h:293:28: note: declared here
293 | OSSL_DEPRECATEDIN_3_0 void RSA_free(RSA *r);
| ^~~~~~~~
key.c:166:9: error: ‘DSA_free’ is deprecated: Since OpenSSL 3.0 [-Werror=depreca ted-declarations]
166 | DSA_free(key->dsa);
| ^~~~~~~~
In file included from common-ssh/dsa-compat.h:26,
from key.c:23:
/usr/include/openssl/dsa.h:127:28: note: declared here
127 | OSSL_DEPRECATEDIN_3_0 void DSA_free(DSA *r);
| ^~~~~~~~
key.c: In function ‘guac_common_ssh_key_sign’:
key.c:202:13: error: ‘RSA_sign’ is deprecated: Since OpenSSL 3.0 [-Werror=deprec ated-declarations]
202 | if (RSA_sign(NID_sha1, digest, dlen, sig, &len, key->rsa) == 1)
| ^~
In file included from common-ssh/rsa-compat.h:26,
from key.c:25:
/usr/include/openssl/rsa.h:348:27: note: declared here
348 | OSSL_DEPRECATEDIN_3_0 int RSA_sign(int type, const unsigned char *m,
| ^~~~~~~~
key.c:208:13: error: ‘DSA_do_sign’ is deprecated: Since OpenSSL 3.0 [-Werror=dep recated-declarations]
208 | DSA_SIG* dsa_sig = DSA_do_sign(digest, dlen, key->dsa);
| ^~~~~~~
In file included from common-ssh/dsa-compat.h:26,
from key.c:23:
/usr/include/openssl/dsa.h:113:32: note: declared here
113 | OSSL_DEPRECATEDIN_3_0 DSA_SIG *DSA_do_sign(const unsigned char *dgst, in t dlen,
| ^~~~~~~~~~~
cc1: all warnings being treated as errors
make[3]: *** [Makefile:590: libguac_common_ssh_la-key.lo] Error 1
make[3]: Leaving directory ‘guacamole-server-1.4.0/src/common-ssh’
make[2]: *** [Makefile:616: all-recursive] Error 1
make[2]: Leaving directory ‘guacamole-server-1.4.0/src/common-ssh’
make[1]: *** [Makefile:536: all-recursive] Error 1
make[1]: Leaving directory ‘guacamole-server-1.4.0’
make: *** [Makefile:458: all] Error 2
How didn’t you get errors. You are supposed to get errors in ubuntu 22.04. Are you really using ubuntu 22.04
observed the same, however upon research found this:
https://issues.apache.org/jira/browse/GUACAMOLE-1602
“Mike Jumper added a comment – 08/May/22 15:34
This has already been resolved. The line of code in question doesn’t exist in the current source on git.”
So end up using the latest from github:
git clone git://github.com/apache/guacamole-server.git