
In this article, you will learn how to install Garuda Linux on VirtualBox with illustrative screenshots. Garuda Linux is an Arch-based distribution. One advantage of Garuda Linux is that it has a graphical installer, unlike other Arch distros. It is a highly performance-oriented distribution with many performance-enhancing tweaks.
Garuda Linux supports BTRFS file system out of the box. You can download Garuda Linux with any of the desktop environments below;
- KDE (Dragonized, Dragonized Gaming, and BlackArch)
- Xfce
- GNOME
- LXQt-kwin
- Wayfire
- Qtile
- BSPWM
- i3wm
- Sway
- Mate
- Cinnamon
- KDE-Git
- Barebones
System Requirements
- 30 GB free storage space on your host OS
- 4 GB RAM free on your host OS
- Video card with OpenGL 3.3 or better
- 64-bit system
- VirtualBox installed
Before you install Garuda Linux on VirtualBox, VirtualBox needs to be installed. You can check how to install VirtualBox at the end of this article.
Download Garuda Linux ISO file
You will learn how to install Garuda Linux Gnome edition even though other edition installations are similar.
Download the Garuda Linux Gnome ISO file from the Garuda Linux download page.
You can also directly grab the ISO file using wget command;
wget https://liquidtelecom.dl.sourceforge.net/project/garuda-linux/garuda/gnome/220329/garuda-gnome-linux-zen-220329.isoCreate a new VM on VirtualBox
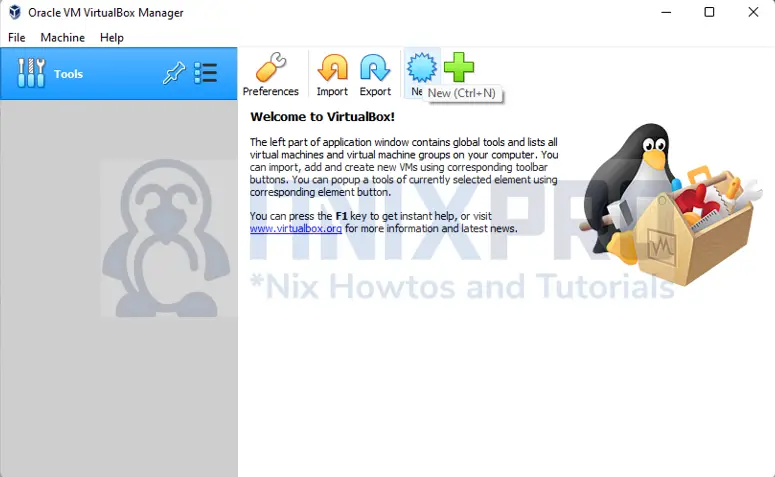
Launch VirtualBox and click New;
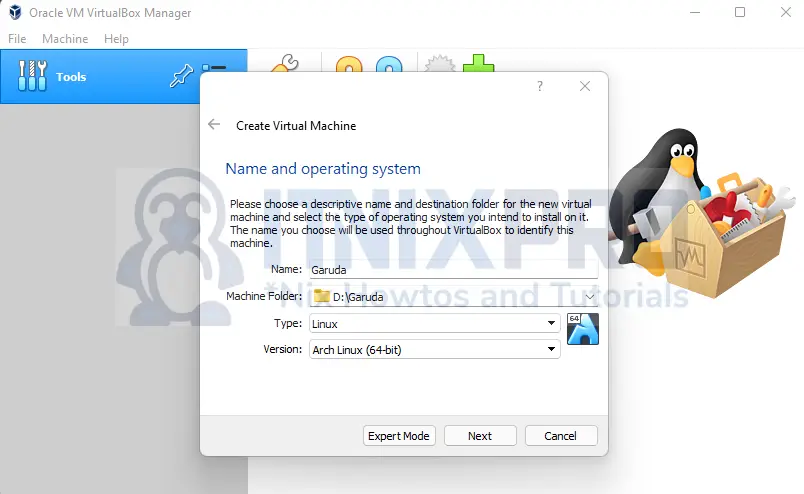
Input the name as Garuda, type as Linux, and version as Arch Linux (64-bit)
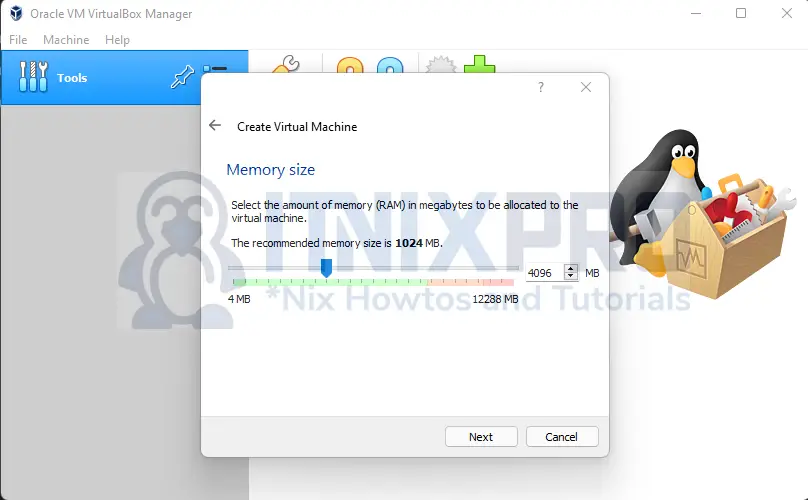
Choose memory size as 4GB.
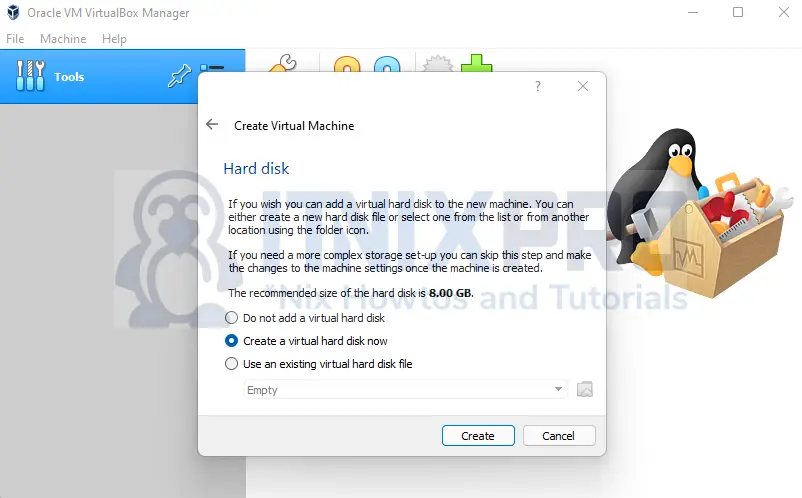
Click on create a virtual disk now.
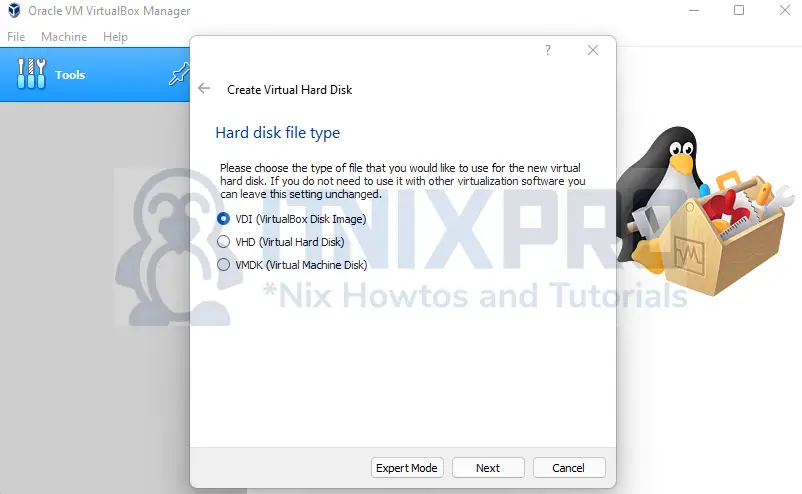
Select VDI(Virtual Disk Image) as disk file type.
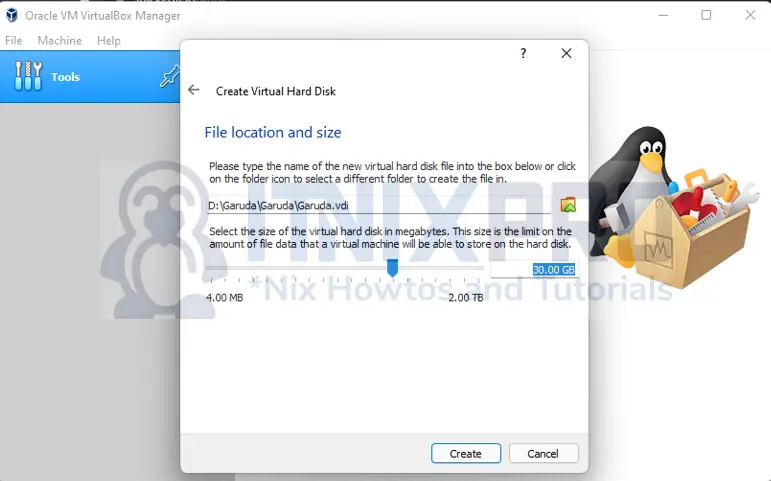
Choose dynamically allocated and lastly, enter 30GB as the hard disk storage size.
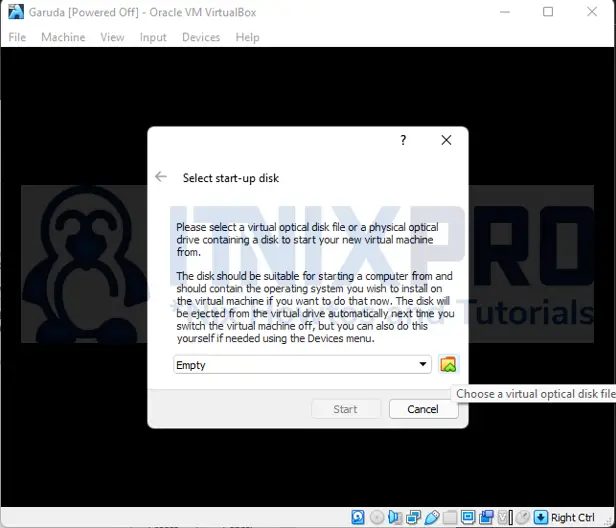
Select ISO file
Click on start and locate the Garuda Linux ISO file.
Install Garuda Linux on VirtualBox
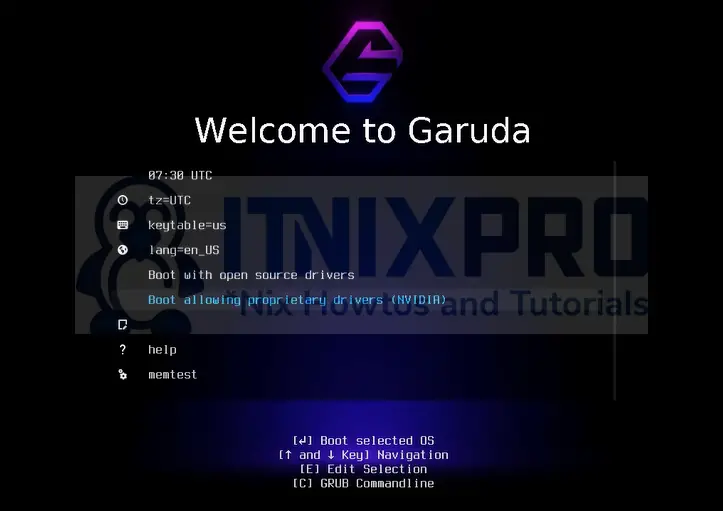
On the GRUB bootloader, choose Boot with open source drivers
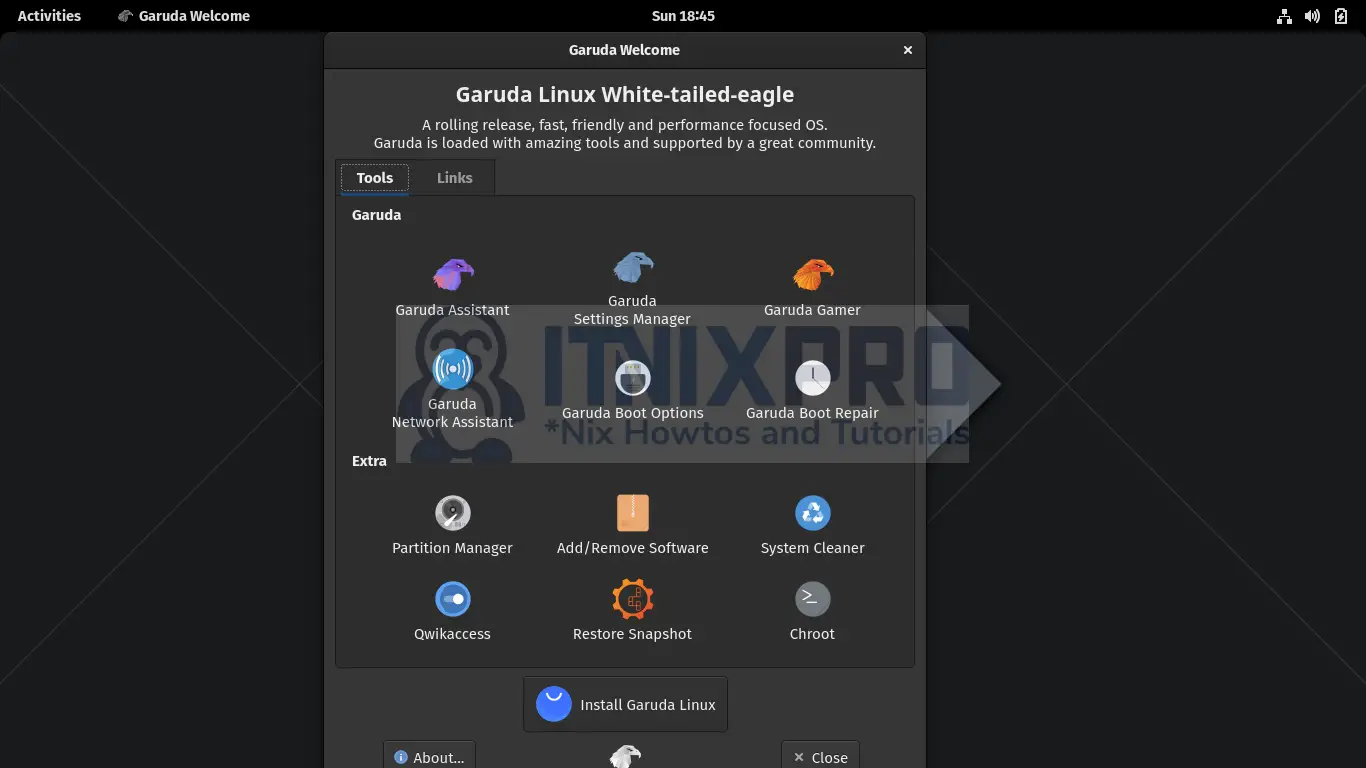
The welcome screen loads as below. Click on Install Garuda Linux
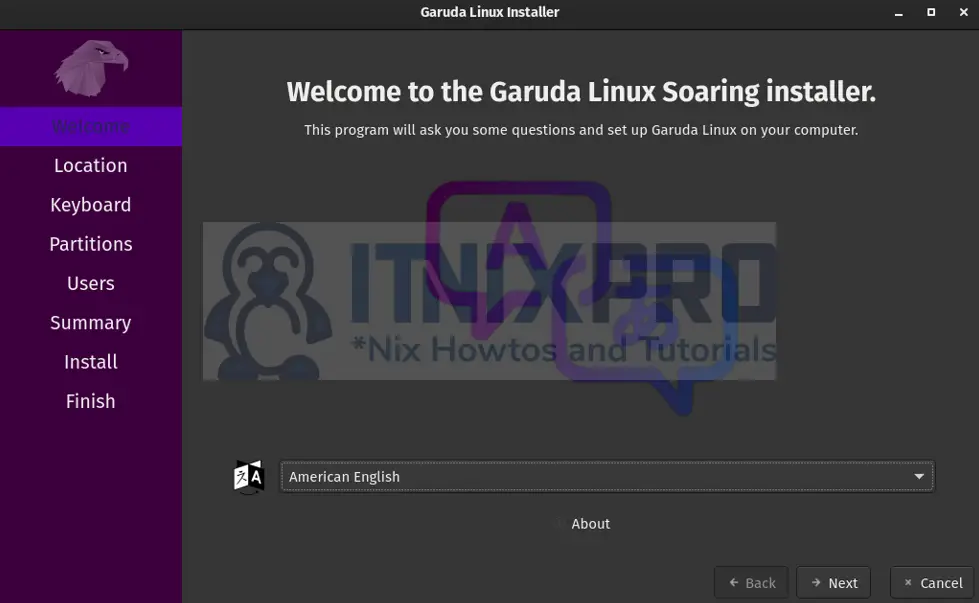
Choose your preferred language;
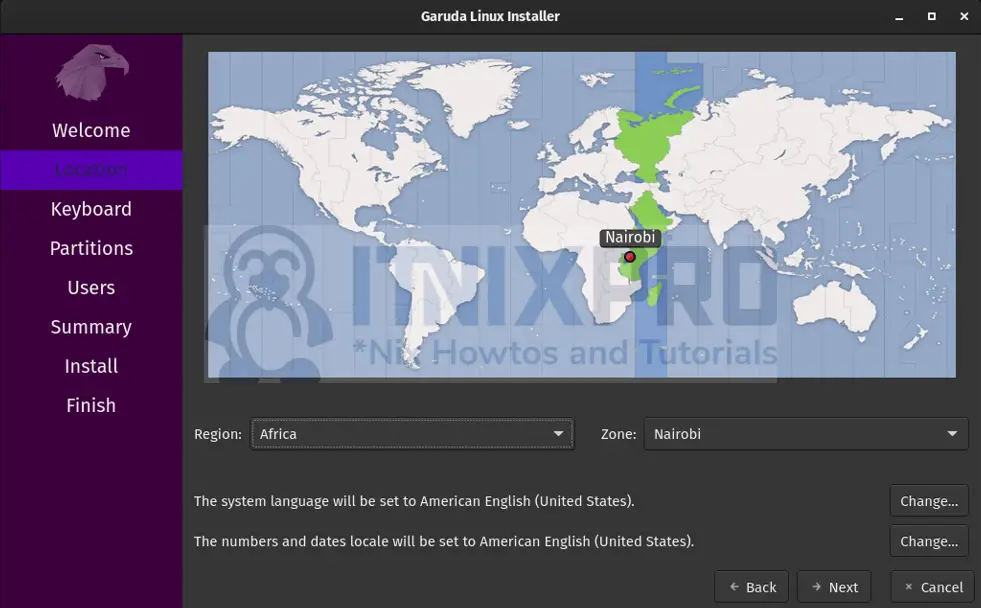
Choose region and time zone.
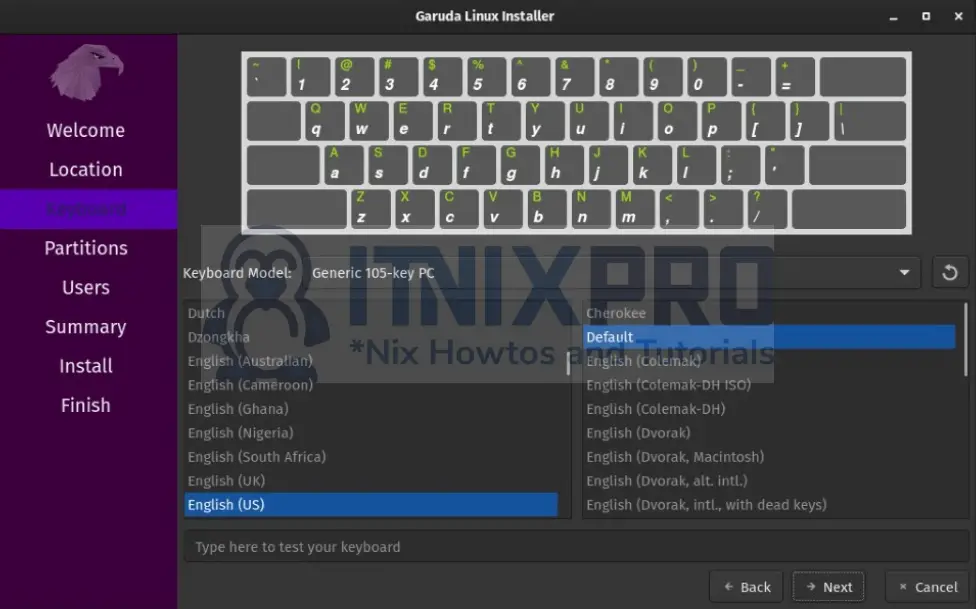
Select the keyboard layout of your choice;
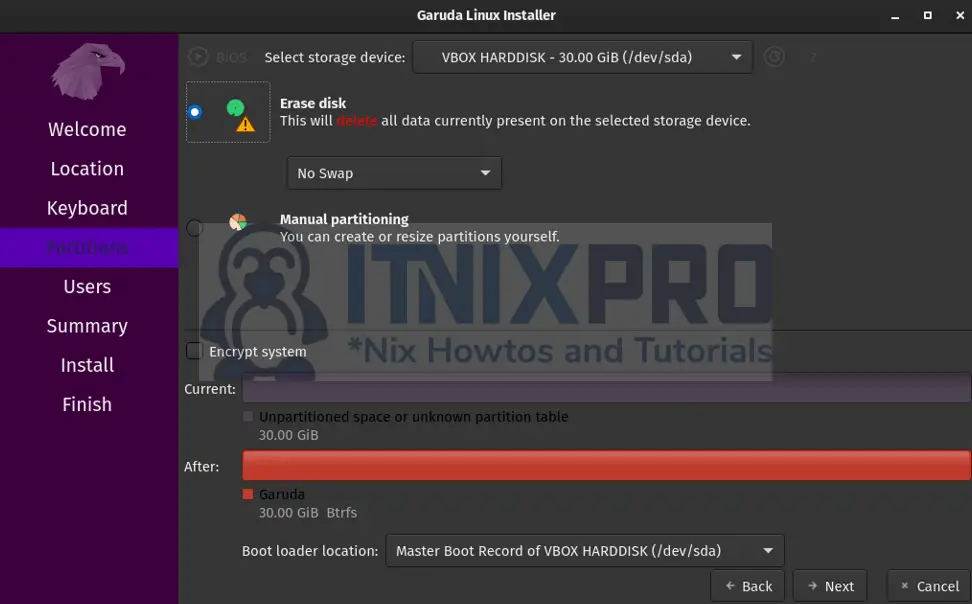
Installation type
Select Erase and install under the partitions and click next.
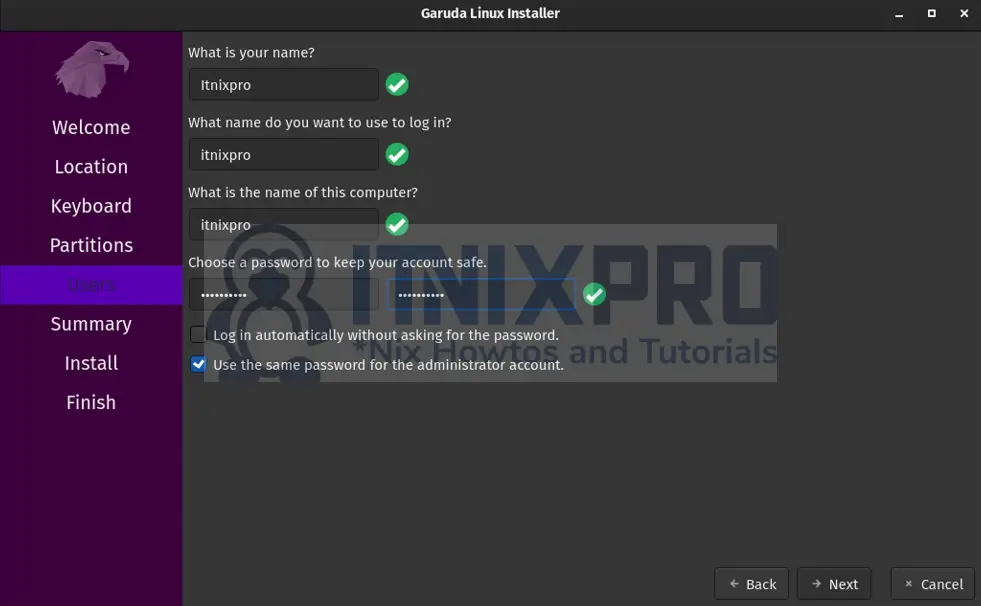
User credentials
Input your name, username, name of the computer, and password for login.
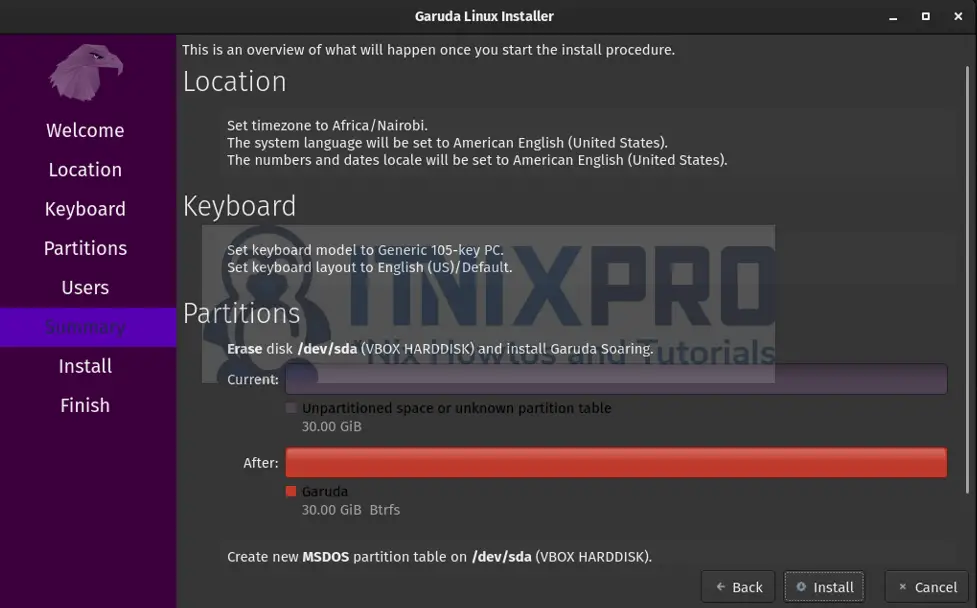
Preview the settings summary and click on Install.
Note: In case the computer sleeps during installation and you are prompted for a password, input garuda as the password
Restart Garuda Linux after installation.
Check the Restart now option and click Done to restart Garuda Linux.

There you go with the first screen of Garuda Linux!

You have just managed to install Garuda Linux on VirtualBox.
Conclusion
Thank you for taking the time to follow this guide on how to install Garuda Linux on VirtualBox. Enjoy the Garuda Linux. More information about Garuda Linux can be found in Garuda Forum and Garuda Wiki.