
This tutorial is going to take you through on how to Install Cockpit on Rocky Linux 8. Cockpit is a web-based interactive server administration user interface that allows you to run a live Linux session. It’s a GNU/Linux server remote manager that’s easy to use, lightweight, and simple yet powerful.
How to Install Cockpit on Rocky Linux 8
- Start by updating your system using the command below.
sudo dnf update- Next install Cockpit using the command below.
sudo dnf install cockpitSample output
 Last metadata expiration check: 0:16:58 ago on Thu 17 Mar 2022 04:10:00 PM EAT.
    Dependencies resolved.
    =================================================
     Package  Arch    Version          Repo     Size
    =================================================
    Installing:
     cockpit  x86_64  251.3-1.el8_5    baseos   77 k

    Transaction Summary
    =================================================
    Install  1 Package

    Total download size: 77 k
    Installed size: 58 k
    Is this ok [y/N]: y
    Downloading Packages:
    cockpit-251.3-1.  28 kB/s |  77 kB     00:02
    -------------------------------------------------
    Total             18 kB/s |  77 kB     00:04
    Running transaction check
    Transaction check succeeded.
    Running transaction test
    Transaction test succeeded.
    Running transaction
      Preparing        :                         1/1
      Installing       : cockpit-251.3-1.el8_5   1/1
      Running scriptlet: cockpit-251.3-1.el8_5   1/1
      Verifying        : cockpit-251.3-1.el8_5   1/1

    Installed:
      cockpit-251.3-1.el8_5.x86_64

    Complete!
- Enable Cockpit to run on system startup using the command below.
sudo systemctl enable cockpit.socket- Start Cockpit using the command below.
sudo systemctl start cockpit.socket- Cockpit should be running, check it’s status.
sudo systemctl status cockpit.socketSample output
● cockpit.socket - Cockpit Web Service Socket
   Loaded: loaded (/usr/lib/systemd/system/cockp>
   Active: active (listening) since Thu 2022-03->
     Docs: man:cockpit-ws(8)
   Listen: [::]:9090 (Stream)
    Tasks: 0 (limit: 49190)
   Memory: 960.0K
   CGroup: /system.slice/cockpit.socket

Mar 17 15:36:22 localhost.localdomain systemd[1]>
Mar 17 15:36:22 localhost.localdomain systemd[1]>- By default Cockpit runs on port 9090, if you are using firewall you need to allow Cockpit on your system firewall. Allow using the command below.
sudo firewall-cmd --permanent --zone=public --add-service=cockpit- Then reload for changes to take effect.
sudo firewall-cmd --reloadAccess Cockpit Web UI on Rocky Linux 8
- Open your favorite web browser and enter server IP followed by port 9090 e.g.
server-IP:9090orlocalhost:9090. Enter your server username and password to log in.

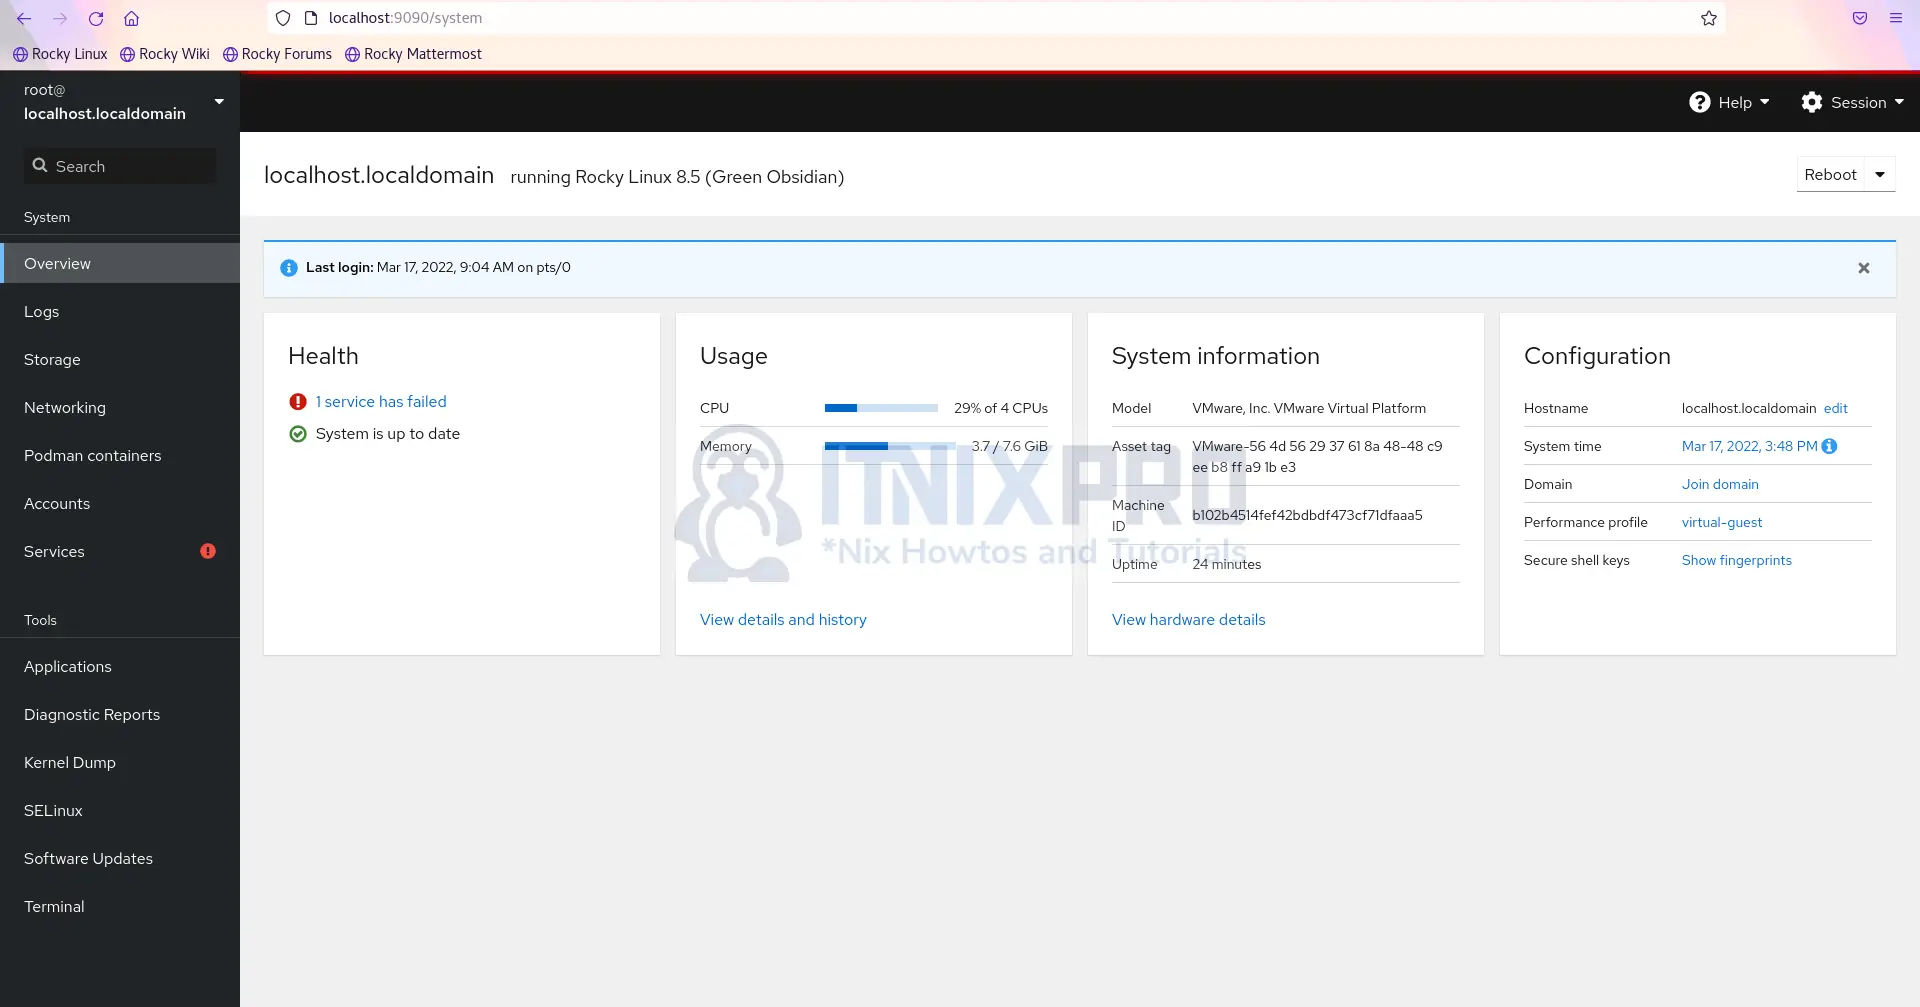
- You will be taken to the dashboard as shown below.
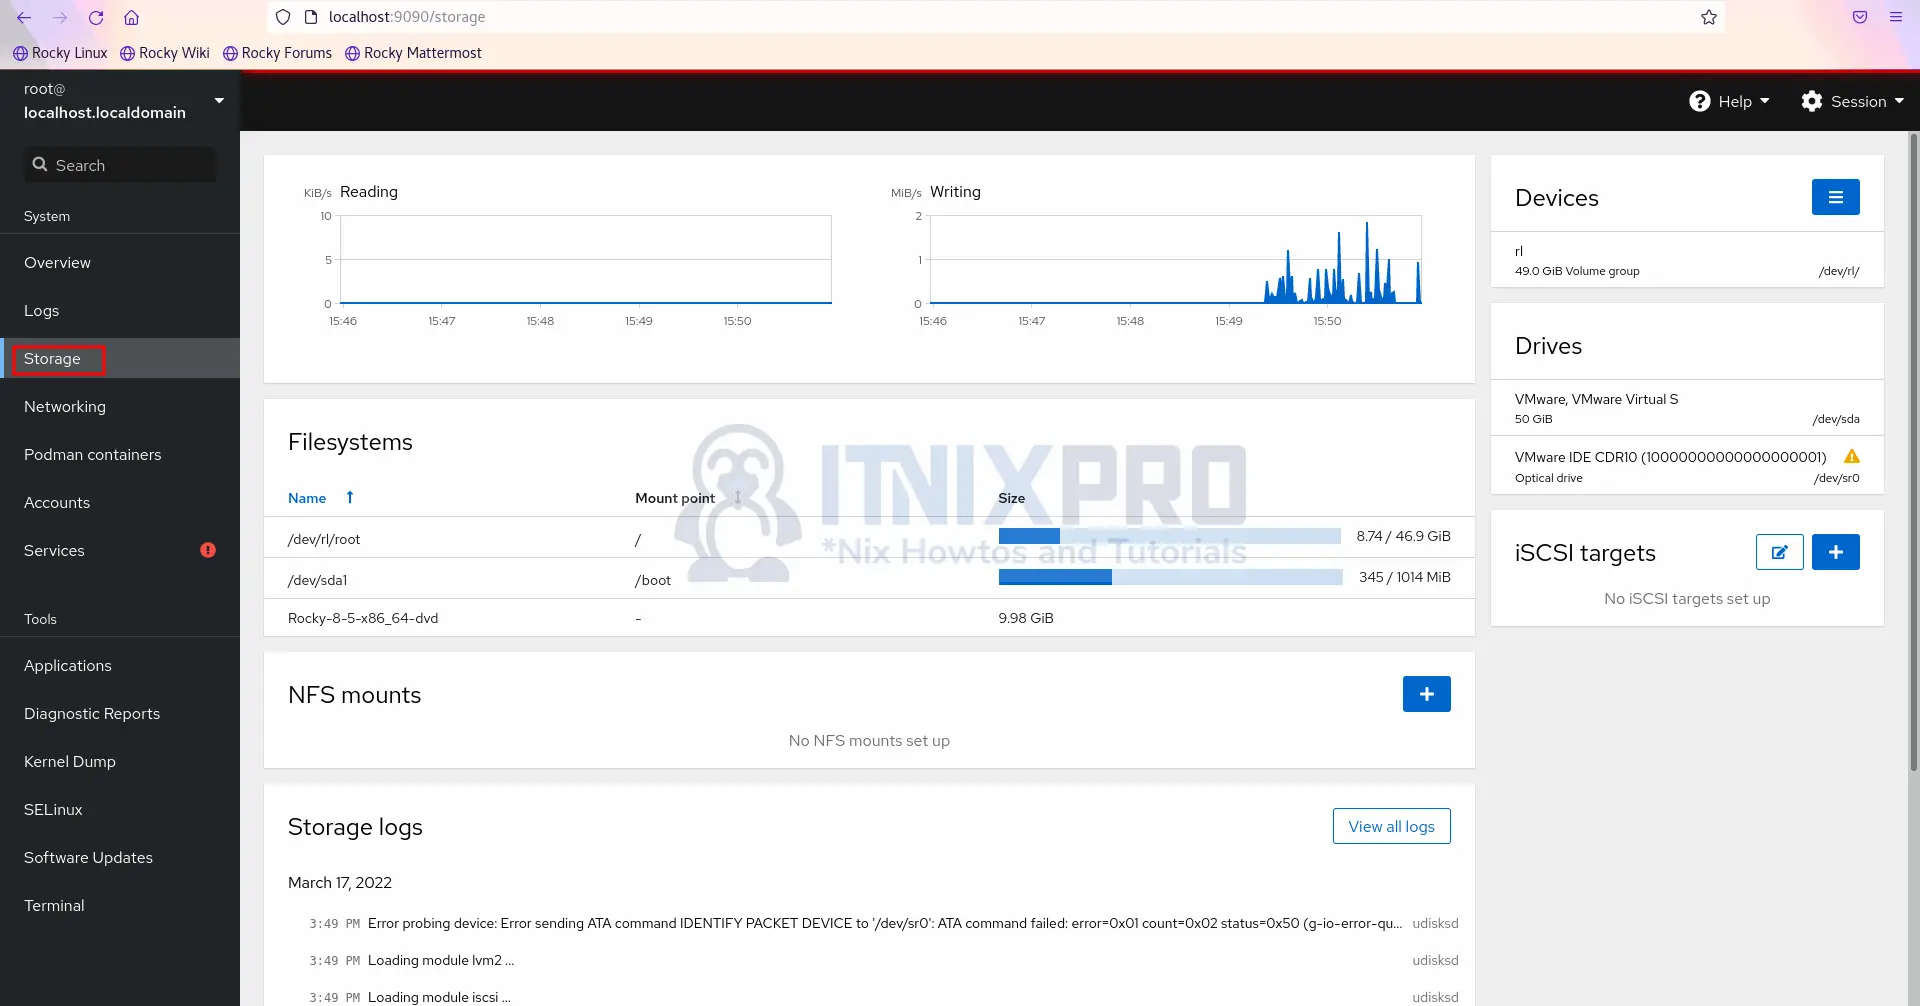
- Manage server storage from the storage tab.
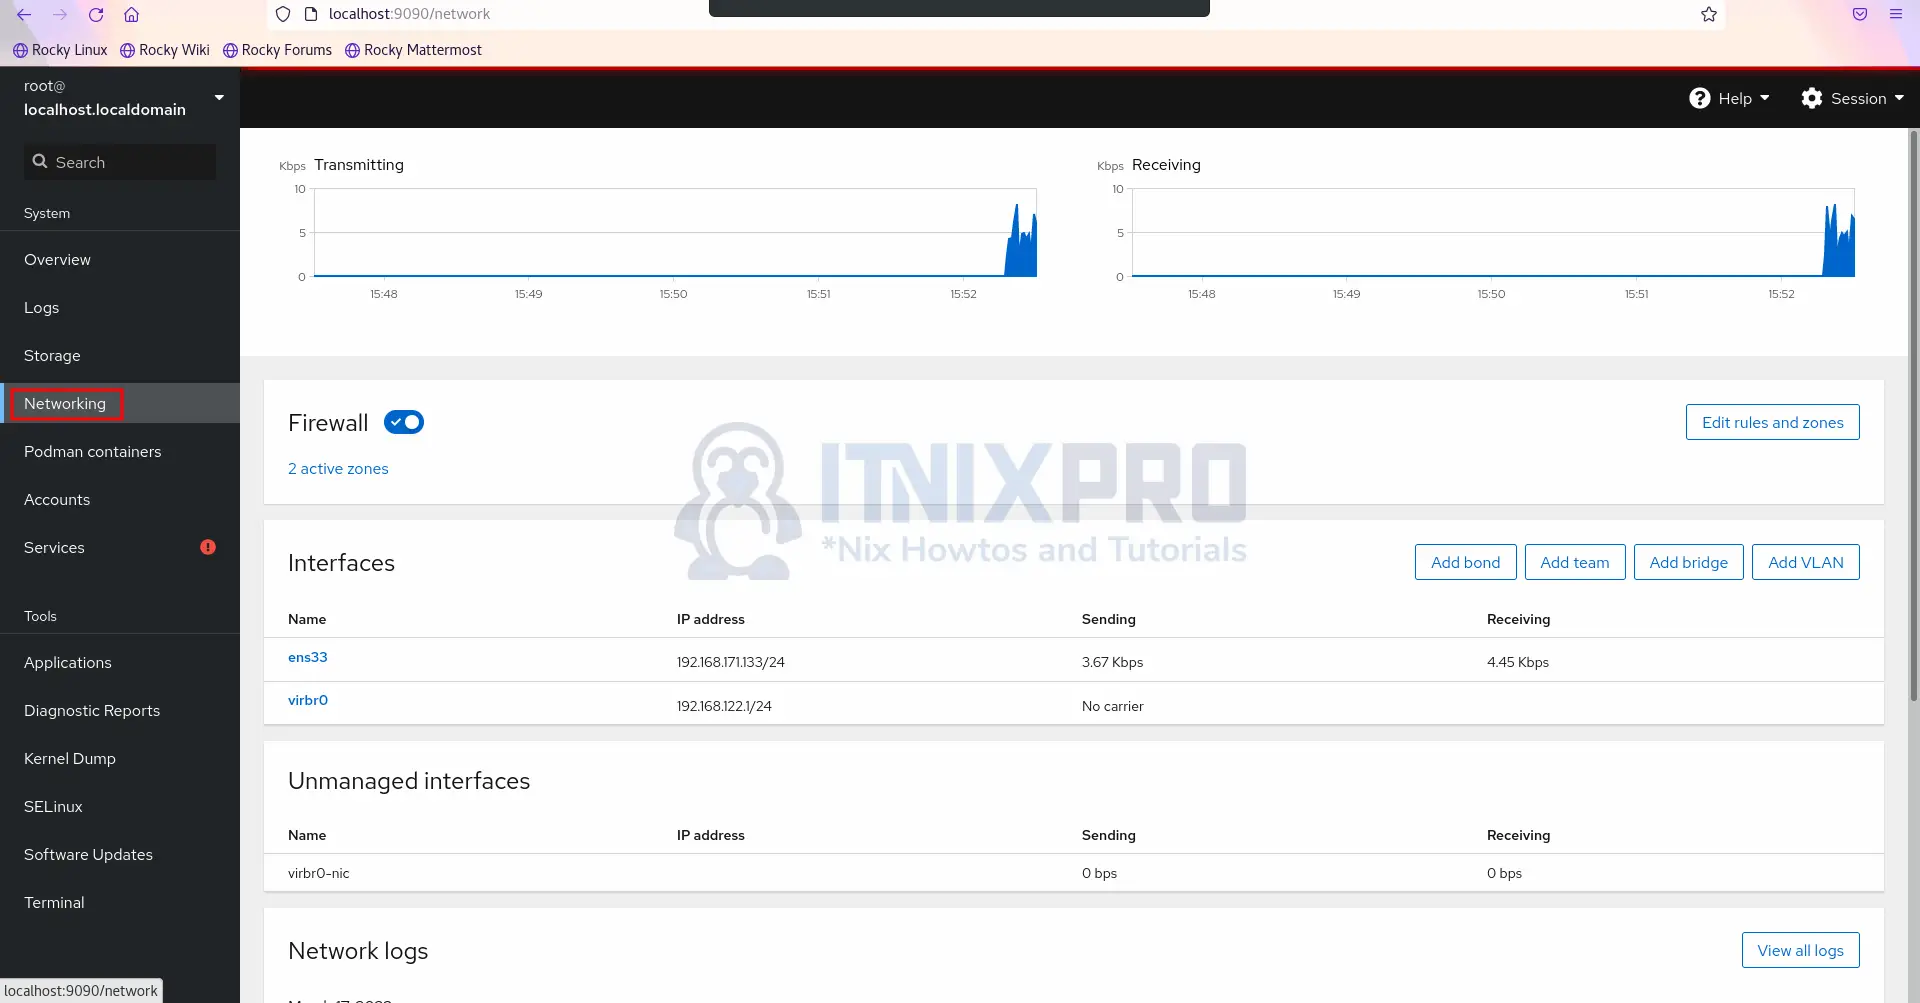
- Manage network from networking tab.
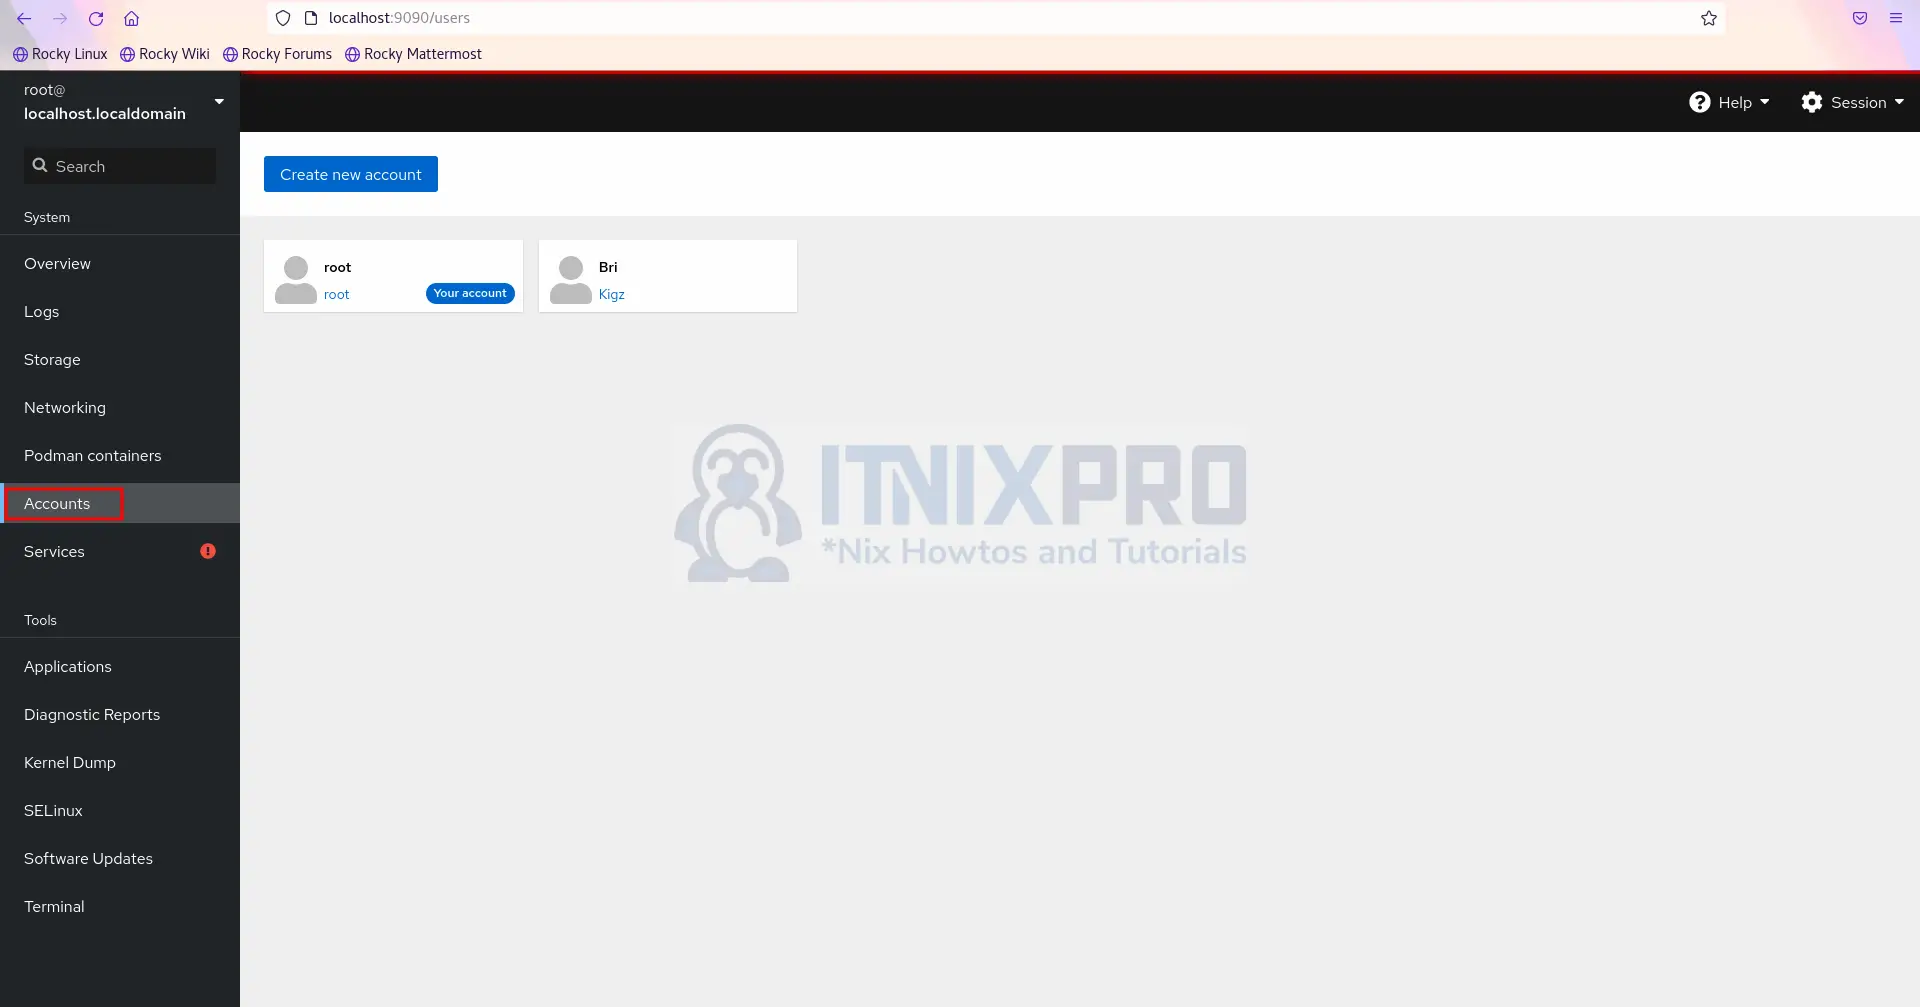
- Manage your server accounts from accounts tab.
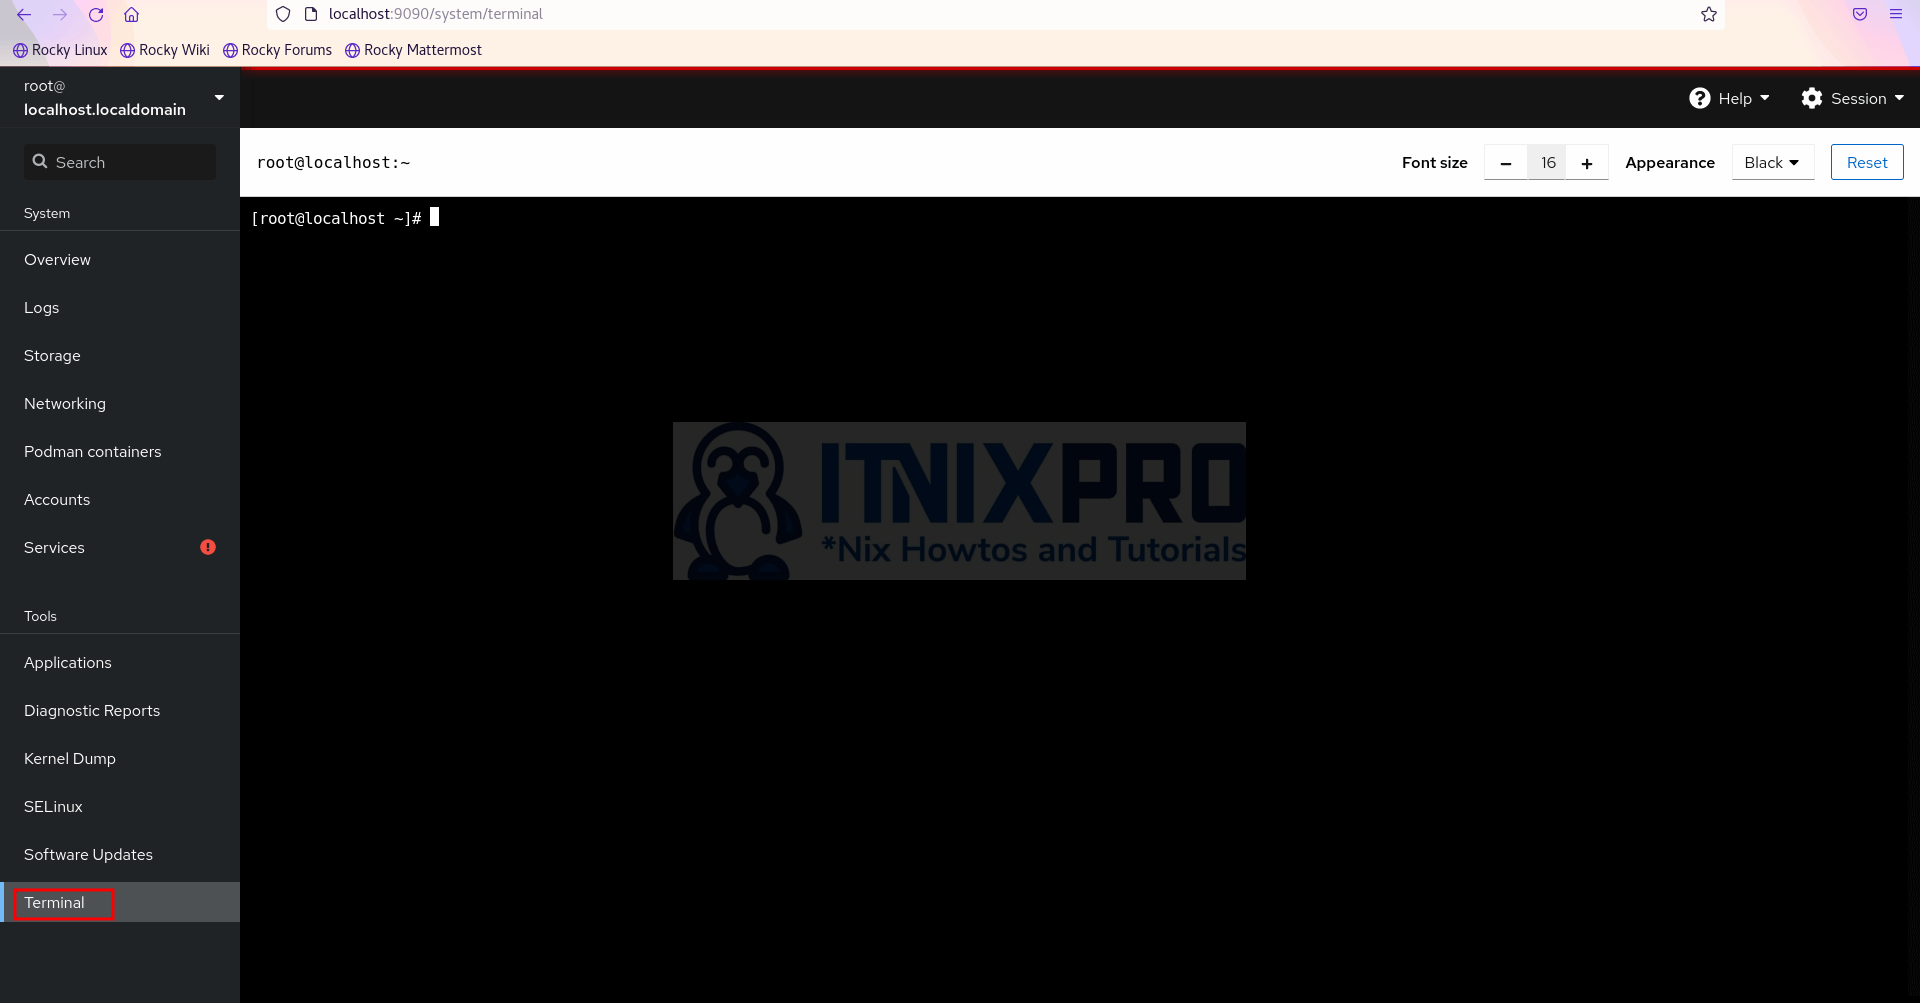
- Incase you want to run some commands, you can access terminal from terminal tab.
- You have reached the end of the article, Congratulations. You have learned how to Install cockpit on Ubuntu 22.04.
Read more on Cockpit Documentation.
Other Tutorials
Install Ajenti Control Panel on Ubuntu 22.04