
This tutorial is about how to install Apache Solr on Ubuntu 22.04. According to Apache Solr’s website, Solr “is the popular, blazing-fast, open source enterprise search platform built on Apache Lucene™“. It “powers the search and navigation features of many of the world’s largest internet sites“.
Solr’s features include;
- Provides an advanced full-text search capabilities
- It is Optimized for High Volume Traffic.
- it uses standards based open interfaces such XML, JSON and HTTP.
- Ships with a comprehensive Administration Interfaces.
- Easy Monitoring of metric data via JMX.
- Highly Scalable and Fault Tolerant.
- Flexible and Adaptable with easy configuration
- Near Real-Time Indexing
- Extensible Plugin Architecture
Install Apache Solr on Ubuntu 22.04
So, how can you install Apache Solr on Ubuntu system?
You can also read how to enable basic authentication in Apache Solr.
Install Java 8 or greater
Apache Solr runs on JRE 8 or greater. It is recommended that you install latest update version of Java.
In this tutorial, we use JRE 11, which is available on the default Ubuntu 22.04 repositories.
apt install openjdk-11-jre -yYou can verify the version using the command below;
java -versionopenjdk version "11.0.13" 2021-10-19
OpenJDK Runtime Environment (build 11.0.13+8-Ubuntu-0ubuntu1)
OpenJDK 64-Bit Server VM (build 11.0.13+8-Ubuntu-0ubuntu1, mixed mode, sharing)You can check other system requirements on Solr System Requirements page.
Download Apache Solr Installer Archive
Navigate to Solr download’s page and grab the latest installer archive.
As of this writing, Solr 8.11.1 is the current stable release version.
You can also use curl/wget commands to download the Solr binary installer.
Replace the value of the VER variable below with the current release version of Solr;
VER=8.11.1
wget https://dlcdn.apache.org/lucene/solr/$VER/solr-$VER.tgz
Extract Apache Solr Installer Archive
Once the download is complete, navigate to the directory where you downloaded the archive to and extract it. In our case, the installer is downloaded to the current working directory.
tar xzf solr-$VER.tgzInstall Apache Solr on Ubuntu 22.04
Next, install Apache Solr on Ubuntu by executing the command below. Be sure to replace VER with the correct version number of Solr.
./solr-$VER/bin/install_solr_service.sh solr-8.11.1.tgzid: ‘solr’: no such user
Creating new user: solr
Adding system user `solr' (UID 128) ...
Adding new group `solr' (GID 135) ...
Adding new user `solr' (UID 128) with group `solr' ...
Creating home directory `/var/solr' ...
Extracting solr-8.11.1.tgz to /opt
Installing symlink /opt/solr -> /opt/solr-8.11.1 ...
Installing /etc/init.d/solr script ...
Installing /etc/default/solr.in.sh ...
Service solr installed.
Customize Solr startup configuration in /etc/default/solr.in.sh
● solr.service - LSB: Controls Apache Solr as a Service
Loaded: loaded (/etc/init.d/solr; generated)
Active: active (exited) since Wed 2021-12-22 20:16:20 EAT; 6s ago
Docs: man:systemd-sysv-generator(8)
Process: 3225 ExecStart=/etc/init.d/solr start (code=exited, status=0/SUCCESS)
CPU: 33ms
Dec 22 20:14:58 itnixpro systemd[1]: Starting LSB: Controls Apache Solr as a Service...
Dec 22 20:14:59 itnixpro su[3227]: (to solr) root on none
Dec 22 20:14:59 itnixpro su[3227]: pam_unix(su-l:session): session opened for user solr by (uid=0)
Dec 22 20:16:19 itnixpro solr[3308]: Started Solr server on port 8983 (pid=3304). Happy searching!
Dec 22 20:16:20 itnixpro systemd[1]: Started LSB: Controls Apache Solr as a Service.
When installed, Solr creates a system user and group called solr.
It is also installed under /opt/solr.
To customize Solr startup configuration, edit the /etc/default/solr.in.sh config file accordingly.
Start up service configuration file is also created. And Solr is started and enabled to run on system boot upon installation.
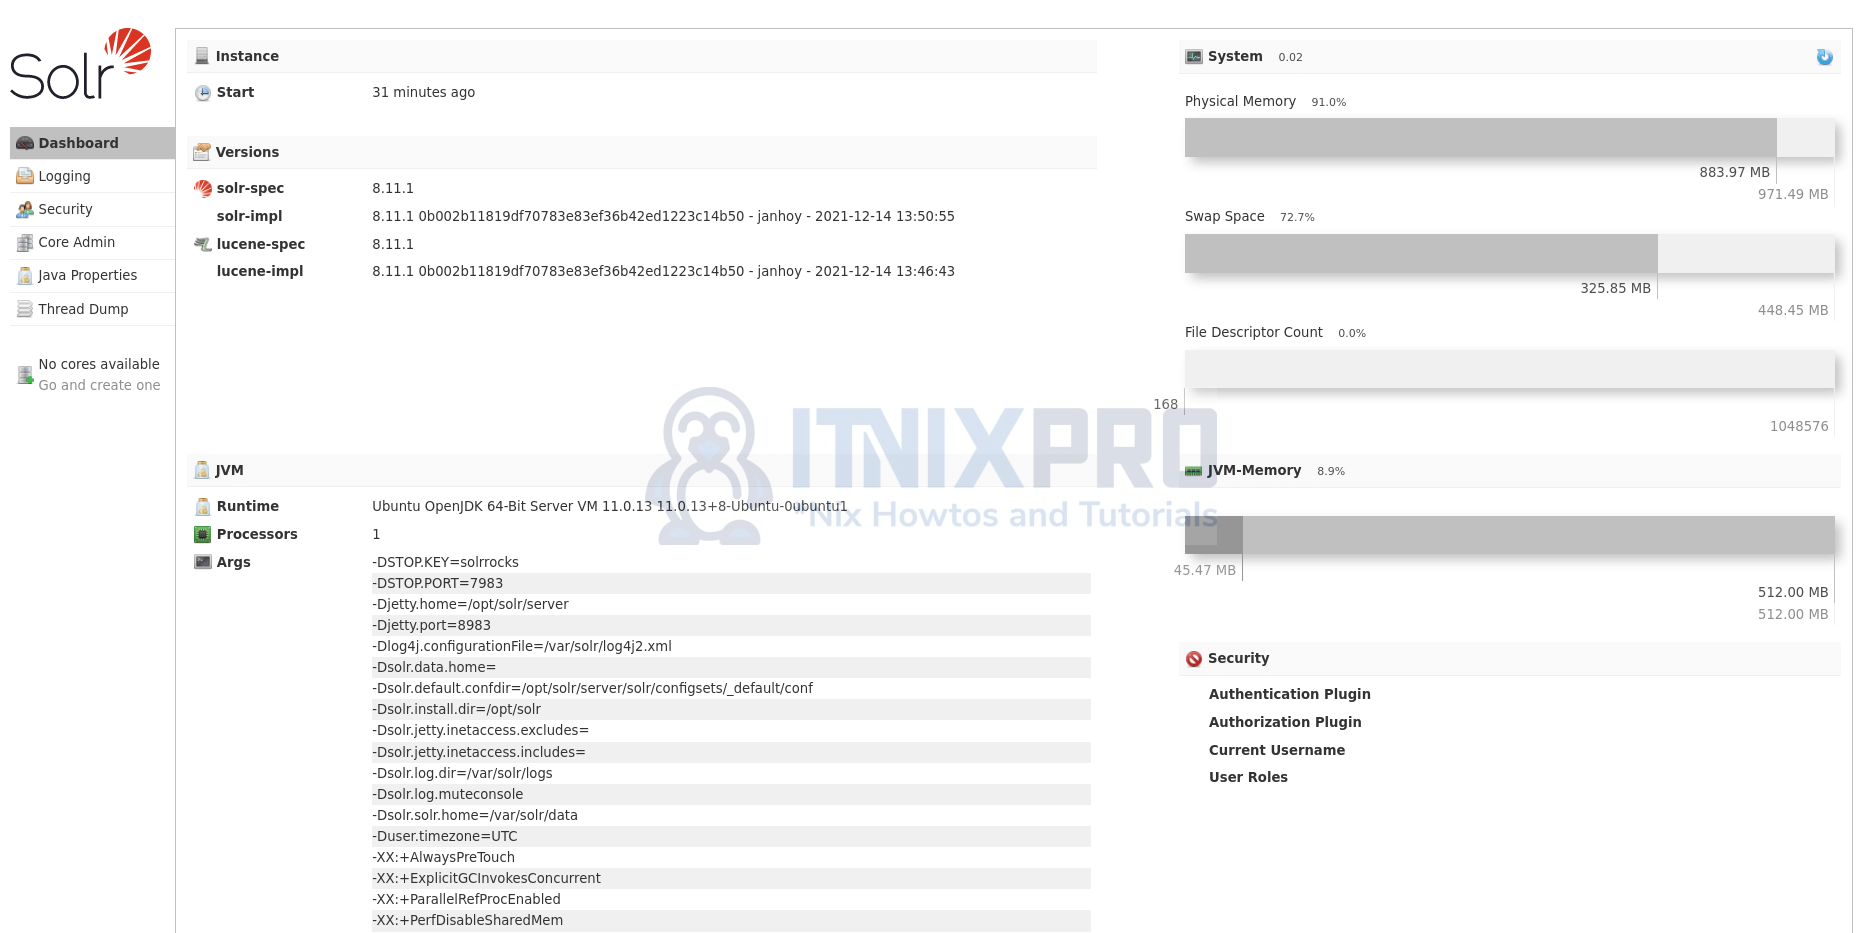
Accessing Solr Web Interface on Browser
By default, Solr listens on Port 8983/TCP on all interfaces;
ss -altnp | grep 8983LISTEN 0 50 *:8983 *:* users:(("java",pid=3304,fd=158))Thus, if firewall is running, open this port to allow external access to Sorl.
You can then navigate to browser and access Solr web interface via the address, http://IP:8983. Replace IP with your Solr system IP address or resolvable hostname.
And that is it on Solr installation on Ubuntu 22.04.
Further Reading
Refer to Solr reference guide to learn more about Solr.