Today, I will show you how to install VirtualBox on Zorin OS in this article. VirtualBox is the most widely used virtualization software for Windows, Linux, Solaris hosts and Macintosh because it is open source. VirtualBox virtualizes selected x86 hardware for desktops, servers and embedded systems.
Install VirtualBox on Zorin OS
Zorin OS doesn’t come with VirtualBox pre-installed. So let’s look at a couple of ways how to install VirtualBox on Zorin OS;
- Install VirtualBox using Snap(Software center)
- Install VirtualBox using APT Repositories
- Install VirtualBox using .DEB Binary Package
1. Install VirtualBox using Snap(Software center)
This is a graphical-based installation.
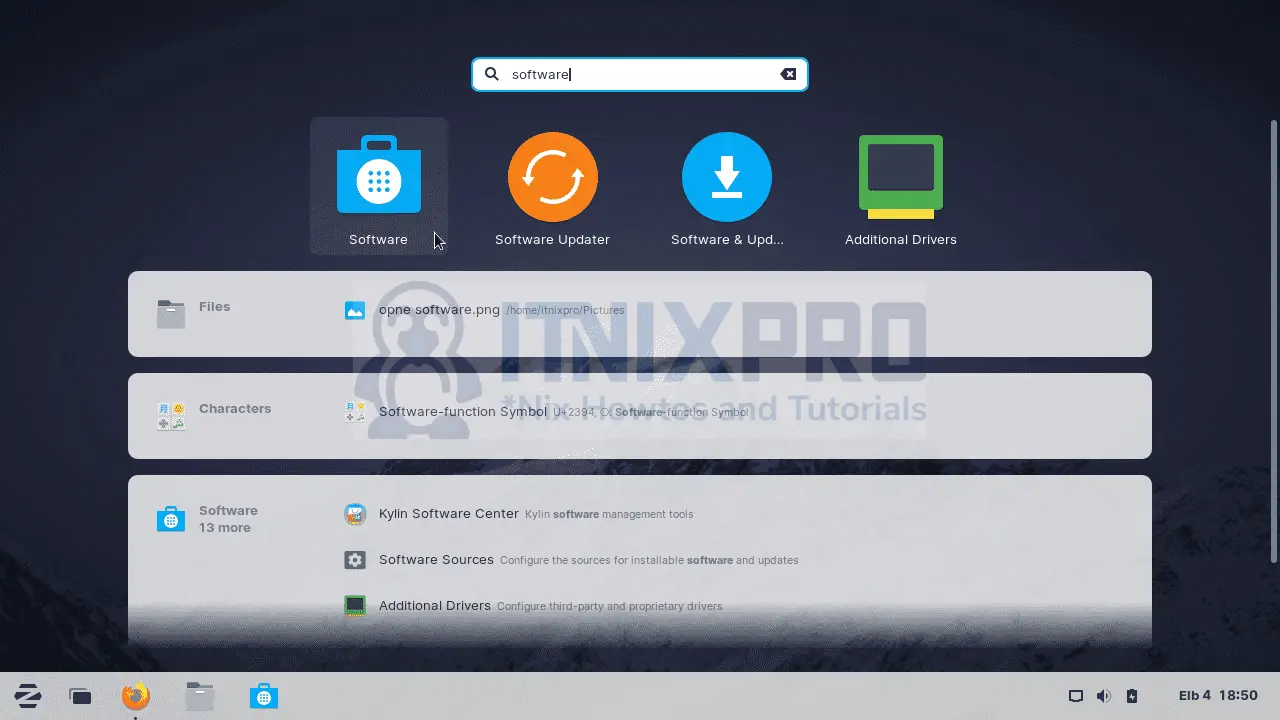
Open the Software center by pressing the Windows Key then start typing “software“. Click on the software app below and wait for the tool to download the necessary files.
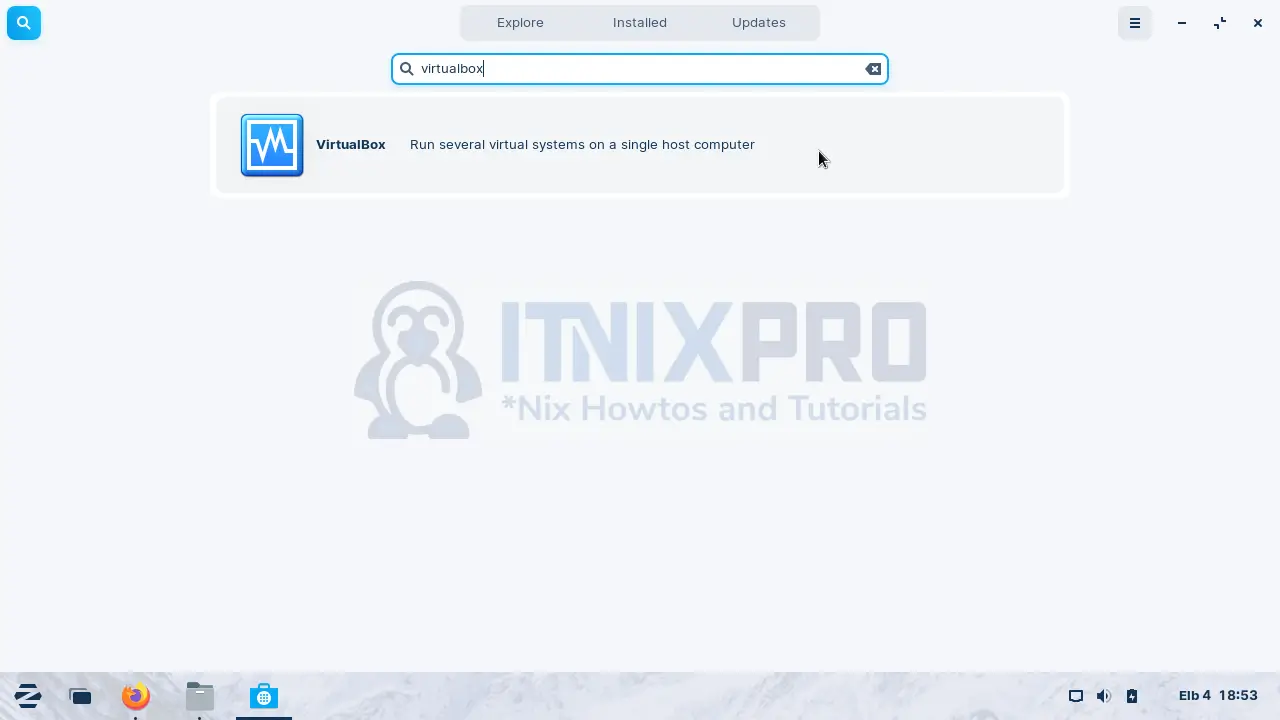
Thereafter, click on the search icon at the top left corner as shown below
Type “virtualbox” in the search bar and wait for Snap to locate the VirtualBox. Once the package is located, click on it
Now click install

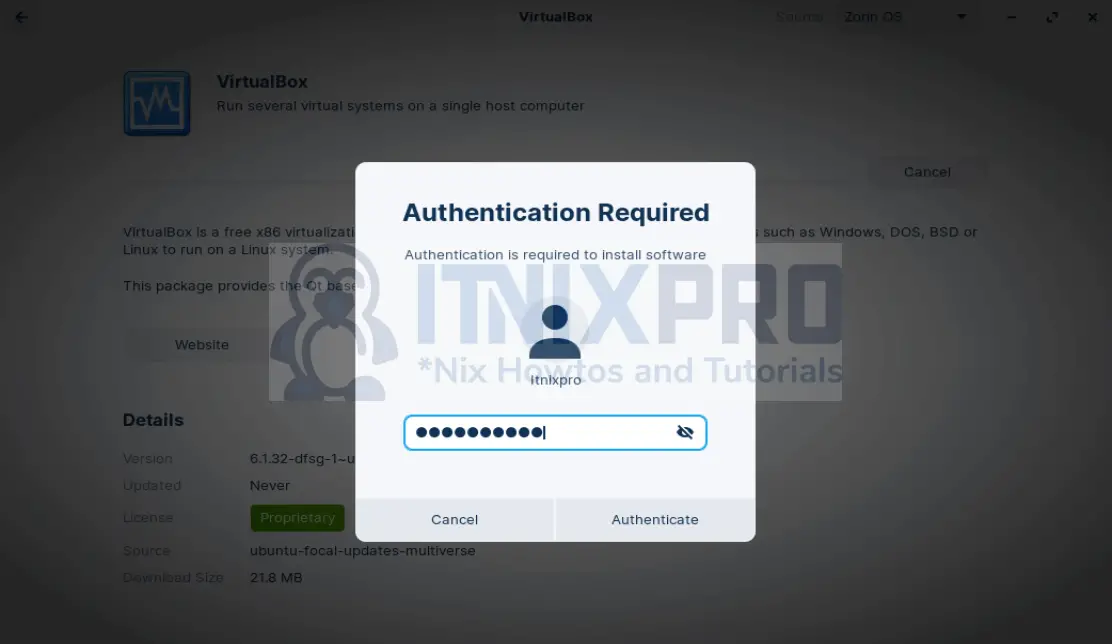
You will be prompted for authentication as shown below. Enter your password and press enter.
Wait for the installation to complete as below
2. Install VirtualBox using APT Repositories
If you runsudo apt install virtualboxcommand, you will install VirtualBox but it will not be the latest version.
To install an updated version such VirtualBox 6.+, you need update the VirtualBox APT sources list.
echo "deb [arch=amd64] https://download.virtualbox.org/virtualbox/debian $(lsb_release -sc) contrib" | sudo tee /etc/apt/sources.list.d/virtualbox.listInstall GPG keys
GPG keys allow you to verify and communicate with the VirtualBox repository.
Install the following repository signing keys.
wget -q https://www.virtualbox.org/download/oracle_vbox_2016.asc -O- | sudo apt-key add -Then followed by;
wget -q https://www.virtualbox.org/download/oracle_vbox.asc -O- | sudo apt-key add -Update the system packages.
sudo apt updateNow install VirtualBox. You can enter the latest version at the end.
sudo apt install virtualbox-6.1Output;
itnixpro@itnixpro-VirtualBox:~$ sudo apt install virtualbox
Reading package lists... Done
Building dependency tree
Reading state information... Done
The following packages were automatically installed and are no longer required:
  chromium-codecs-ffmpeg-extra gstreamer1.0-vaapi heif-gdk-pixbuf
  libva-wayland2
Use 'sudo apt autoremove' to remove them.
The following additional packages will be installed:
  binutils binutils-common binutils-x86-64-linux-gnu build-essential cpp-9
  dctrl-tools dkms dpkg-dev fakeroot g++ g++-9 gcc gcc-9 gcc-9-base
  libalgorithm-diff-perl libalgorithm-diff-xs-perl libalgorithm-merge-perl
  libasan5 libatomic1 libbinutils libc-dev-bin libc6-dev libcc1-0 libcrypt-dev
  libctf-nobfd0 libctf0 libfakeroot libgcc-9-dev libgsoap-2.8.91 libitm1
  liblsan0 liblzf1 libqt5opengl5 libqt5printsupport5 libqt5x11extras5
  libsdl1.2debian libstdc++-9-dev libtsan0 libubsan1 linux-libc-dev make
  manpages-dev virtualbox-dkms virtualbox-qt
Suggested packages:
  binutils-doc gcc-9-locales debtags menu debian-keyring g++-multilib
  g++-9-multilib gcc-9-doc gcc-multilib autoconf automake libtool flex bison
  gdb gcc-doc gcc-9-multilib glibc-doc libstdc++-9-doc make-doc vde2
  virtualbox-guest-additions-iso
The following NEW packages will be installed:
  binutils binutils-common binutils-x86-64-linux-gnu build-essential
  dctrl-tools dkms dpkg-dev fakeroot g++ g++-9 gcc gcc-9
  libalgorithm-diff-perl libalgorithm-diff-xs-perl libalgorithm-merge-perl
  libasan5 libatomic1 libbinutils libc-dev-bin libc6-dev libcc1-0 libcrypt-dev
  libctf-nobfd0 libctf0 libfakeroot libgcc-9-dev libgsoap-2.8.91 libitm1
  liblsan0 liblzf1 libqt5opengl5 libqt5printsupport5 libqt5x11extras5
  libsdl1.2debian libstdc++-9-dev libtsan0 libubsan1 linux-libc-dev make
  manpages-dev virtualbox virtualbox-dkms virtualbox-qt
The following packages will be upgraded:
  cpp-9 gcc-9-base
2 upgraded, 43 newly installed, 0 to remove and 85 not upgraded.
Need to get 89.2 MB of archives.
After this operation, 352 MB of additional disk space will be used.
Do you want to continue? [Y/n]
Type Y and press enter to install
3. Install VirtualBox using .DEB Binary Package
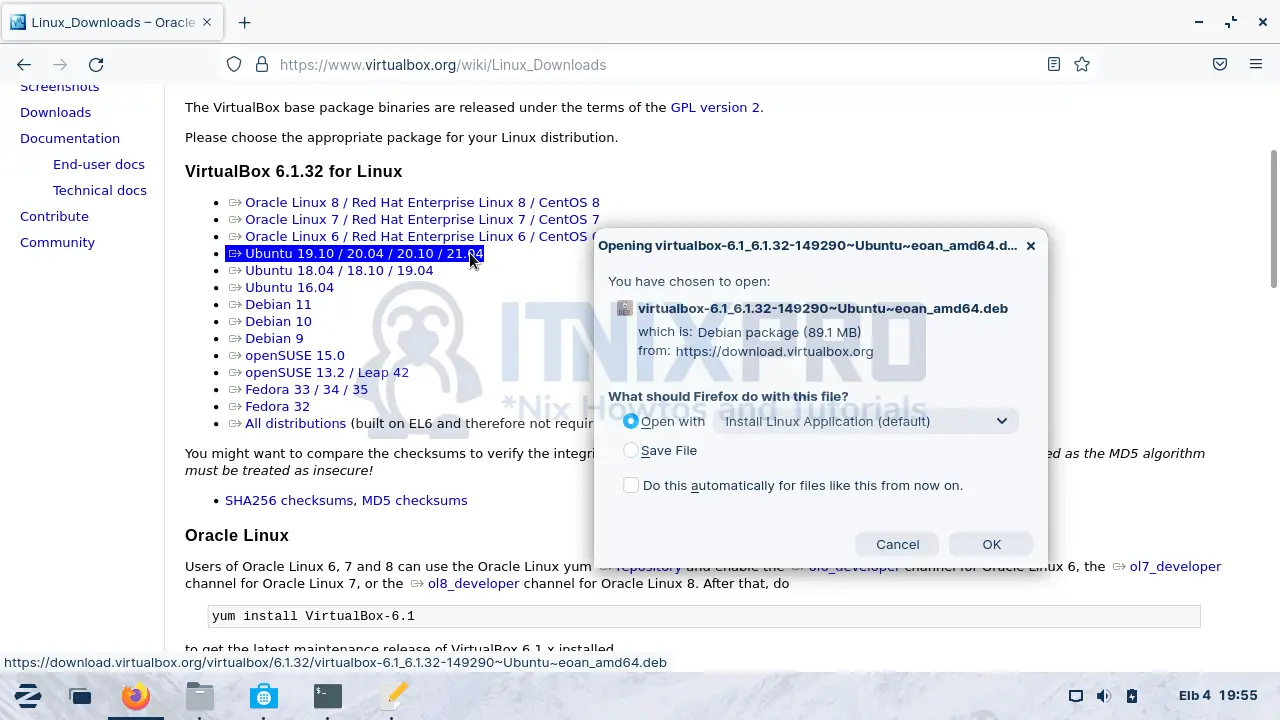
Grab the VirtualBox file from VirtualBox download page. Make sure you download an option for Ubuntu 19.10 / 20.04 / 20.10 / 21.04
Select open with option
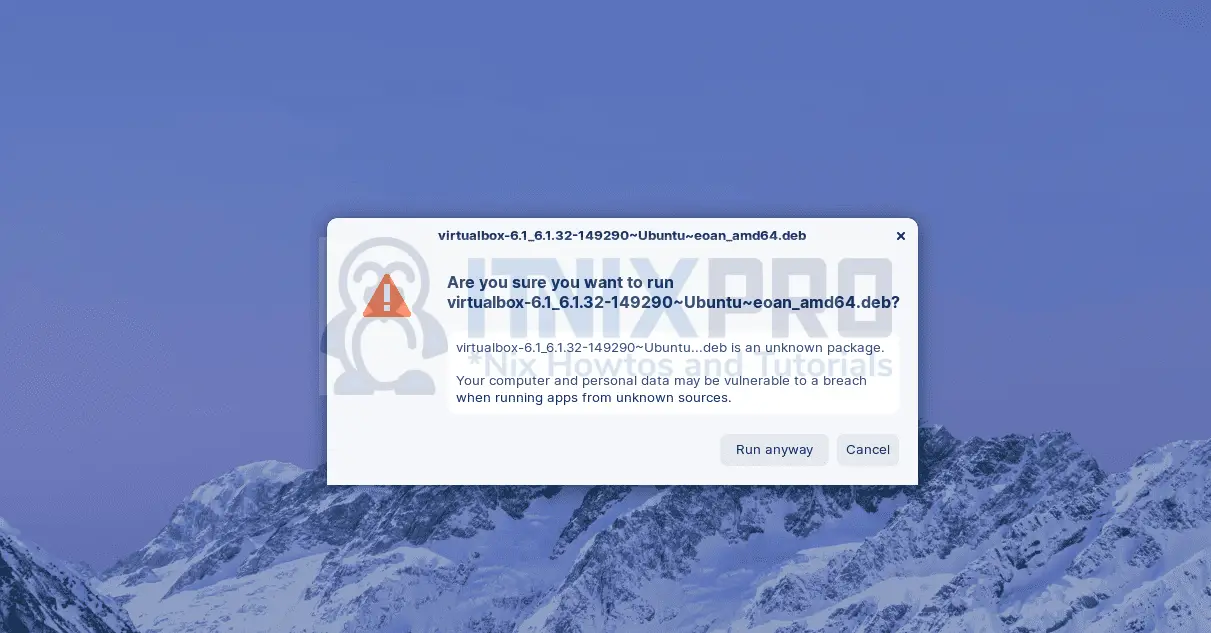
On the next prompt, click on run anyway
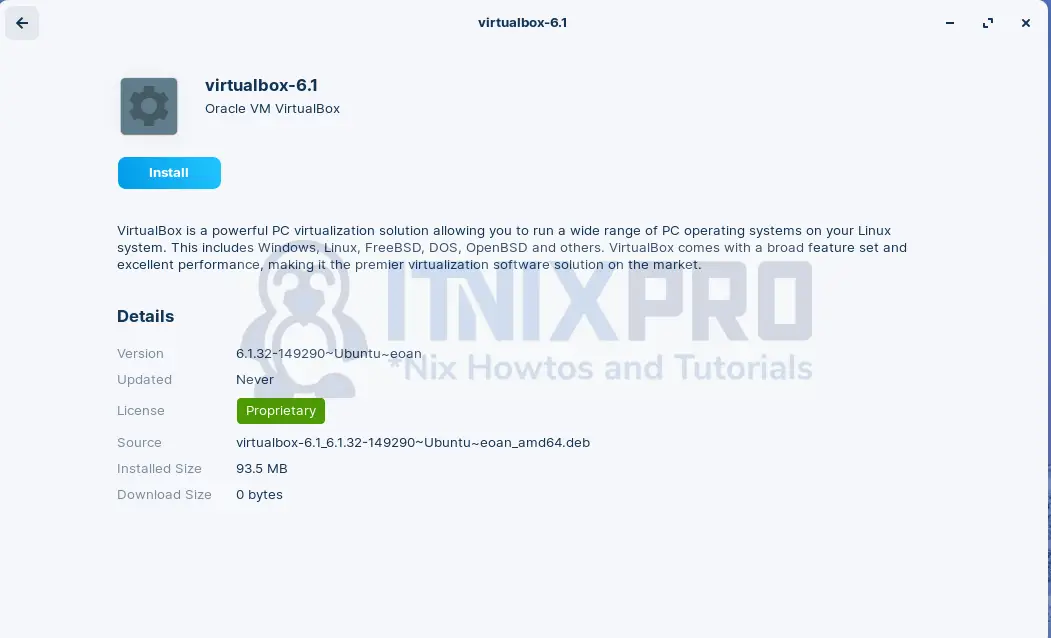
Ignore any permission errors. The screen below loads.
Click on install, when prompted for authentication, enter your password and press enter.
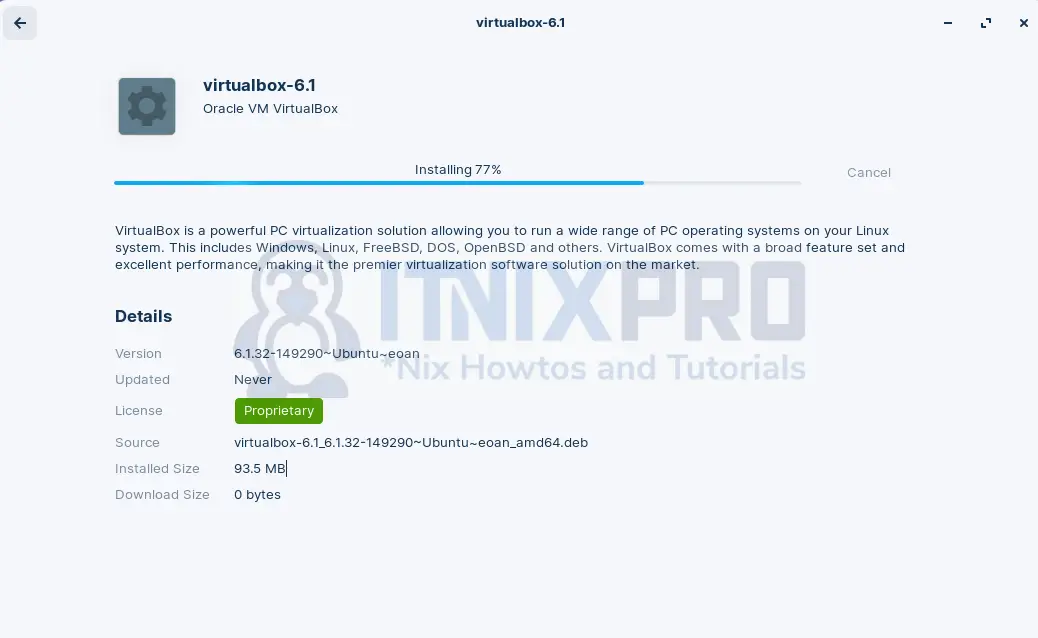
Installation in progress.
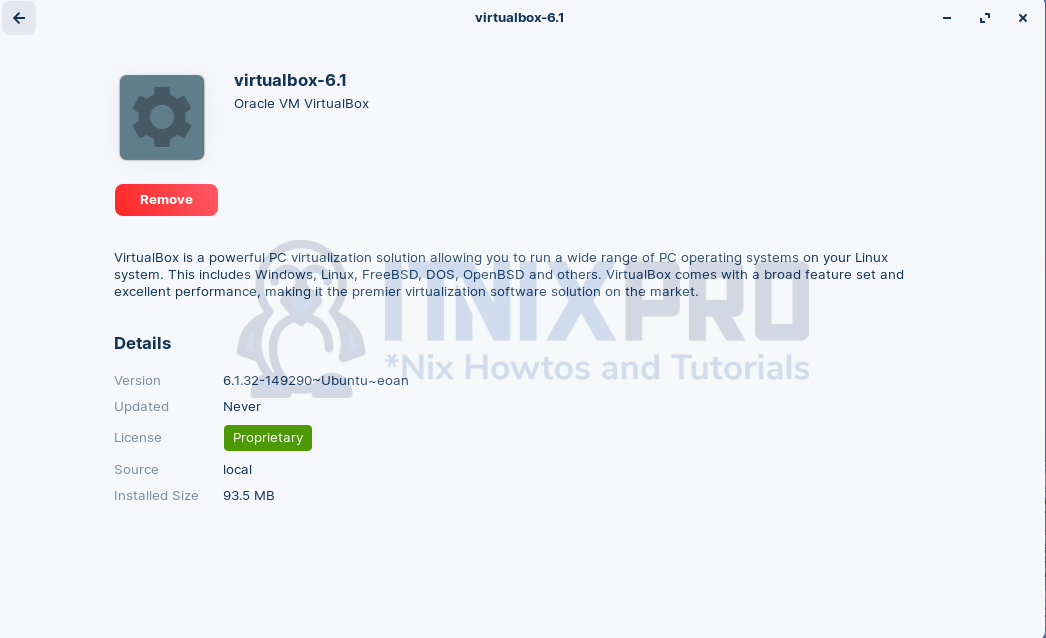
VirtualBox installed;
Install VirtualBox Extension Pack(optional)
- Run the command below to download VirtualBox extension pack.
wget -P /tmp https://download.virtualbox.org/virtualbox/6.1.32/Oracle_VM_VirtualBox_Extension_Pack-6.1.32.vbox-extpack- Then install it using the command below
sudo VBoxManage extpack install /tmp/Oracle_VM_VirtualBox_Extension_Pack-6.1.32.vbox-extpackLaunching VirtualBox
Press Windows Key on the keyboard and type “virtualbox” followed by enter or open the terminal by pressing CTLR+ALT+T then enter the command virtualbox
VirtualBox will launch as below
You have successfully managed to install VirtualBox on Zorin OS.
Uninstall VirtualBox
Remove VirtualBox by executing the command below.
sudo apt purge --autoremove virtualbox-6.1 -yConclusion
Now that you have learned how to install VirtualBox on Zorin OS, you can read more about VirtualBox documentation.
More interesting tutorials
Install Zorin OS on VirtualBox
Install VirtualBox on Parrot OS
Install VirtualBox on Nitrux Linux

