
This article is going to take you through on how to Install Snipe-IT on on Debian 11. Snipe-IT is a free and open source project built on Laravel. Snipe-IT was designed to help IT departments keep track of who has which laptop, when it was purchased, what software licenses and accessories are available, and so on.
How to Install Snipe-IT on Debian 11
Snipe-IT is PHP web application developed using Laravel PHP framework. It runs on LAMP or LEMP stack. Check out our article on how to Install LAMP Stack. In this example we are going to use LAMP stack, make sure it’s installed on your system.
Install Snipe-IT on Debian 11
- Begin by running the commands below to install the Snipe-IT PHP prerequisites, git, and unzip.
sudo apt install php-{opcache,pdo,bcmath,bz2,calendar,ctype,exif,ffi,fileinfo,ftp,gd,iconv,intl,json,mbstring,mysqli,phar,posix,readline,shmop,sockets,sysvmsg,sysvsem,sysvshm,tokenizer,zip,curl,ldap} php7.4-cli git unzipSample output
Reading package lists... Done
Building dependency tree
Reading state information... Done
Note, selecting 'php7.4-opcache' instead of 'php-opcache'
Note, selecting 'php7.4-common' instead of 'php-pdo'
Note, selecting 'php7.4-common' instead of 'php-calendar'
Note, selecting 'php7.4-common' instead of 'php-ctype'
Note, selecting 'php7.4-common' instead of 'php-exif'
Note, selecting 'php7.4-common' instead of 'php-ffi'
Note, selecting 'php7.4-common' instead of 'php-fileinfo'
Note, selecting 'php7.4-common' instead of 'php-ftp'
Note, selecting 'php7.4-common' instead of 'php-iconv'
Note, selecting 'php7.4-mysql' instead of 'php-mysqli'
Note, selecting 'php7.4-common' instead of 'php-phar'
Note, selecting 'php7.4-common' instead of 'php-posix'
Note, selecting 'php7.4-common' instead of 'php-shmop'
Note, selecting 'php7.4-common' instead of 'php-sockets'
Note, selecting 'php7.4-common' instead of 'php-sysvmsg'
Note, selecting 'php7.4-common' instead of 'php-sysvsem'
Note, selecting 'php7.4-common' instead of 'php-sysvshm'
unzip is already the newest version (6.0-25ubuntu1).
unzip set to manually installed.
php7.4-cli is already the newest version (7.4.3-4ubuntu2.10).
php7.4-cli set to manually installed.
php7.4-common is already the newest version (7.4.3-4ubuntu2.10).
php7.4-common set to manually installed.
php7.4-mysql is already the newest version (7.4.3-4ubuntu2.10).
php7.4-mysql set to manually installed.
php7.4-opcache is already the newest version (7.4.3-4ubuntu2.10).
php7.4-opcache set to manually installed.
The following packages were automatically installed and are no longer required:
  coturn libevent-core-2.1-7 libevent-extra-2.1-7
  libevent-openssl-2.1-7 libevent-pthreads-2.1-7
  libfprint-2-tod1 libfwupdplugin1 libhiredis0.14
  libllvm9 libpq5 sqlite3
Use 'sudo apt autoremove' to remove them.
The following additional packages will be installed:
  git-man liberror-perl libzip5 php-xml php7.4-bcmath
  php7.4-bz2 php7.4-curl php7.4-gd php7.4-intl
  php7.4-ldap php7.4-mbstring php7.4-xml php7.4-zip
Suggested packages:
  git-daemon-run | git-daemon-sysvinit git-doc git-el
  git-email git-gui gitk gitweb git-cvs git-mediawiki
  git-svn
The following NEW packages will be installed:
  git git-man liberror-perl libzip5 php-bcmath php-bz2
  php-curl php-gd php-intl php-json php-ldap
  php-mbstring php-readline php-tokenizer php-xml
  php-zip php7.4-bcmath php7.4-bz2 php7.4-curl
  php7.4-gd php7.4-intl php7.4-ldap php7.4-mbstring
  php7.4-xml php7.4-zip
Install Composer on Debian 11
- Composer is required for managing PHP dependencies; run the following command to install it.
curl -sS https://getcomposer.org/installer | php- Using the command below to move the
composer.pharexecutable to/usr/local/bin/to make it global.
sudo mv composer.phar /usr/local/bin/composerCreate Database for Snipe-IT
- Use the command below to log in as a root user to your MySQL/MariaDB server.
sudo mysql -u root -p- Next create database and user. Change database name, username and password according to your details.
CREATE DATABASE snipeitdb;
CREATE USER 'snipeuser'@'localhost' IDENTIFIED BY 'password';
GRANT ALL PRIVILEGES ON snipeitdb.* TO 'snipeuser'@'localhost';
FLUSH PRIVILEGES;
EXIT;
Install Snipe-IT
- Navigate to your web server’s root directory.
cd /var/www/- Then clone the Snipe-IT repository and save the contents in the snipe-it directory using the following command.
sudo git clone https://github.com/snipe/snipe-it snipe-it- Navigate to the installation directory.
cd snipe-it- To configure the application, we’ll need the
.envconfiguration file. Using the following command, copy the example config file and rename it from.env.exampleto.env
sudo cp .env.example .env- Open the config file by running the command below and enter your database info.
sudo nano .env- Under basic app settings, enter your app URL and time zone e.g.
APP_URL=example.snipe.com
APP_TIMEZONE='Europe/London'- Then, under database settings, fill in your database information, such as database name, database username, and database password.
DB_DATABASE=snipeitdb
DB_USERNAME=snipeuser
DB_PASSWORD=password
Press ctrl+s to save the file then ctrl+x to close the file.
- Set the Snipe-IT data directory’s ownership and permissions.
sudo chown -R www-data:www-data /var/www/snipe-it
sudo chmod -R 755 /var/www/snipe-it- Update composer.
composer update --no-plugins --no-scriptsSample output
Loading composer repositories with package information
Info from https://repo.packagist.org: #StandWithUkraine
Updating dependencies
Lock file operations: 1 install, 94 updates, 0 removals
  - Upgrading adldap2/adldap2 (v10.3.2 => v10.4.1)
  - Locking aws/aws-crt-php (v1.0.2)
  - Upgrading aws/aws-sdk-php (3.185.0 => 3.215.1)
  - Upgrading barryvdh/laravel-debugbar (v3.6.2 => v3.6.7)
  - Upgrading behat/gherkin (v4.8.0 => v4.9.0)
  - Upgrading codeception/codeception (4.1.21 => 4.1.31)
  - Upgrading codeception/lib-innerbrowser (1.5.0 => 1.5.1)
  - Upgrading codeception/module-rest (1.3.1 => 1.4.2)
  - Upgrading codeception/module-webdriver (1.2.1 => 1.4.0)
  - Upgrading doctrine/annotations (1.13.1 => 1.13.2)
  - Upgrading doctrine/cache (1.11.3 => 1.12.1)
  - Upgrading doctrine/collections (1.6.7 => 1.6.8)
  - Upgrading doctrine/dbal (2.13.2 => 2.13.8)
  - Upgrading doctrine/instantiator (1.4.0 => 1.4.1)
  - Upgrading doctrine/lexer (1.2.1 => 1.2.3)
  - Upgrading eduardokum/laravel-mail-auto-embed (1.0.5 => 1.0.7)
  - Upgrading filp/whoops (2.13.0 => 2.14.5)
  - Upgrading firebase/php-jwt (v5.4.0 => v5.5.1)
  - Upgrading guzzlehttp/promises (1.4.1 => 1.5.1)
  - Upgrading guzzlehttp/psr7 (1.8.2 => 1.8.5)
  - Upgrading intervention/image (2.5.1 => 2.7.1)
  - Upgrading justinrainbow/json-schema (5.2.10 => 5.2.11)
  - Upgrading laravel/framework (v6.20.29 => v6.20.44)
  - Upgrading laravel/helpers (v1.4.1 => v1.5.0)
  - Upgrading laravel/slack-notification-channel (v2.3.1 => v2.4.0)
- After updating composer, install all application dependencies using the following command.
composer install --no-dev --prefer-source --no-plugins --no-scripts- Generate the Laravel APP Key value using the command below in the
/var/www/snipe-it/.env.
sudo php artisan key:generateSample output
**************************************
*     Application In Production!     *
**************************************

 Do you really wish to run this command? (yes/no) [no]:
 > yes

Application key set successfully.
Create a Virtual Host File for Snipe-IT
- Start by creating Apache config file.
sudo nano /etc/apache2/sites-available/snipeit.example.com.confPaste the content below to the file. Note replace ServerName with your server IP or domain name.
<VirtualHost *:80>
        ServerAdmin webmaster@localhost
        <Directory /var/www/snipe-it/public>
       Require all granted
       AllowOverride All
          </Directory>
           DocumentRoot /var/www/snipe-it/public
           ServerName 192.168.171.134
          #Redirect permanent / https://snipeit.your-server-fqdn.com/
       ErrorLog /var/log/apache2/snipeIT.error.log
       CustomLog /var/log/apache2/access.log combined
</VirtualHost>
Save and close the file.
- Enable the new configuration file.
sudo a2ensite snipeit.example.com.conf- Then enable rewrite.
sudo a2enmod rewrite- Restart Apache to activate the new configuration.
sudo systemctl restart apache2- Next disable the default site using the command below.
sudo a2dissite 000-default.conf- Then reload Apache.
sudo service apache2 reload- Make a backup of the default site and then delete it. Navigate to available sites using the command below.
cd /etc/apache2/sites-available- Copy default site using the command below.
sudo cp 000-default.conf 000-default.confbackup- Delete default site.
sudo rm 000-default.conf- Reset associations using the command below.
sudo phpenmod mbstring
sudo a2enmod rewrite- Then restart Apache for changes to take effect.
sudo service apache2 restartSnipe-IT Setup Wizard on Debian 11
- Open your web browser and type in the domain name you specified e.g.
http://snipeit.demo.comorhttp://server-IP. Snipe-IT will verify that your server satisfies all of the requirements.
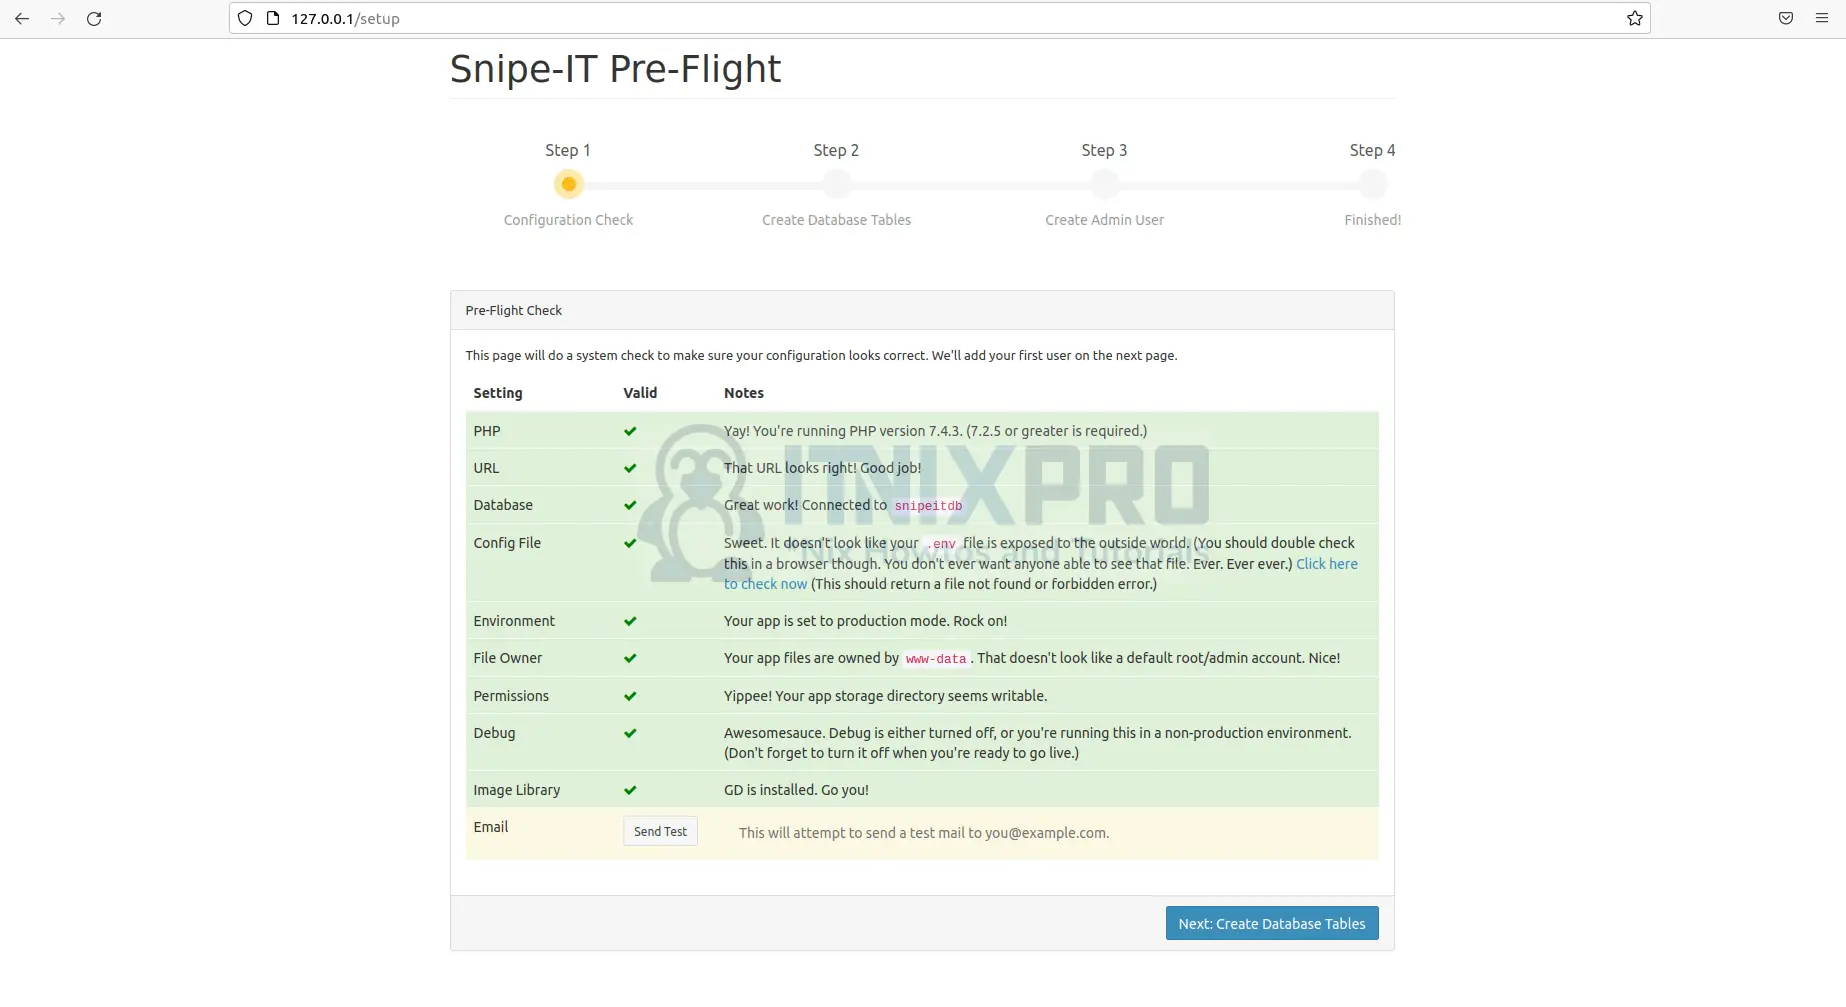
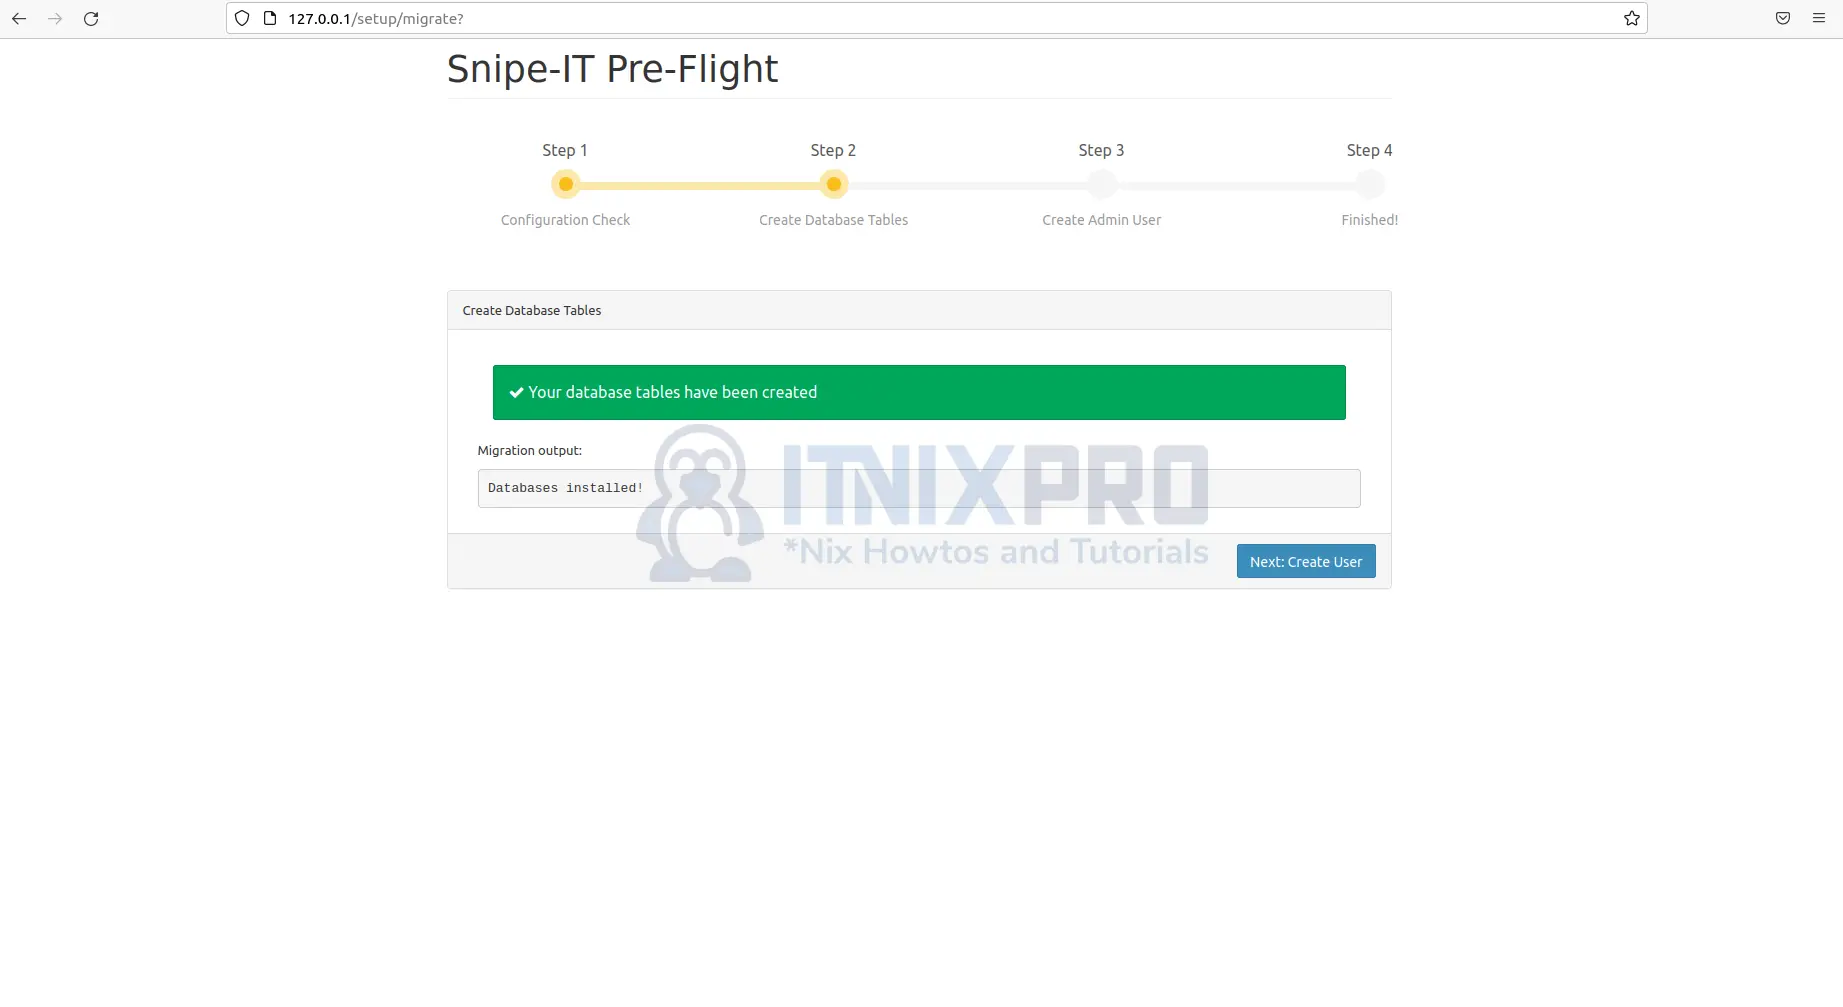
- Click next to proceed.
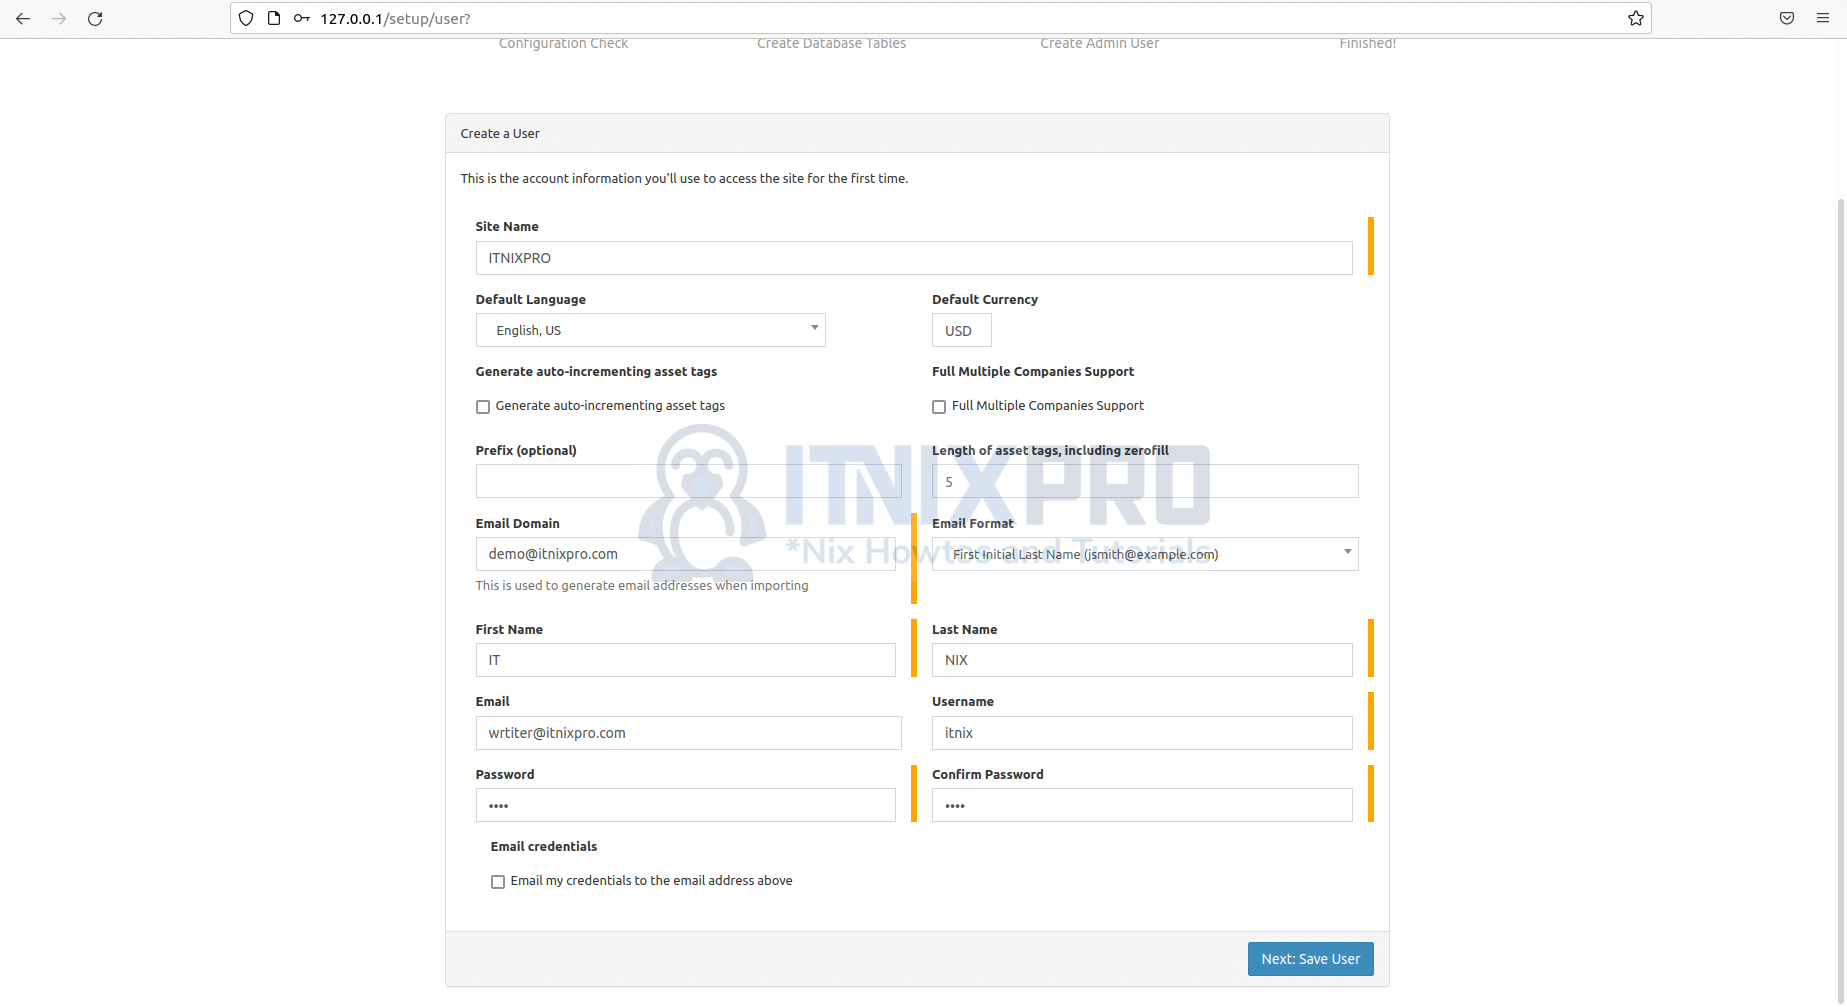
- Then create Admin user for the system.
- After finishing the installation, you will be taken to the dashboard.
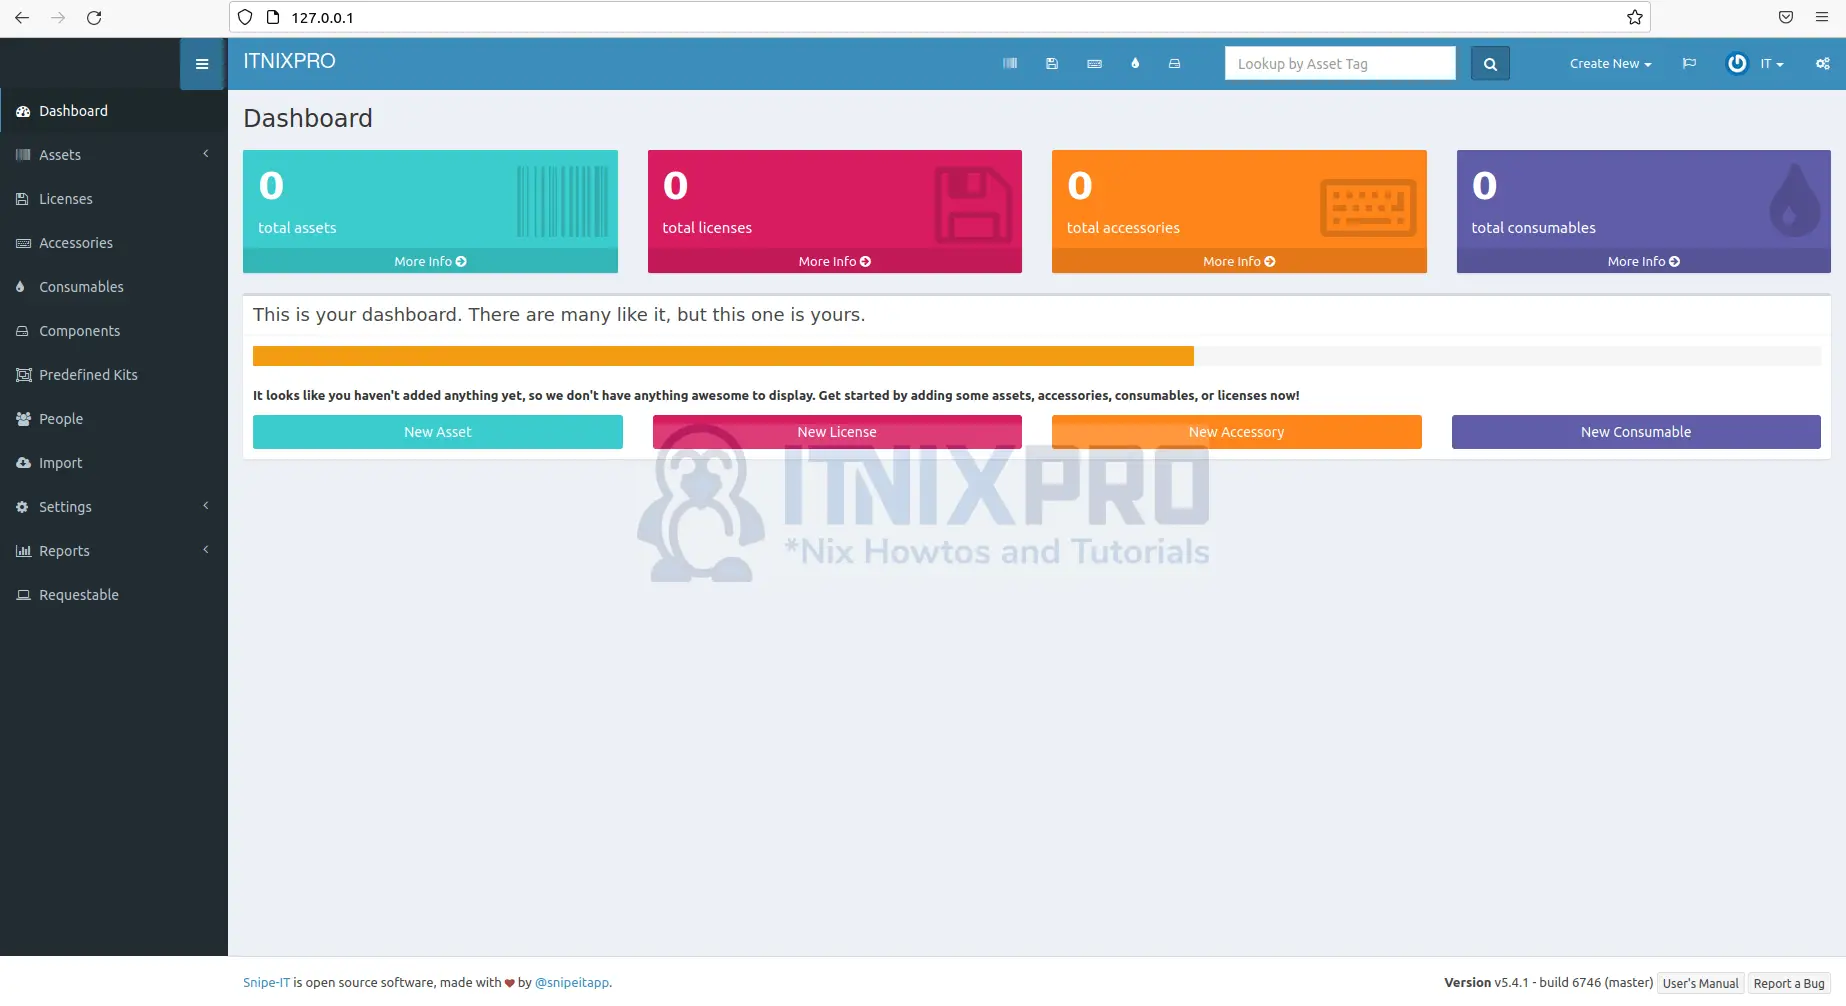
- You have reached the end of the article, Cheers. You have learned how to Install Snipe-IT on Debian 11.
Read more on Snipe-IT Documentation
Other Tutorials
Install AngularJS on Ubuntu 22.04