This article will show you how to install Parrot OS on VirtualBox with illustrative screenshots. Parrot OS is a Debian-based distro for penetration testing, hacking, and anonymity. It is the best alternative to Kali Linux. It uses MATE desktop environment. Parrot OS is open-source and free to use and supports apt, snap, and repository software installation.
Install Parrot OS on VirtualBox
Parrot OS has five editions: home, security, Architect and IoT, cloud, and Raspberry Pi. I will use the home edition in this guide.
Prerequisites
Below are the minimum system requirements i used;
- 16GB+ of free disk space on host OS.
- Parrot OS ISO File
- Installed VirtualBox 6.1 on Windows
- 10 GB+ free space in your hard disk
- 2GB+ of RAM is recommended
Download Parrot OS Image file
Navigate to Parrot OS downloads page and the Parrot OS Home Edition ISO file.
You can as well grab the download link and pull the iso file using wget/curl commands (if using Linux);
wget https://bunny.deb.parrot.sh/parrot/iso/5.0/Parrot-home-5.0_amd64.isoCreate New VirtualBox VM
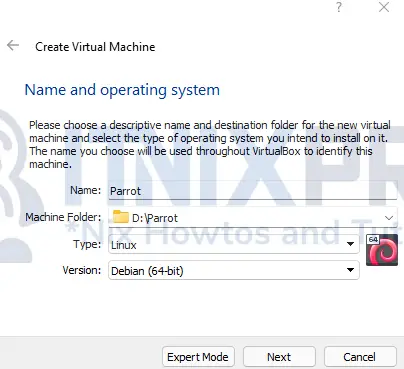
Start VirtualBox and click New. Enter the name as ParrotOS, type as Linux, and version as Debian(64-bit)
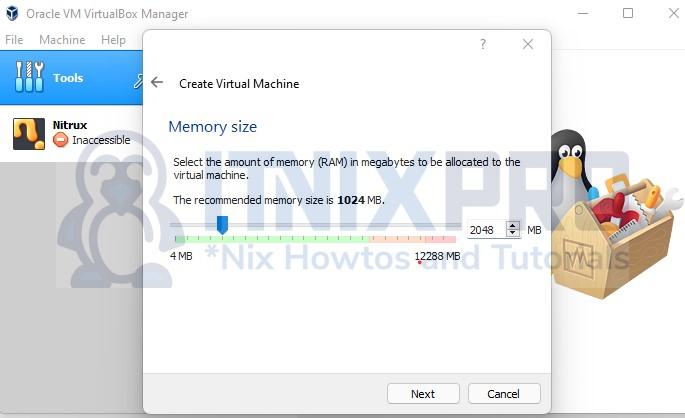
Select RAM as 2GB then click on create virtual disk now.
On the next window, select hard disk file type as VDI(Virtual Disk Image) then select dynamically allocated. On the last screen, enter storage as 10GB.
Enable sharing clipboard (optional)
On the VirtualBox Windows VM, choose Devices > Insert Guest Additions CD image. Choose Computer > CD Drive, double-click VirtualBox Guest, and complete the installation as prompted.
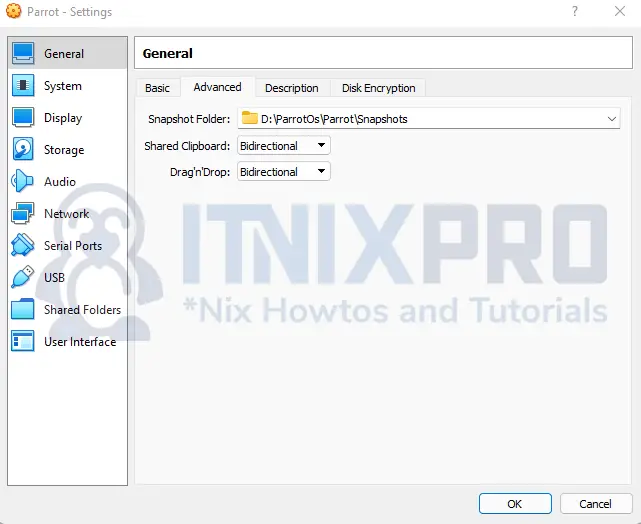
Click on the advanced tab and select Shared Clipboard and Drag’n’Drop as bidirectional.
Select ISO file
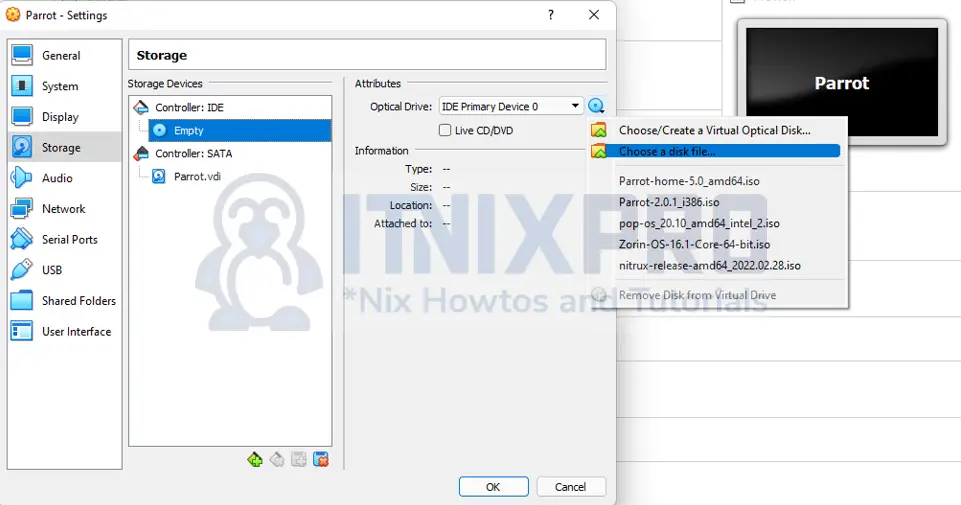
Choose the ISO file under the Settings by selecting Storage on the left panel, click on empty under controller: IDE.
Under the attributes on the right side, click on the disc icon and locate the Parrot OS ISO file then click OK.
Install Parrot OS on VirtualBox
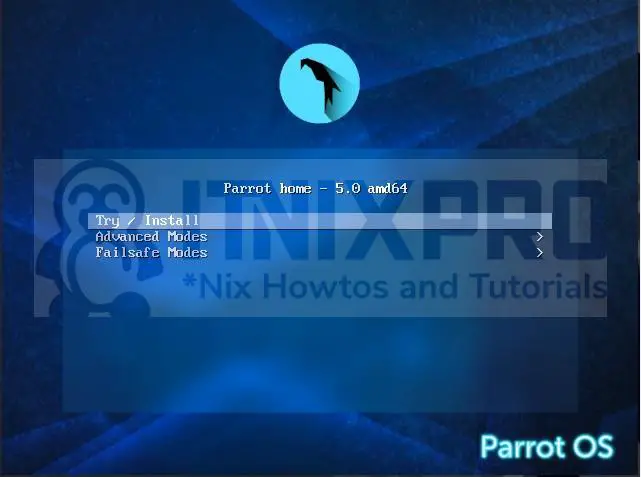
Select Parrot OS and click on Start. You will be prompted to select the boot option in the GRUB bootloader. Select try/install option and press enter.
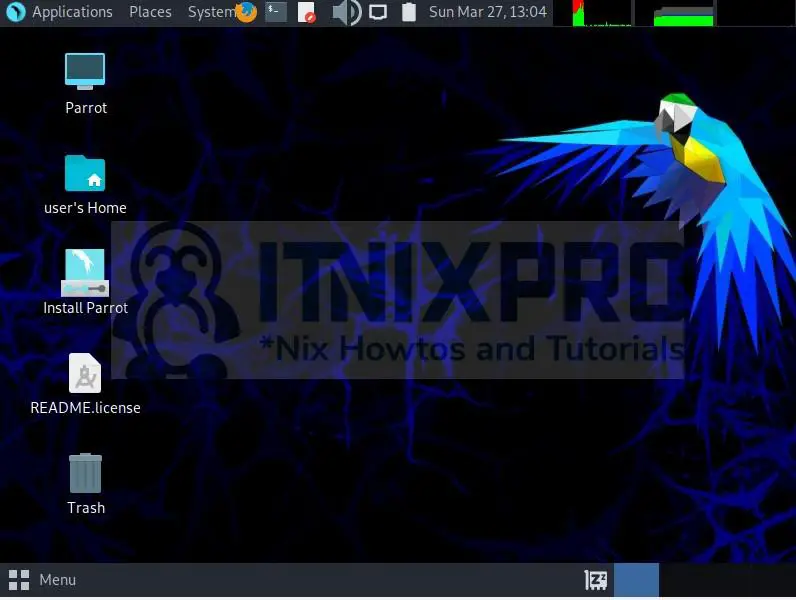
A default Parrot screen will load as below. Now double-click on the Install Parrot icon on the desktop.
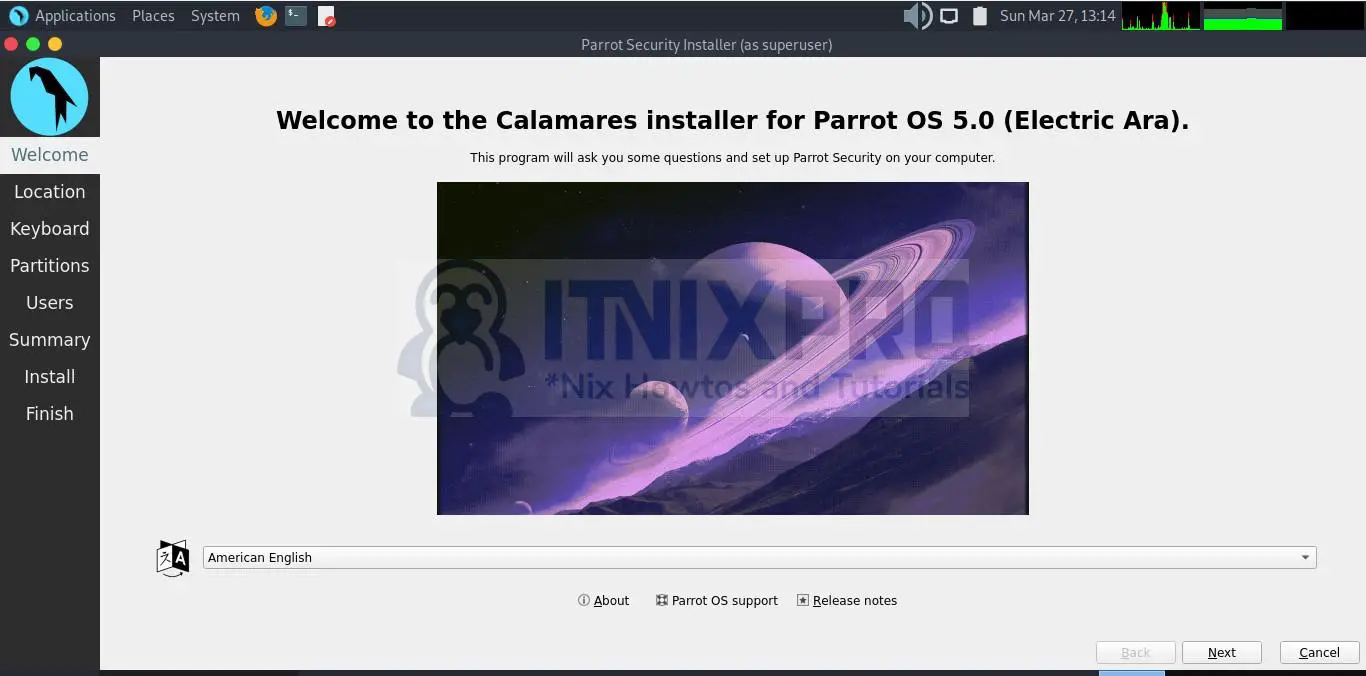
Accept default language or change to the language you want and click next
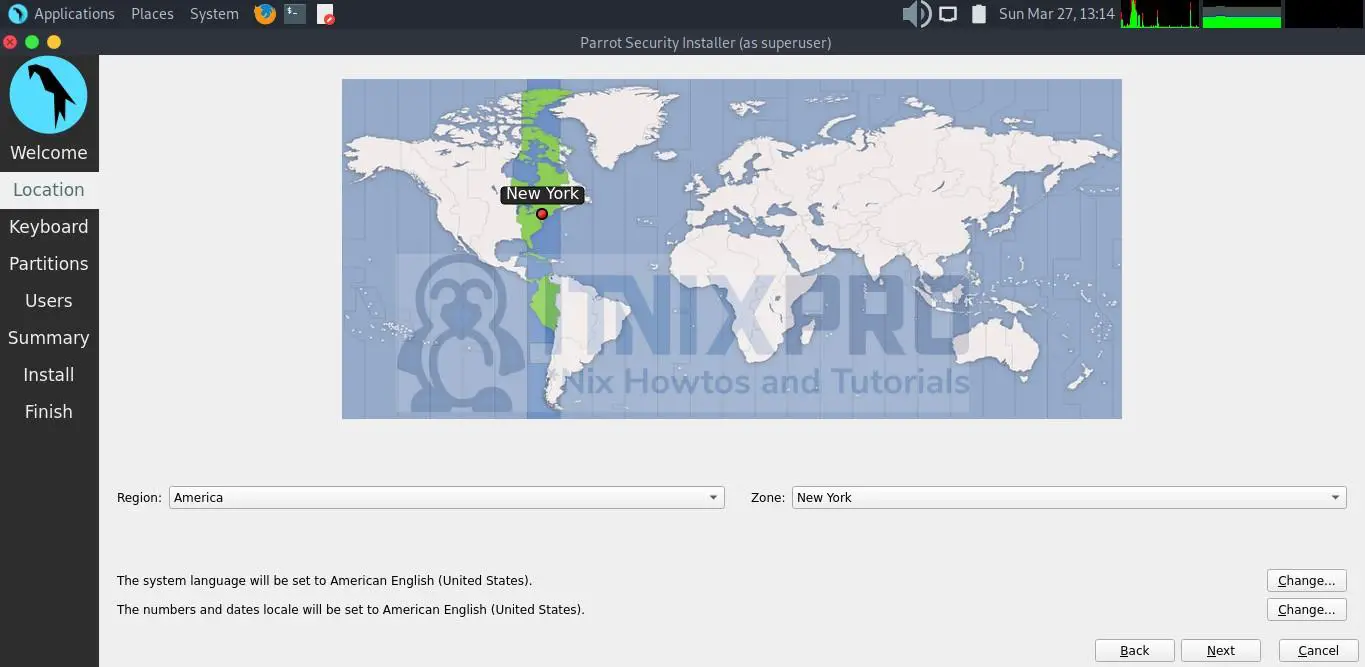
Choose region and zone then click next
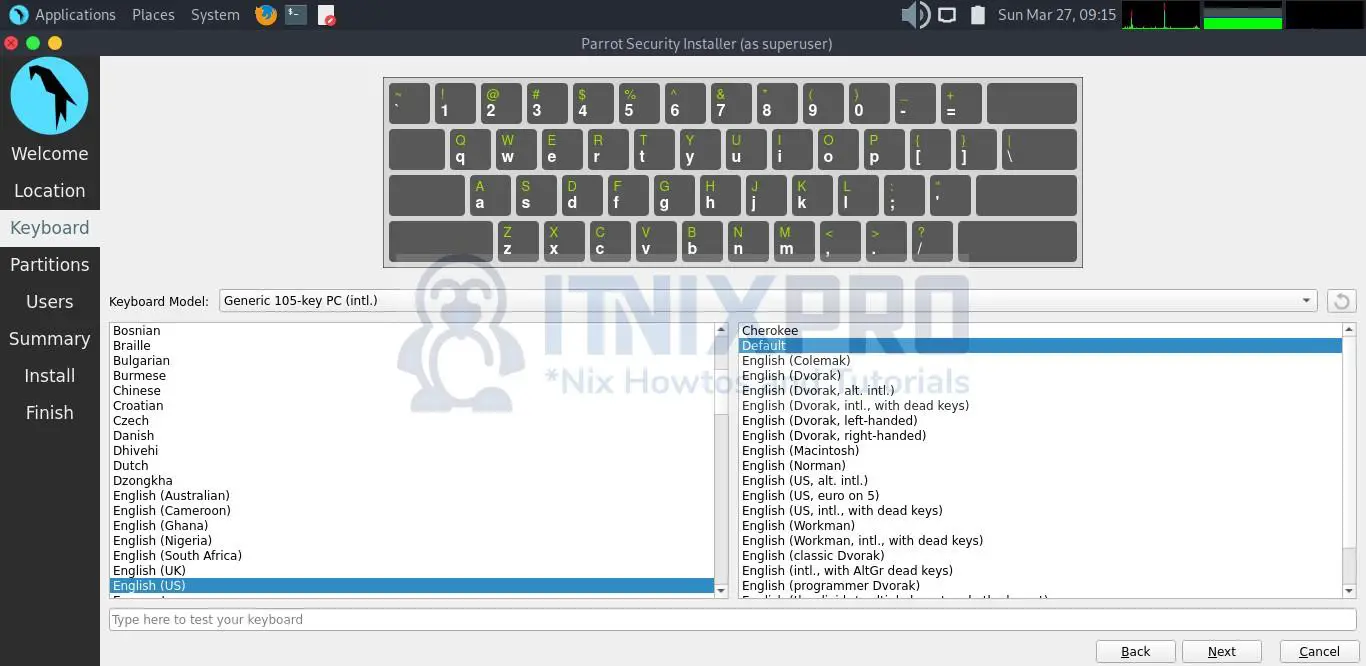
Keyboard layout
Accept the default English keyboard layout or change as per your desire
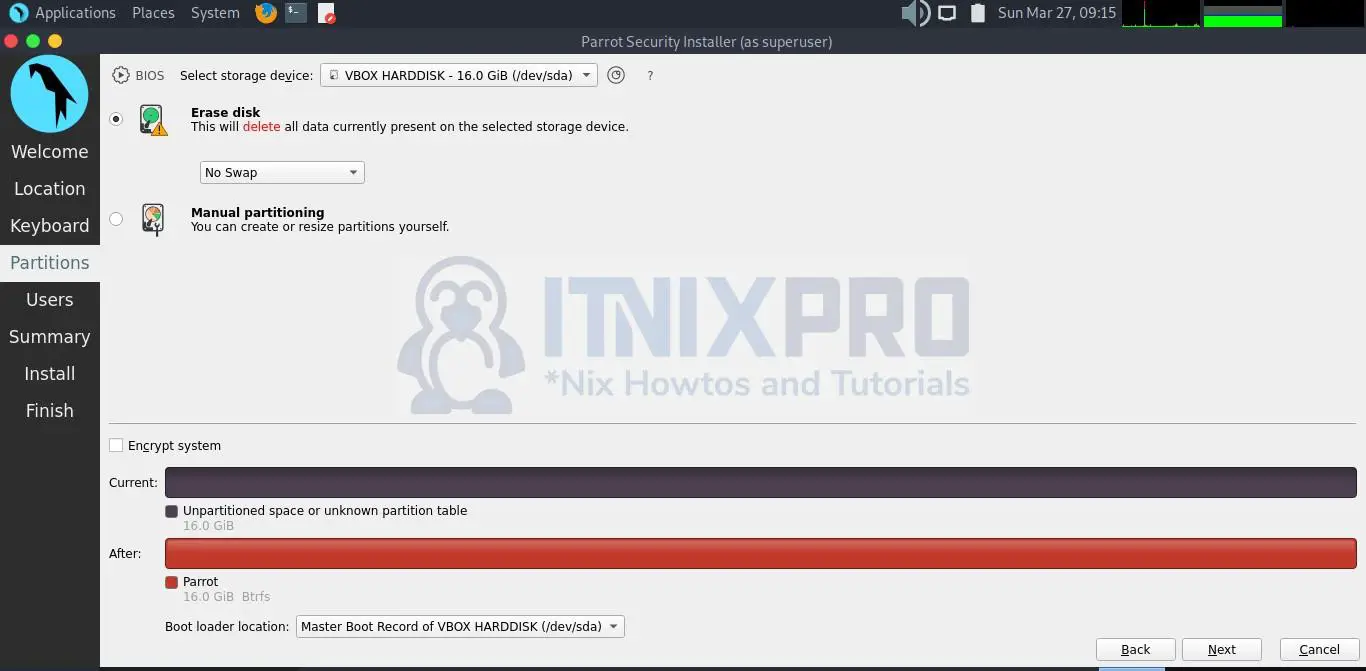
Installation type
Choose Erase disk, and swap to file and click next
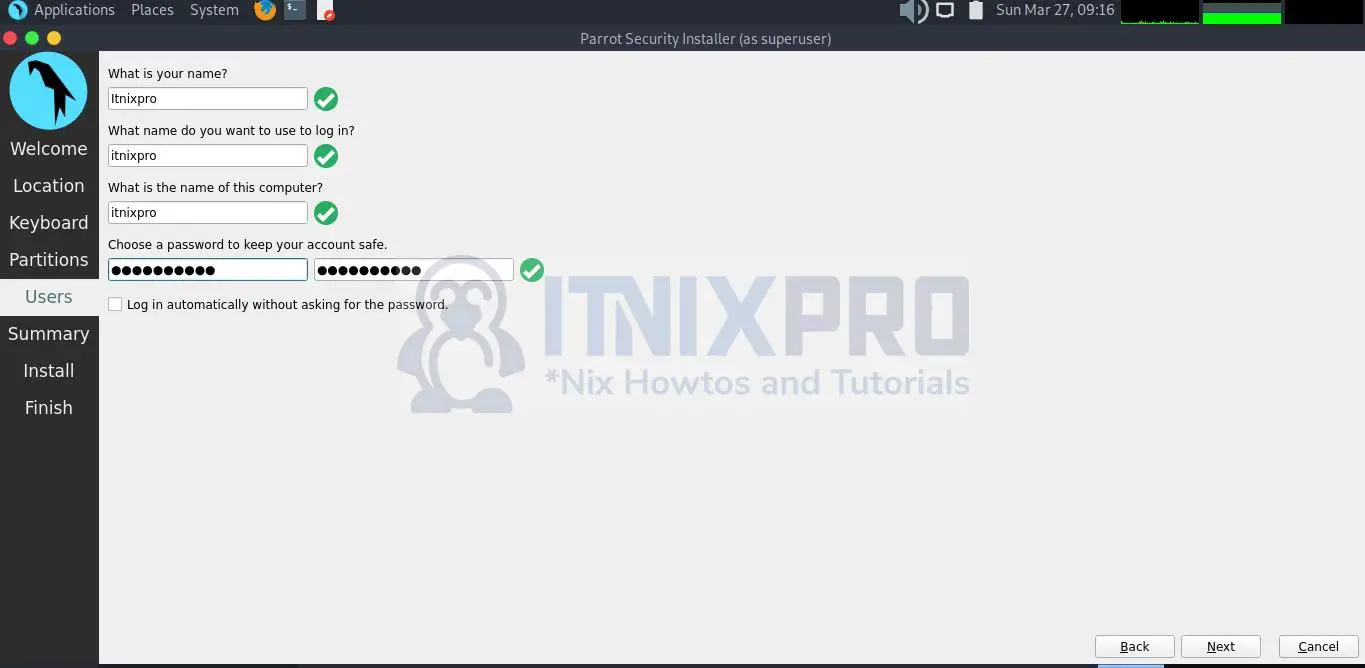
Enter your name, computer name, username, and password then click next
Preview the settings and click Install
Confirm by clicking on install now on the next popup screen. Wait for the installation to complete as shown below.
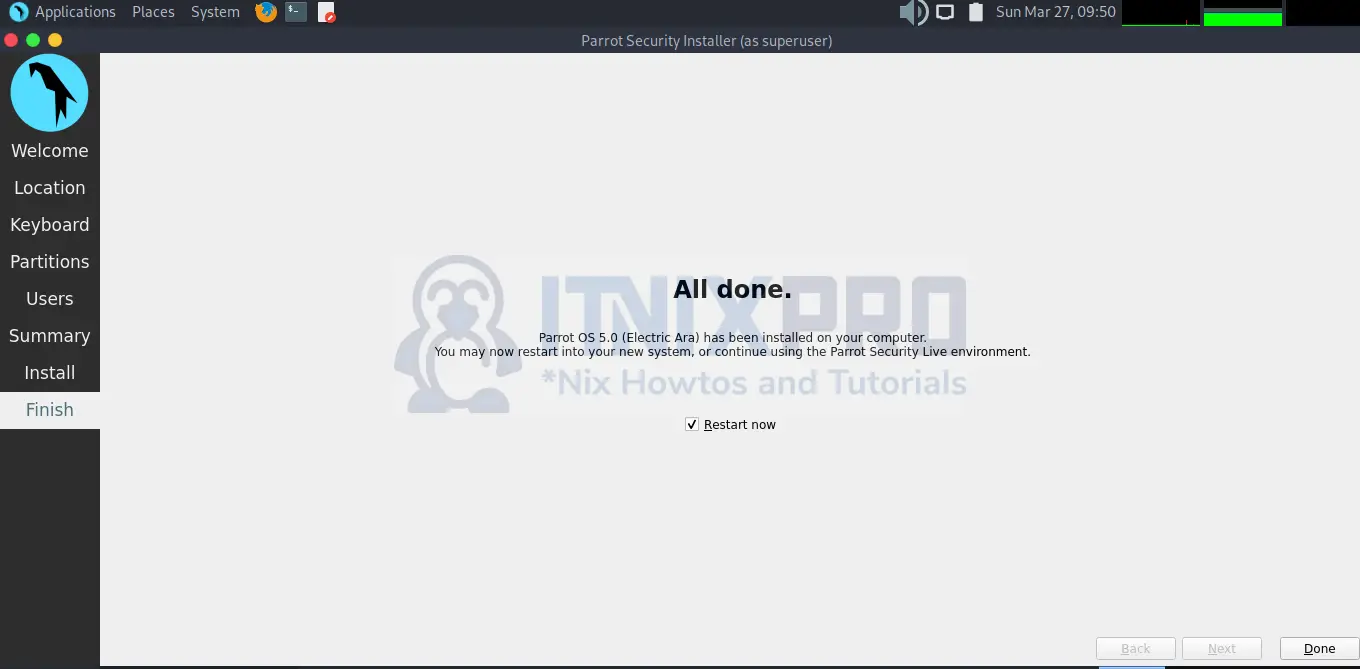
Now restart the device by clicking Done with the restart now option checked.
Restart
The system reboots with the following boot screen. Proceed with the default option-Parrot GNU/ Linux.
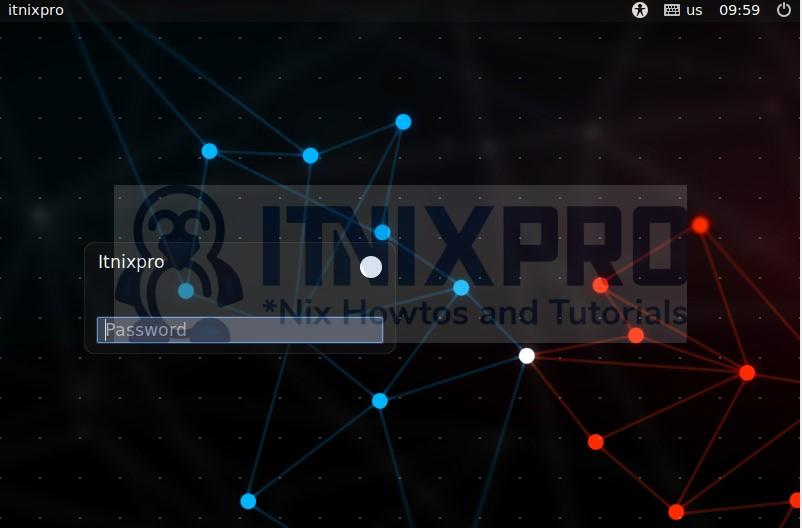
The login screen will load next. Enter the credentials you created during installation.
The default desktop of Parrot OS is displayed upon successful login.
You have successfully installed Parrot OS.
Conclusion
You learned how to install Parrot OS on VirtualBox. You can now go offensive with Parrot OS security.
Further Reading
Other Tutorials
How to Install VirtualBox on Ubuntu 22.04

