
Welcome to this article where you get a chance to install Mattermost on Debian 11. Mattermost is an open-source software for collaboration and messaging similar to Microsoft Teams and Slack. In addition to messaging, Mattermost provides file sharing, searching and integration of modules to extend functionalities.
Prerequisites
You need the following to install Mattermost on Debian 11:
- Root privileges
- A web server
- A database server
- Stable internet connection
Install Mattermost on Debian 11
You can install Mattermost on Debian 11 using tar file.
- Download the latest Debian package from official Mattermost download using
wgetcommand:
wget -P ~/Downloads https://releases.mattermost.com/6.6.1/mattermost-6.6.1-linux-amd64.tar.gz- Move to Downloads directory
cd ~/Downloads- Unpack the Mattermost Server files.
tar -xvzf mattermost*.gz- Move the extracted file to the
/optdirectory.
sudo mv mattermost /opt- Create the storage directory for files.
sudo mkdir /opt/mattermost/dataCreate a new user and set the proper permissions
- Set up a system user and group called mattermost that will run service.
sudo useradd --system --user-group mattermost- Set the mattermost user and group to own the Mattermost files.
sudo chown -R mattermost:mattermost /opt/mattermost- Grant the
/opt/mattermostdirectory write permission.
sudo chmod -R g+w /opt/mattermostInstall and configure PostgreSQL Database Server
I will demonstrate using PostgreSQL but you can use MySQL or MariaDB or any database.
- Use the command below to install PostgreSQL .
sudo apt install postgresql postgresql-contrib- Log in to the PostgreSQL console with the command:
sudo --login --user postgres- Enable running SQL commands:
psql- Create the database mattermost with:
CREATE DATABASE mattermost;- Create a new user with a username: itnixpro and password: itnixpro2022. Replace the fields accordingly.
CREATE USER itnixpro WITH PASSWORD 'itnixpro2022';- Grant the necessary permissions to the new user to the database:
GRANT ALL PRIVILEGES ON DATABASE mattermost to itnixpro;- Exit to close the console:
\q- Exit out of PostgreSQL
exitConfigure Mattermost Server with PostgreSQL
- Setup the driver connection setting:
sudo nano /opt/mattermost/config/config.jsonPress CTRL+W to find the lines that start with:
"DriverName":"DataSource":
Change DriverName value to postgres
"DriverName": "postgres",Make sure the line below looks the same by editing mmuser, StrongDBPassWord and database: mattermost to the database user, password and database you created earlier.
"DataSource": "postgres://itnixpro:itnixpro2022@localhost:5432/mattermost?sslmode=disable&connect_timeout=10",Configure Systemd Service
Set up Mattermost to use systemd for starting and stopping.
- Create a systemd unit file.
sudo nano /lib/systemd/system/mattermost.service- Copy and paste the content below
[Unit]
Description=Mattermost
After=network.target
After=postgresql.service
BindsTo=postgresql.service
[Service]
Type=notify
ExecStart=/opt/mattermost/bin/mattermost
TimeoutStartSec=3600
KillMode=mixed
Restart=always
RestartSec=10
WorkingDirectory=/opt/mattermost
User=mattermost
Group=mattermost
LimitNOFILE=49152
[Install]
WantedBy=multi-user.target
- Reload the daemon
sudo systemctl daemon-reload- Allow Mattermost run on startup
sudo systemctl enable mattermost.service- Next start the Mattermost
sudo systemctl start mattermost.service- Check if Mattermost is running:
systemctl status mattermost- Output:
itnixpro@debian:~$ systemctl status mattermost
● mattermost.service - Mattermost
     Loaded: loaded (/lib/systemd/system/mattermost.service; enabled; vendor pr>
     Active: active (running) since Fri 2022-05-06 06:00:43 EDT; 2min 47s ago
   Main PID: 11139 (mattermost)
      Tasks: 45 (limit: 3531)
     Memory: 465.5M
        CPU: 32.262s
     CGroup: /system.slice/mattermost.service
             ├─11139 /opt/mattermost/bin/mattermost
             ├─11204 plugins/com.mattermost.plugin-channel-export/server/dist/p>
             ├─11223 plugins/playbooks/server/dist/plugin-linux-amd64
             ├─11229 plugins/focalboard/server/dist/plugin-linux-amd64
             └─11244 plugins/com.mattermost.nps/server/dist/plugin-linux-amd64
lines 1-13/13 (END)
Install Nginx web server
For security purposes, use Nginx web server as a reverse proxy. Install Nginx:
sudo apt install nginx -yCreate a configuration file for Nginx:
sudo nano /etc/nginx/conf.d/mattermost.confAdd the configurations below and save the file
upstream backend {
   server 127.0.0.1:8065;
   keepalive 32;
}

proxy_cache_path /var/cache/nginx levels=1:2 keys_zone=mattermost_cache:10m max_size=3g inactive=120m use_temp_path=off;

server {
   listen 80;
   server_name    chat.itnixprotest.com;

   location ~ /api/v[0-9]+/(users/)?websocket$ {
       proxy_set_header Upgrade $http_upgrade;
       proxy_set_header Connection "upgrade";
       client_max_body_size 50M;
       proxy_set_header Host $http_host;
       proxy_set_header X-Real-IP $remote_addr;
       proxy_set_header X-Forwarded-For $proxy_add_x_forwarded_for;
       proxy_set_header X-Forwarded-Proto $scheme;
       proxy_set_header X-Frame-Options SAMEORIGIN;
       proxy_buffers 256 16k;
       proxy_buffer_size 16k;
       client_body_timeout 60;
       send_timeout 300;
       lingering_timeout 5;
       proxy_connect_timeout 90;
       proxy_send_timeout 300;
       proxy_read_timeout 90s;
       proxy_pass http://backend;
   }

   location / {
       client_max_body_size 50M;
       proxy_set_header Connection "";
       proxy_set_header Host $http_host;
       proxy_set_header X-Real-IP $remote_addr;
       proxy_set_header X-Forwarded-For $proxy_add_x_forwarded_for;
       proxy_set_header X-Forwarded-Proto $scheme;
       proxy_set_header X-Frame-Options SAMEORIGIN;
       proxy_buffers 256 16k;
       proxy_buffer_size 16k;
       proxy_read_timeout 600s;
       proxy_cache mattermost_cache;
       proxy_cache_revalidate on;
       proxy_cache_min_uses 2;
       proxy_cache_use_stale timeout;
       proxy_cache_lock on;
       proxy_http_version 1.1;
       proxy_pass http://backend;
   }
}
Ensure you edit the server_name and server accordingly.
Next remove the default NGINX configuration file.
sudo rm /etc/nginx/sites-enabled/defaultRestart Nginx:
sudo systemctl restart nginxAccess Mattermost Web Interface
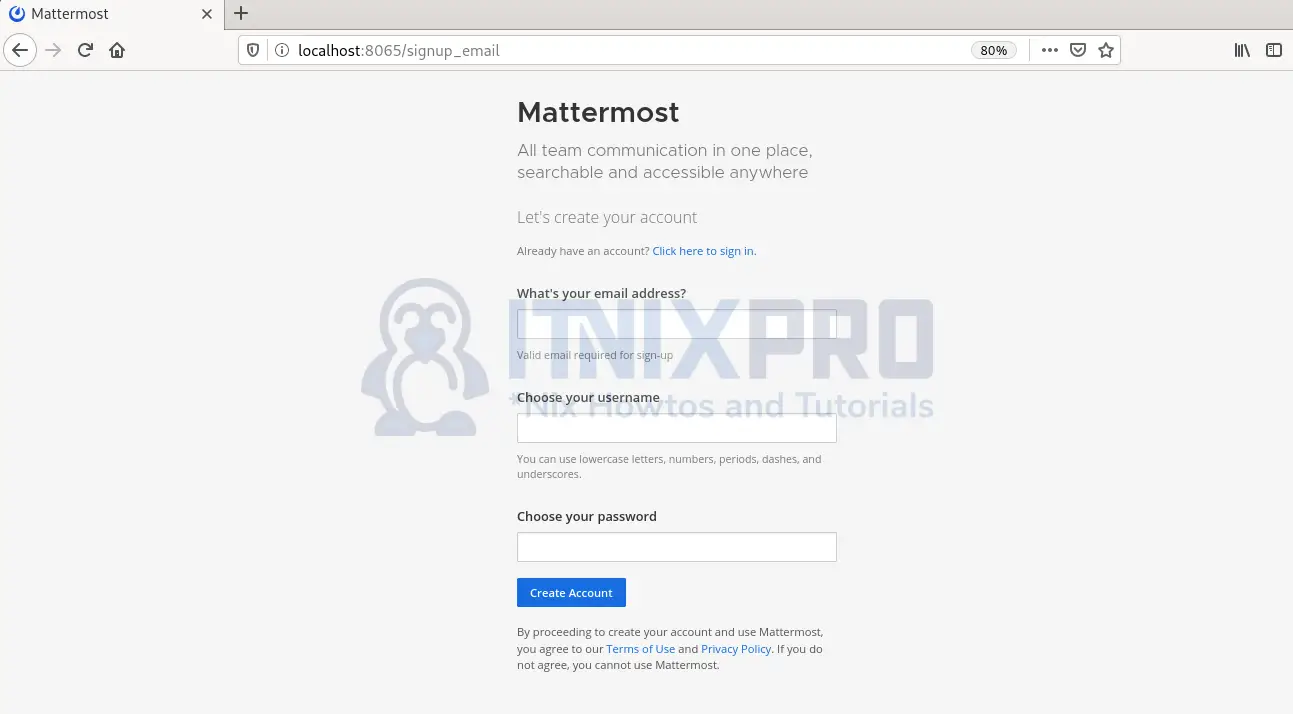
Visit your browser and enter your server-IP:8065 depending on the mattermost configuration file, for instance http://localhost:8065.
The sign up screen loads as below. Create an account for logging in and click Create account
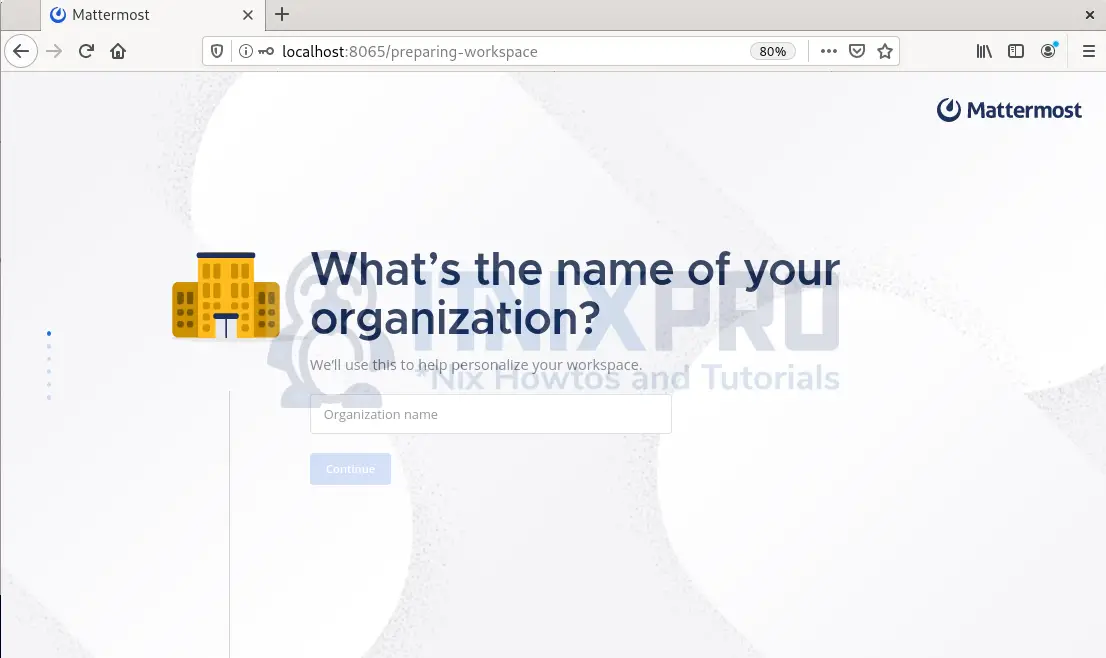
On the next screen, input your organization name:
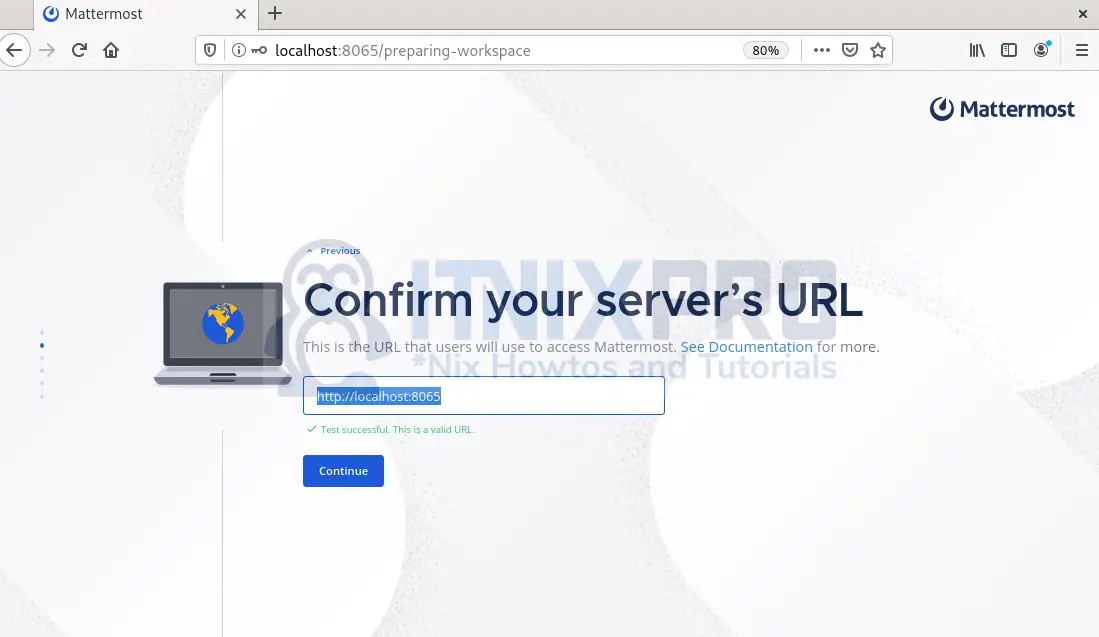
Next leave the server’s URL as default and click continue
Choose what you want to use Mattermost for, e.g. Team communication

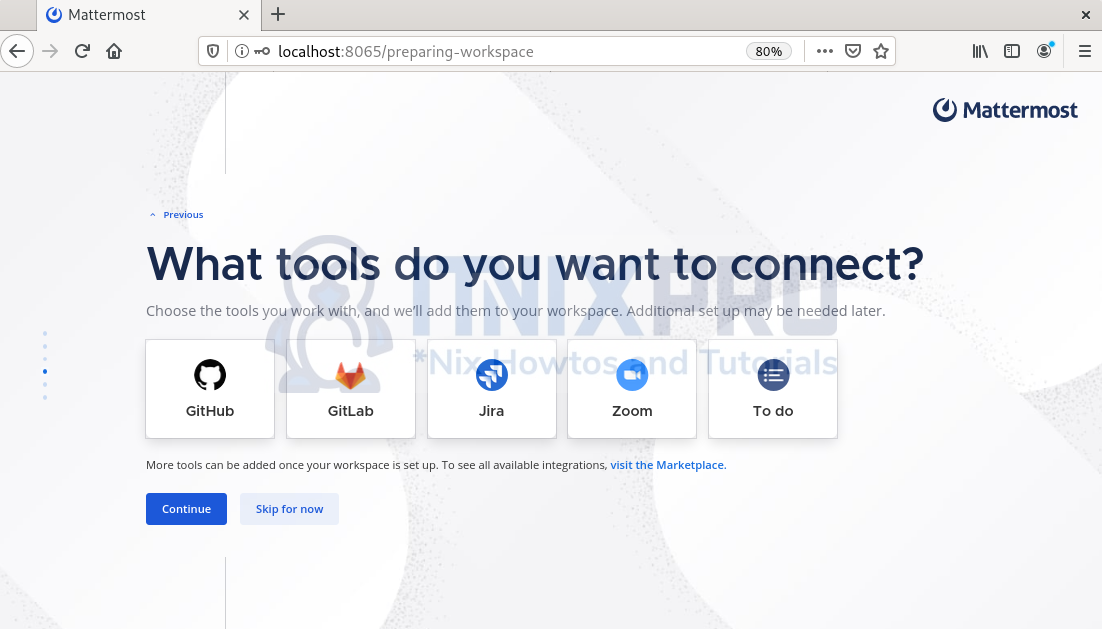
Next, you can select additional tools to extend functionalities:
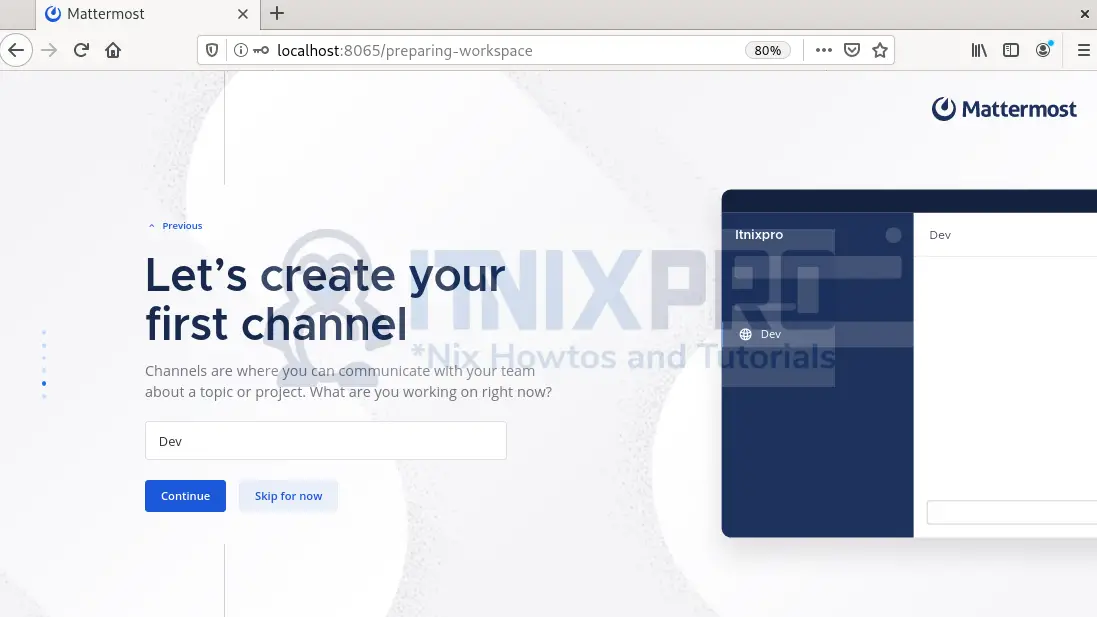
Then enter your channel name:
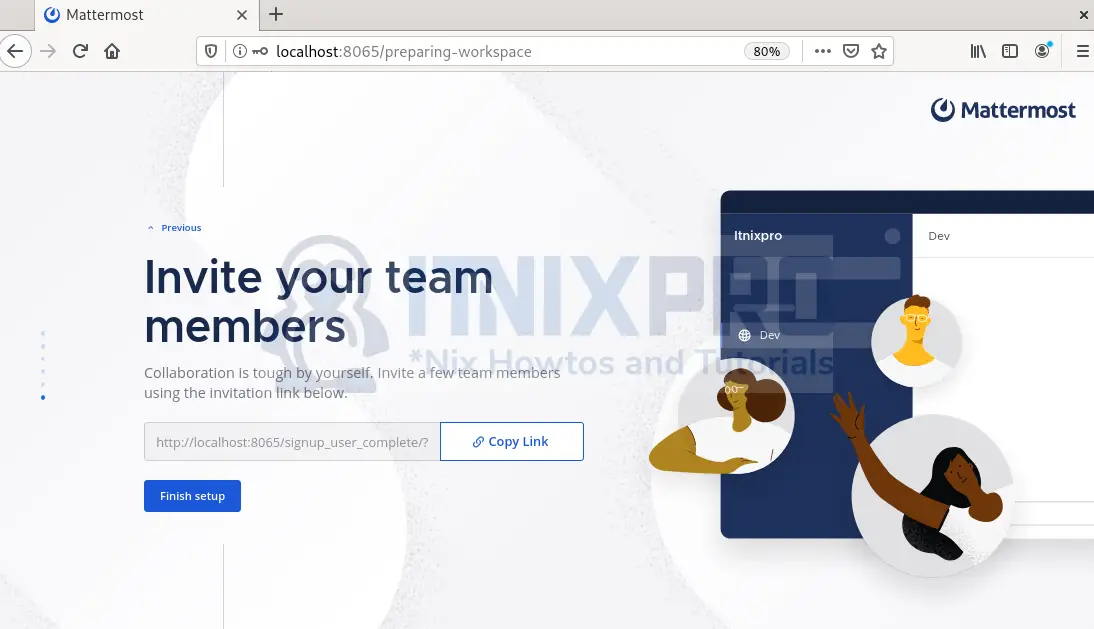
Lastly, copy link and share it with your team and click Finish setup
There you have your dashboard:

Congrats! You have been able to install Mattermost on Debian 11. That is the end of this article.
More information about Mattermost can be found on Mattermost documentation.
More interesting articles
Install Mattermost on Ubuntu 22.04