
This article is going to take you through on how to Install Jitsi Meet on Debian 11/Debian 10. Jitsi Meet is an open source video conferencing service with web, Android, and iOS apps. Account registration is not needed, you can use it for free all day, every day.
How to Install Jitsi Meet on Debian 11/Debian 10
- To begin, make sure your system is up to date. To update, use the command below.
sudo apt update- Then upgrade by running the following command.
sudo apt upgrade Set System Hostname
- For Jitsi meet to run on your server, configure the host name. Note, replace your domain with your own, such as itnixpro.com.
sudo hostnamectl set-hostname jitsi.your_domain- Check your host name.
hostname- Include the host address in the host configuration file. Run the following command to open the configuration file.
sudo nano /etc/hosts- Then add the following line.
127.0.1.1 jitsi.your_domaimSave the file by pressing ctrl+s then close it by pressing ctrl+x.
Configure Firewall Rules
- Using the commands below, configure your Firewall to allow Jitsi Meet.
sudo ufw allow 80/tcp
sudo ufw allow 443/tcp
sudo ufw allow 4443/tcp
sudo ufw allow 10000/udp- Confirm all the ports are added to your firewall.
sudo ufw statusInstall Jitsi Meet on Debian 11/Debian 10
- Begin by running the command below to obtain the Jitsi GPG key.
wget https://download.jitsi.org/jitsi-key.gpg.key- Then, using the following command, add the downloaded GPG key.
sudo apt-key add jitsi-key.gpg.key- To add the Jitsi repository to your server, create a new sources file that contains the Jitsi repository. To make the file, use the command below.
sudo nano /etc/apt/sources.list.d/jitsi-stable.list- Paste the line below to the file.
deb https://download.jitsi.org stable/Press ctrl+s to save the file then ctrl+x to close the file.
- For changes to take effect, run the following command.
sudo apt update- Install Jitsi Meet using the command below.
sudo apt install jitsi-meet -ySample output
Reading package lists... Done
Building dependency tree
Reading state information... Done
The following packages were automatically installed and are no longer required:
  default-jdk-headless libxt-dev
  openjdk-11-jdk-headless
Use 'sudo apt autoremove' to remove them.
The following additional packages will be installed:
  fonts-lato jicofo jitsi-meet-prosody
  jitsi-meet-web jitsi-meet-web-config
  jitsi-videobridge2 jq libjq1 libruby2.7
  lua-bitop lua-event lua-expat lua-filesystem
  lua-sec lua-socket lua5.2 prosody rake ruby
  ruby-hocon ruby-minitest ruby-net-telnet
  ruby-power-assert ruby-test-unit ruby-xmlrpc
  ruby2.7 rubygems-integration
Suggested packages:
  lua-dbi-mysql lua-dbi-postgresql lua-dbi-sqlite3
  lua-zlib ri ruby-dev bundler
The following NEW packages will be installed:
  fonts-lato jicofo jitsi-meet jitsi-meet-prosody
  jitsi-meet-web jitsi-meet-web-config
  jitsi-videobridge2 jq libjq1 libruby2.7
  lua-bitop lua-event lua-expat lua-filesystem
  lua-sec lua-socket lua5.2 prosody rake ruby
  ruby-hocon ruby-minitest ruby-net-telnet
  ruby-power-assert ruby-test-unit ruby-xmlrpc
  ruby2.7 rubygems-integration
0 upgraded, 28 newly installed, 0 to remove and 0 not upgraded.
Need to get 80.7 MB of archives.
After this operation, 150 MB of additional disk space will be used.
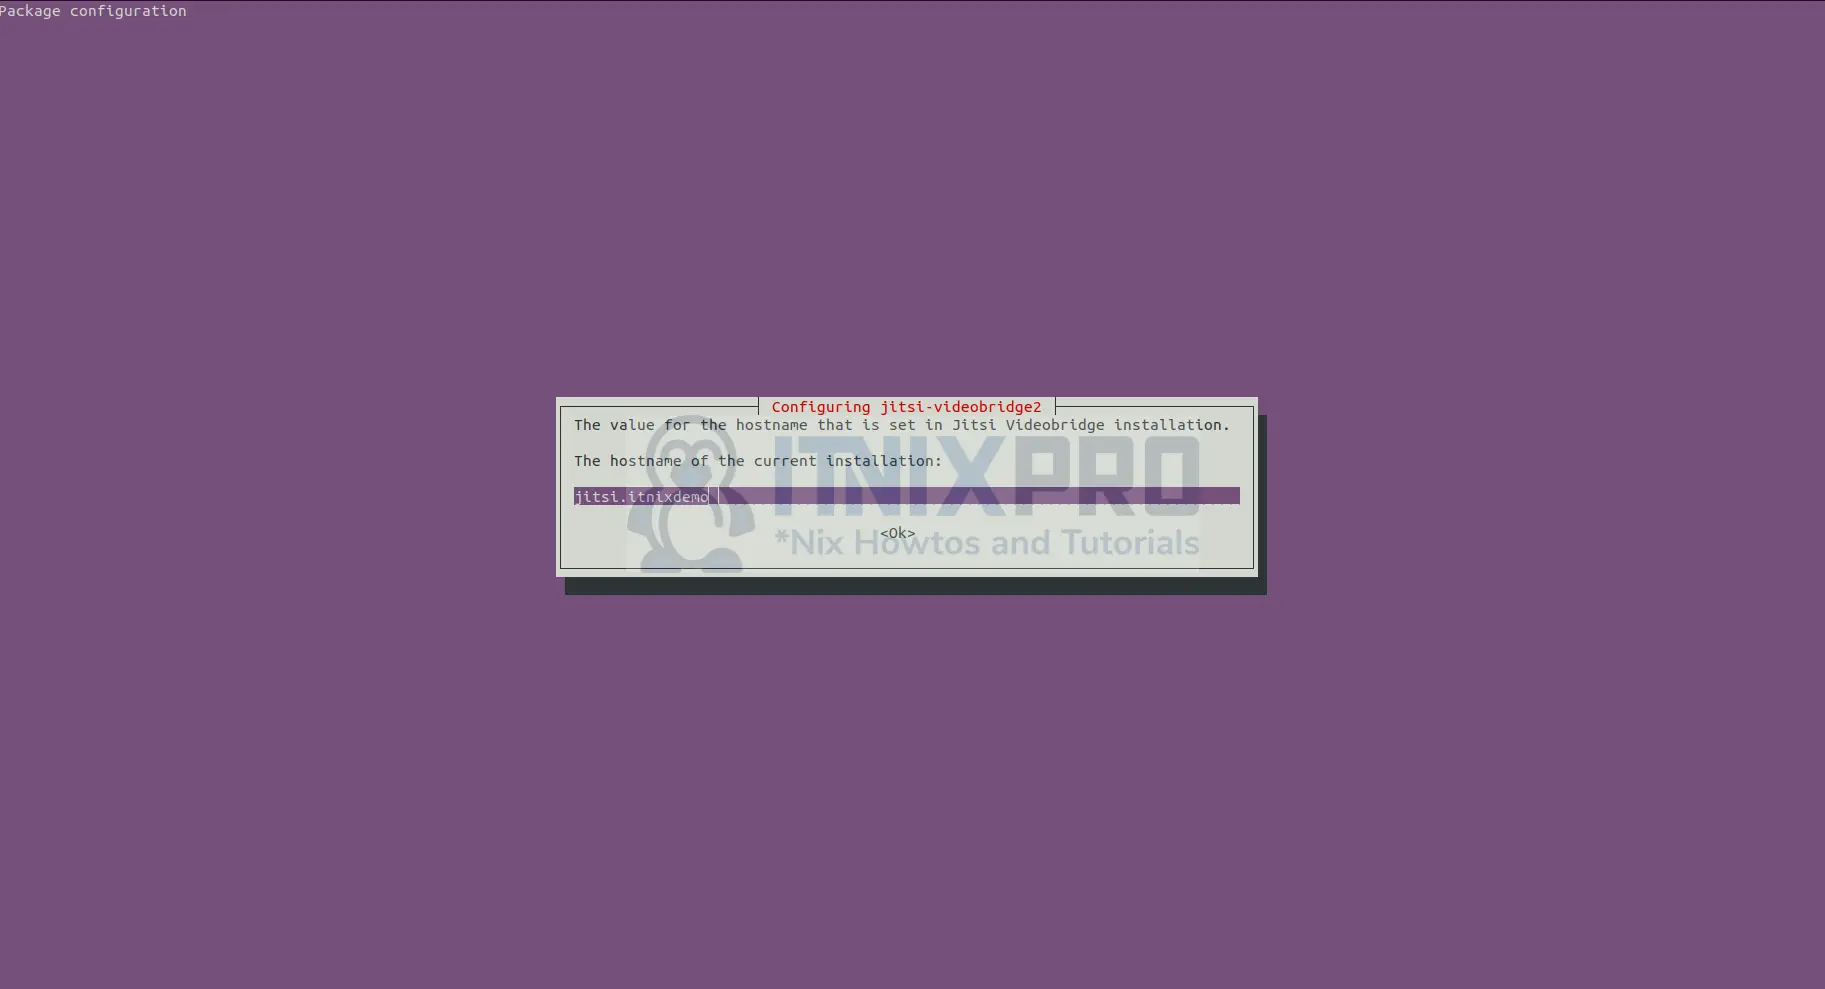
- You will be asked to input the host name when installing.
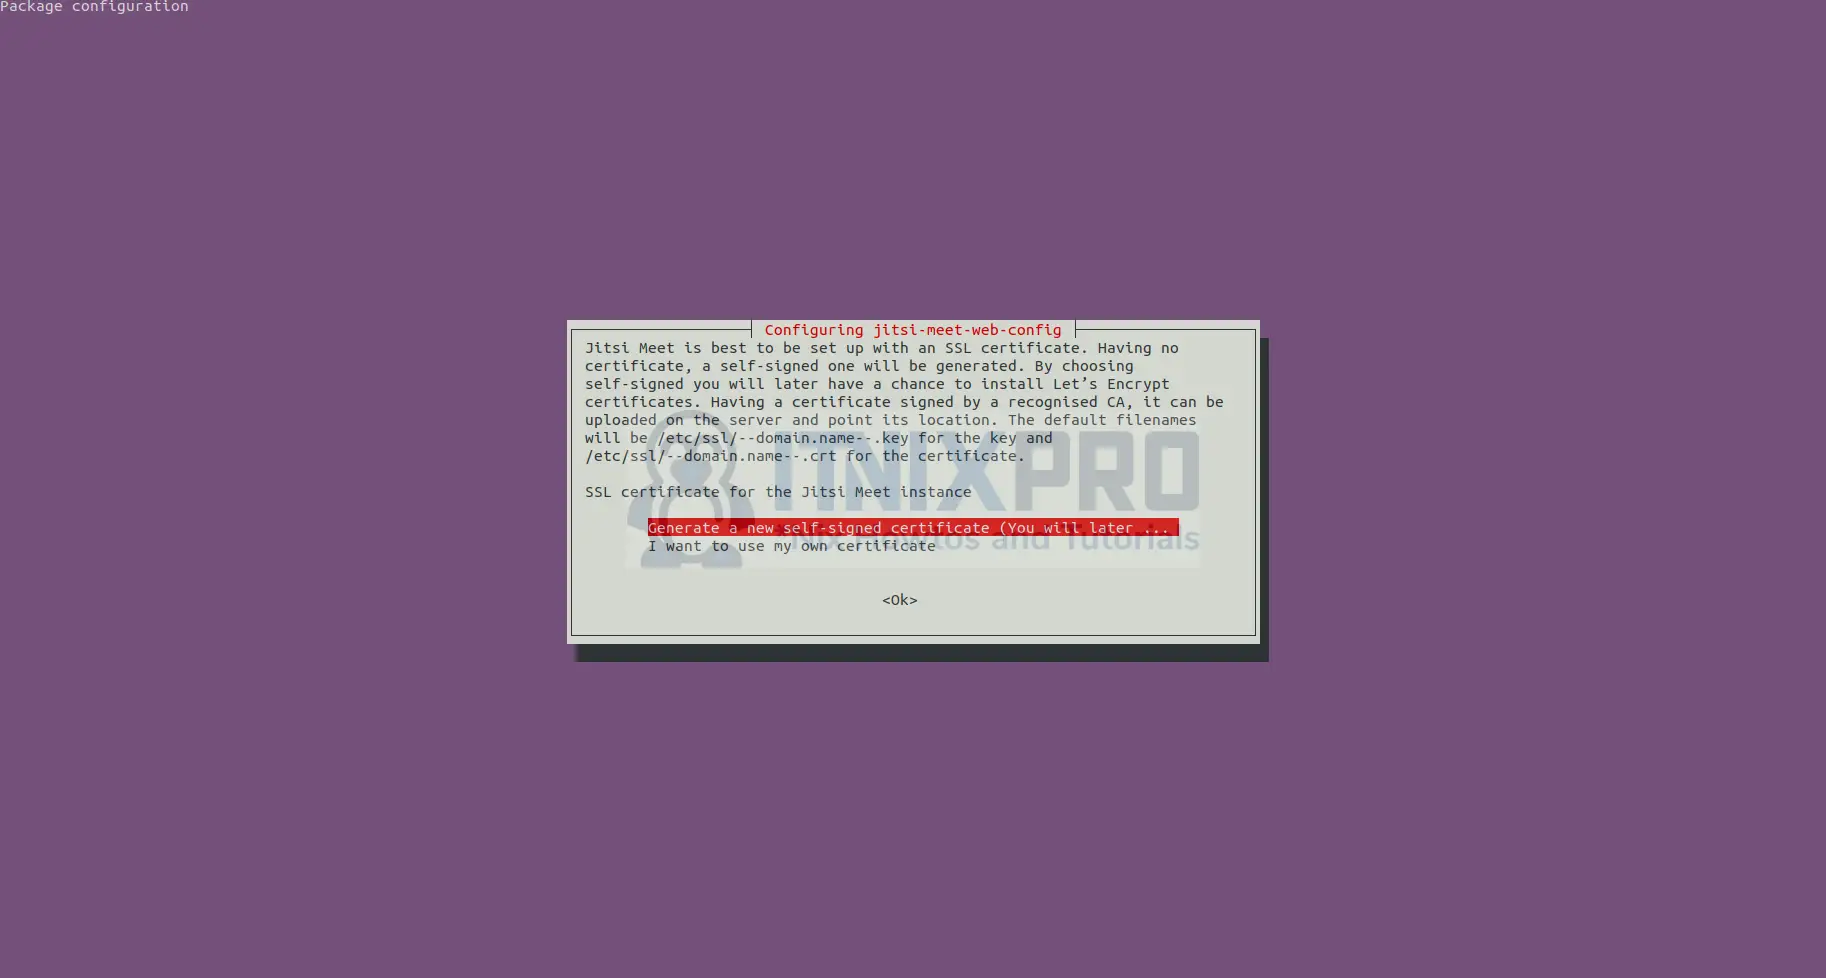
- Then, for the Jitsi Meet instance, choose an SSL certificate; in my case, I’ll go with the first option.
Obtaining a Signed TLS Certificate
- Jitsi Meet comes with a script that will automatically download a TLS certificate for your domain. To install the certificate, use the command below.
sudo /usr/share/jitsi-meet/scripts/install-letsencrypt-cert.shSample output
-------------------------------------------------------------------------
This script will:
- Need a working DNS record pointing to this machine(for domain jitsi.itnixdemo)
- Download certbot-auto from https://dl.eff.org to /usr/local/sbin
- Install additional dependencies in order to request Let’s Encrypt certificate
- If running with jetty serving web content, will stop Jitsi Videobridge
- Configure and reload nginx or apache2, whichever is used
- Configure the coturn server to use Let's Encrypt certificate and add required deploy hooks
- Add command in weekly cron job to renew certificates regularly

You need to agree to the ACME server's Subscriber Agreement (https://letsencrypt.org/documents/LE-SA-v1.1.1-August-1-2016.pdf)
by providing an email address for important account notifications
Enter your email and press [ENTER]: [email protected]
Hit:1 http://us.archive.ubuntu.com/ubuntu focal InRelease
Get:2 http://security.ubuntu.com/ubuntu focal-security InRelease [114 kB]
Get:3 http://us.archive.ubuntu.com/ubuntu focal-updates InRelease [114 kB]
Hit:4 https://download.jitsi.org stable/ InRelease
Get:5 http://us.archive.ubuntu.com/ubuntu focal-backports InRelease [108 kB]
Fetched 336 kB in 2s (135 kB/s)
Reading package lists... Done
Reading package lists... Done
Building dependency tree
Access Jitsi Meet Web on Debian 11/Debian 10
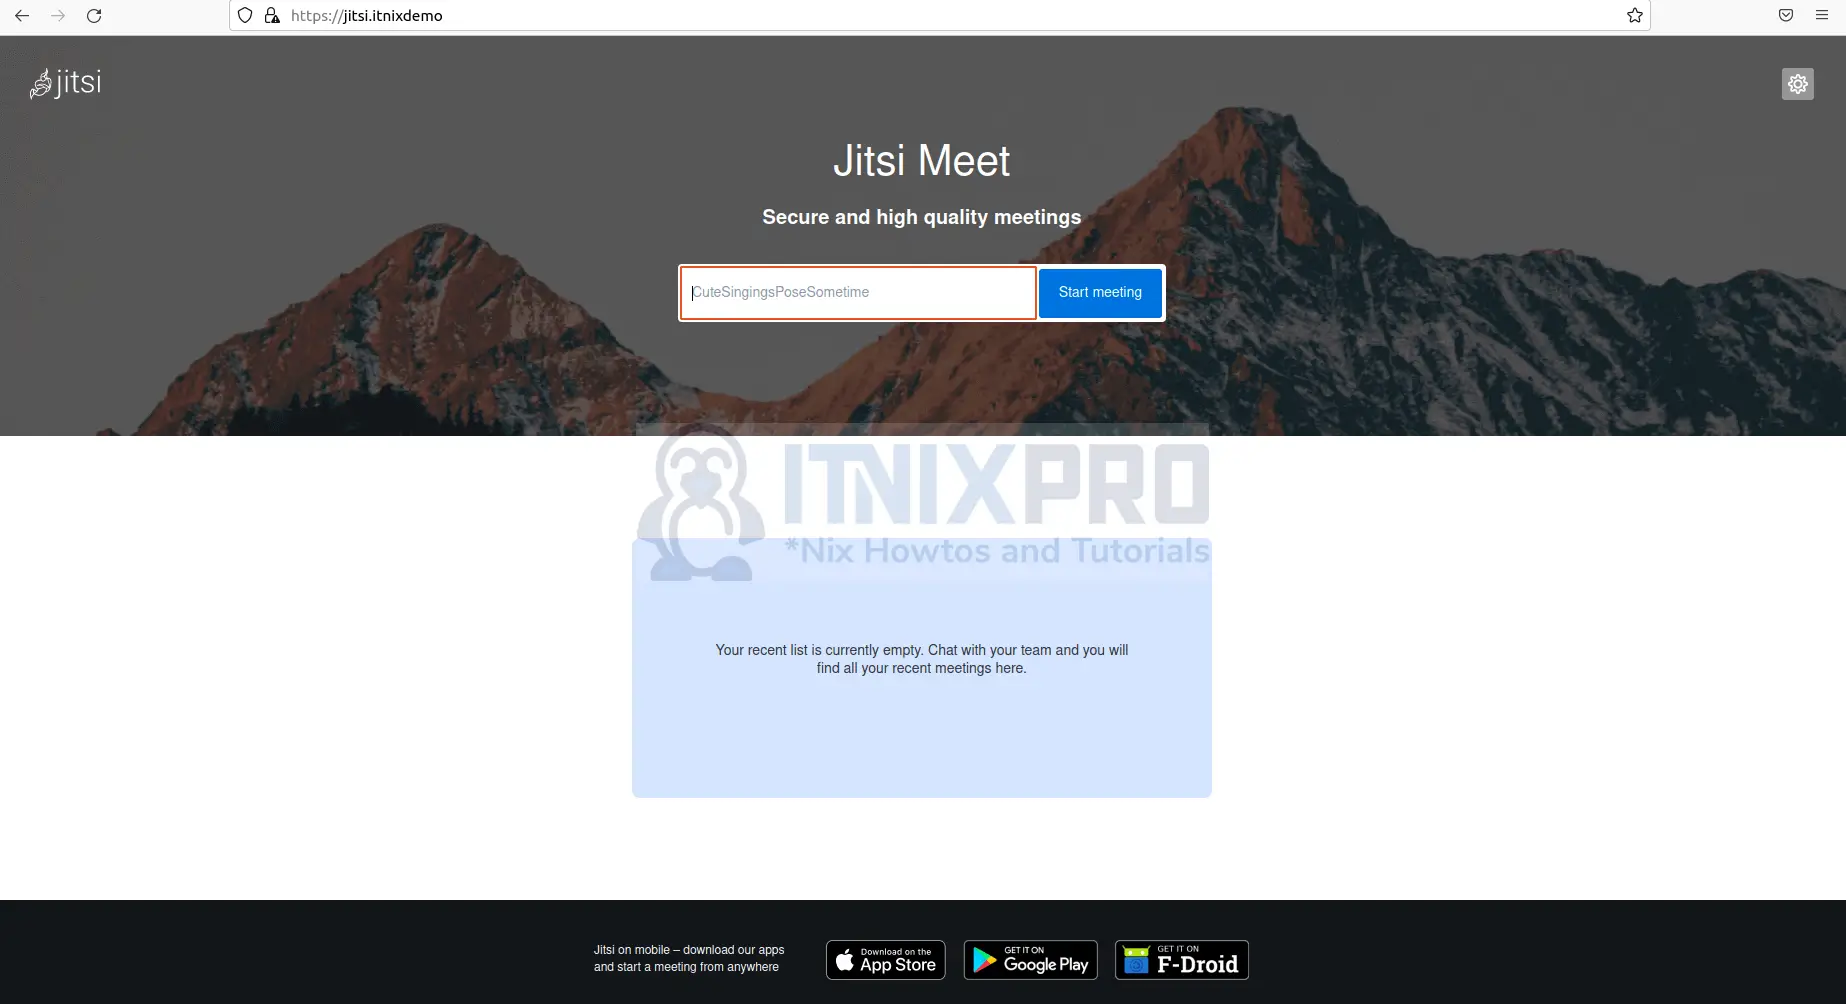
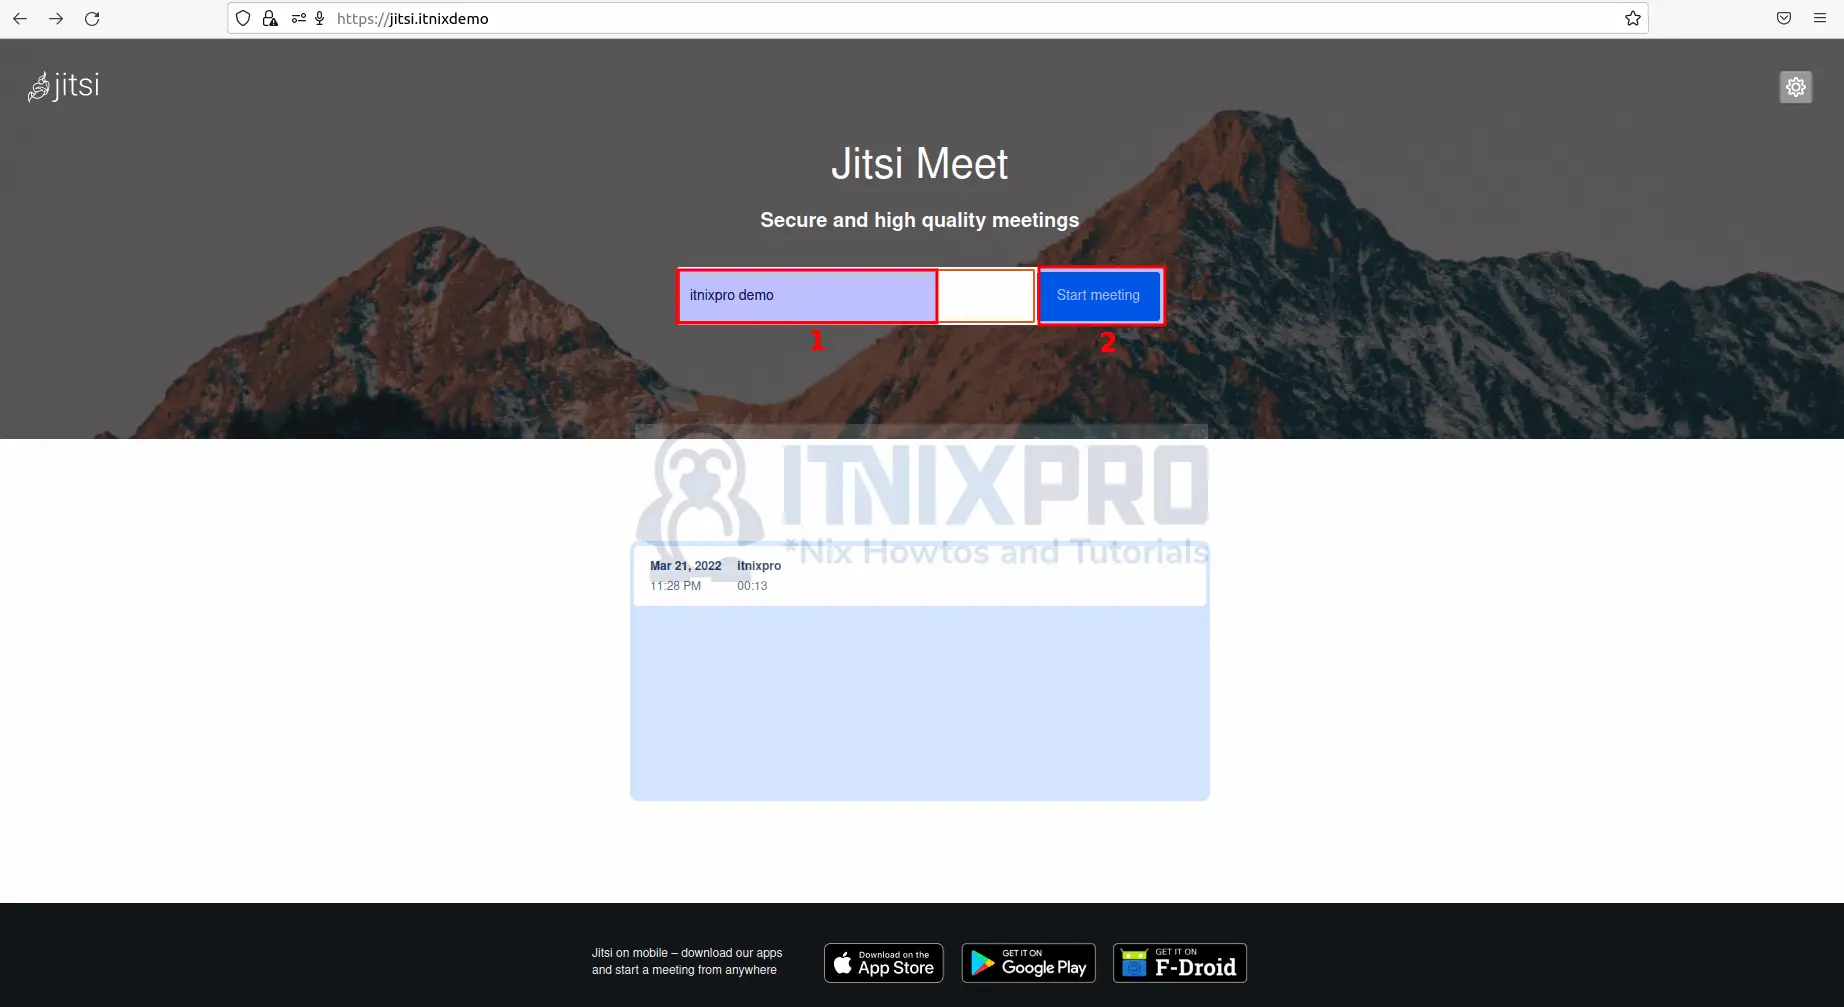
- Open your preferred browser and type in your domain name or server IP address, such as
https://your-server-ip. You’ll be redirected to Jitsi’s page, as shown below. Note, your server should be up and running e.g. Nginix for you to access Jitsi Meet.
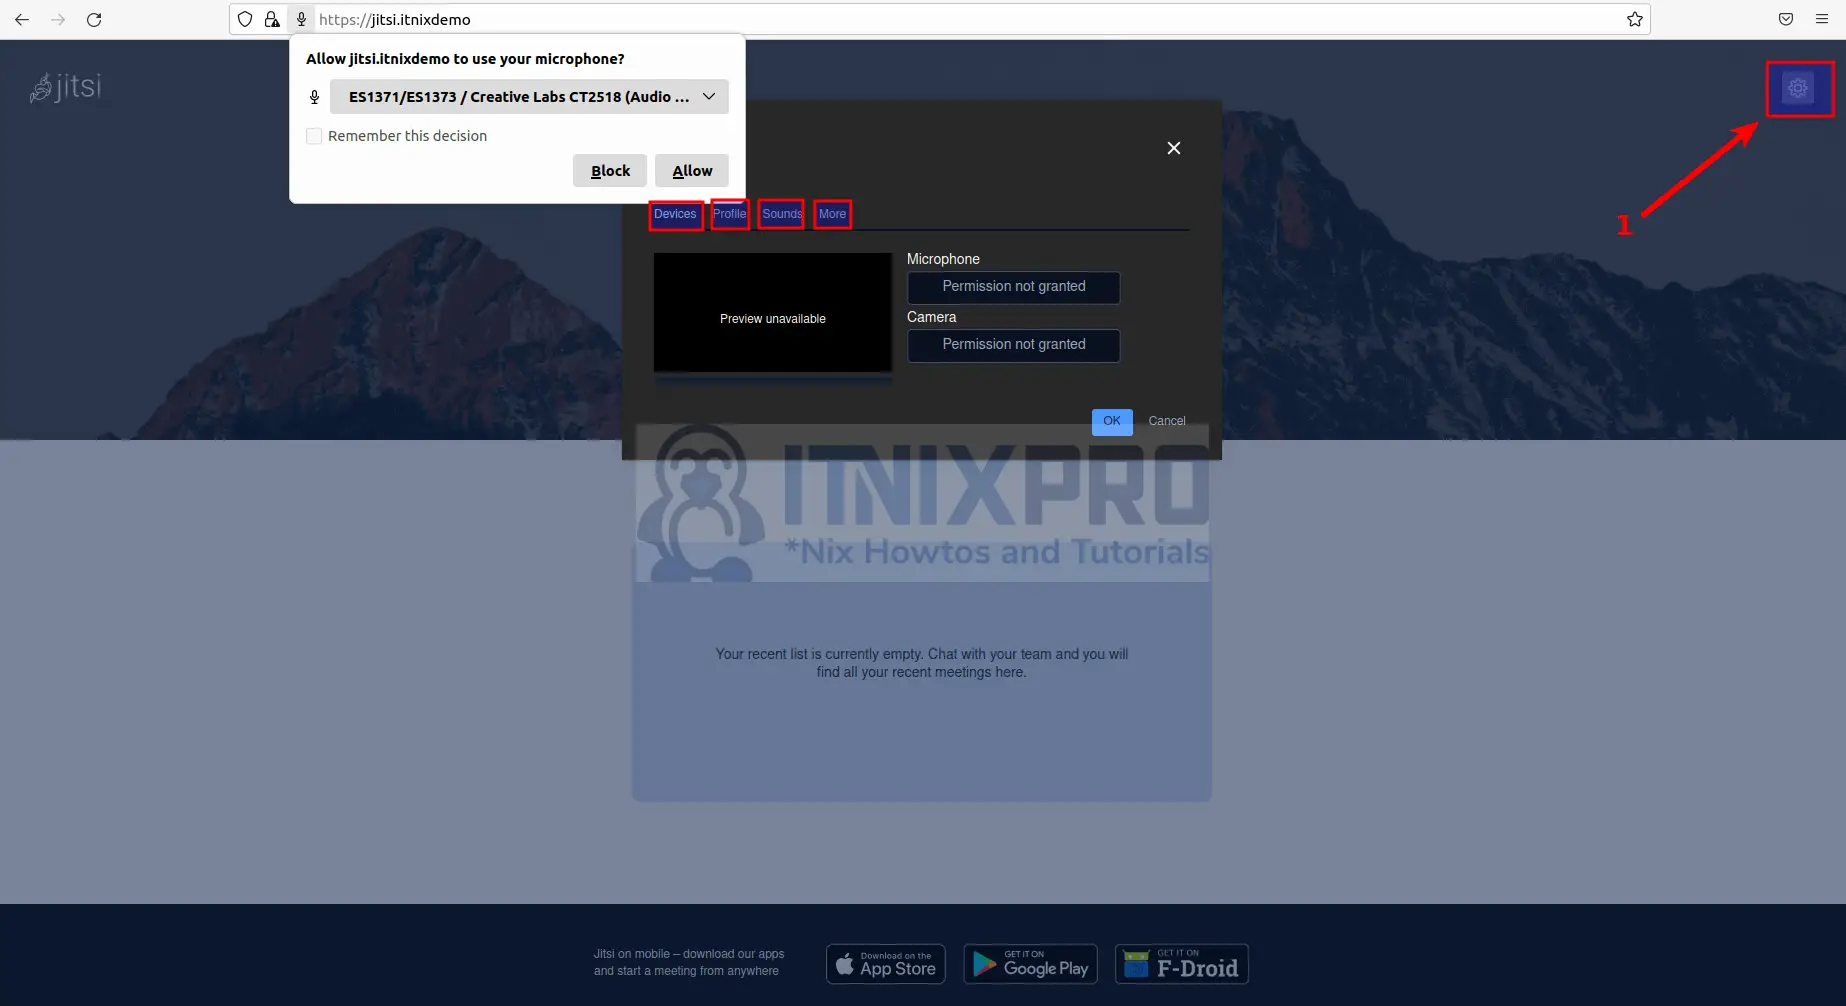
- To access and change settings, click the settings button on the right side of the screen.
- To begin a meeting, type the name of the meeting and click Start Meeting, as shown below.
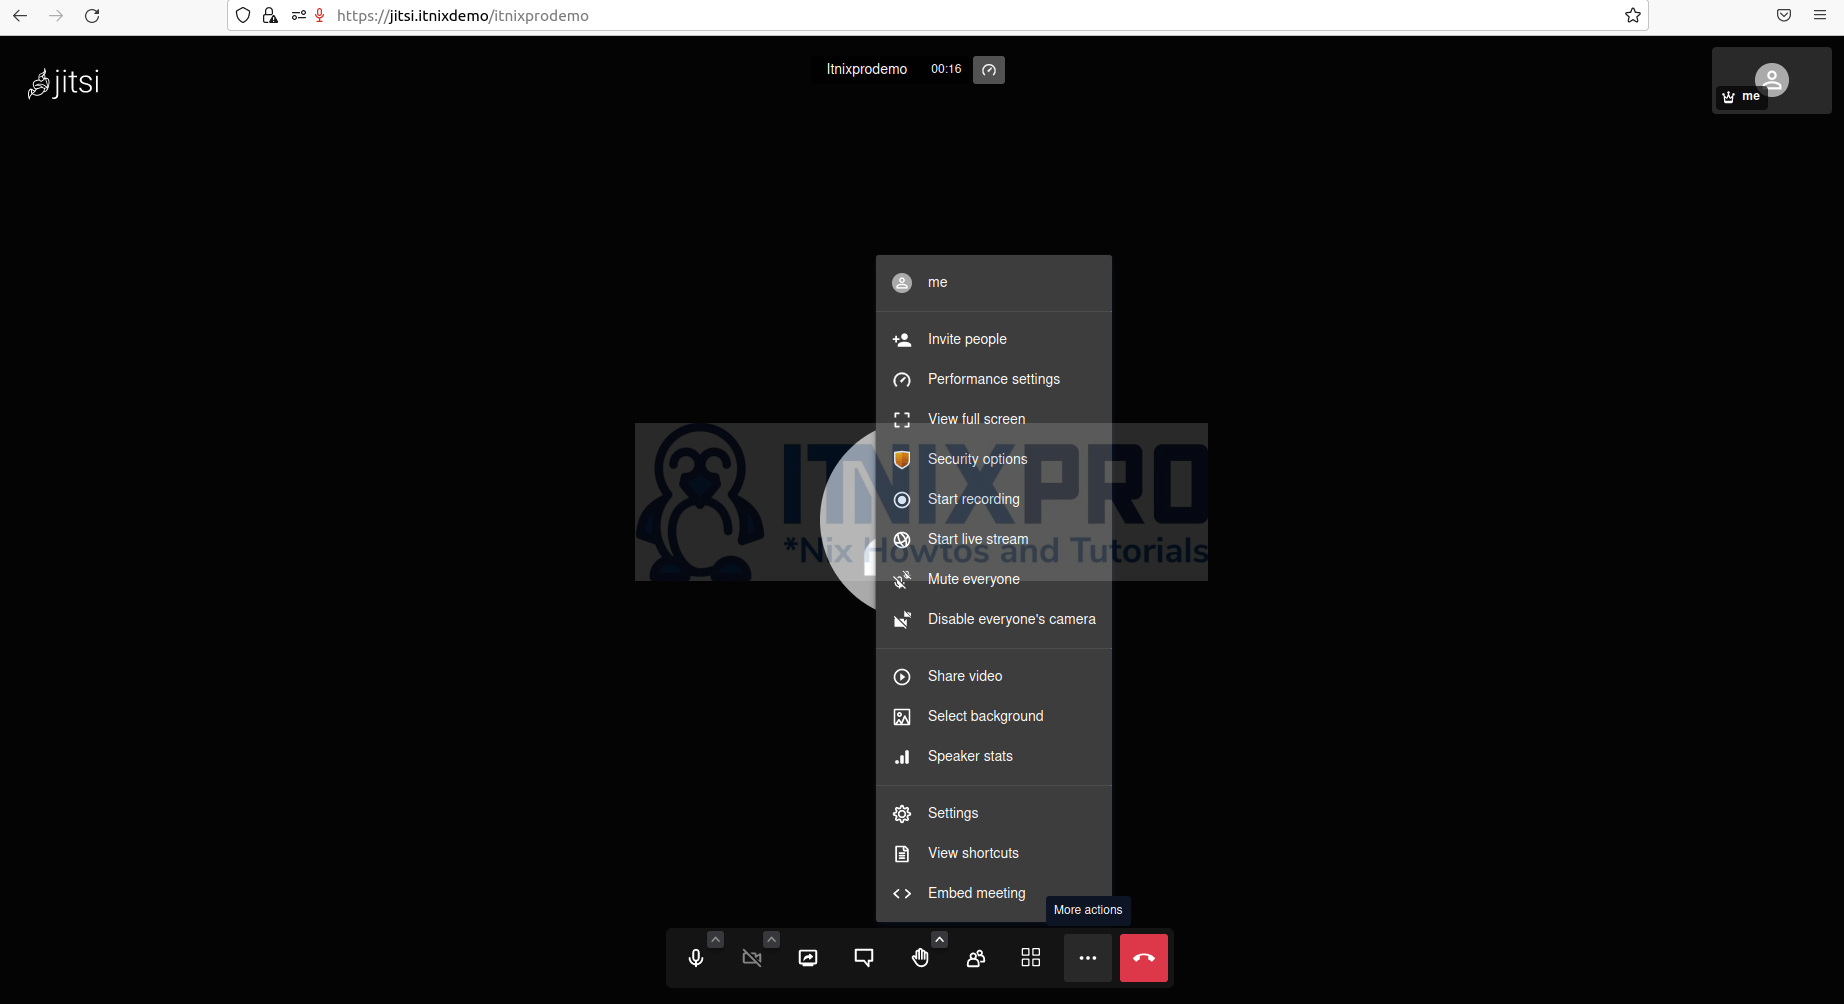
- You can invite attendees to your meeting, record it, and so on.
- You have reached the end of the article, Congratulations. You have learned how to Install Jitsi Meet on Debian 11/Debian 10.
Read more on Jitsi Meet Documentation
Other Tutorials
Install WireGuard VPN Client on Ubuntu 22.04