
This guide is going to take you through how to install ISPConfig on Debian 10. ISPConfig is a popular open-source hosting control panel for Linux that was created by the company ISPConfig UG and is distributed under the BSD license. It’s comparable to cPanel and Plesk in that it allows website owners to effortlessly manage their websites.
How to Install ISPConfig on Debian 10
- Change current user to root if you aren’t root yet.
su -- Update and upgrade your packages.
apt update && apt upgrade- Next set up your hosts, open the hosts config file.
nano /etc/hostsThen add your hosts e.g. debian.itnixpro.com check the sample file below.
127.0.0.1       localhost
127.0.1.1       debian.itnixpro.com debian

# The following lines are desirable for IPv6 capable hosts
::1     localhost ip6-localhost ip6-loopback
ff02::1 ip6-allnodes
ff02::2 ip6-allrouters
- Edit the hostname config file.
nano /etc/hostname- If your hosts is the same as the example above, it will contain only subdomain.
debian- Reboot your system to apply changes.
sudo rebootInstall ISPConfig on Debian 10
- Run the following commands to automatically install ISPConfig using the installer script.
wget -O - https://get.ispconfig.org | sh -s -- --helpwget -O - https://get.ispconfig.org | sh -s -- --use-ftp-ports=40110-40210 --unattended-upgradesType yes to continue when prompted.
--2022-06-04 02:56:58--  https://get.ispconfig.org/
Resolving get.ispconfig.org (get.ispconfig.org)... 172.67.75.112, 104.26.11.246, 104.26.10.246, ...
Connecting to get.ispconfig.org (get.ispconfig.org)|172.67.75.112|:443... connected.
HTTP request sent, awaiting response... 200 OK
Length: 2004 (2.0K) [application/octet-stream]
Saving to: ‘STDOUT’

-                 100%[=============>]   1.96K  --.-KB/s    in 0s

2022-06-04 02:56:59 (29.4 MB/s) - written to stdout [2004/2004]

WARNING! This script will reconfigure your complete server!
It should be run on a freshly installed server and all current configuration that you have done will most likely be lost!
Type 'yes' if you really want to continue: yes
At the end, your password will be generated.
[INFO] Installing ISPConfig3.
    [INFO] Adding php versions to ISPConfig.
    [INFO] Checking all services are running.
    [INFO] mysql: OK
    [INFO] clamav-daemon: OK
    [INFO] postfix: OK
    [INFO] bind9: OK
    [INFO] pureftpd: OK
    [INFO] apache2: OK
    [INFO] rspamd: OK
    [INFO] redis-server: OK
    [INFO] dovecot: OK
    [INFO] Installation ready.
    [INFO] Your Mailman password is: xu9mYduDx2sQ
    [INFO] Your ISPConfig admin password is: kucceKJJLsYaJjV
    [INFO] Your MySQL root password is: Fmph4VeU8P979xLSq8VM
    [INFO] Warning: Please delete the log files in /tmp/ispconfig-ai/var/log/setup-* once you don't need them anymore because they contain your passwords!
Access ISPConfig Web Interface
- Fire up your browser and enter your domain/server IP followed by port 8080 e.g.
https://debian.itnixpro.com:8080orhttps://192.168.125.204:8080.
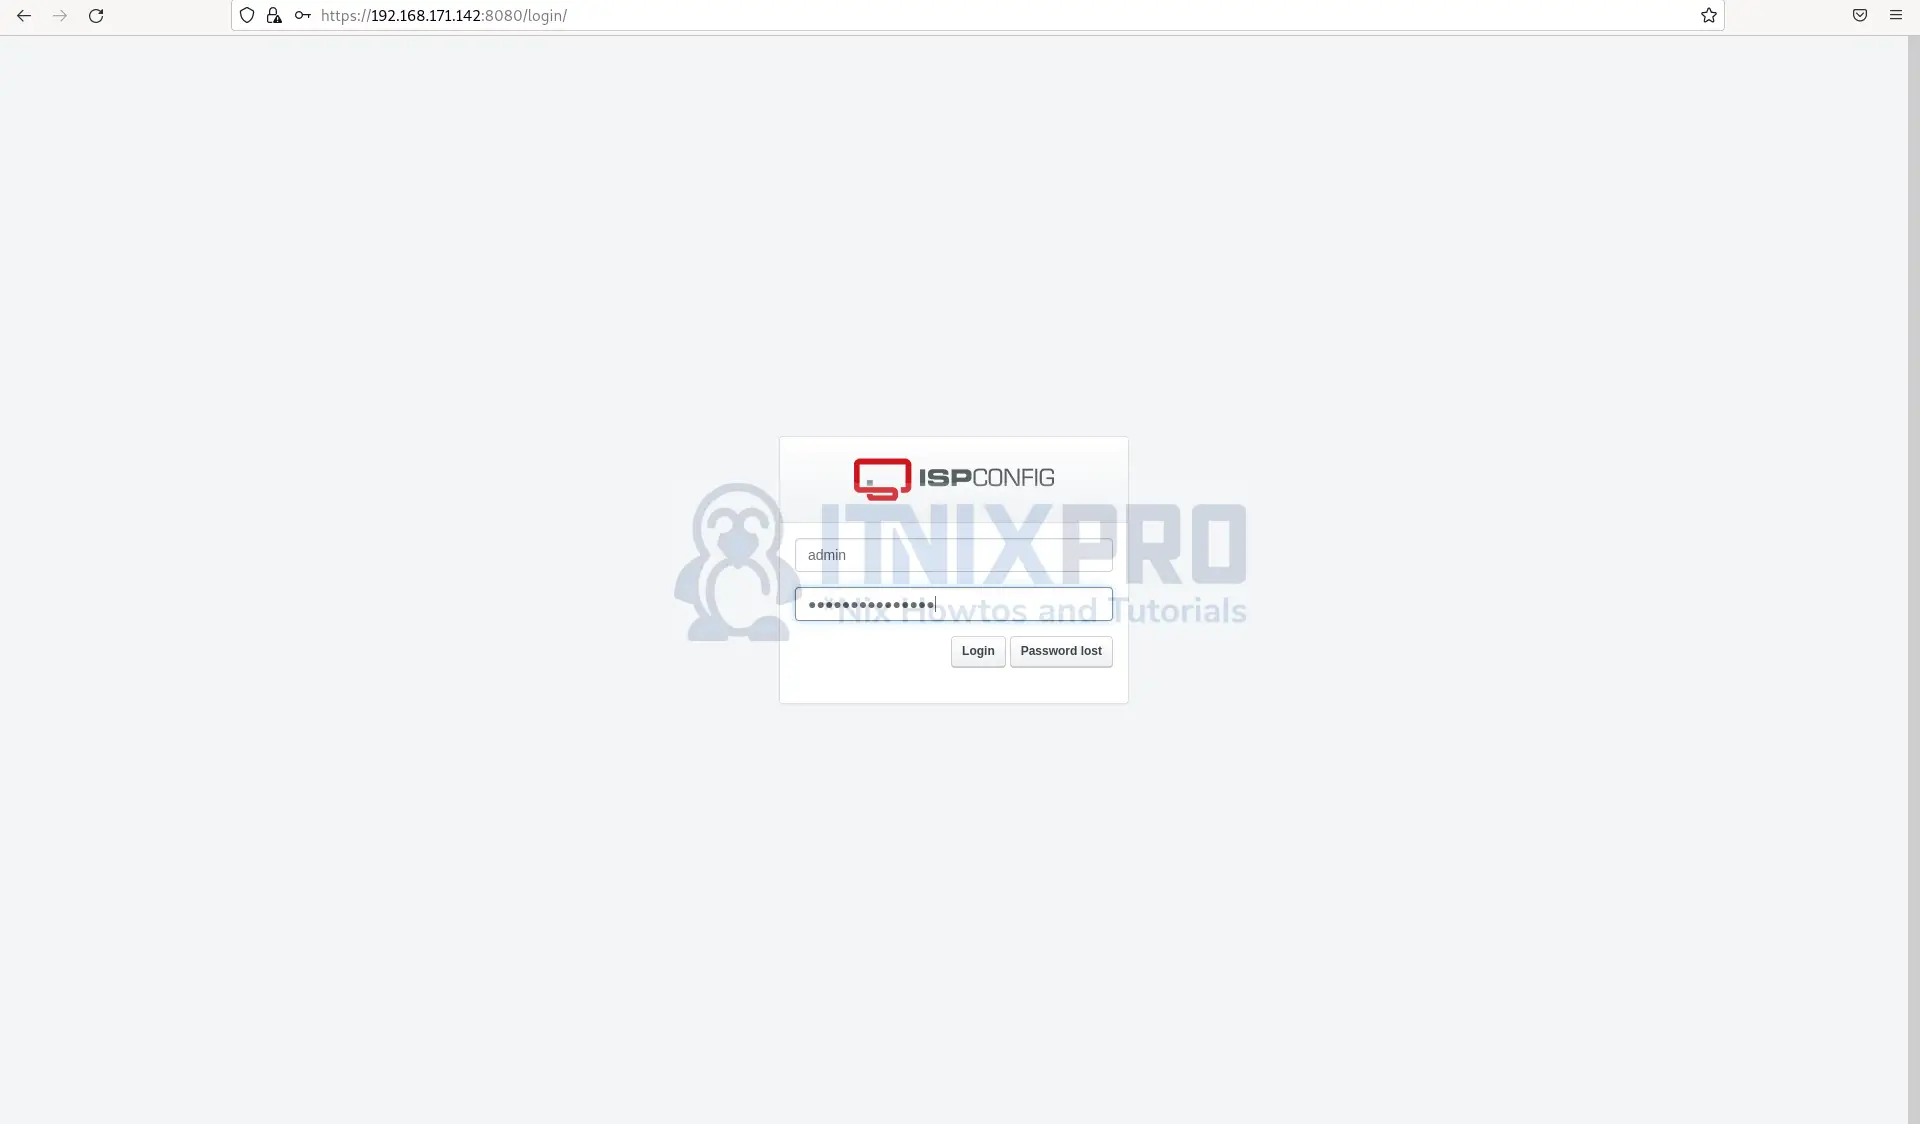
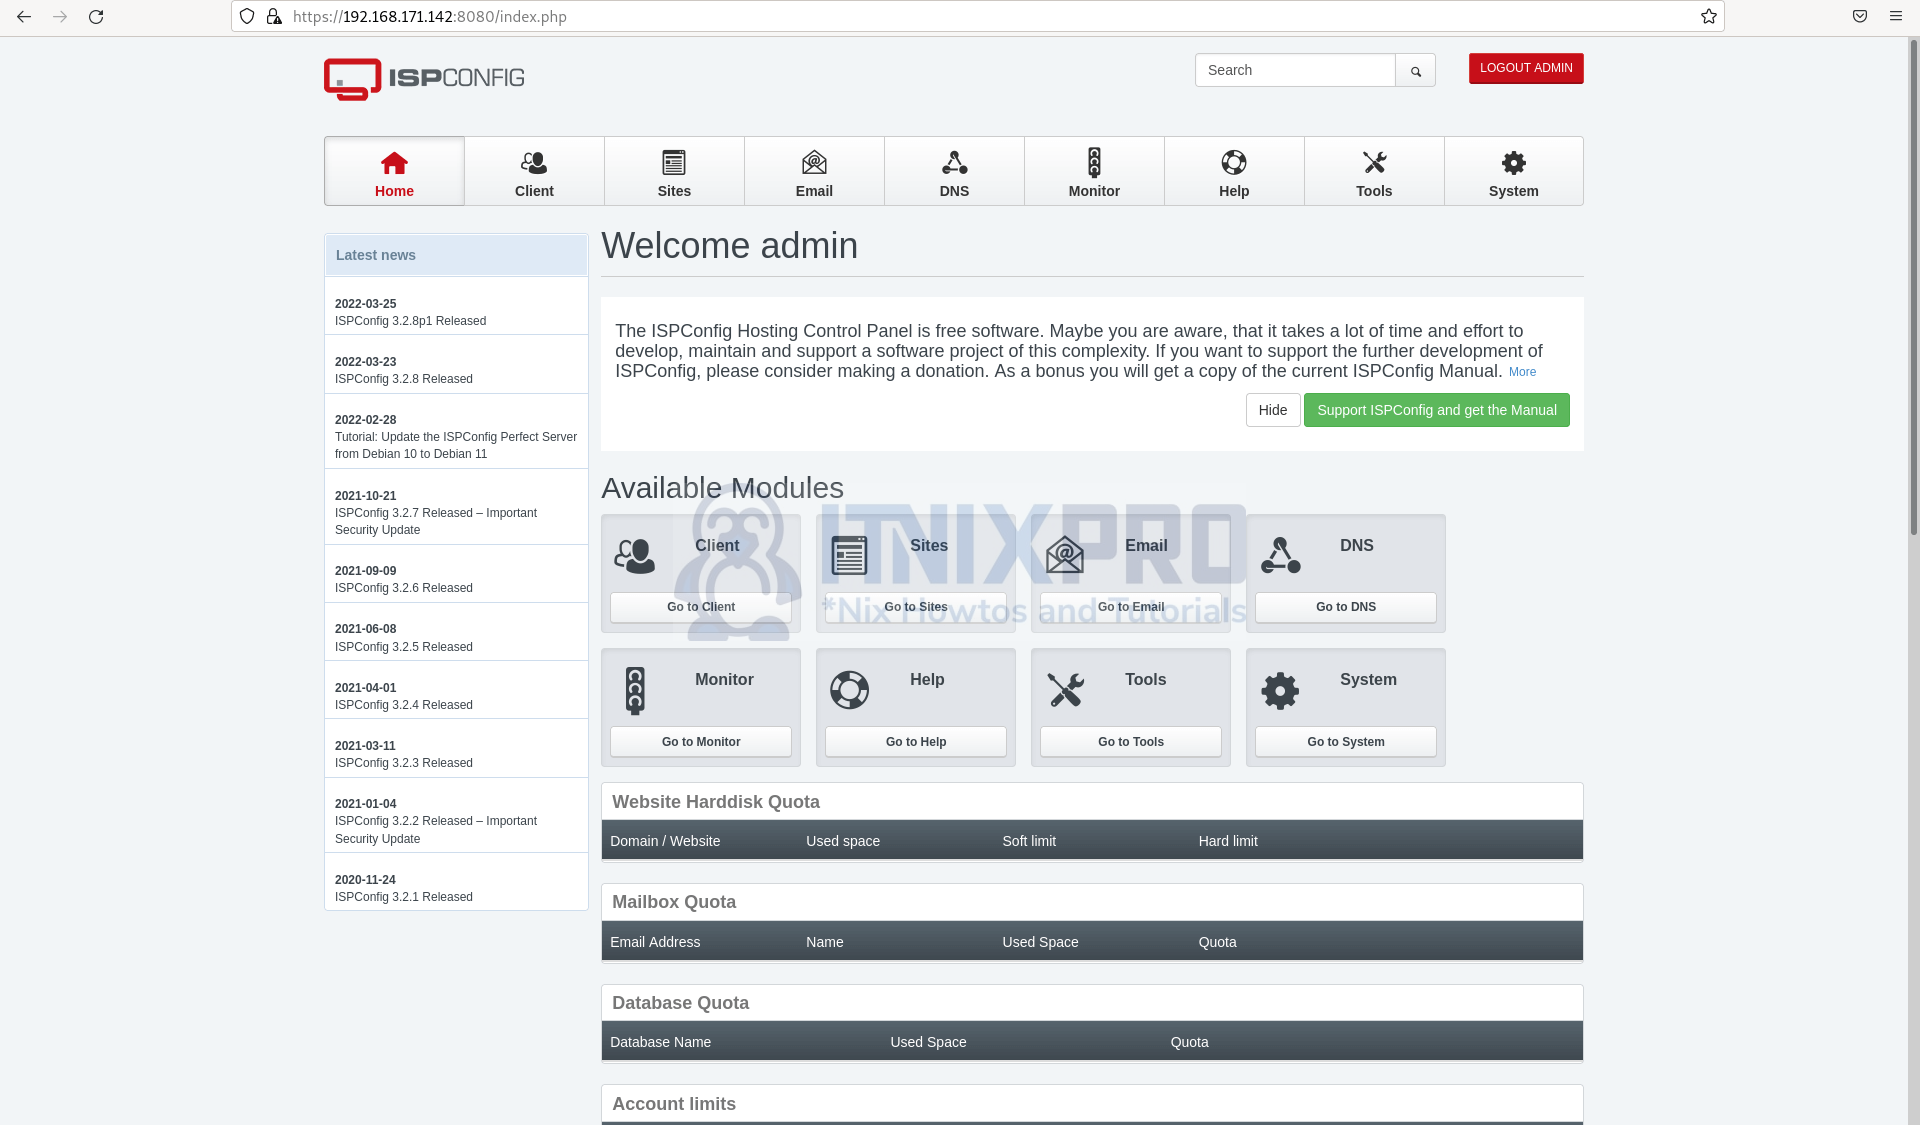
- Enter your username and password to continue, after successful login you will be redirected to the dashboard.
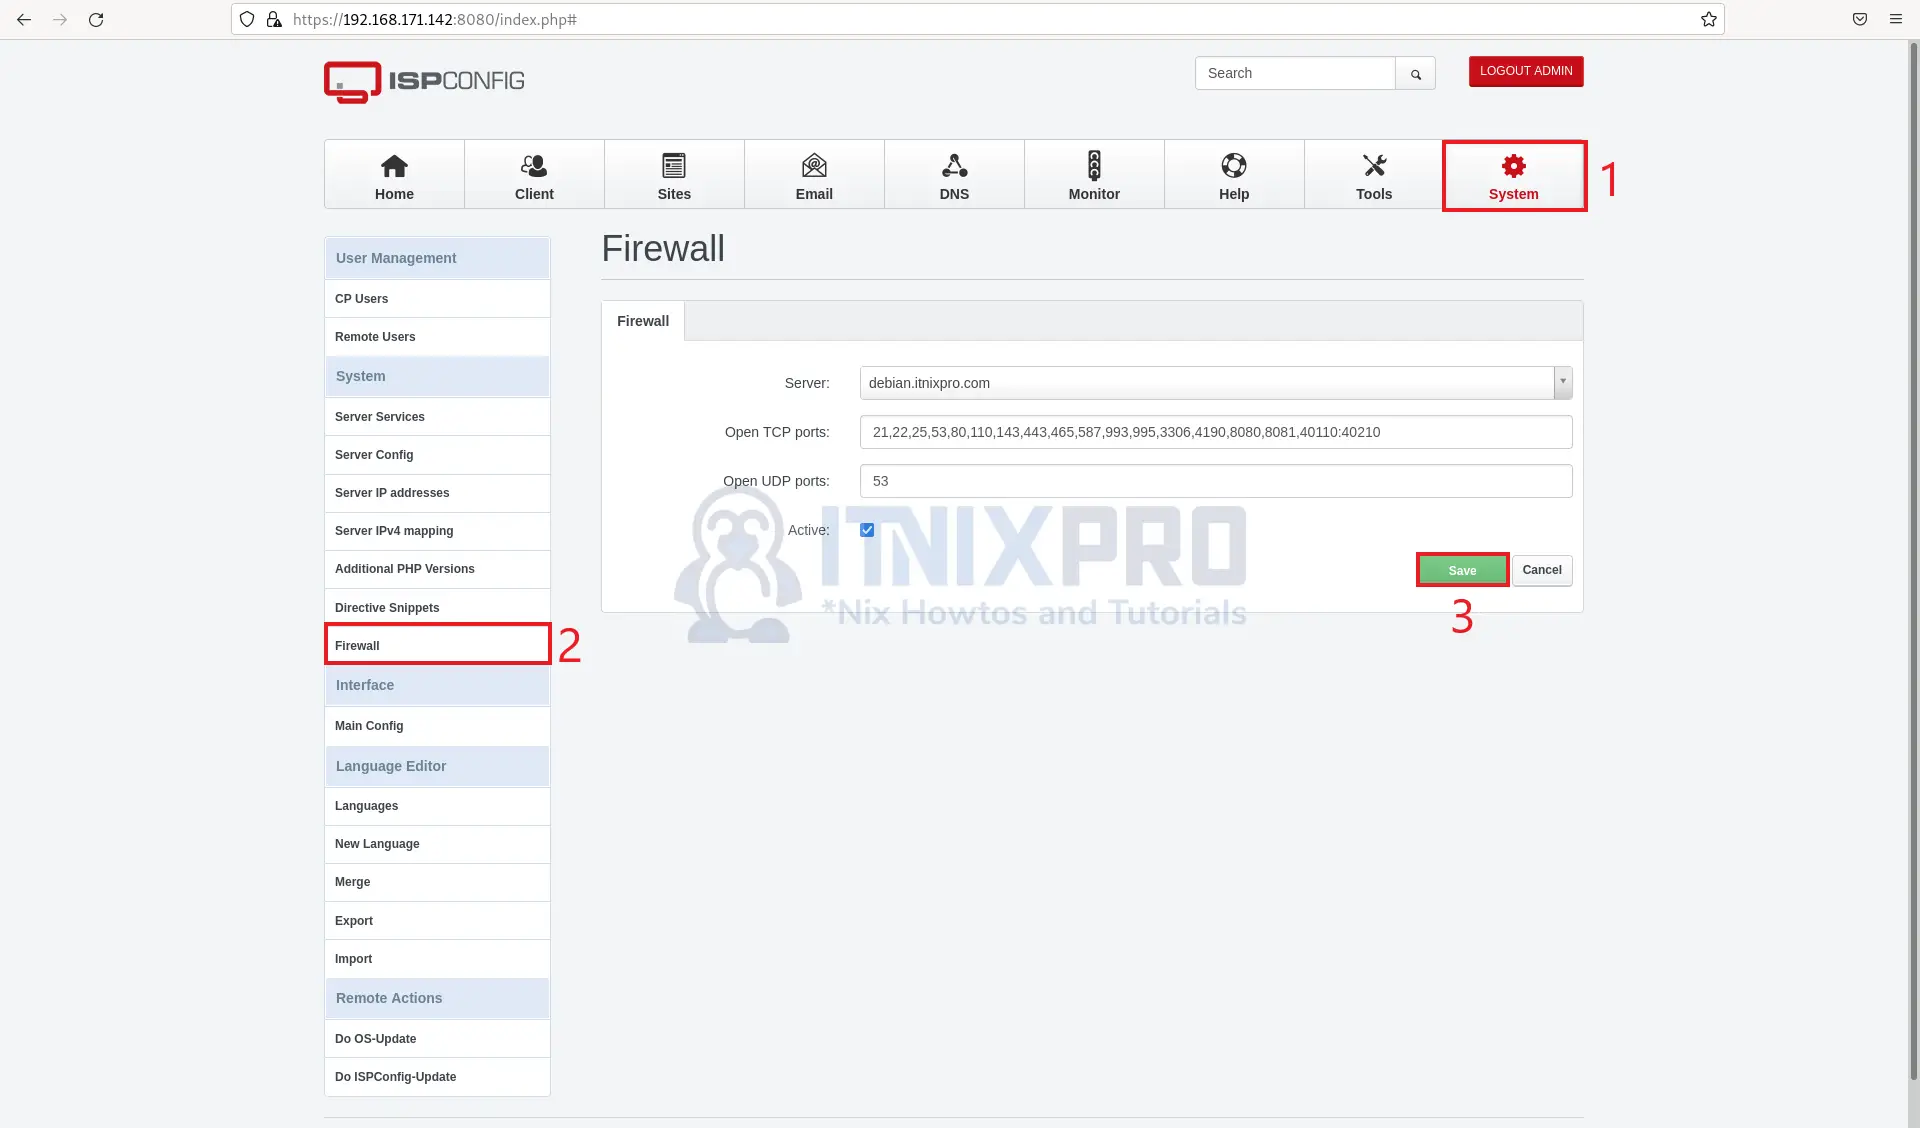
- Add firewall rules by clicking on the settings tab.
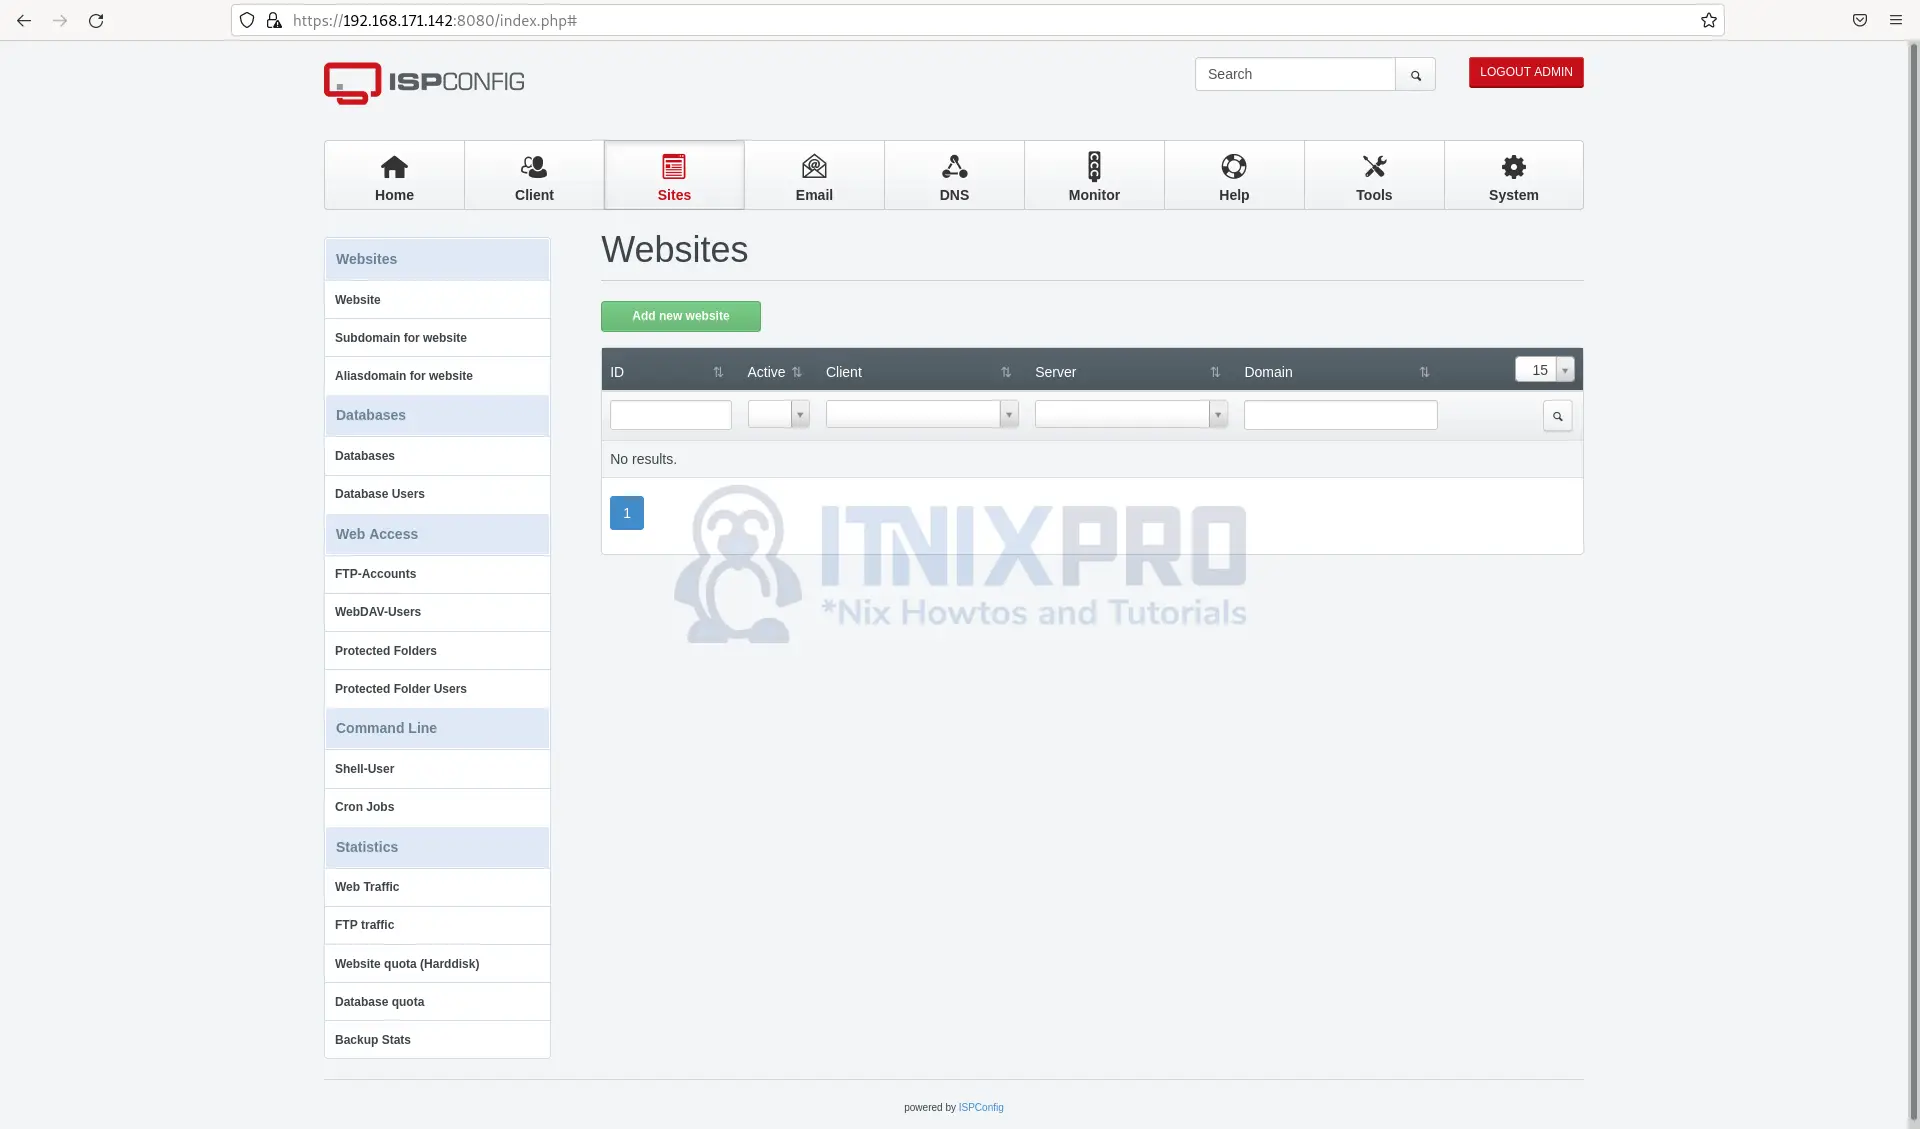
- You can view your websites from the Sites tab.
- You have reached the end of the article, Congrats! You have gone through how to install ISPConfig on Debian 10.
Read more on ISPConfig Documentation
Other Tutorials
Install phpMyAdmin with Apache on Debian 11