
This article will go through how to install Gitea Code Hosting Service on Rocky Linux. Gitea is a community-managed lightweight code hosting solution written in Go and published under the MIT license. Similar to GitHub, Bitbucket, and GitLab, it is an easy self-hosted Git service.
How to Install Gitea Code Hosting Service on Rocky Linux
- Run the command below to update Rocky Linux packages.
sudo dnf update -y- Next, install some dependencies required.
sudo dnf install git unzip gnupg2 nano mariadb-server wget -y- Start MariaDB using the command below.
sudo systemctl start mariadb- Then enable MariaDB to start on boot.
sudo systemctl enable mariadb- Secure MySQL
sudo mysql_secure_installationSample output
NOTE: RUNNING ALL PARTS OF THIS SCRIPT IS RECOMMENDED FOR ALL MariaDB
      SERVERS IN PRODUCTION USE!  PLEASE READ EACH STEP CAREFULLY!

In order to log into MariaDB to secure it, we'll need the current
password for the root user. If you've just installed MariaDB, and
haven't set the root password yet, you should just press enter here.

Enter current password for root (enter for none):
OK, successfully used password, moving on...

Setting the root password or using the unix_socket ensures that nobody
can log into the MariaDB root user without the proper authorisation.

You already have your root account protected, so you can safely answer 'n'.

Switch to unix_socket authentication [Y/n] n
 ... skipping.

You already have your root account protected, so you can safely answer 'n'.

Change the root password? [Y/n] n
 ... skipping.

By default, a MariaDB installation has an anonymous user, allowing anyone
to log into MariaDB without having to have a user account created for
them.  This is intended only for testing, and to make the installation
go a bit smoother.  You should remove them before moving into a
production environment.

Remove anonymous users? [Y/n] y
 ... Success!

Normally, root should only be allowed to connect from 'localhost'.  This
ensures that someone cannot guess at the root password from the network.

Disallow root login remotely? [Y/n] y
 ... Success!

By default, MariaDB comes with a database named 'test' that anyone can
access.  This is also intended only for testing, and should be removed
before moving into a production environment.

Remove test database and access to it? [Y/n] y
 - Dropping test database...
 ... Success!
 - Removing privileges on test database...
 ... Success!

Reloading the privilege tables will ensure that all changes made so far
will take effect immediately.

Reload privilege tables now? [Y/n] y
 ... Success!

Cleaning up...

All done!  If you've completed all of the above steps, your MariaDB
installation should now be secure.

Thanks for using MariaDB!
- Login to MariaDB shell.
sudo mysql -u root -p- Create a Gitea database.
CREATE DATABASE gitea;- Next, create gitea database user with your preferred password.
GRANT ALL PRIVILEGES ON gitea.* TO 'gitea'@'localhost' IDENTIFIED BY "YourStrongPassword";- Flush all privileges using the command below.
FLUSH PRIVILEGES; - Exit the MariaDB shell.
exitInstall Gitea Code Hosting Service on Rocky Linux
- Download Gitea latest version from the download page using
wgetcommand to/usr/bin/giteadirectory.
sudo wget -O /usr/bin/gitea https://dl.gitea.io/gitea/1.17.3/gitea-1.17.3-linux-amd64- Change downloaded file permission.
sudo chmod +x /usr/bin/gitea- Check the Gitea version.
gitea --version- Create a Git user using the command below.
sudo useradd --system --shell /bin/bash --comment 'Git Version Control' --create-home --home /home/git git- Next, create Gitea directories.
sudo mkdir -pv /var/lib/gitea /{custom,data,indexers,public,log}- Change Gitea directory ownership.
sudo chown -Rv git:git /var/lib/gitea- Then change its permissions using the command below.
sudo chmod -Rv 750 /var/lib/gitea- Next, create a configuration directory using the following command.
sudo mkdir -v /etc/gitea- Change the configuration directory ownership.
sudo chown -Rv root:git /etc/gitea- Then change its permissions.
sudo chmod -Rv 770 /etc/giteaCreate Systemd service file for Gitea
- To create a Systemd service file, run the command below.
sudo nano /etc/systemd/system/gitea.servicePaste the configuration below then save and close it.
[Unit]
Description=Gitea
After=syslog.target
After=network.target

[Service]
RestartSec=3s
Type=simple
User=git
Group=git
WorkingDirectory=/var/lib/gitea/

ExecStart=/usr/bin/gitea web --config /etc/gitea/app.ini
Restart=always
Environment=USER=git HOME=/home/git GITEA_WORK_DIR=/var/lib/gitea

[Install]
WantedBy=multi-user.target
- Start Gitea and enable it to start on system boot.
sudo systemctl enable --now giteaAccess Gitea Web Interface
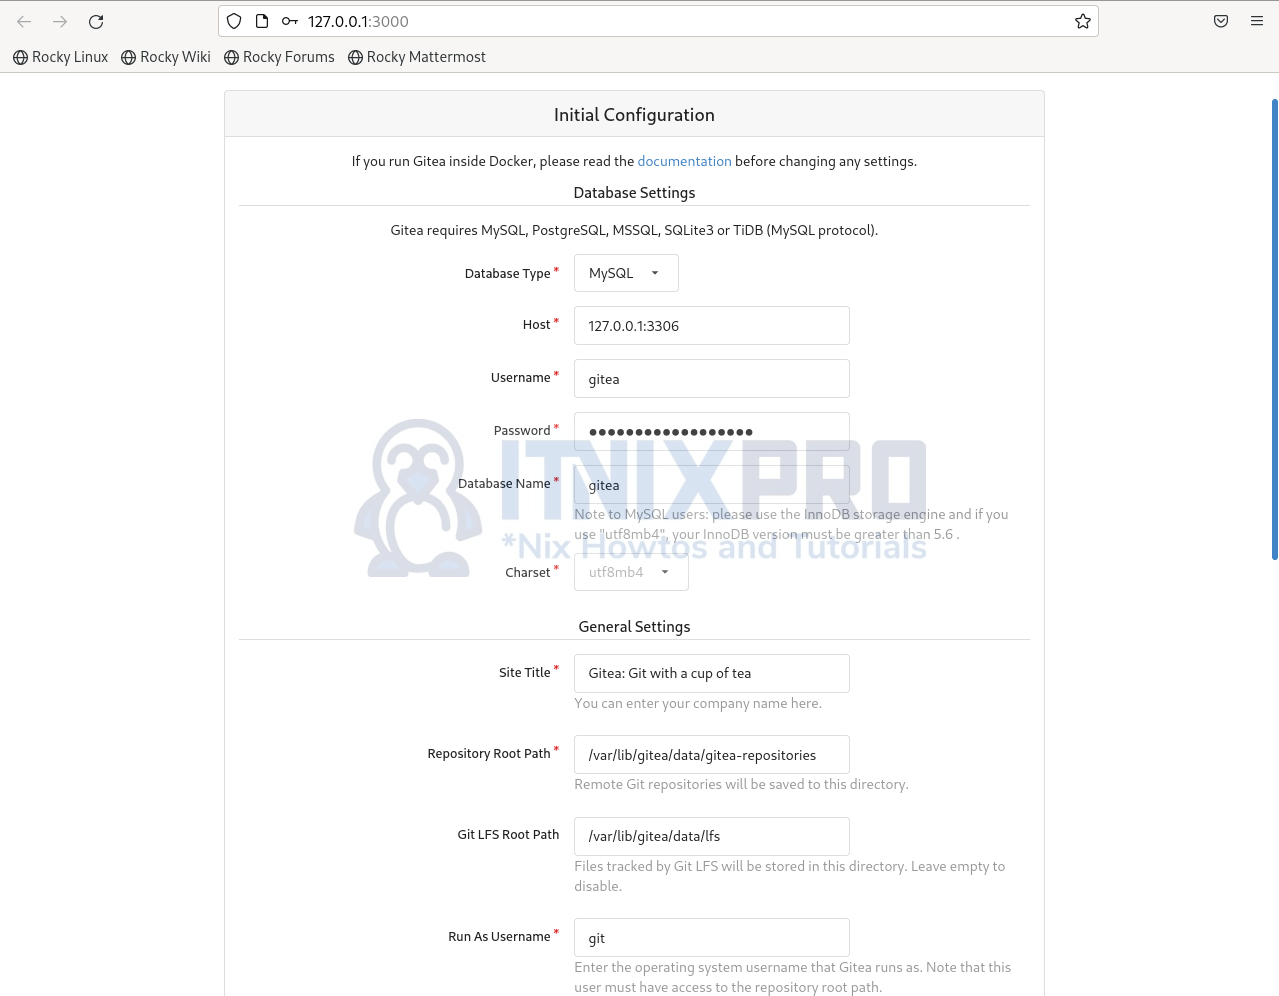
- Open your web browser and enter your server IP or domain name followed by port 3000 to access Gitea e.g.
http://127.0.0.1:3000then enter your database name and password for Gitea.
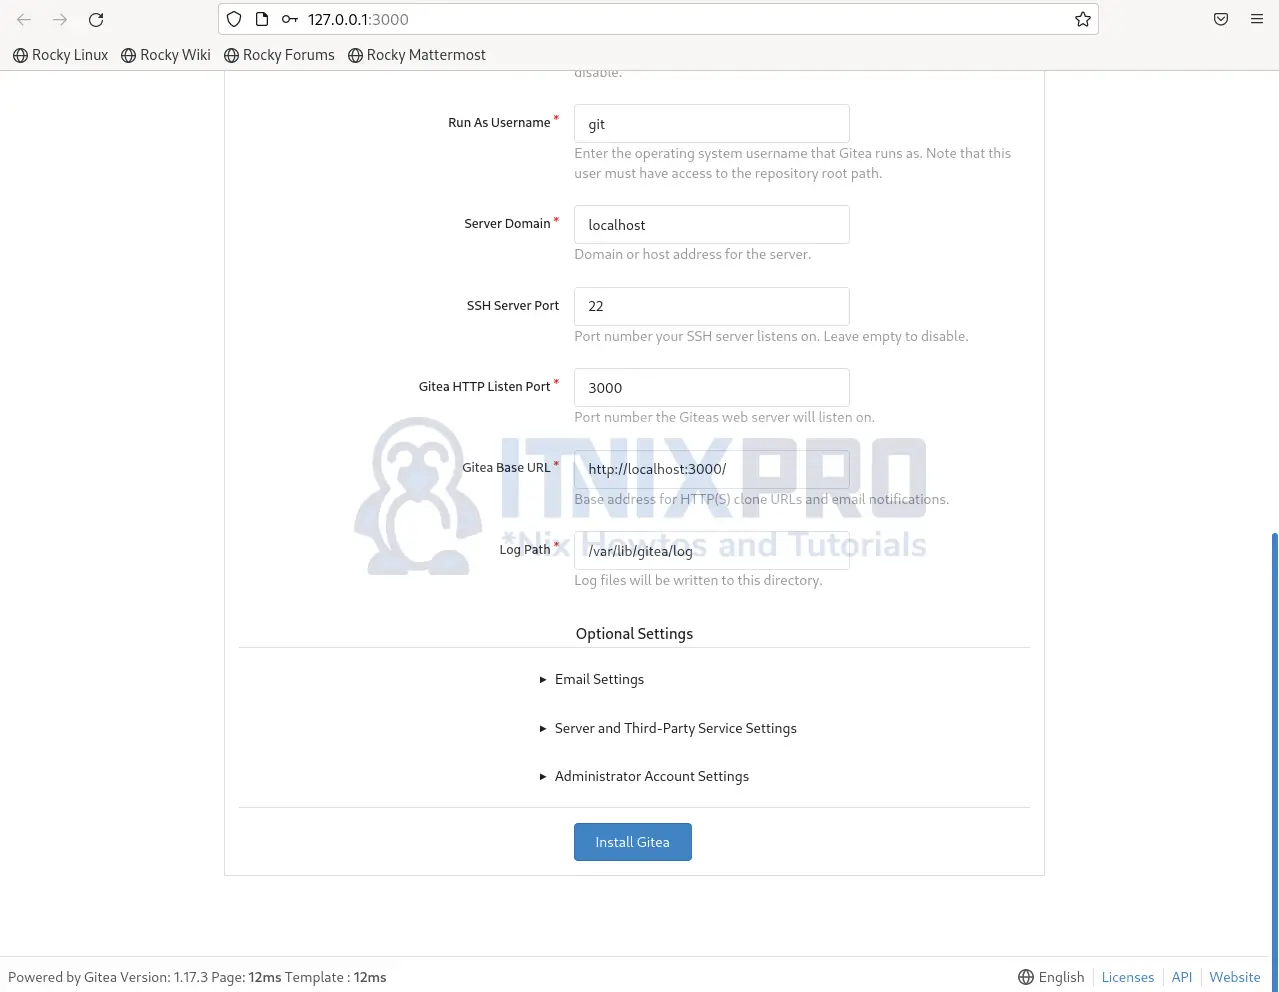
- Click on the Install Gitea button at the end of the page to complete the installation.
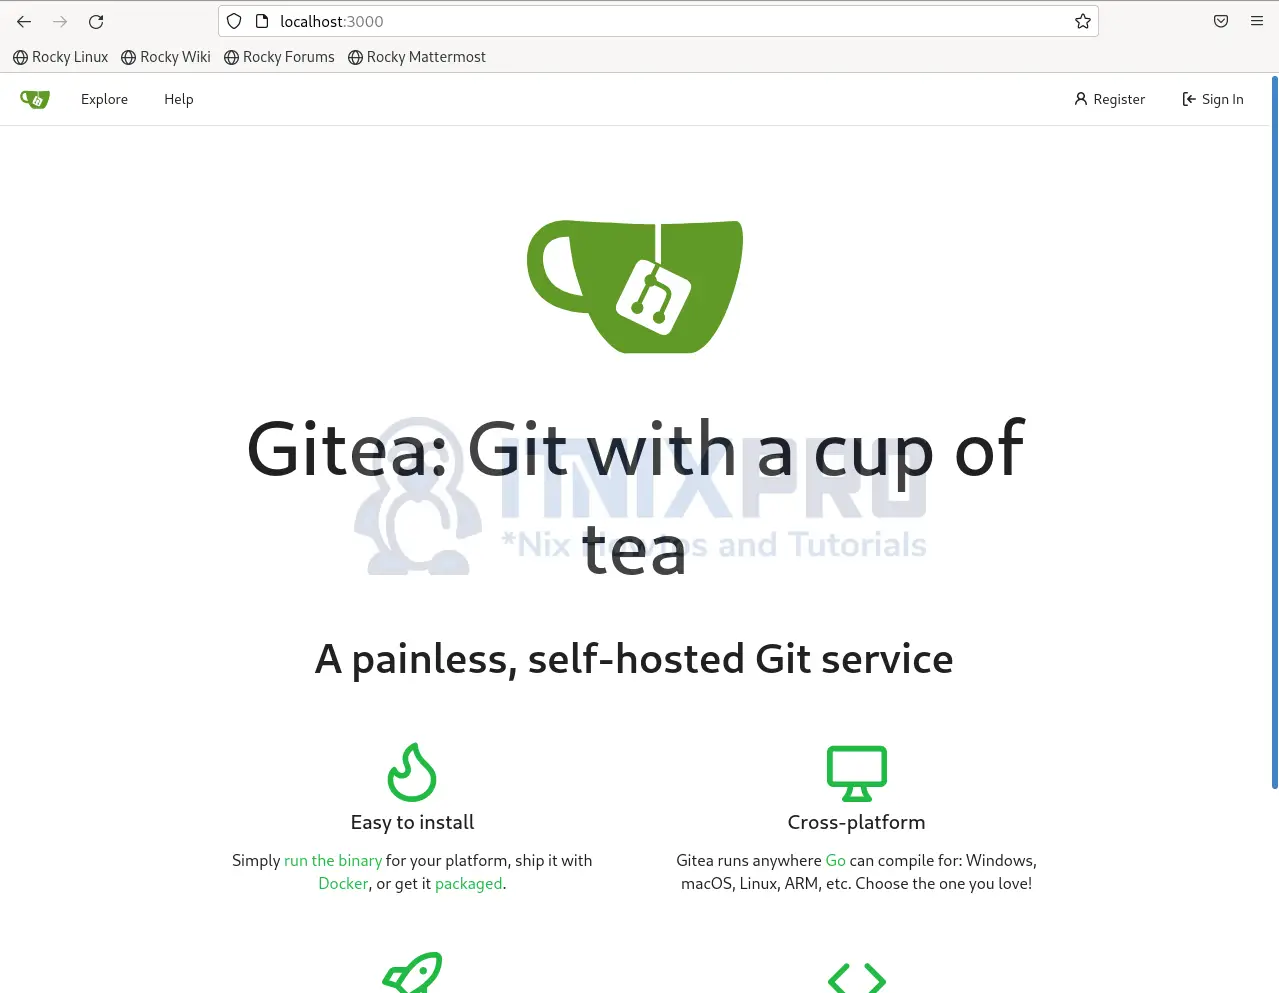
- After the installation, you will be redirected to the home page. Alternatively, enter your domain name followed by port 3000 to access it.
- You have reached the end of our article, we have gone through how to install Gitea Code Hosting Service on Rocky Linux.
Read more on Gitea Documentation
Other Tutorials
Configure Request Tracker to Fetch Email Requests from Mail Box