
This guide is going to take you through how to install CockroachDB on Rocky Linux. CockroachDB is a cloud-based serverless distributed SQL database for developing, scaling, and maintaining modern, data-intensive applications. It’s built on a transactional and highly consistent key-value store. It scales horizontally, survives disk, machine, rack, and even data center failures with minimal latency and no user intervention, supports strongly-consistent ACID transactions, and provides a familiar SQL API for data organization, manipulation, and querying.
How to Install CockroachDB on Rocky Linux
- Get the most recent version download link from the CockroachDB website. Download and extract it using the example command below.
curl https://binaries.cockroachdb.com/cockroach-v22.1.0.linux-amd64.tgz | tar -xz && sudo cp -i cockroach-v22.1.0.linux-amd64/cockroach /usr/local/bin/- Create
/usr/local/lib/cockroachdirectory.
sudo mkdir -p /usr/local/lib/cockroach- Then copy the library files to the directory created.
sudo cp -i cockroach-v22.1.0.linux-amd64/lib/libgeos.so /usr/local/lib/cockroach/sudo cp -i cockroach-v22.1.0.linux-amd64/lib/libgeos_c.so /usr/local/lib/cockroach/- Verify the copied binary is working.
which cockroachSample output
/usr/local/bin/cockroach- To check the CockroachDB version installed run the command below.
cockroach versionSample output
Build Tag:        v22.1.0
Build Time:       2022/05/23 16:27:47
Distribution:     CCL
Platform:         linux amd64 (x86_64-pc-linux-gnu)
Go Version:       go1.17.6
C Compiler:       gcc 6.5.0
Build Commit ID:  5b78463ed2e7106a8477b63fa837564ad02bb510
Build Type:       release
Start single node CockroachDB cluster on Rocky Linux
- Run the following command to create a single node cluster.
cockroach start-single-node \
    --insecure \
    --store=commerce_database \
    --listen-addr=localhost:26257 \
    --http-addr=localhost:8080 \
--background- Start CockroachDB shell.
cockroach sql --insecure --host=localhost:26257- Create a demo user using the query below.
CREATE USER itnixpro;- Next, create a demo database using the following query.
CREATE DATABASE demo_db;- Run the command below to set demo_db as the default database.
SET DATABASE = demo_db;- Grant all privileges to itnixpro user.
GRANT ALL ON DATABASE demo_db TO itnixpro;- List created databases.
SHOW database;- Exit the shell.
\qSample output
#
# Welcome to the CockroachDB SQL shell.
# All statements must be terminated by a semicolon.
# To exit, type: \q.
#
# Server version: CockroachDB CCL v22.1.0 (x86_64-pc-linux-gnu, built 2022/05/23 16:27:47, go1.17.6) (same version as client)
# Cluster ID: b70dbfbf-7267-4058-94e4-86a8b1547453
No entry for terminal type "xterm-256color";
using dumb terminal settings.
#
# Enter \? for a brief introduction.
#
root@localhost:26257/defaultdb> CREATE USER itnixpro;
CREATE ROLE


Time: 76ms total (execution 76ms / network 0ms)

root@localhost:26257/defaultdb> CREATE DATABASE demo_db;
CREATE DATABASE


Time: 101ms total (execution 101ms / network 0ms)

root@localhost:26257/defaultdb> SET DATABASE = demo_db;
SET


Time: 6ms total (execution 5ms / network 0ms)

root@localhost:26257/demo_db> GRANT ALL ON DATABASE demo_db TO itnixpro
;
NOTICE: grant options were automatically applied but this behavior is deprecated
HINT: please use WITH GRANT OPTION
GRANT


Time: 45ms total (execution 45ms / network 1ms)

root@localhost:26257/demo_db> SHOW database;
  database
------------
  demo_db
(1 row)


Time: 2ms total (execution 2ms / network 0ms)

root@localhost:26257/demo_db> \q
Access CockroachDB Web Interface
- Open the web browser and enter your server/domain name followed by port 8080 e.g.
server-IP:8080orlocalhost:8080as shown below.
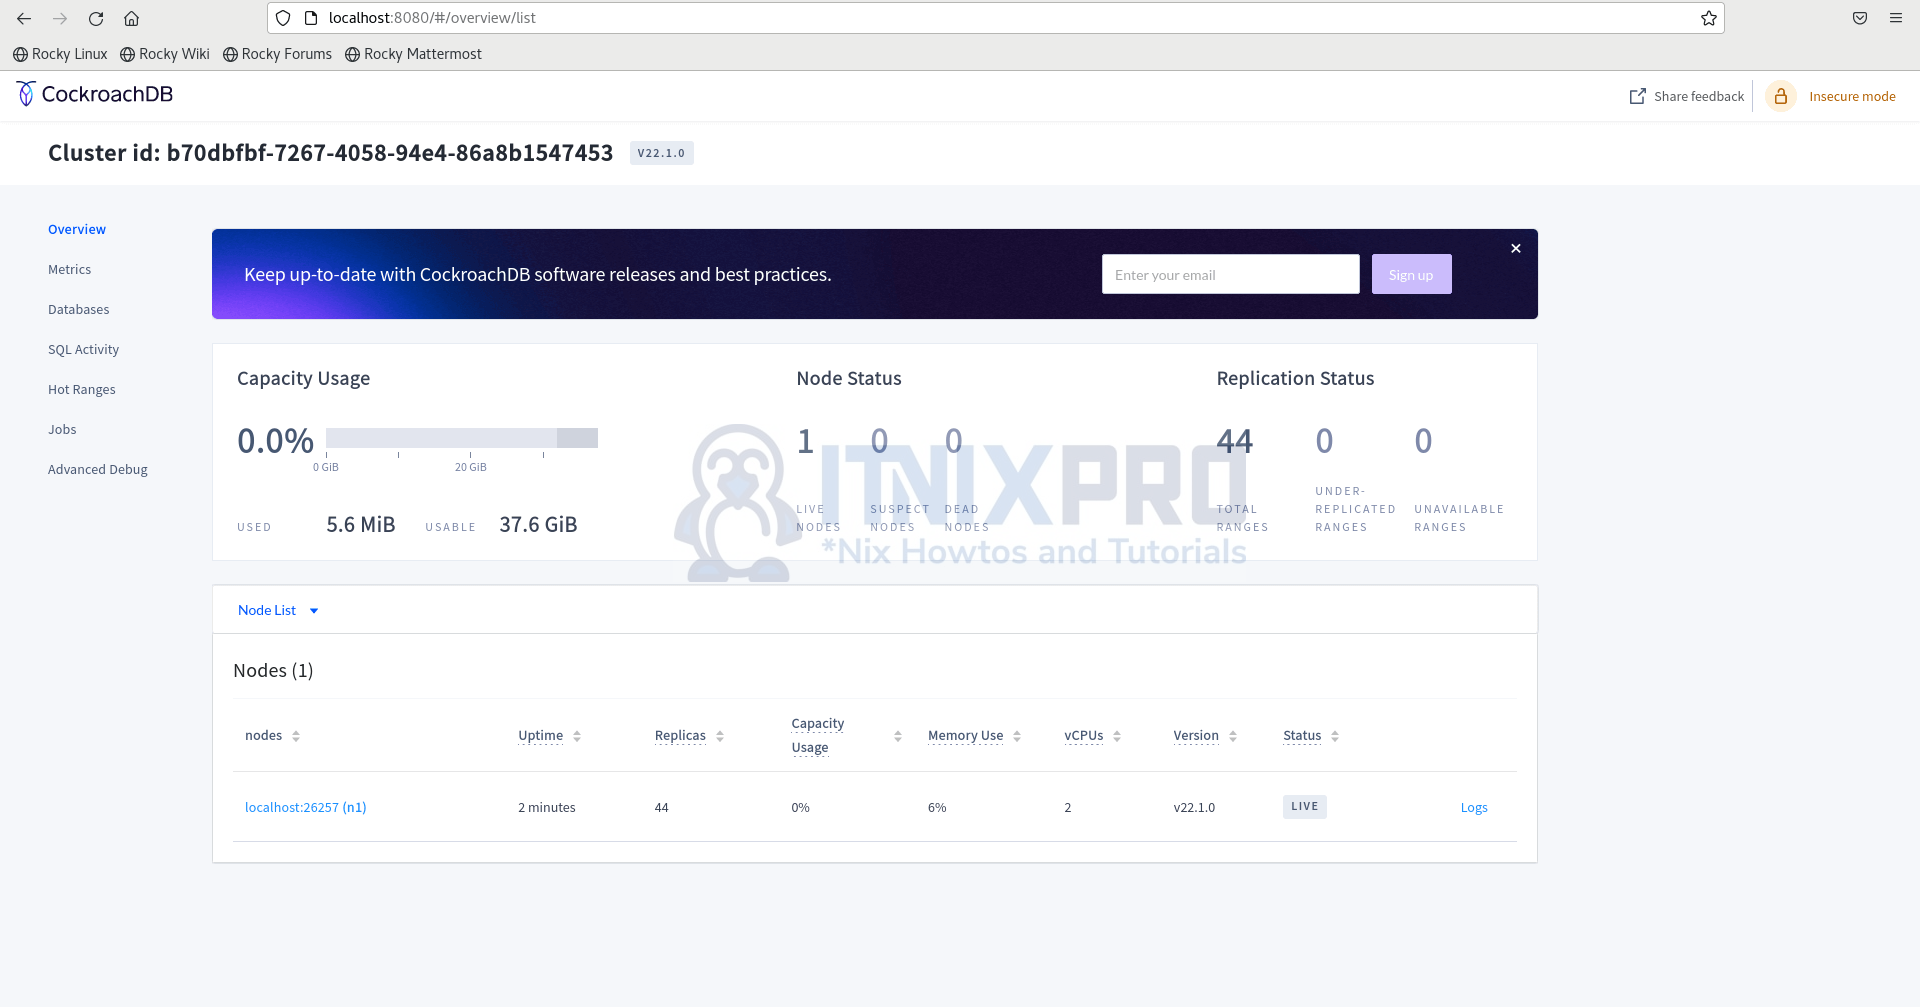
The web interface can now be used to monitor your database. Note, that the web interface cannot be used to create databases.
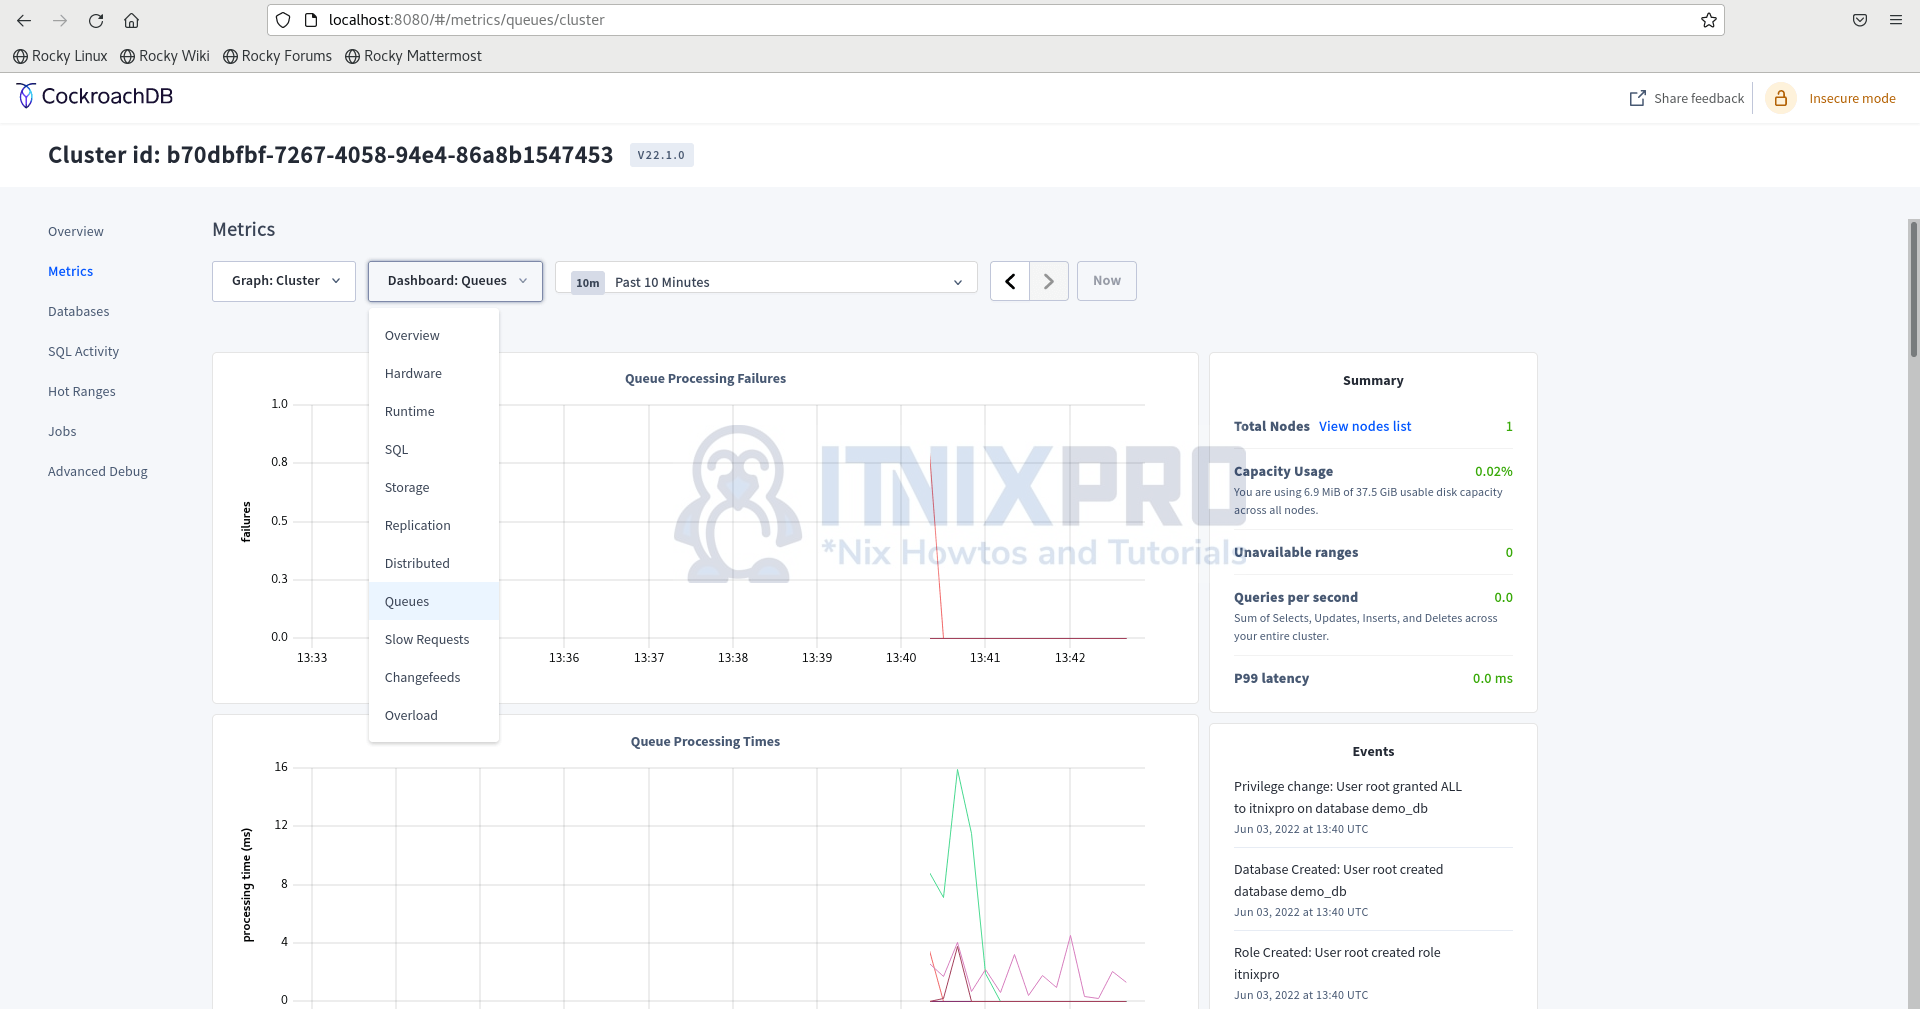
- Check metrics by clicking on the Metrics option.
- Check SQL activity by clicking on the SQL Activity option.

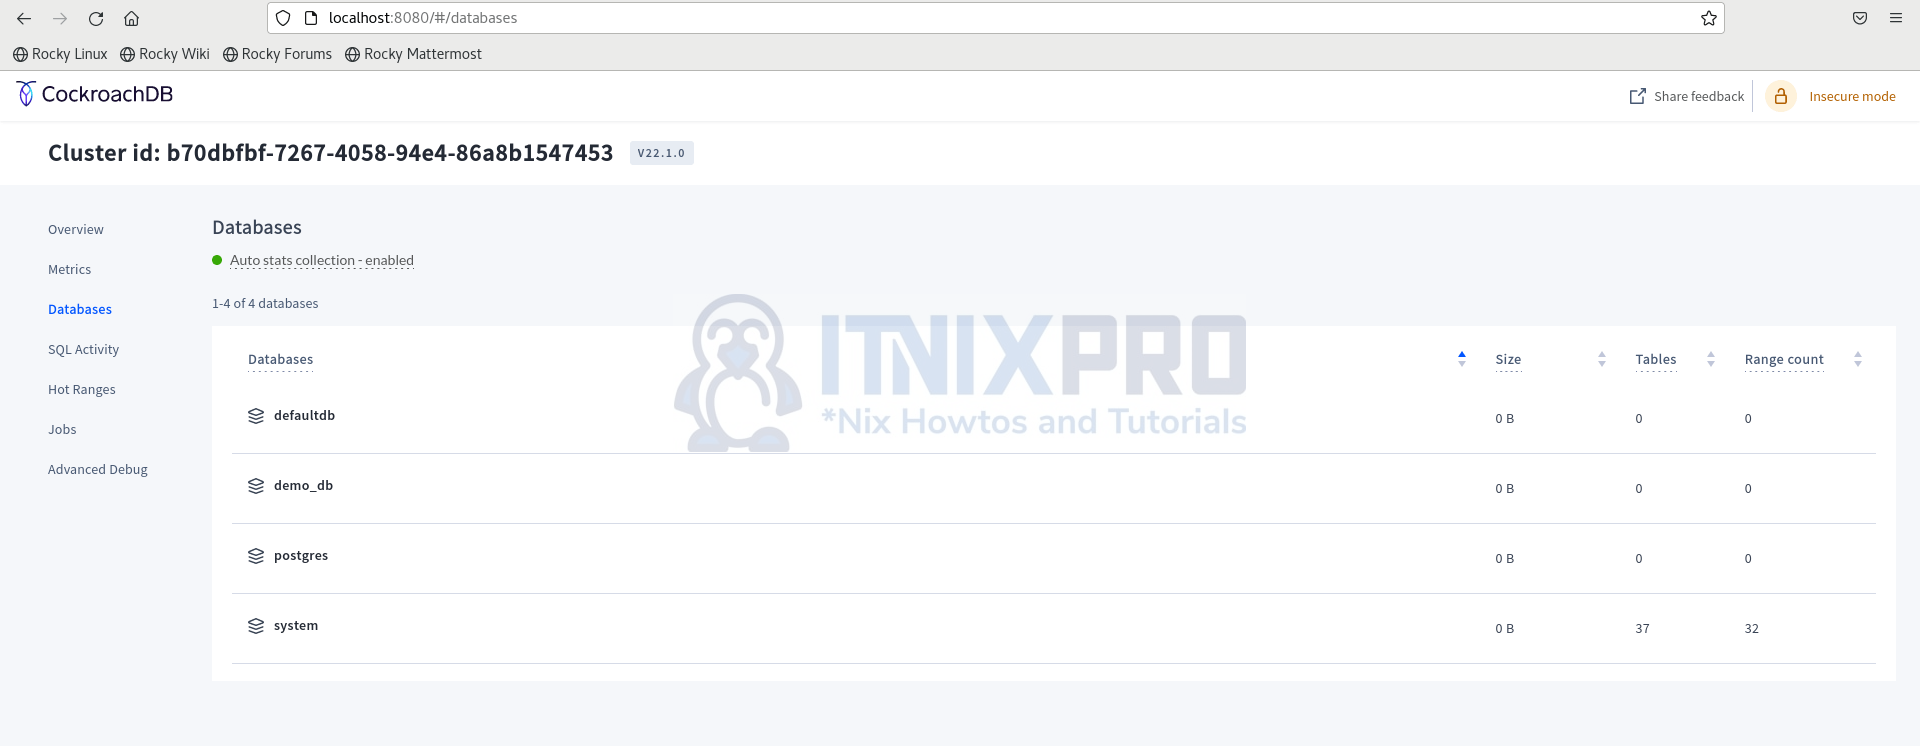
- Click databases by clicking on Databases.
- It’s a warp! You have made it to the end of our article, Cheers! You have gone through how to install CockroachDB on Rocky Linux.
Read more on CockroachDB Documentation
Other Tutorials
Install phpMyAdmin with Apache on Ubuntu 22.04