
This tutorial will teach you how to install CapRover on Debian 11 and configure your own Platform as a service(PaaS). CapRover is a platform that enables you to deploy apps, databases and web servers. Some of the applications supported are MongoDB, Postgres, Node.js, PHP, and Ruby.
CapRover is just like Heroku, AWS Elastic Beanstalk and Google App engine. With it it, you can to develop and run applications on the cloud. The services such are Heroku are expensive with application scalability. That is why CapRover is the best alternative.
CapRover is free and even has pre-built application repository allowing you to can install these applications through one click. It should be noted that CapRover runs Nginx, LetsEncrypt, Docker and NetData.
Most tutorials will show you how to install CapRover on the cloud which is simple but not on a local machine. This tutorial is specifically meant to show how to install CapRover on Debian 11 locally.
Prerequisites
Ensure you have Docker installed before you install CapRover on Debian 11. Root privileges and stable internet are needed too.
In case you already have docker installed, proceed to step 2. You need Docker version 17.06.x and above installed.
Step 1: Install Docker
- Update the system:
sudo apt update- Install curl if not installed:
sudo apt install curl- Install packages to allow
aptto use a repository over HTTPS:
sudo apt-get install \
    ca-certificates \
    curl \
    gnupg \
lsb-release- Add Docker’s official GPG key:
curl -fsSL https://download.docker.com/linux/debian/gpg | sudo gpg --dearmor -o /usr/share/keyrings/docker-archive-keyring.gpg
- Setup a stable repository:
echo \
  "deb [arch=$(dpkg --print-architecture) signed-by=/usr/share/keyrings/docker-archive-keyring.gpg] https://download.docker.com/linux/debian \
$(lsb_release -cs) stable" | sudo tee /etc/apt/sources.list.d/docker.list > /dev/null- Update the system packages once more.
sudo apt update- Install the latest Docker.
sudo apt-get install docker-ce docker-ce-cli containerd.io docker-compose-plugin- Check the version.
docker versionClient: Docker Engine - Community
Version: 20.10.16
API version: 1.41
Go version: go1.17.10
..........Step 2: Verify Root domain
CapRover user http://captain.captain.localhost as the root domain. So ensure CapRover resolvers captain.captain.localhost to your local machines IP address.
Execute the command below. You should see answer section showing your local system’s IP address, in my case, my system does not resolve the domain to my IP address
dig @127.0.0.1 randomstring123.captain.localhost; <> DiG 9.16.27-Debian <> @127.0.0.1 randomstring123.captain.localhost ; (1 server found) ;; global options: +cmd ;; Got answer: ;; ->>HEADER<<- opcode: QUERY, status: NXDOMAIN, id: 22064 ;; flags: qr rd ra; QUERY: 1, ANSWER: 0, AUTHORITY: 1, ADDITIONAL: 1 ;; OPT PSEUDOSECTION: ; EDNS: version: 0, flags:; udp: 512 ;; QUESTION SECTION: ;randomstring123.captain.localhost. IN A ;; AUTHORITY SECTION: . 84746 IN SOA a.root-servers.net. nstld.verisign-grs.com. 2022051900 1800 900 604800 86400 ;; Query time: 224 msec ;; SERVER: 127.0.0.1#53(127.0.0.1) ;; WHEN: Thu May 19 13:07:22 EDT 2022 ;; MSG SIZE rcvd: 137
To fix this, add DNS wildcard record using dnsmasq.
- Check if
dnsmasqby typing the command
which dnsmasq- If a path is printed, it is installed. Otherwise, it is not. So install it.
sudo apt -y install dnsmasq- Start and enable
dnsmasq
sudo systemctl enable --now dnsmasq - Edit
/etc/dnsmasq.confadd the configuration below. Replace127.0.0.1with your IP address.
#add the line
address=/captain.localhost/127.0.0.1- Reload dnsmasq
sudo systemctl restart dnsmasq- Check if the configuration works using
digutility:
dig @127.0.0.1 randomstring123.captain.localhost; <> DiG 9.16.27-Debian <> @127.0.0.1 randomstring123.captain.localhost ; (1 server found) ;; global options: +cmd ;; Got answer: ;; ->>HEADER<<- opcode: QUERY, status: NOERROR, id: 6285 ;; flags: qr aa rd ra; QUERY: 1, ANSWER: 1, AUTHORITY: 0, ADDITIONAL: 1 ;; OPT PSEUDOSECTION: ; EDNS: version: 0, flags:; udp: 4096 ;; QUESTION SECTION: ;randomstring123.captain.localhost. IN A ;; ANSWER SECTION: randomstring123.captain.localhost. 0 IN A 127.0.0.1 ;; Query time: 4 msec ;; SERVER: 127.0.0.1#53(127.0.0.1) ;; WHEN: Fri May 20 03:47:47 EDT 2022 ;; MSG SIZE rcvd: 78
You will see the answer section resolves the domain to 127.0.0.1. That means you everything is set to install CapRover on Debian 11.
Step 3: Install CapRover on Debian 11
- Create a new directory data to store the configurations:
sudo mkdir -p /captain/data/- Create configurations in the above folder to enable installation of CapRover locally. Just be sure to execute the commands below as a root user.
echo "{\"skipVerifyingDomains\":\"true\"}" > /captain/data/config-override.json - Install CapRover on Debian 11. Replace
MAIN_NODE_IP_ADDRESSwith your IP address
docker run -e MAIN_NODE_IP_ADDRESS=127.0.0.1 -p 80:80 -p 443:443 -p 3000:3000 -v /var/run/docker.sock:/var/run/docker.sock -v /captain:/captain caprover/caprover- Note that for local connection, CapRover needs port 80 is for HTTP connections, 443 for secure HTTPS connections and 3000 for initial Captain installation.
Step 4: Accessing CapRover web interface
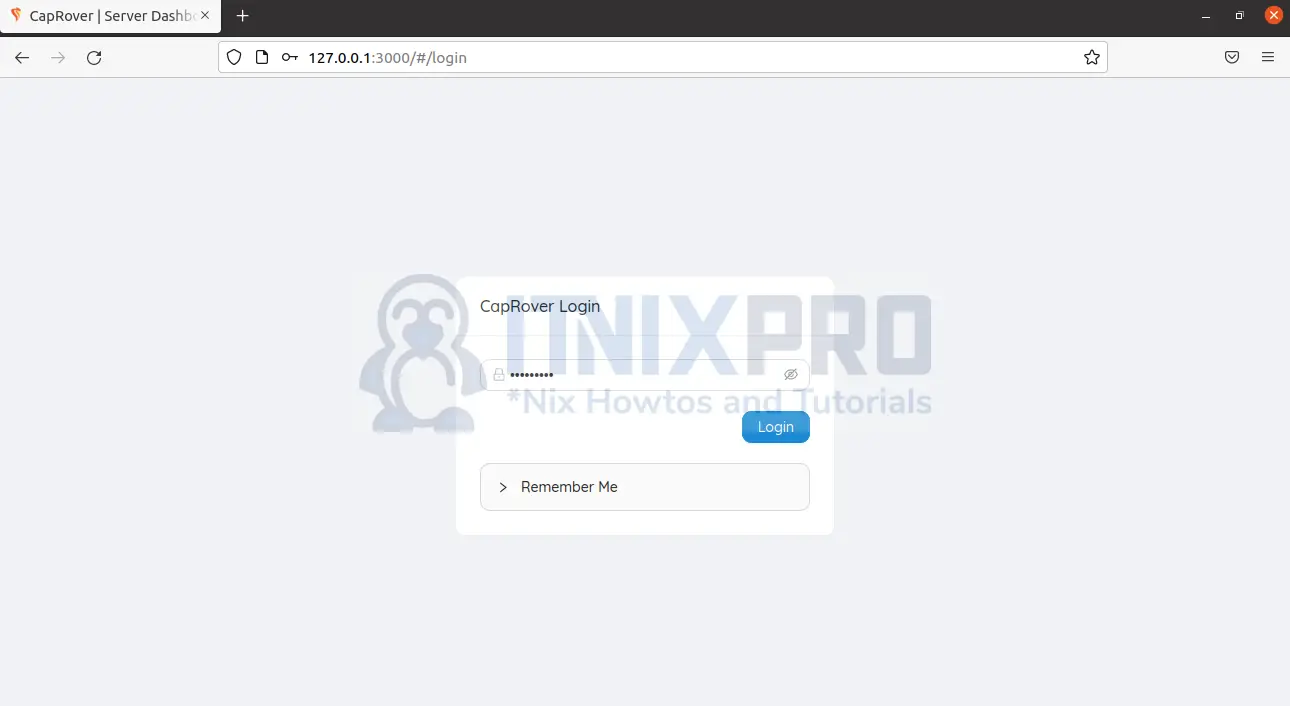
Open your browser and type your URL: http://local.machine.IP.address:3000 in my case, http://127.0.0.1:3000. Don’t use https locally because it won’t work.
The login screen loads as below. Enter the default password, captain42 and click login.
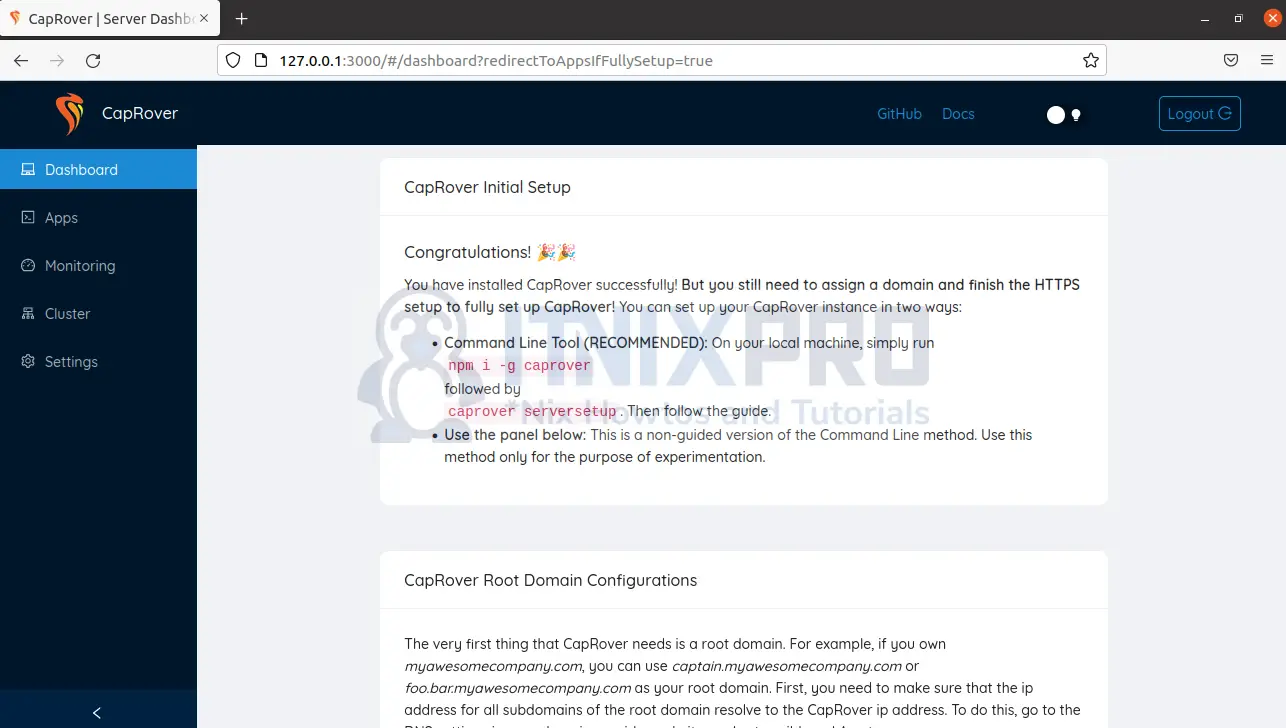
CapRover dashboard launches:
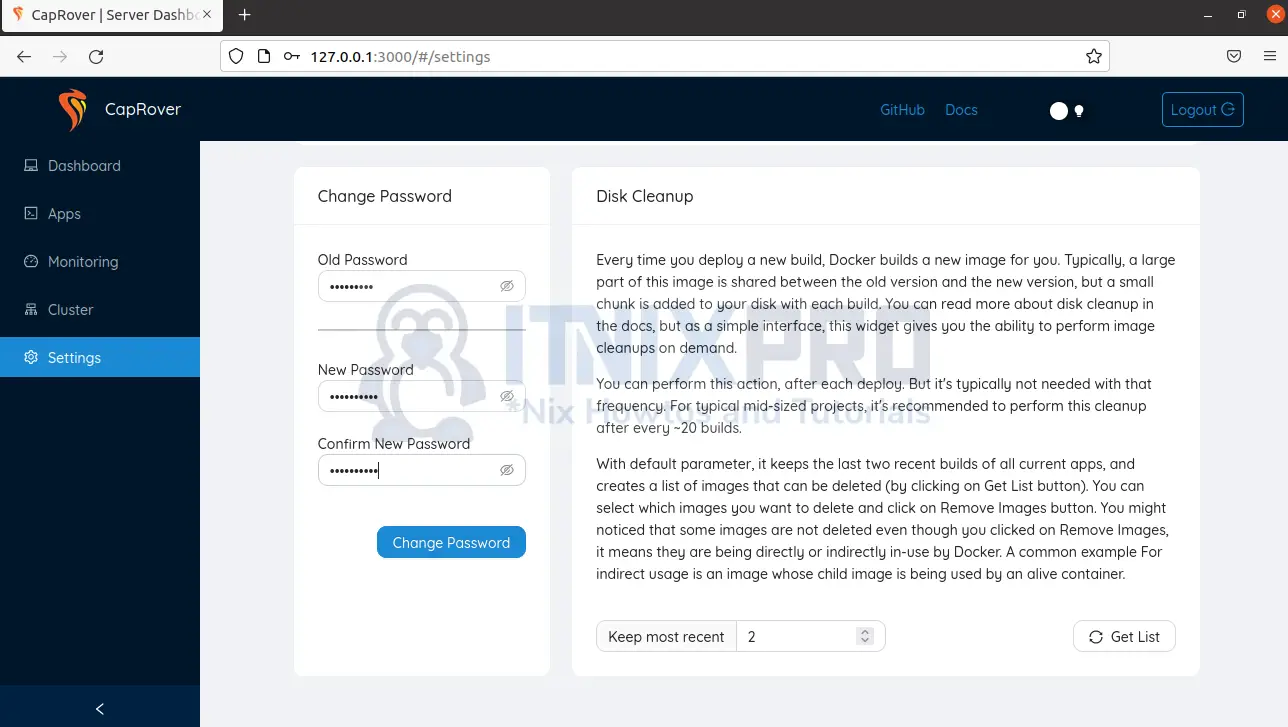
Change the default password. Click on Settings and scroll to the end, enter new password and click on change password
Step 5: Deploying applications/Databases
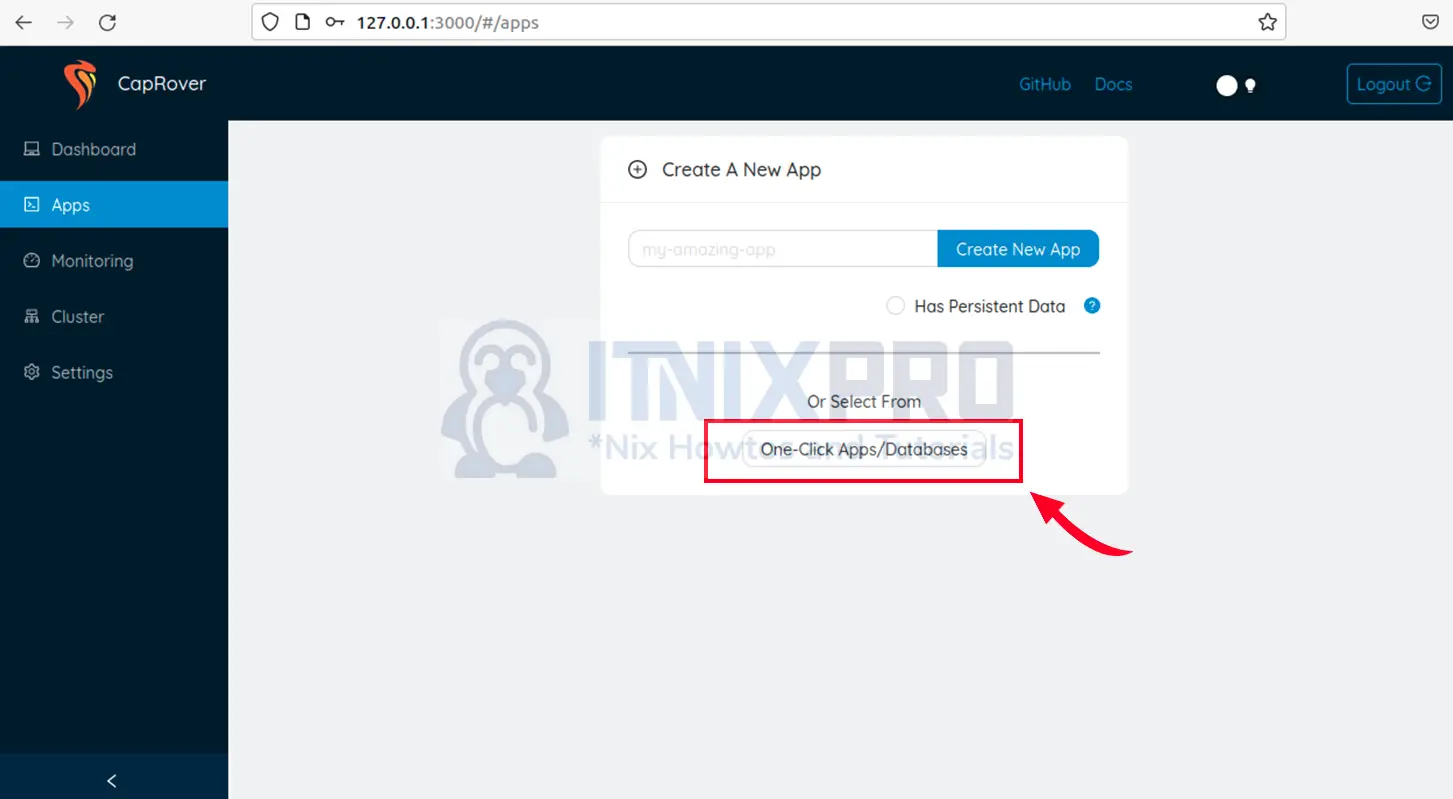
Install a new app or existing apps/database via one click, i.e. phpMyAdmin
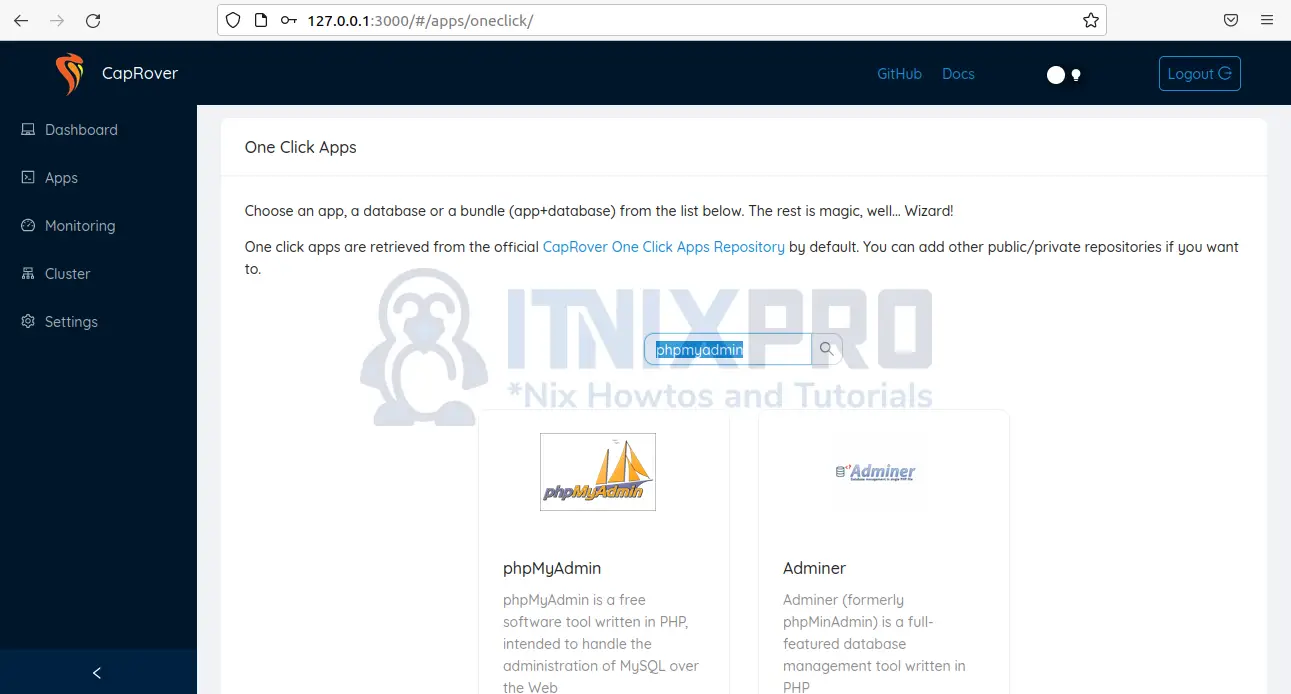
Click on the Apps tab. Choose one-click Apps/Databases. Let the wizard to finish loading.
Search for phpMyAdmin and click on the option with phpMyAdmin icon.
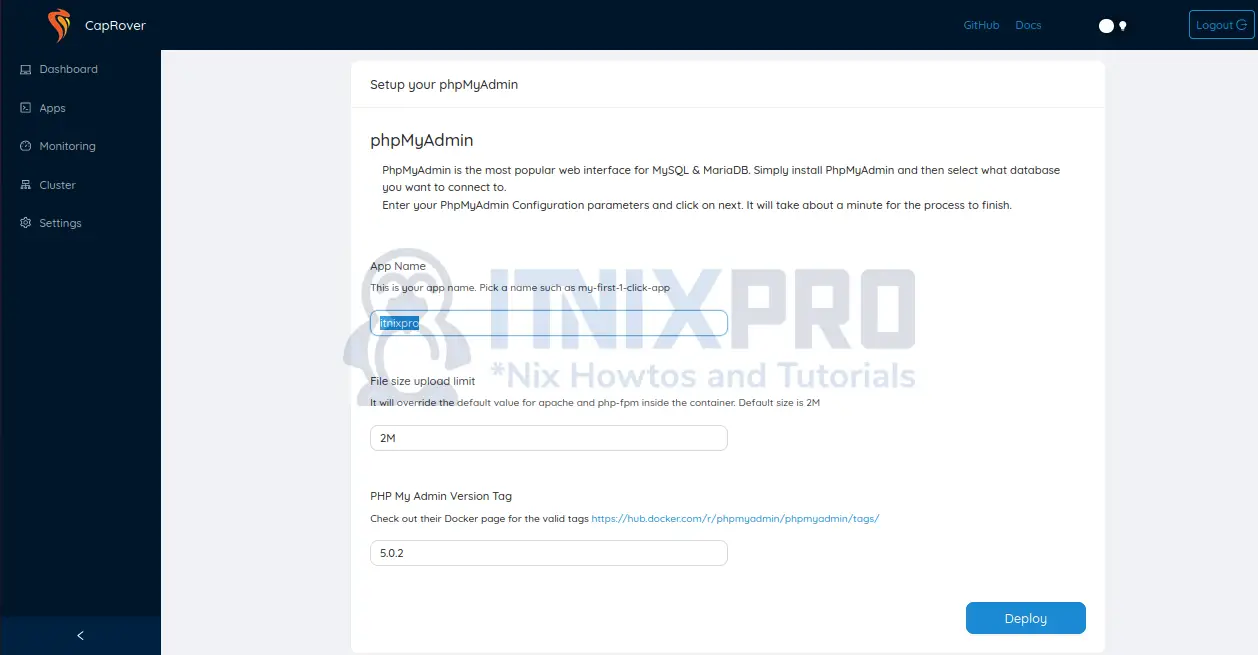
Input app name for example, my-app
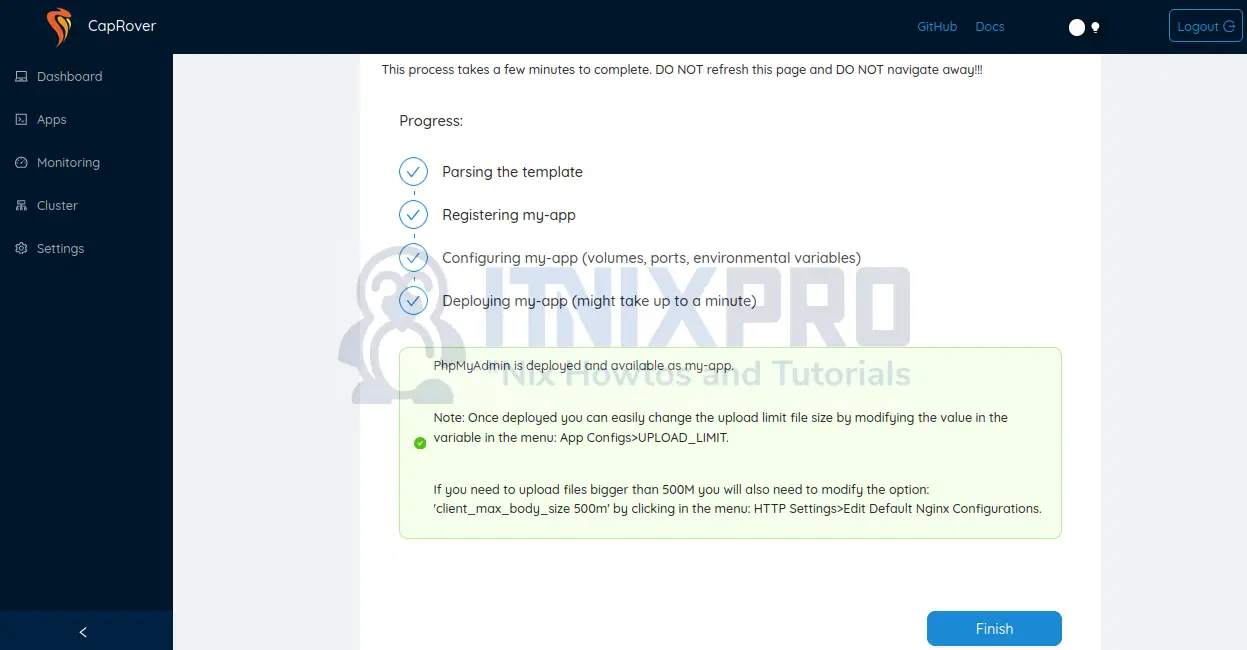
Click on Finish to complete the installation:
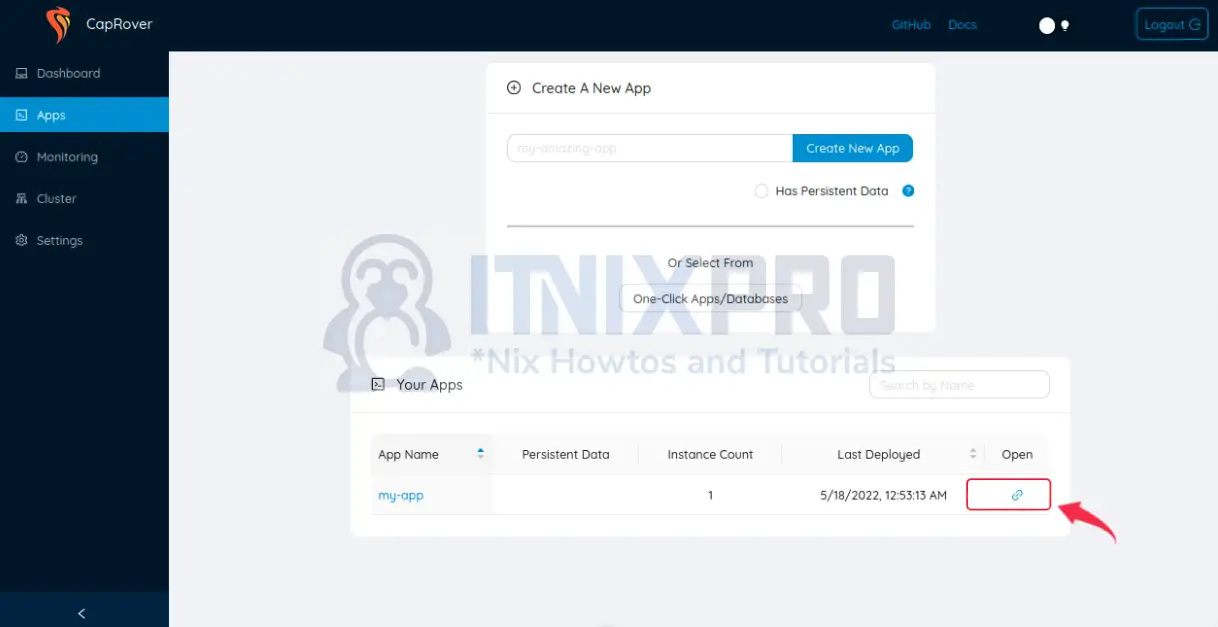
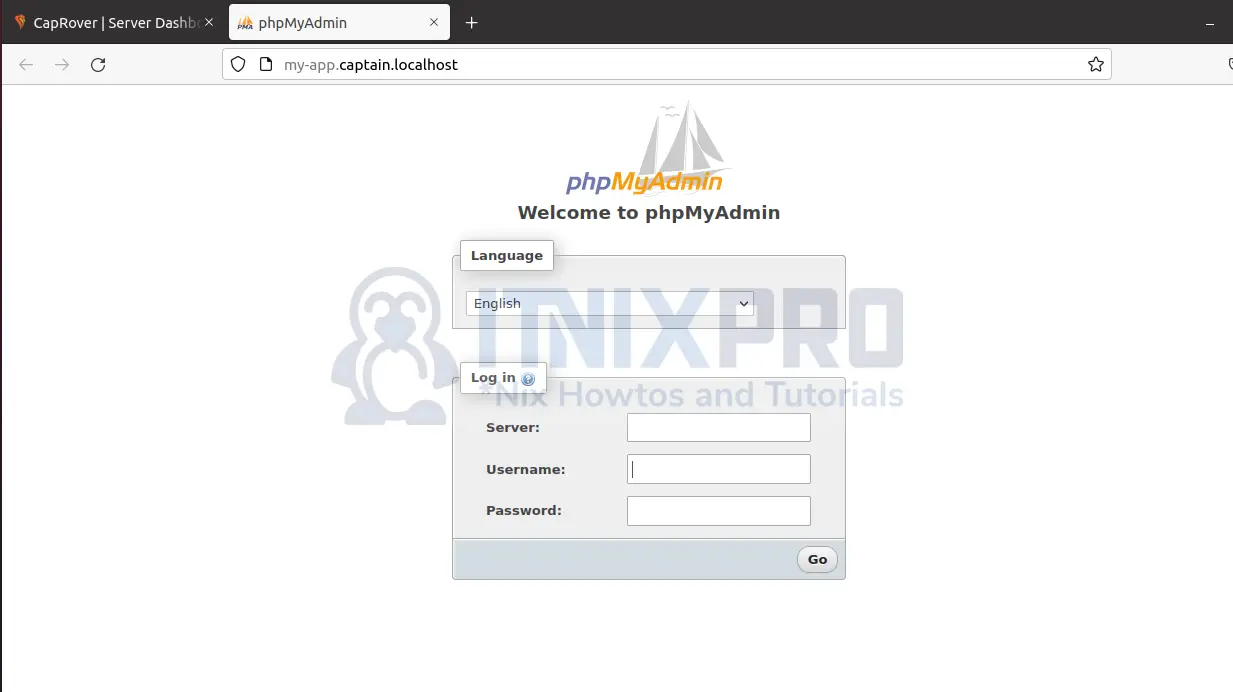
phpMyAdmin app is now available in your apps. Click on the link shown below to open your phpMyAdmin in a new tab.
PhpMyAdmin loads:
Conclusion
That is the end this tutorial. I’m sure you have found out to Install CapRover on Debian 11 being simple and straightforward. Now that you have CapRover installed, find more on CapRover Documentation
More interesting tutorials
Install vnStat network traffic monitor on Debian 11