

In this tutorial, you will learn how to install and configure Nginx Reverse Proxy for Kibana. Usually, you would always have specify Kibana IP and its default port, 5601/tcp on the browser to access Kibana dashboard. What if you want to just type the Kibana URL without having to specify the port and be able to access the same Kibana dashboard? Then, reverse proxying it with Nginx or any other web server would the most convenient way.
Configure Nginx Reverse Proxy for Kibana
Install and Setup ELK Stack
In order to configure Nginx reverse proxy for Kibana, you first need to be having a running Kibana or ELK stack in that case.
We have covered how to install and setup Kibana in our previous guide. Just follow the link below to install and setup Kibana.
Configure Kibana Server Host
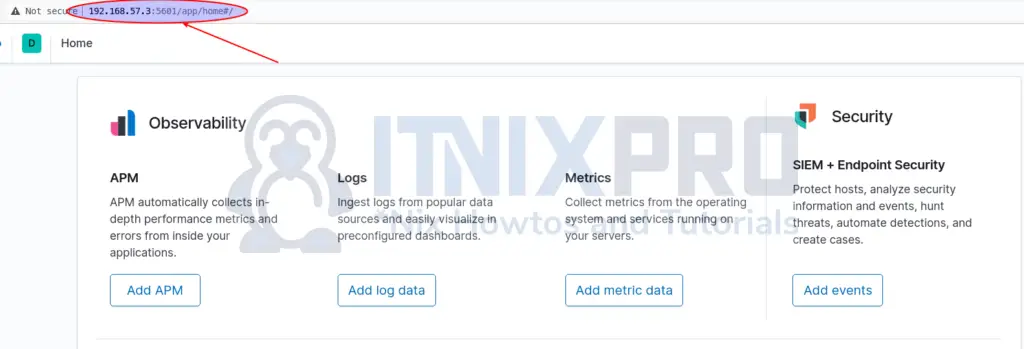
In that setup, we are currently accessing kibana with URL and the port specified;
Since we are going to proxy Kibana requests using Nginx, then you need to configure Kibana to listen on loopback interface address, localhost instead of an interface IP.
Therefore, edit Kibana configuration file and replace the value of server.host with loopback interface address to only allow connections from the local server.
vim /etc/kibana/kibana.yml
# Kibana is served by a back end server. This setting specifies the port to use.
server.port: 5601
...
# allow connections from localhost only
#server.host: "192.168.57.3"
server.host: "localhost"
Save and exit the Kibana configuration file.
Restart Kibana;
systemctl restart kibana
Confirm Kibana interface and port binding;
netstat -altnp | grep :5601
tcp 0 0 127.0.0.1:5601 0.0.0.0:* LISTEN 24770/nodeInstall Nginx Web Server
Nginx is available in the deffault repositories of different Linux flaours.
If you are using Debian based systems, simply install Nginx using APT as follow;
apt install nginx
If you are using RHEL based distro;
yum install epel-release
yum install nginx
Start and enable Nginx to run on system boot;
systemctl enable --now nginx
Configure Nginx Reverse Proxy for Kibana
Once you have installed Nginx, you can now create Kibana site configuration file and define to how Nginx can proxy request for Kibana.
vim /etc/nginx/sites-available/kibana
server {
    listen 80;
    server_name <server-IP-hostname>;

    location / {
        proxy_pass http://localhost:5601;
        proxy_http_version 1.1;
        proxy_set_header Upgrade $http_upgrade;
        proxy_set_header Connection 'upgrade';
        proxy_set_header Host $host;
        proxy_cache_bypass $http_upgrade;
    }
}
Replace <server-IP-hostname> with your server IP or resolvable hostname.
Save and exit Nginx kibana site configuration.
Check Nginx for syntax errors;
nginx -t
If all is well, you should get such an output;
nginx: the configuration file /etc/nginx/nginx.conf syntax is ok
nginx: configuration file /etc/nginx/nginx.conf test is successful
Enable Nginx Kibana site and disable the Nginx default site configs;
ln -s /etc/nginx/sites-available/kibana /etc/nginx/sites-enabled/
unlink /etc/nginx/sites-enabled/default
Restart Nginx;
systemctl restart nginx
Accessing Kibana Interface Proxied with Nginx
If firewall is running, be sure to open port 80 on firewall. For example, if you are using debian based distros;
ufw allow 80/tcp
RHEL based distros;
firewall-cmd --add-port=80/tcp --permanent
firewall-cmd --reload
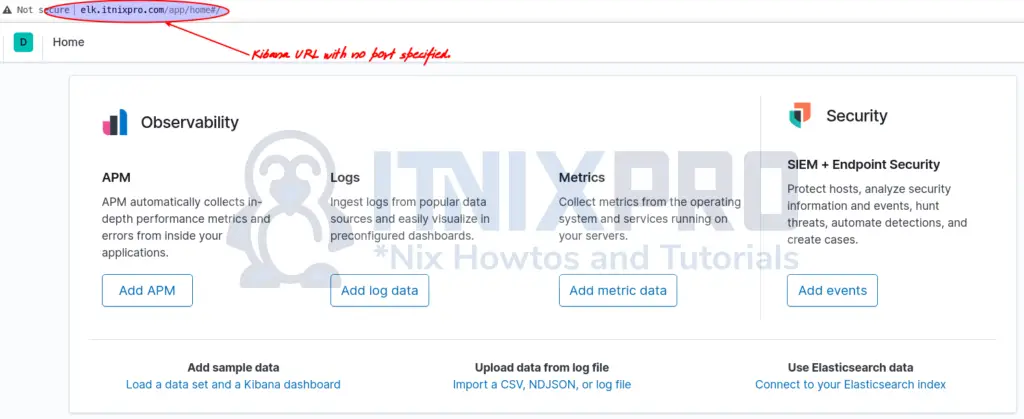
The access Kibana interface using the url, http://<server-IP-or-resolvable-hostname>. This time, do not specify the port and you should be able to access Kibana interface.
Enable Nginx Basic Authentication
If you have not enabled Elasticsearch authentication, then you might need to consider securing Kibana interface with Nginx basic authentication.
To enable Nginx basic authentication, proceed as follows;
Install Password File Creation Utility
Install password file creation utility (apache2-utils) for Debian, Ubuntu or (httpd-tools) for RHEL/CentOS/Oracle Linux.
apt install apache2-utils
yum install httpd-tools
Create User Account and Password
Once the install is done, run the command below to create a user account and the password. (be sure to replace the user and password file appropriately).
htpasswd -c /etc/nginx/.kibana itnixproadmin
If you need to add additional user account, omit option c in the command above;
htpasswd /etc/nginx/.kibana user2
Enable Nginx Basic Authentication
Next, edit the Kibana Nginx site configuration file and define the location of the password file to enable basic authenticaiton as shown below;
vim /etc/nginx/sites-available/kibana
server {
    listen 80;
    server_name elk.kifarunix-demo.com;

    location / {

        auth_basic "Restricted Access";
        auth_basic_user_file /etc/nginx/.kibana;

        proxy_pass http://localhost:5601;
        proxy_http_version 1.1;
        proxy_set_header Upgrade $http_upgrade;
        proxy_set_header Connection 'upgrade';
        proxy_set_header Host $host;
        proxy_cache_bypass $http_upgrade;
    }
}
Save and exit the file
Check Nginx syntax errors;
nginx -t
Restart Nginx;
systemctl restart nginx
Verify Kibana Basic Authentication
If you now access Kibana, you will be prompted for authentication;

Upon successful authentication, you land on Kibana User interface.

And that is all on how to configure Nginx reverse proxy for Kibana.
Other Tutorials
Install and Setup Wazuh Server with ELK Stack on Ubuntu 20.04