This article will go through how to install Phoenix Framework on Ubuntu 22.04. Phoenix is a web development framework written in Elixir programming language. Phoenix uses the server-side model view controller(MVC) pattern. It’s best for productively building scalable and reliable web applications. For Phoenix to work, you need Elixir installed on your system. Check the article below on how to install Elixir.
Install Elixir on Ubuntu 22.04
How to install Phoenix Framework on Ubuntu 22.04
- Start by installing the Hex package manager using the command below.
mix local.hexSample output
Are you sure you want to install "https://repo.hex.pm/installs/1.12.0/hex-2.0.0.ez"? [Yn] y
* creating .mix/archives/hex-2.0.0- Next, use the following command to install the Phoenix application generator.
mix archive.install hex phx_newSample output
Resolving Hex dependencies...
Resolution completed in 0.028s
New:
  phx_new 1.6.15
* Getting phx_new (Hex package)
All dependencies are up to date
Compiling 11 files (.ex)
Generated phx_new app
Generated archive "phx_new-1.6.15.ez" with MIX_ENV=prod
Are you sure you want to install "phx_new-1.6.15.ez"? [Yn] y
* creating /home/itnixpro/.mix/archives/phx_new-1.6.15
Install inotify-tools on Ubuntu 22.04
- The inotify tools is a filesystem watcher that performs hot reloading on the Phoenix framework. Run the command below to install it.
sudo apt install inotify-toolsSample output
Reading package lists... Done
Building dependency tree... Done
Reading state information... Done
The following additional packages will be installed:
  libinotifytools0
The following NEW packages will be installed:
  inotify-tools libinotifytools0
0 upgraded, 2 newly installed, 0 to remove and 333 not upgraded.
Need to get 54.8 kB of archives.
After this operation, 233 kB of additional disk space will be used.
Do you want to continue? [Y/n] y
Get:1 http://ke.archive.ubuntu.com/ubuntu jammy/universe amd64 libinotifytools0 amd64 3.22.1.0-2 [22.6 kB]
Get:2 http://ke.archive.ubuntu.com/ubuntu jammy/universe amd64 inotify-tools amd64 3.22.1.0-2 [32.2 kB]
Fetched 54.8 kB in 1s (74.1 kB/s)
Selecting previously unselected package libinotifytools0:amd64.
(Reading database ... 205278 files and directories currently insta
lled.)
Preparing to unpack .../libinotifytools0_3.22.1.0-2_amd64.deb ...
Unpacking libinotifytools0:amd64 (3.22.1.0-2) ...
Selecting previously unselected package inotify-tools.
Preparing to unpack .../inotify-tools_3.22.1.0-2_amd64.deb ...
Unpacking inotify-tools (3.22.1.0-2) ...
Setting up libinotifytools0:amd64 (3.22.1.0-2) ...
Setting up inotify-tools (3.22.1.0-2) ...
Processing triggers for man-db (2.10.2-1) ...
Processing triggers for libc-bin (2.35-0ubuntu3) ...
Install PostgreSQL on Ubuntu 22.04
- We will use the PostgreSQL database because the Phoenix framework supports it out of the box. In case you are using another database add the
--databaseflag when generating a new app.
sudo apt install postgresql postgresql-contribSample output
Reading package lists... Done
Building dependency tree... Done
Reading state information... Done
The following additional packages will be installed:
  libcommon-sense-perl libjson-perl libjson-xs-perl libllvm14
  libpq5 libtypes-serialiser-perl postgresql-14
  postgresql-client-14 postgresql-client-common
  postgresql-common sysstat
Suggested packages:
  postgresql-doc postgresql-doc-14 isag
The following NEW packages will be installed:
  libcommon-sense-perl libjson-perl libjson-xs-perl libllvm14
  libpq5 libtypes-serialiser-perl postgresql postgresql-14
  postgresql-client-14 postgresql-client-common
  postgresql-common postgresql-contrib sysstat
0 upgraded, 13 newly installed, 0 to remove and 333 not upgraded.
Need to get 42.4 MB of archives.
After this operation, 161 MB of additional disk space will be used.
Do you want to continue? [Y/n] y
- After the installation, log in to PostgreSQL.
sudo -u postgres psql- Then change its password.
\password postgres - Next, quit the PostgreSQL shell using the following command.
\q- Restart it to apply changes.
sudo systemctl restart postgresql.serviceCreate Phoenix application
- Run the command below to create a phoenix application.
mix phx.new demo_appSample output
* creating demo_app/config/config.exs
* creating demo_app/config/dev.exs
* creating demo_app/config/prod.exs
* creating demo_app/config/runtime.exs
* creating demo_app/config/test.exs
* creating demo_app/lib/demo_app/application.ex
* creating demo_app/lib/demo_app.ex
* creating demo_app/lib/demo_app_web/views/error_helpers.ex
* creating demo_app/lib/demo_app_web/views/error_view.ex
* creating demo_app/lib/demo_app_web/endpoint.ex
* creating demo_app/lib/demo_app_web/router.ex
* creating demo_app/lib/demo_app_web/telemetry.ex
* creating demo_app/lib/demo_app_web.ex
* creating demo_app/mix.exs
* creating demo_app/README.md
* creating demo_app/.formatter.exs
* creating demo_app/.gitignore
* creating demo_app/test/support/conn_case.ex
* creating demo_app/test/test_helper.exs
* creating demo_app/test/demo_app_web/views/error_view_test.exs
* creating demo_app/lib/demo_app/repo.ex
* creating demo_app/priv/repo/migrations/.formatter.exs
* creating demo_app/priv/repo/seeds.exs
* creating demo_app/test/support/data_case.ex
* creating demo_app/lib/demo_app_web/controllers/page_controller.ex
* creating demo_app/lib/demo_app_web/views/page_view.ex
* creating demo_app/test/demo_app_web/controllers/page_controller_test.exs
* creating demo_app/test/demo_app_web/views/page_view_test.exs
* creating demo_app/assets/vendor/topbar.js
* creating demo_app/lib/demo_app_web/templates/layout/root.html.heex
* creating demo_app/lib/demo_app_web/templates/layout/app.html.heex
* creating demo_app/lib/demo_app_web/templates/layout/live.html.heex
* creating demo_app/lib/demo_app_web/views/layout_view.ex
* creating demo_app/lib/demo_app_web/templates/page/index.html.heex
* creating demo_app/test/demo_app_web/views/layout_view_test.exs
* creating demo_app/lib/demo_app/mailer.ex
* creating demo_app/lib/demo_app_web/gettext.ex
* creating demo_app/priv/gettext/en/LC_MESSAGES/errors.po
* creating demo_app/priv/gettext/errors.pot
* creating demo_app/assets/css/phoenix.css
* creating demo_app/assets/css/app.css
* creating demo_app/assets/js/app.js
* creating demo_app/priv/static/robots.txt
* creating demo_app/priv/static/images/phoenix.png
* creating demo_app/priv/static/favicon.ico

Fetch and install dependencies? [Yn] y
* running mix deps.get

We are almost there! The following steps are missing:

    $ cd demo_app

Then configure your database in config/dev.exs and run:

    $ mix ecto.create

Start your Phoenix app with:

    $ mix phx.server

You can also run your app inside IEx (Interactive Elixir) as:

    $ iex -S mix phx.server
- Next, navigate to your specified directory e.g. demo_app in the example above.
cd demo_app- Enter your database password in the configuration below.
sudo nano config/dev.exs- Then run the command below to create the database for Phoenix.
mix ecto.createSample output
==> file_system
Compiling 7 files (.ex)
Generated file_system app
==> connection
Compiling 1 file (.ex)
Generated connection app
==> gettext
Compiling 1 file (.yrl)
Compiling 1 file (.erl)
Compiling 21 files (.ex)
Generated gettext app
==> demo_app
Could not find "rebar3", which is needed to build dependency :ranch
I can install a local copy which is just used by Mix
Shall I install rebar3? (if running non-interactively, use "mix local.rebar --force") [Yn] y
* creating /home/itnixpro/.mix/rebar
* creating /home/itnixpro/.mix/rebar3
===> Analyzing applications...
===> Compiling ranch
===> Analyzing applications...
===> Compiling telemetry
==> telemetry_metrics
Compiling 7 files (.ex)


==> demo_app
Compiling 14 files (.ex)
Generated demo_app app
The database for DemoApp.Repo has been created
- Start the Phoenix using the following command.
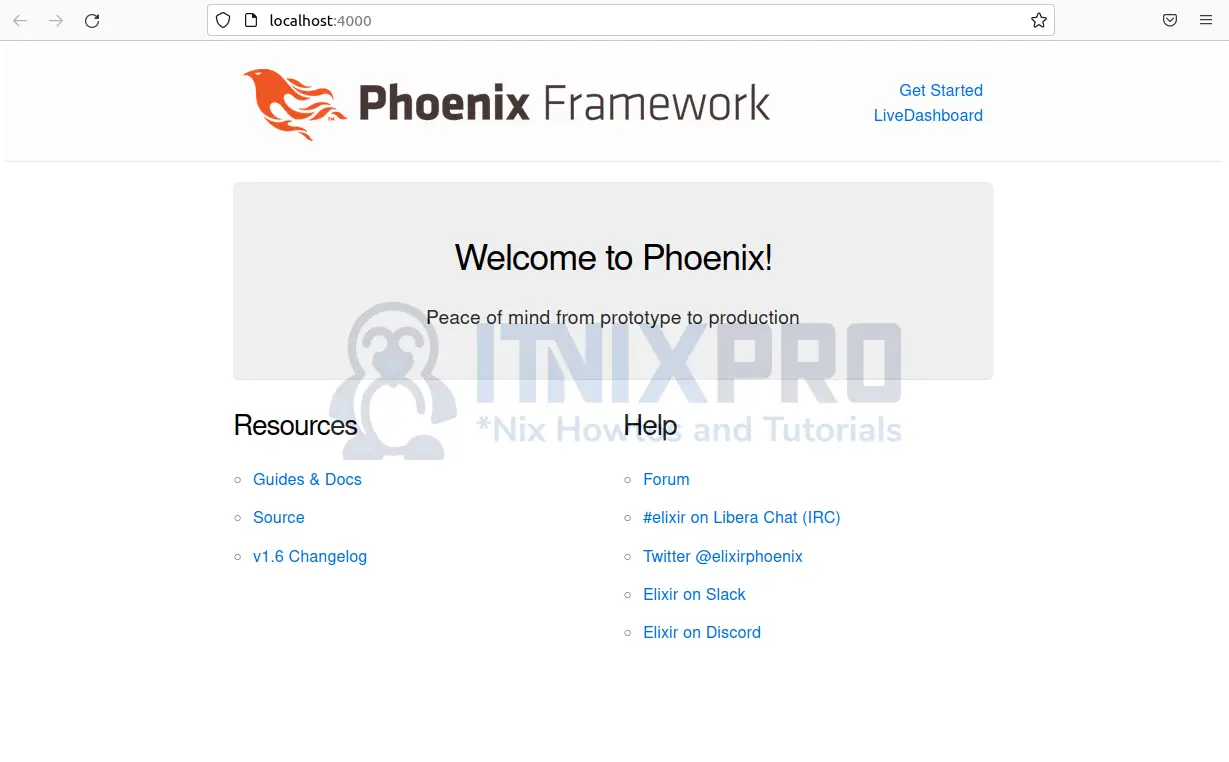
mix phx.server- Access Phoenix from your browser by entering the URL
http://localhost:4000

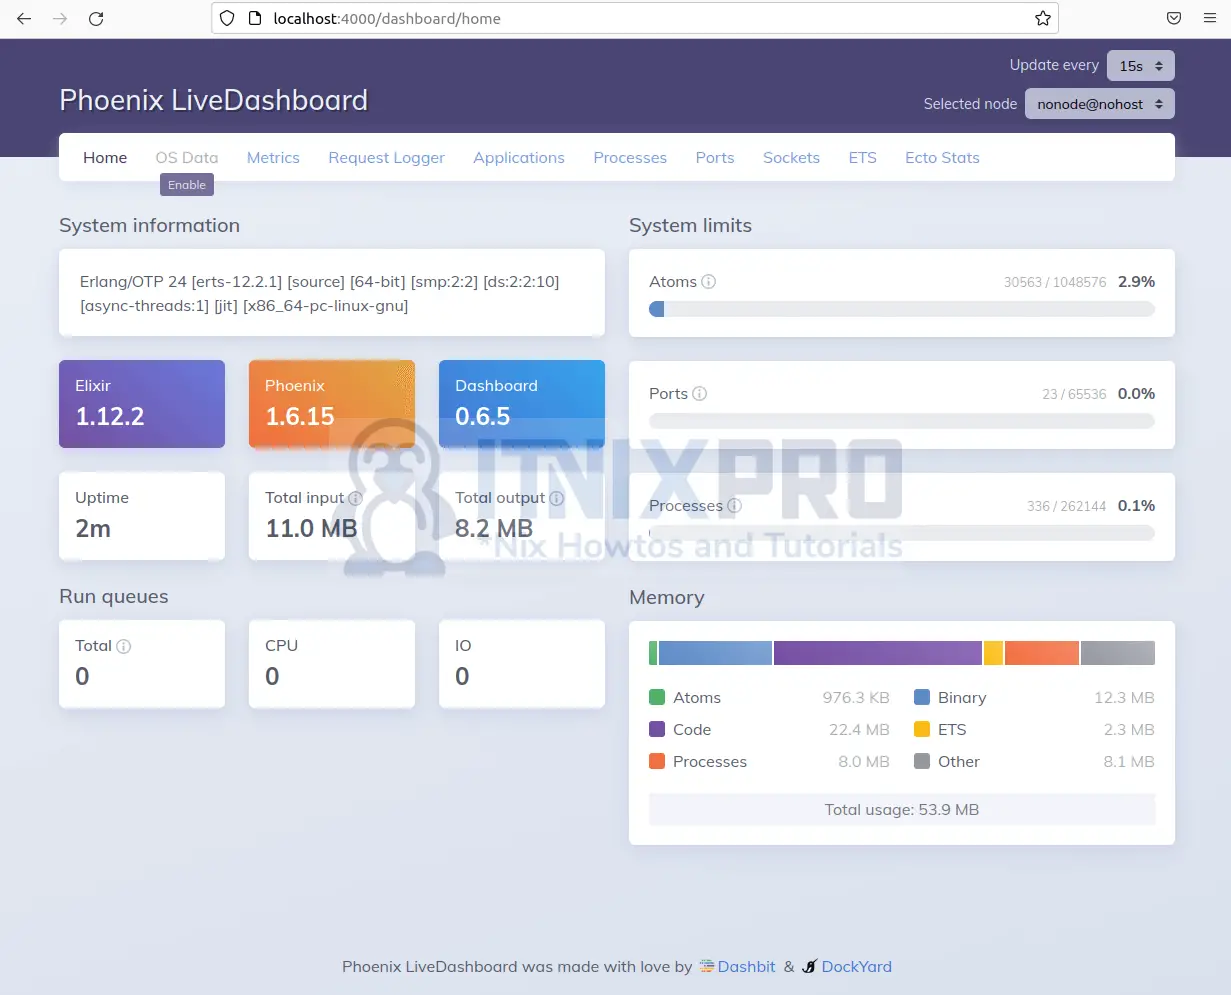
- Phoenix live dashboard.

- You have made it to the end of our guide on how to install Phoenix Framework on Ubuntu 22.04.
Read more on Phoenix Documentation
