This tutorial will show you how install LEMP stack on Debian 12 Linux server. LEMP stands for Linux, Nginx, MariaDB/MySQL, and PHP. The LEMP Stack is a collection of open-source tools that are used to power online applications and web pages. Each component may be utilized to serve an application on its own.
Table of Contents
Install LEMP Stack on Debian 12
Run System Update
Ensure the system package cache is up to date before you begin to install LEMP Stack on Debian 12.
sudo apt update
sudo apt upgrade
Install Nginx Web server on Debian 12
Install Nginx
The Nginx web server is included in the Debian 12 repositories and can be installed using the command below.
sudo apt install nginx -y
Check the Nginx version.
sudo nginx -v
nginx version: nginx/1.22.1Start and Enable Nginx to run on System Boot
Usually, after installation, Nginx is started and enabled to run on system boot.
Now, check the status of Nginx using the following command.
systemctl status nginx
● nginx.service - A high performance web server and a reverse proxy server
     Loaded: loaded (/lib/systemd/system/nginx.service; enabled; preset: enabled)
     Active: active (running) since Tue 2023-06-20 21:57:02 EAT; 5s ago
       Docs: man:nginx(8)
    Process: 11691 ExecStartPre=/usr/sbin/nginx -t -q -g daemon on; master_process on; (code=exited, status=0/SUCCESS)
    Process: 11692 ExecStart=/usr/sbin/nginx -g daemon on; master_process on; (code=exited, status=0/SUCCESS)
   Main PID: 11693 (nginx)
      Tasks: 3 (limit: 2284)
     Memory: 2.3M
        CPU: 36ms
     CGroup: /system.slice/nginx.service
             ├─11693 "nginx: master process /usr/sbin/nginx -g daemon on; master_process on;"
             ├─11694 "nginx: worker process"
             └─11695 "nginx: worker process"
If not started nor enabled to start on boot, run the command below to sort that;
sudo systemctl enable --now nginxTest Nginx Web Server
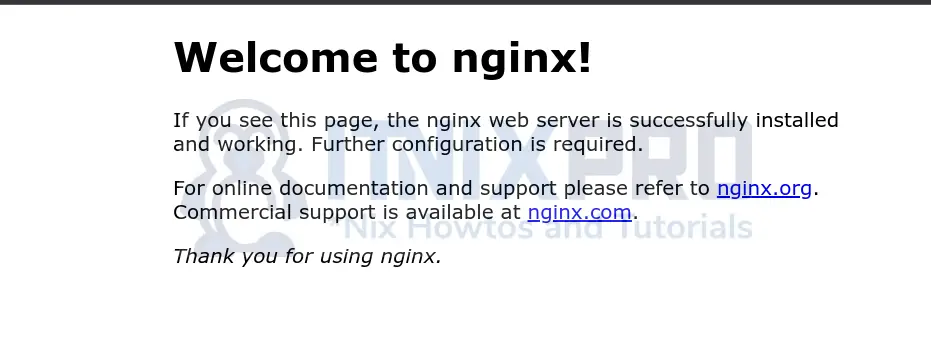
You can test to see if Nginx is ready to serve web requests by opening a web browser and typing http://<server-IP> into the address bar.
If there is an active firewall in place, open Nginx port 80/tcp to allow external access.

Install PHP-FPM
Nginx requires PHP-FPM (FastCGI Process Manager) to process PHP pages.
You can install it as follows (it might already be installed);
sudo apt install php-fpmInstall MariaDB on Debian 12
Install MariaDB
MariaDB 10.11 is the default version available on Debian 12 repos.
You can easily install it as follows;
sudo apt install mariadb-serverStart and Enable MariaDB to Run on System Boot
Next, start and enable MariaDB to run on system boot;
● mariadb.service - MariaDB 10.11.3 database server
     Loaded: loaded (/lib/systemd/system/mariadb.service; enabled; preset: enabled)
     Active: active (running) since Tue 2023-06-20 19:42:47 EAT; 2min 31s ago
       Docs: man:mariadbd(8)
             https://mariadb.com/kb/en/library/systemd/
   Main PID: 6107 (mariadbd)
     Status: "Taking your SQL requests now..."
      Tasks: 11 (limit: 2284)
     Memory: 109.7M
        CPU: 607ms
     CGroup: /system.slice/mariadb.service
             └─6107 /usr/sbin/mariadbd
If not start nor enabled to start on boot, run the command below to sort that;
sudo systemctl enable --now mariadbConfigure MariaDB Initial Security
Run the initial MariaDB security script to;
- Set the root account password
- Remove anonymous users
- Disallow root login remotely
- Remove test database and access to it
sudo mariadb-secure-installationNOTE: RUNNING ALL PARTS OF THIS SCRIPT IS RECOMMENDED FOR ALL MariaDB
SERVERS IN PRODUCTION USE! PLEASE READ EACH STEP CAREFULLY!
In order to log into MariaDB to secure it, we'll need the current
password for the root user. If you've just installed MariaDB, and
haven't set the root password yet, you should just press enter here.
Enter current password for root (enter for none):
OK, successfully used password, moving on...
Setting the root password or using the unix_socket ensures that nobody
can log into the MariaDB root user without the proper authorisation.
You already have your root account protected, so you can safely answer 'n'.
Switch to unix_socket authentication [Y/n] n
... skipping.
You already have your root account protected, so you can safely answer 'n'.
Change the root password? [Y/n] n
... skipping.
By default, a MariaDB installation has an anonymous user, allowing anyone
to log into MariaDB without having to have a user account created for
them. This is intended only for testing, and to make the installation
go a bit smoother. You should remove them before moving into a
production environment.
Remove anonymous users? [Y/n] y
... Success!
Normally, root should only be allowed to connect from 'localhost'. This
ensures that someone cannot guess at the root password from the network.
Disallow root login remotely? [Y/n] y
... Success!
By default, MariaDB comes with a database named 'test' that anyone can
access. This is also intended only for testing, and should be removed
before moving into a production environment.
Remove test database and access to it? [Y/n] y
- Dropping test database...
... Success!
- Removing privileges on test database...
... Success!
Reloading the privilege tables will ensure that all changes made so far
will take effect immediately.
Reload privilege tables now? [Y/n] y
... Success!
Cleaning up...
All done! If you've completed all of the above steps, your MariaDB
installation should now be secure.
Thanks for using MariaDB!
Logging into MariaDB Database
Note that by default, MariaDB creates two power-full accounts, root@localhost and mysql@localhost.
If you are logged into your system as a root user, then you should be able to login to MariaDB as root without password;
sudo su -mariadb -u rootOr simply;
mariadbSimilarly, as a non-root user with sudo rights;
sudo mariadb -u rootOr simply;
sudo mariadbAs mysql user;
sudo -u mysql mariadbor
sudo -u mysql mariadb -u mysqlIf you want to disable paswordless authentication, login and set the passwords as follows;
Set password for root@localhost.
ALTER USER root@localhost IDENTIFIED VIA mysql_native_password USING PASSWORD("ChangeME");Reset for mysql@localhost password;
ALTER USER mysql@localhost IDENTIFIED VIA mysql_native_password USING PASSWORD("ChangeME");After that, you should now be prompted to enter password to be able to login to MariaDB.
Create Database and Database Users
If you want, you can login and your application database and database users;
Or you can simply use mysqladmin to create database;
mysqladmin -u <username> -p <password> create <database_name>For example;
mysqladmin -u root -p create itnixprodbCreate user and grant privileges on a database;
mariadb -u root -p -e \
"grant all on itnixprodb.* to 'itnixpro-admin'@'localhost' identified by 'ChangeME';"
Confirm privilges for the user;
mariadb -u root -p -e \
"show grants for 'itnixpro-admin'@'localhost';"
Sample output;
+-----------------------------------------------------------------------------------------------------------------------+
| Grants for itnixpro-admin@localhost                                                                                   |
+-----------------------------------------------------------------------------------------------------------------------+
| GRANT USAGE ON *.* TO `itnixpro-admin`@`localhost` IDENTIFIED BY PASSWORD '*063CD34667200AAB50BAD1BC654CC93B2E7B2B1A' |
| GRANT ALL PRIVILEGES ON `itnixprodb`.* TO `itnixpro-admin`@`localhost`                                                |
+-----------------------------------------------------------------------------------------------------------------------+
Install PHP on Debian 12
Install PHP and Some Modules
PHP 8.2 is the default version of PHP available on the Debian 12 repos.
The command below installs PHP and other modules/extensions. Note that various apps requires various PHP modules.
sudo apt install php php-cli php-fpm php-json php-mysql
Now, confirm your PHP version:
php -v
PHP 8.2.7 (cli) (built: Jun  9 2023 19:37:27) (NTS)
Copyright (c) The PHP Group
Zend Engine v4.2.7, Copyright (c) Zend Technologies
    with Zend OPcache v8.2.7, Copyright (c), by Zend Technologies
Configure PHP for Nginx
First, ensure that PHP-FPM is listening on a socket;
grep '^listen =' /etc/php/8.2/fpm/pool.d/www.confOutput;
listen = /run/php/php8.2-fpm.sockIf not, open the config file and update it accordingly.
Configure Nginx to process PHP files using PHP-FPM;
Since we are using the default Nginx site, edit the config and uncomment these lines;
	# pass PHP scripts to FastCGI server
	#
	#location ~ \.php$ {
	#	include snippets/fastcgi-php.conf;
	#
	#	# With php-fpm (or other unix sockets):
	#	fastcgi_pass unix:/run/php/php7.4-fpm.sock;
	#	# With php-cgi (or other tcp sockets):
	#	fastcgi_pass 127.0.0.1:9000;
	#}
and set it like;
	location ~ \.php$ {
		include snippets/fastcgi-php.conf;
		fastcgi_pass unix:/run/php/php8.2-fpm.sock;
	}
That is it for our basic configuration.
Save the file and exit.
Check Nginx for errors;
sudo nginx -tOutput;
nginx: the configuration file /etc/nginx/nginx.conf syntax is ok
nginx: configuration file /etc/nginx/nginx.conf test is successful
Restart Nginx and PHP-FPM;
sudo systemctl restart nginx php8.2-fpmTest PHP
Create a simple php script as shown below and place it under the Nginx web server root folder which is /var/www/html directory by default.
Add the following content to the file created above.
sudo tee /var/www/html/test.php << EOL
<?php
phpinfo();
?>
EOL
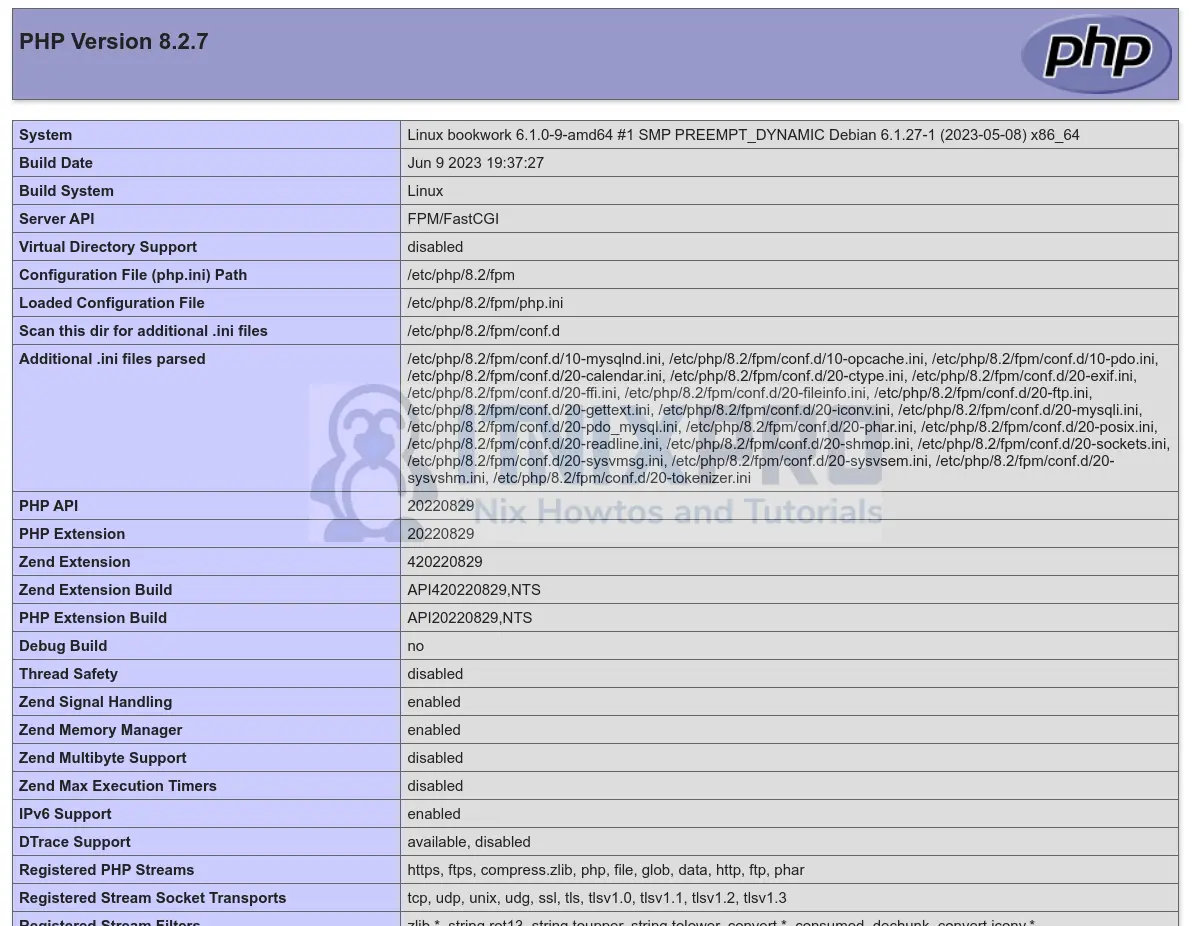
To test PHP processing, open a browser and type http://<server-IP>/test.php in the address bar.
You will get the following page:

Now, remove the PHP test page if all is good as shown above.
sudo rm -rf /var/www/html/test.php
Conclusion
This concludes our tutorial on how to install LEMP stack on Debian 12 Linux server.
