
In this tutorial we are going to Install BackupPC on Ubuntu 22.04. BackupPC is a web-based disk-to-disk backup software suite that is completely free. Any Linux, Solaris, or UNIX-based server can run the cross-platform server.
Some of BackupPC features include;
- Web interface allows administrators to view log files, configuration, current status and allows users to initiate and cancel backups and browse and restore files from backups.
- Data deduplication: Identical files across multiple backups of the same or different PCs are stored only once resulting in substantial savings in disk storage and disk I/O.
- Compression: Since only new files (not already pooled) need to be compressed, there is only a modest impact on CPU time.
- Open-source: BackupPC is hosted on Github, and is distributed under a GPL license.
- No client-side software is needed.
How to Install BackupPC on Ubuntu 22.04
- Lets start by making sure the system packages is up to date by updating it using the command below.
sudo apt update- BackupPC is available on the Ubuntu 22.04 repository by default, run the following command to install.
sudo apt install backuppc -ySample output
Reading package lists... Done
Building dependency tree... Done
Reading state information... Done
The following additional packages will be installed:
  backuppc-rsync libarchive-zip-perl libbackuppc-xs-perl
  libcgi-fast-perl libcgi-pm-perl libdbi1 libfcgi-bin
  libfcgi-perl libfcgi0ldbl libio-dirent-perl librrd8
  libtime-parsedate-perl postfix python3-gpg python3-samba
  python3-tdb rrdtool samba-common samba-common-bin
  samba-dsdb-modules smbclient
Suggested packages:
  certbot | acme-tiny | acmetool | dehydrated | lacme
  | lecm | lego libscgi-perl par2 procmail postfix-mysql
  postfix-pgsql postfix-ldap postfix-pcre postfix-lmdb
  postfix-sqlite sasl2-bin | dovecot-common resolvconf
  postfix-cdb postfix-mta-sts-resolver postfix-doc
  librrds-perl heimdal-clients python3-markdown
  python3-dnspython cifs-utils
The following NEW packages will be installed:
  backuppc backuppc-rsync libarchive-zip-perl
  libbackuppc-xs-perl libcgi-fast-perl libcgi-pm-perl
  libdbi1 libfcgi-bin libfcgi-perl libfcgi0ldbl
  libio-dirent-perl librrd8 libtime-parsedate-perl postfix
  python3-gpg python3-samba python3-tdb rrdtool
  samba-common samba-common-bin samba-dsdb-modules
  smbclient
0 upgraded, 22 newly installed, 0 to remove and 290 not upgraded.
Need to get 7,932 kB of archives.
After this operation, 40.6 MB of additional disk space will be used.
Get:1 http://ke.archive.ubuntu.com/ubuntu jammy/main amd64 backuppc-rsync amd64 3.1.3.0-3build1 [257 kB]
Get:2 http://ke.archive.ubuntu.com/ubuntu jammy/main amd64 postfix amd64 3.6.4-1ubuntu1 [1,245 kB]
Get:3 http://ke.archive.ubuntu.com/ubuntu jammy/main amd64 libarchive-zip-perl all 1.68-1 [90.2 kB]
Get:4 http://ke.archive.ubuntu.com/ubuntu jammy/main amd64 libbackuppc-xs-perl amd64 0.62-2build1 [69.1 kB]
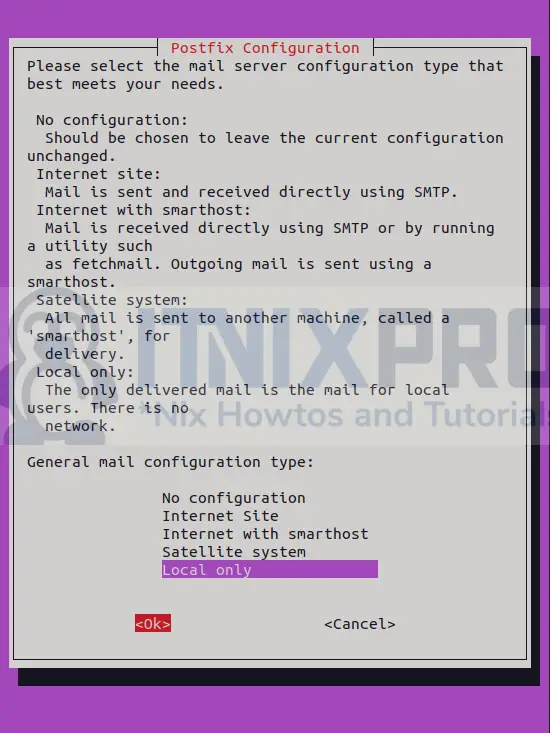
- When mail configuration settings pops up, select local only as shown below.
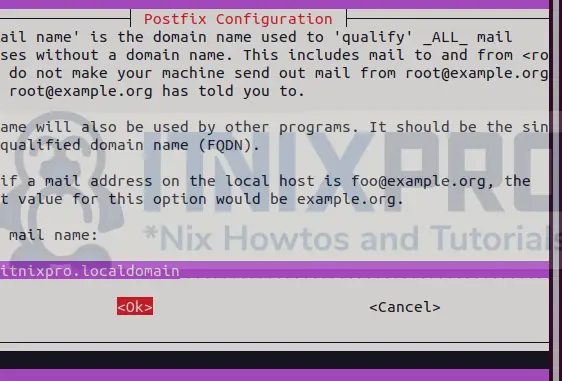
- Next enter system mail name that you wish as shown blow and hit ok.
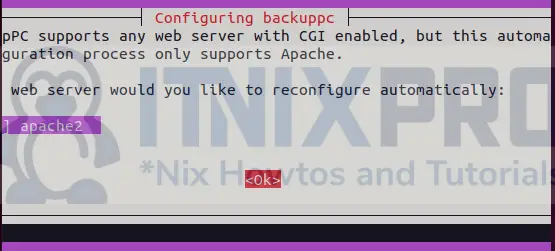
- Then hit enter to select Apache and configure it automatically.
- Your username and password will be displayed as shown below, hit enter key to complete the installation.

- To enable the BackupPC to start on boot run the command below.
systemctl enable backuppc- To start BackupPC service, use the following command.
systemctl start backuppc- Check BackupPC status.
systemctl status backuppcSample output
● backuppc.service - BackupPC server
     Loaded: loaded (/lib/systemd/system/backuppc.service; enabled; vendor preset: enabled)
     Active: active (running) since Wed 2022-03-30 14:34:26 EAT; 19min ago
   Main PID: 14893 (BackupPC)
      Tasks: 1 (limit: 4588)
     Memory: 8.8M
        CPU: 125ms
     CGroup: /system.slice/backuppc.service
             └─14893 /usr/bin/perl /usr/share/backuppc/bin/BackupPC

Mac 30 14:34:26 itnixpro systemd[1]: Started BackupPC server.
Change Default BackupPC Web Authentication Password
- Change BackupPC default Web authentication password using the following command.
sudo htpasswd /etc/backuppc/htpasswd backuppcSample output
New password:
Re-type new password:
Updating password for user backuppc
Configure Apache Web Server for BackupPC
- BackupPC is accessed from the localhost only by default. We need to allow BackupPC to be accessed from external IP by editing Apache config file, run the command below to open Apache configuration file.
sudo nano /etc/apache2/conf-available/backuppc.conf- Next look for the following line.
Require localthen replace it with line below.
Require all grantedChange BackupPC Backup User
By default, BackupPC is configured to use root user for backups. I recommend that you change this user to non-root user.
For example, to use the user backuppc to run backupps, edit BackupPC configuration file, /etc/backuppc/config.pl and replace the root user with a user you are using for backup under the Rsync/Rsyncd Configuration.
Change this;
$Conf{RsyncSshArgs} = ['-e', '$sshPath -l root'];to;
$Conf{RsyncSshArgs} = ['-e', '$sshPath -l backuppc'];Restart Apache and BackupPC services;
systemctl restart apache2 backuppcAccess BackupPC Web Interface on Ubuntu 22.04
- Open your browser and navigate to the URL
http://backuppc-server-ip/backuppcorhttp://domainname/backuppc.you will be required to enter username and password as shown below.

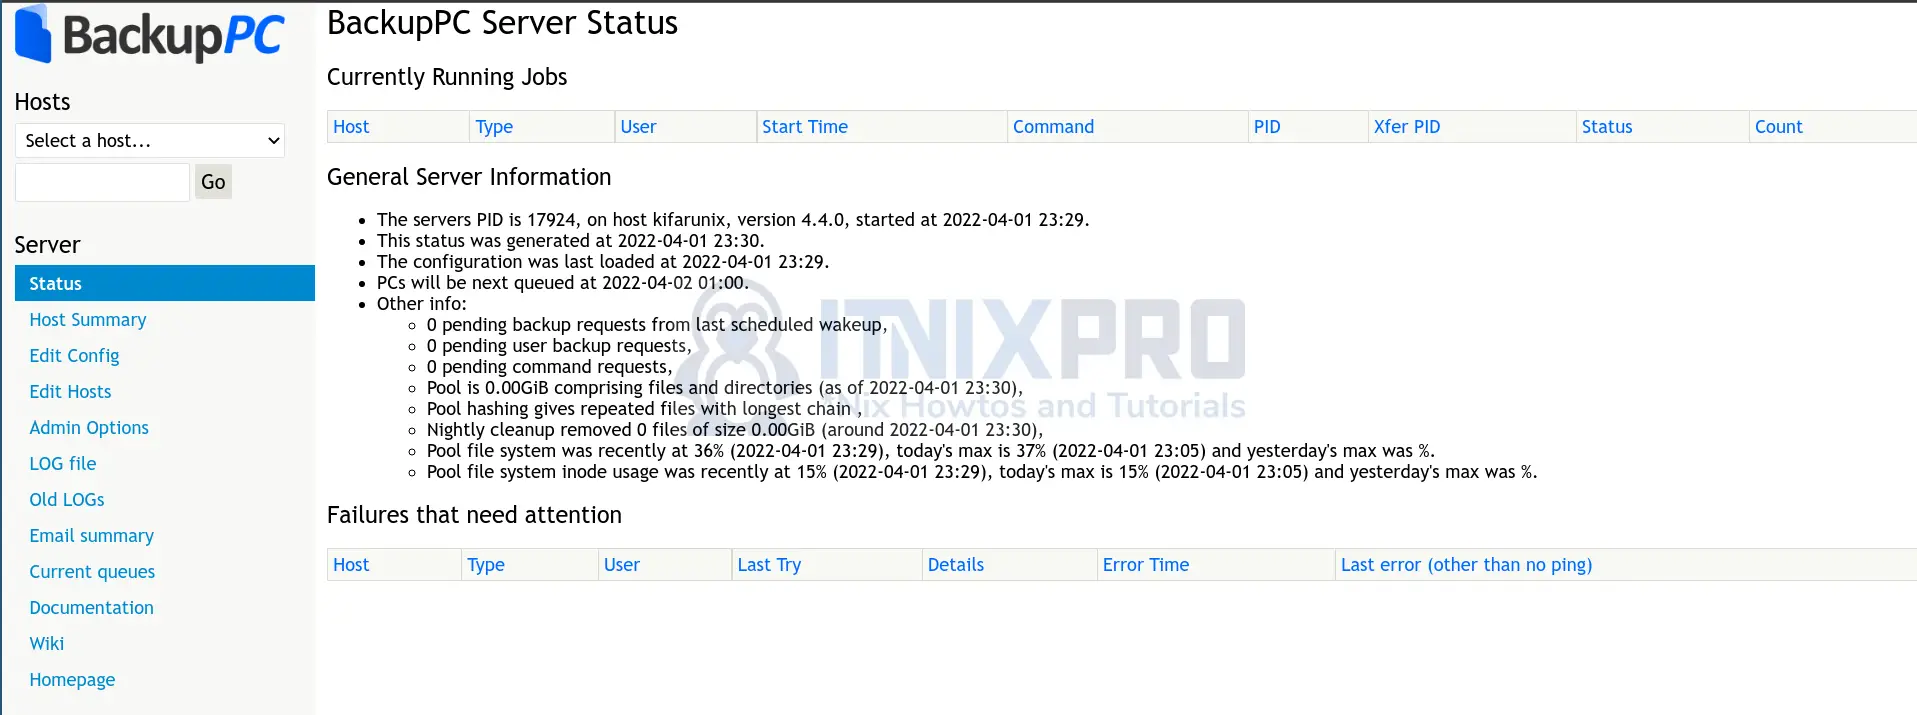
- After successful sign in, you will be taken to BackupPC dashboard.
Backup Linux Hosts using BackupPC Server
To demonstrate how to backup Linux hosts using BackupPC server, we start by backing up the localhost.
Change Backup Method
- As a backup method, we’ll use the Rsync protocol in this guide. SMB is used by default. Hence, open the config file;
nano /etc/backuppc/config.plChange the line;
$Conf{XferMethod} = 'smb';To
$Conf{XferMethod} = 'rsync';Configure SSH Access to Client Computers
- The Rsync protocol requires passwordless SSH authentication to the Linux client being backed up. Thus, you need to generate the passwordless SSH keys as a user with which you are using to run backups and copy the key to the remote user being used to run backups as well.
- In this example setup, we are using BackupPC user, backuppc, to run backups.
- Thus, Switch the user to backuppc on the BackupPC server.
su - backuppc- Then execute the following command to generate an SSH key pair. Press enter key to continue when required enter info.
ssh-keygenSample output
Generating public/private rsa key pair.
    Enter file in which to save the key (/var/lib/backuppc/.ssh/id_rsa):
    Created directory '/var/lib/backuppc/.ssh'.
    Enter passphrase (empty for no passphrase):
    Enter same passphrase again:
    Your identification has been saved in /var/lib/backuppc/.ssh/id_rsa
    Your public key has been saved in /var/lib/backuppc/.ssh/id_rsa.pub
    The key fingerprint is:
    SHA256:Yd3UtzuMX4K6Mbs7IVy0/0DM775CW9sNV1QLhbMsYOQ backuppc@itnixpro
    The key's randomart image is:
    +---[RSA 3072]----+
    |        ..  .oo.o|
    |        .+.o oo +|
    |        +Eo+o o+.|
    |       . .o.+o ..|
    |       .S. o.oo o|
    |        o . =.=+o|
    |         .o+ *.*+|
    |          o+o +.o|
    |          == oo. |
    +----[SHA256]-----+
- To backup the localhost, the SSH key generated to the user that is used for backing up the client system.
ssh-copy-id backuppc@backuppc-client-IPIn our case, the backuppc-client-IP is localhost.
You can set the password of the backuppc user on the localhost by running;
passwd backuppcAllow Backup Users to Run Rsync with SUDO rights
- Next, ensure that the backup user has rights to use rsync to backup some of the file and directories it doesn’t have permissions to access. This can be done by giving the backup user rights to run sudo without password.
echo "backuppc ALL = NOPASSWD: $(which rsync)" > /etc/sudoers.d/backuppc
chmod 0440 /etc/sudoers.d/backuppc
Check sudoers file for syntax issues;
visudo -f /etc/sudoers.d/backuppc -cAdd Hosts to Backup to BackupPC Server
By default, localhost is already added to the BackupPC server.
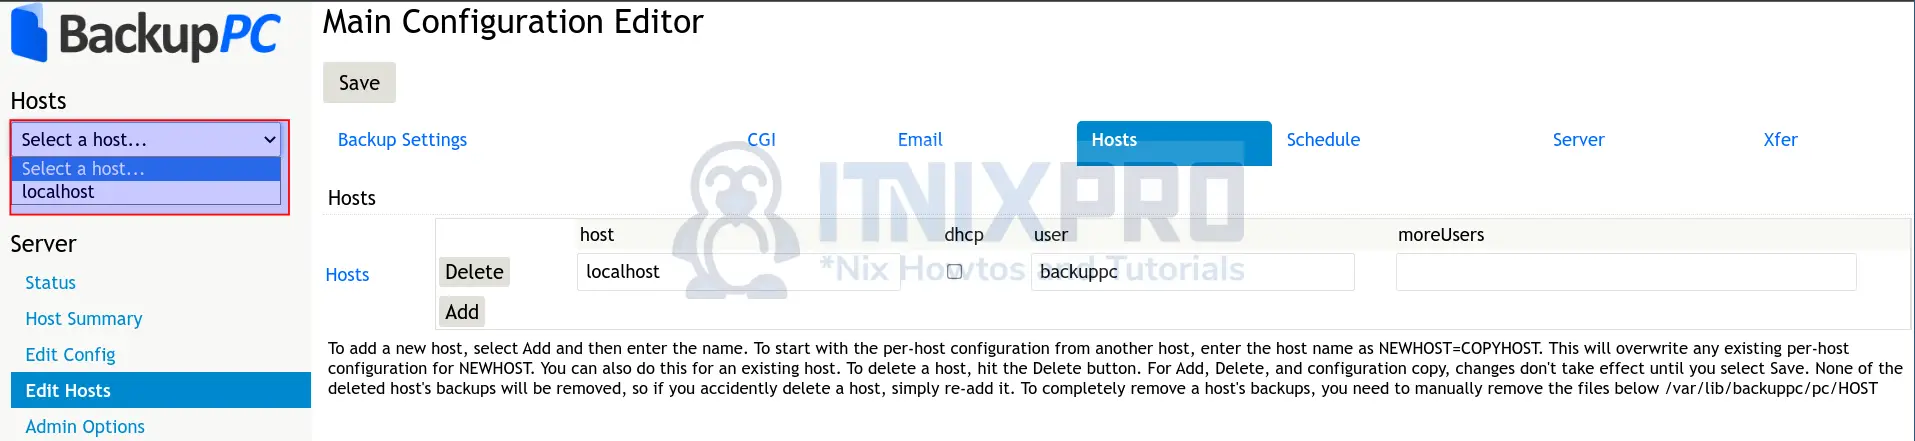
You can also check the file /etc/backuppc/hosts.
You can add hosts from the UI (Edit Hosts) or simply add hosts to the file above.
Setup Directories and Files to Backup
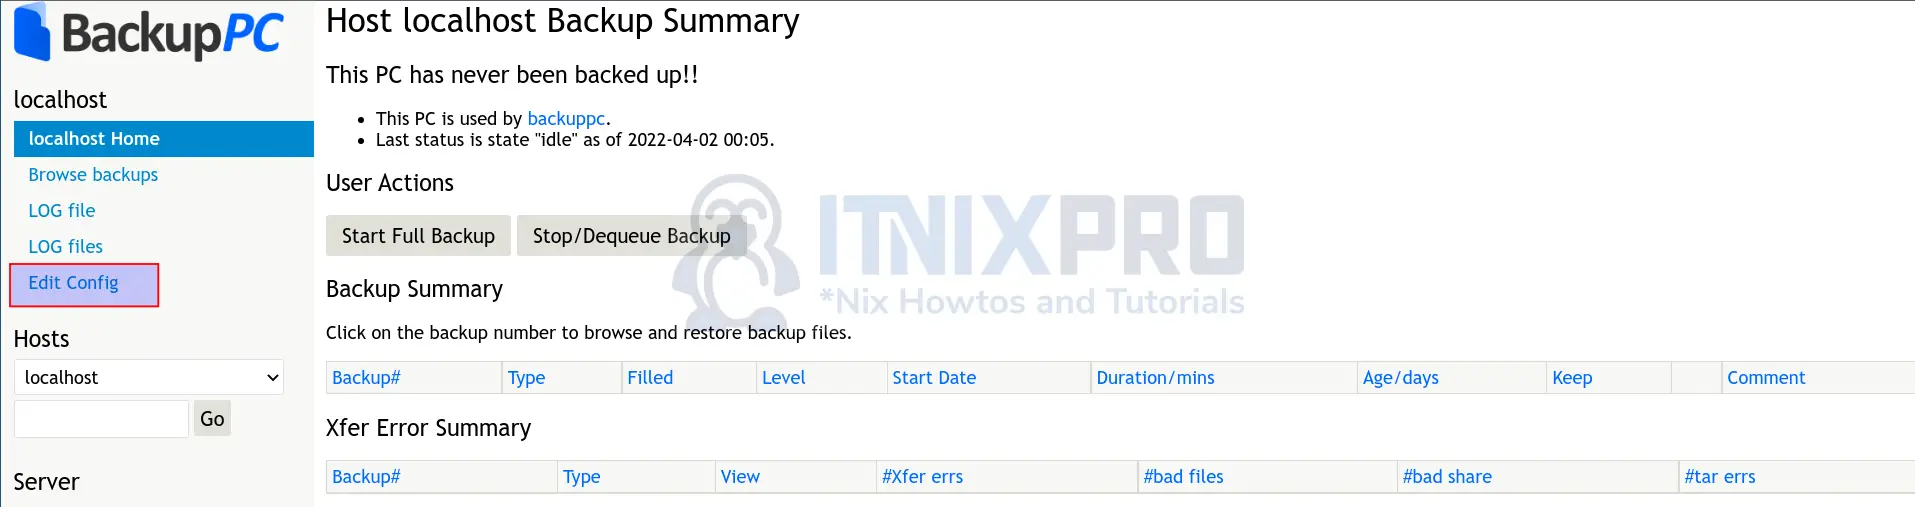
From the Hosts menu on the UI, select localhost and click Edit config.
Change the backup protocol (Xfer > Xfer Settings > XferMethod > choose rsync).
Under Rsync Settings > RsyncShareName > Add directories to backup.
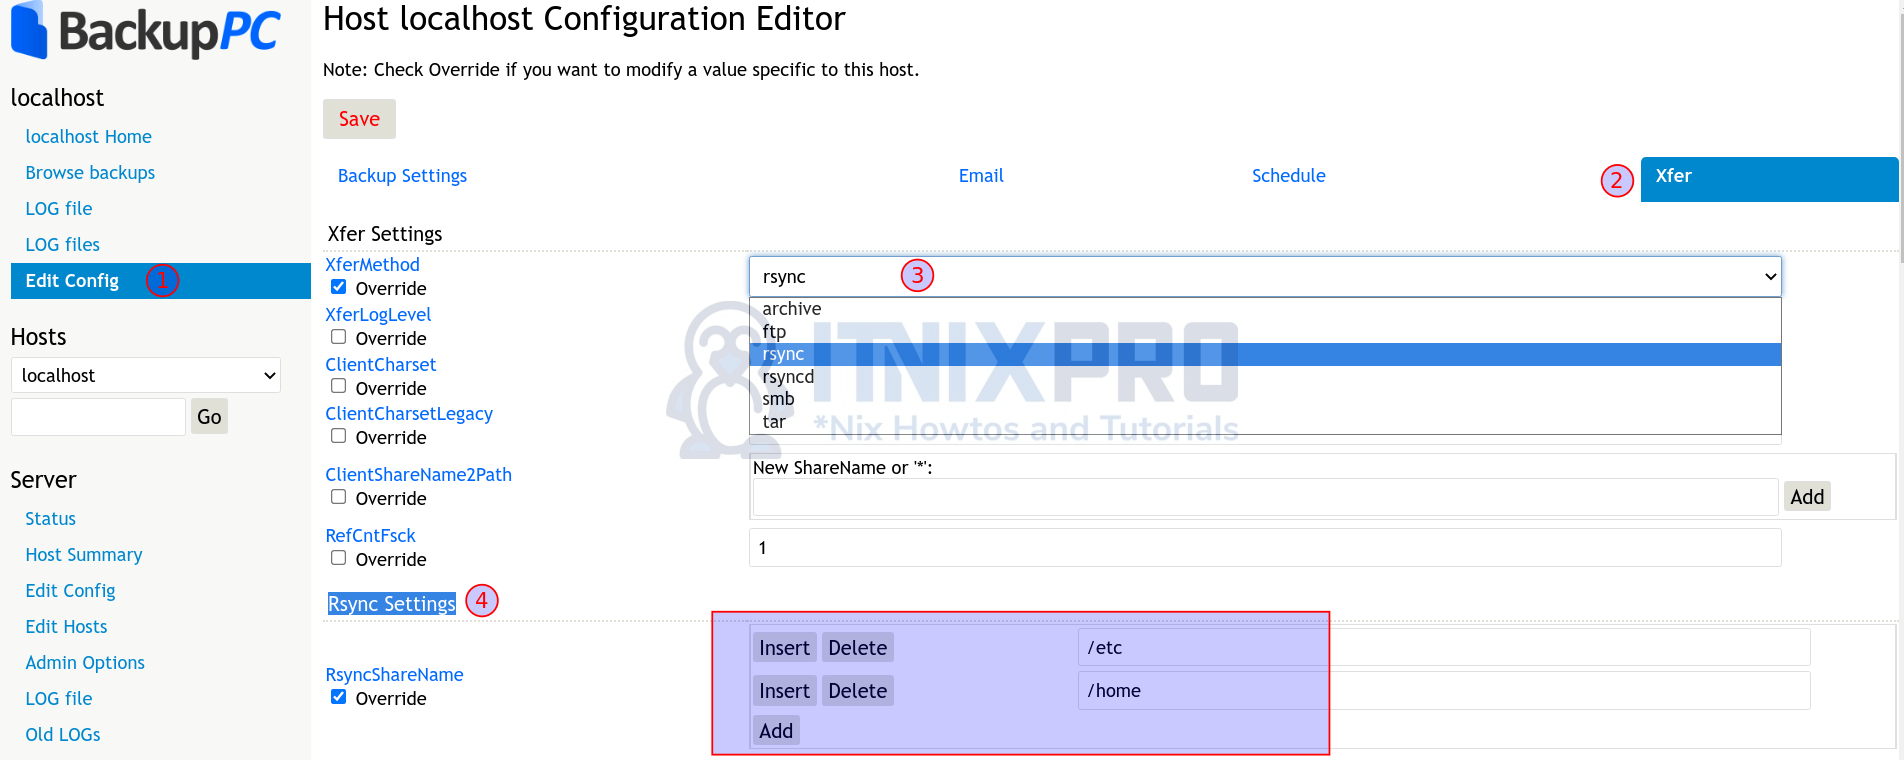
Click Save button at the top to apply the changes.
Next, initiate localhost backup by navigating to localhost Home > User Actions > Start Full Backup.
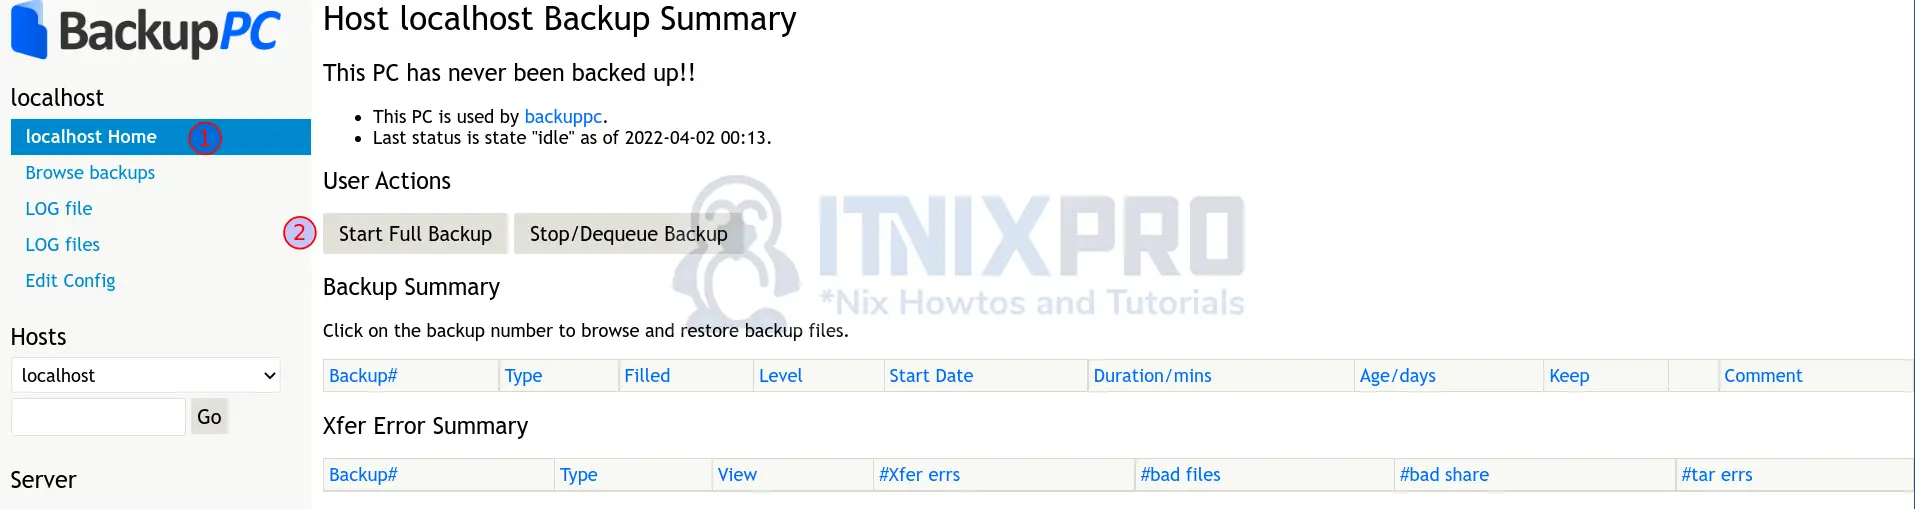
The backup should now start. Click LOG file to see if any errors.
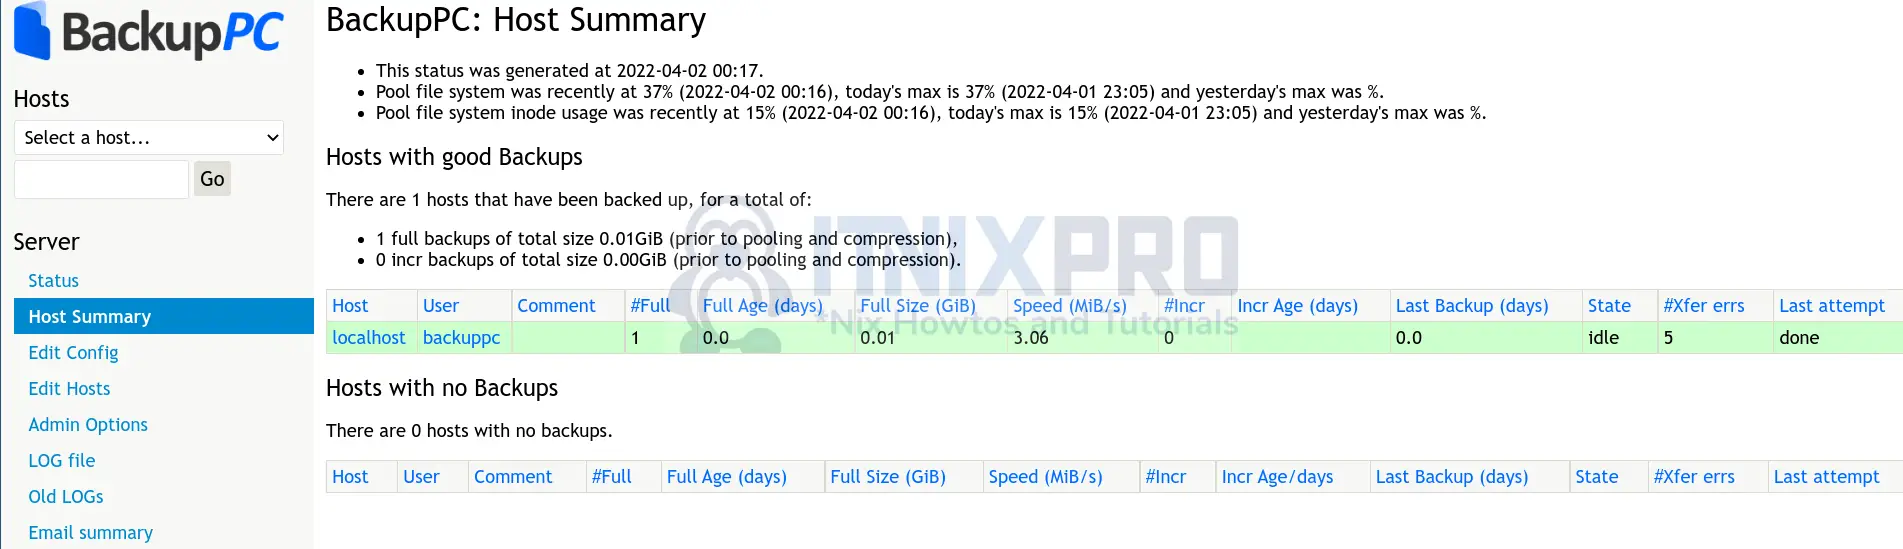
Check Status/Host summary.
- Congratulations, you’ve made it to the end of the article. You now know how to Install BackupPC on Ubuntu 22.04.
Read more on BackupPC Documentation
Check how to Backup Linux systems using BackupPC
Other Tutorials
Install Nitrux Linux on VirtualBox