
This article is going to take you through on how to backup windows systems using BackupPC. BackupPC is a web-based disk-to-disk backup software package that is absolutely free to use. A Linux, Solaris, or UNIX-based server can host the cross-platform server.
How to Backup Windows Systems using BackupPC
For the purposes of this guide, we’ll be using Windows 10. You’ll need to build an SMB share for any folder you want to backup on your Windows PC. For SMB share authentication, you’ll additionally need a username and password.
Create Windows SMB Share
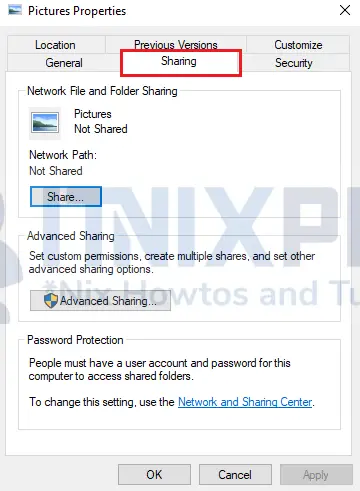
- Navigate to the directory you want to backup for example C:\Users\Kigz\Pictures, right click the directory then on the menu that appears select properties. When properties windows pops up click sharing tab as shown below.
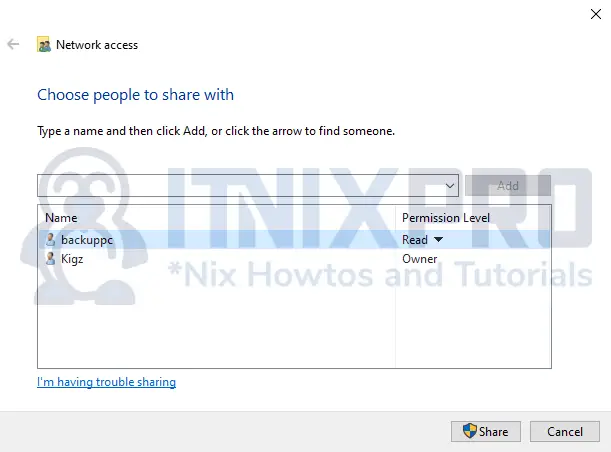
- To share the folder with a backup user, such as backuppc, click Share. Select the user from the drop-down menu, then grant read-only access. Then, at the bottom, click the share option to enable folder sharing with the designated user.
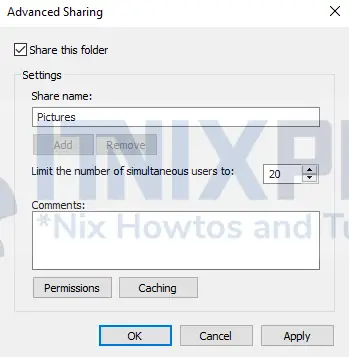
- On the sharing tab still, click advance sharing then check share this folder option and click OK to apply.
Configure Network Profile
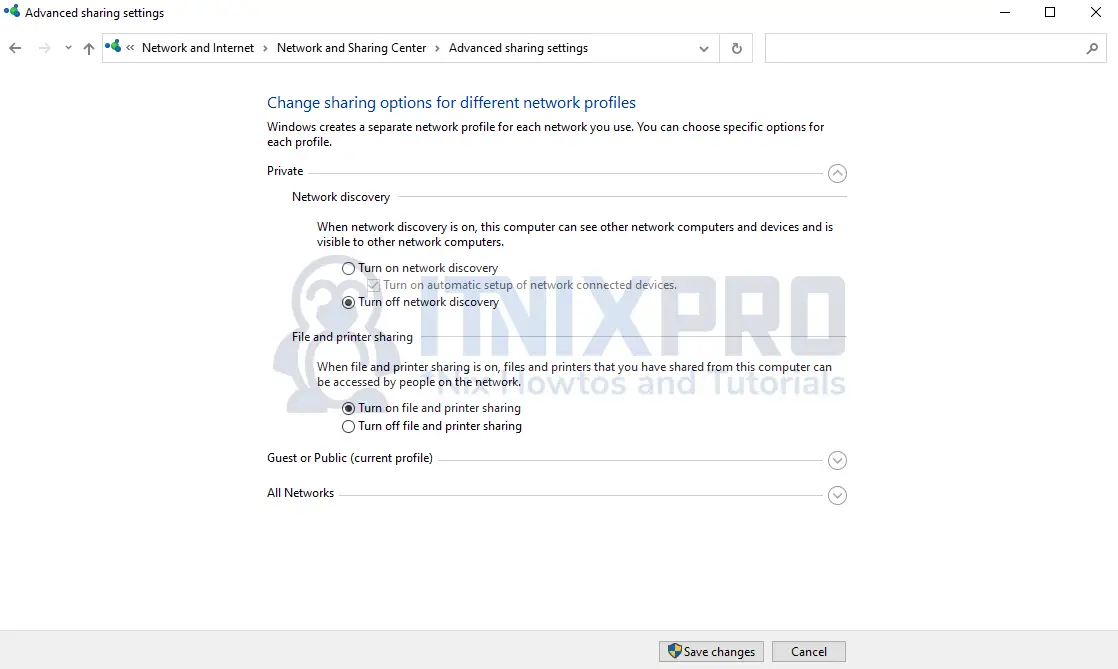
- Go to Control Panel > Network and Internet > Network and Sharing Center > Advanced sharing settings then customize the sharing options for your network profile as shown below. File and Printer sharing, password protected sharing should be on.
Add Host to BackupPC server
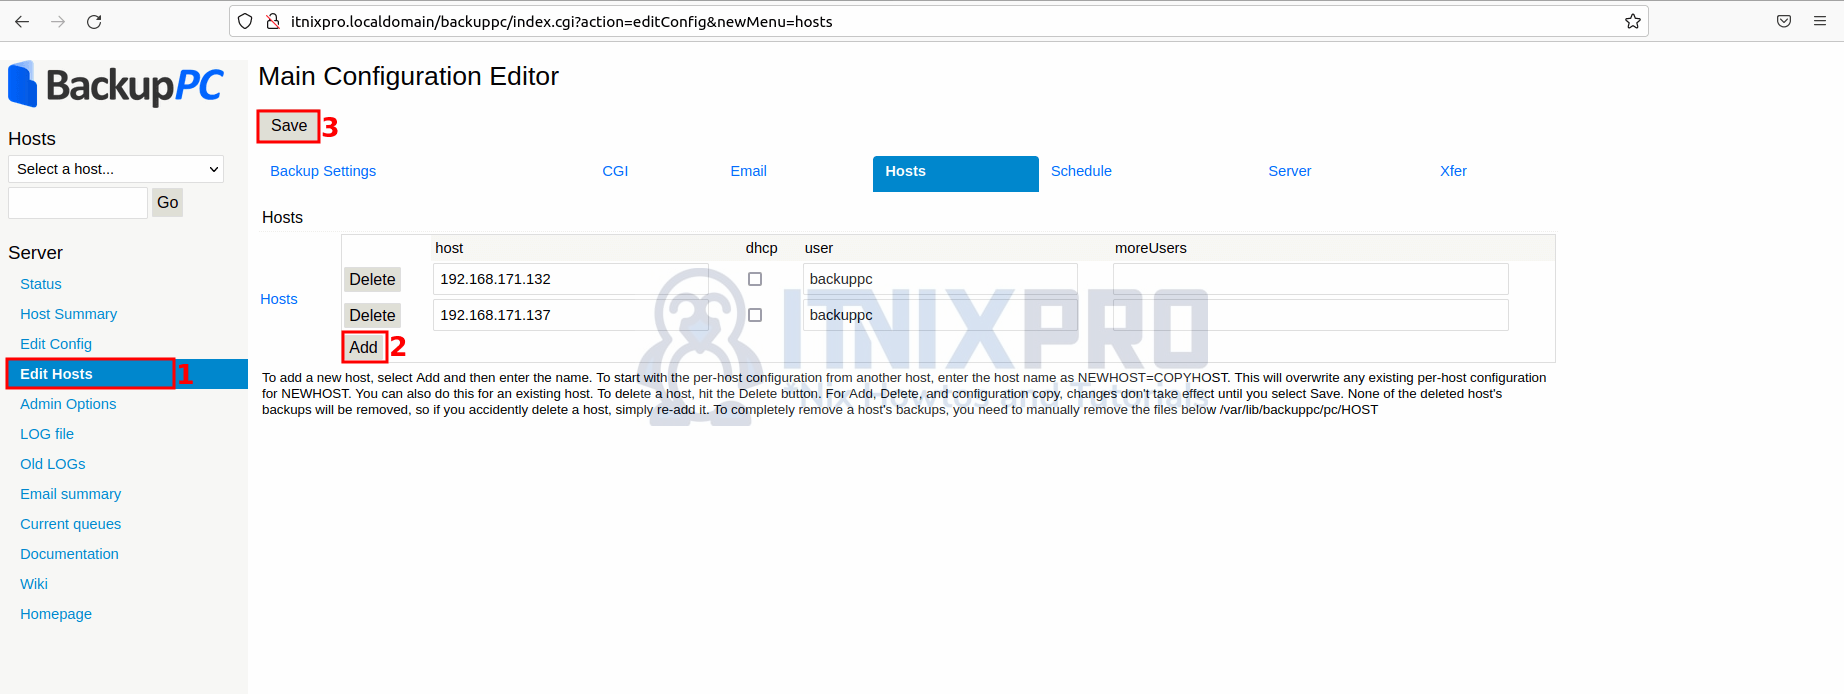
- Navigate to BackupPC server web user interface, click Edit Hosts , add new host by entering host IP(Windows IP that you want to backup) then BackupPC server username(that you use) as shown below.
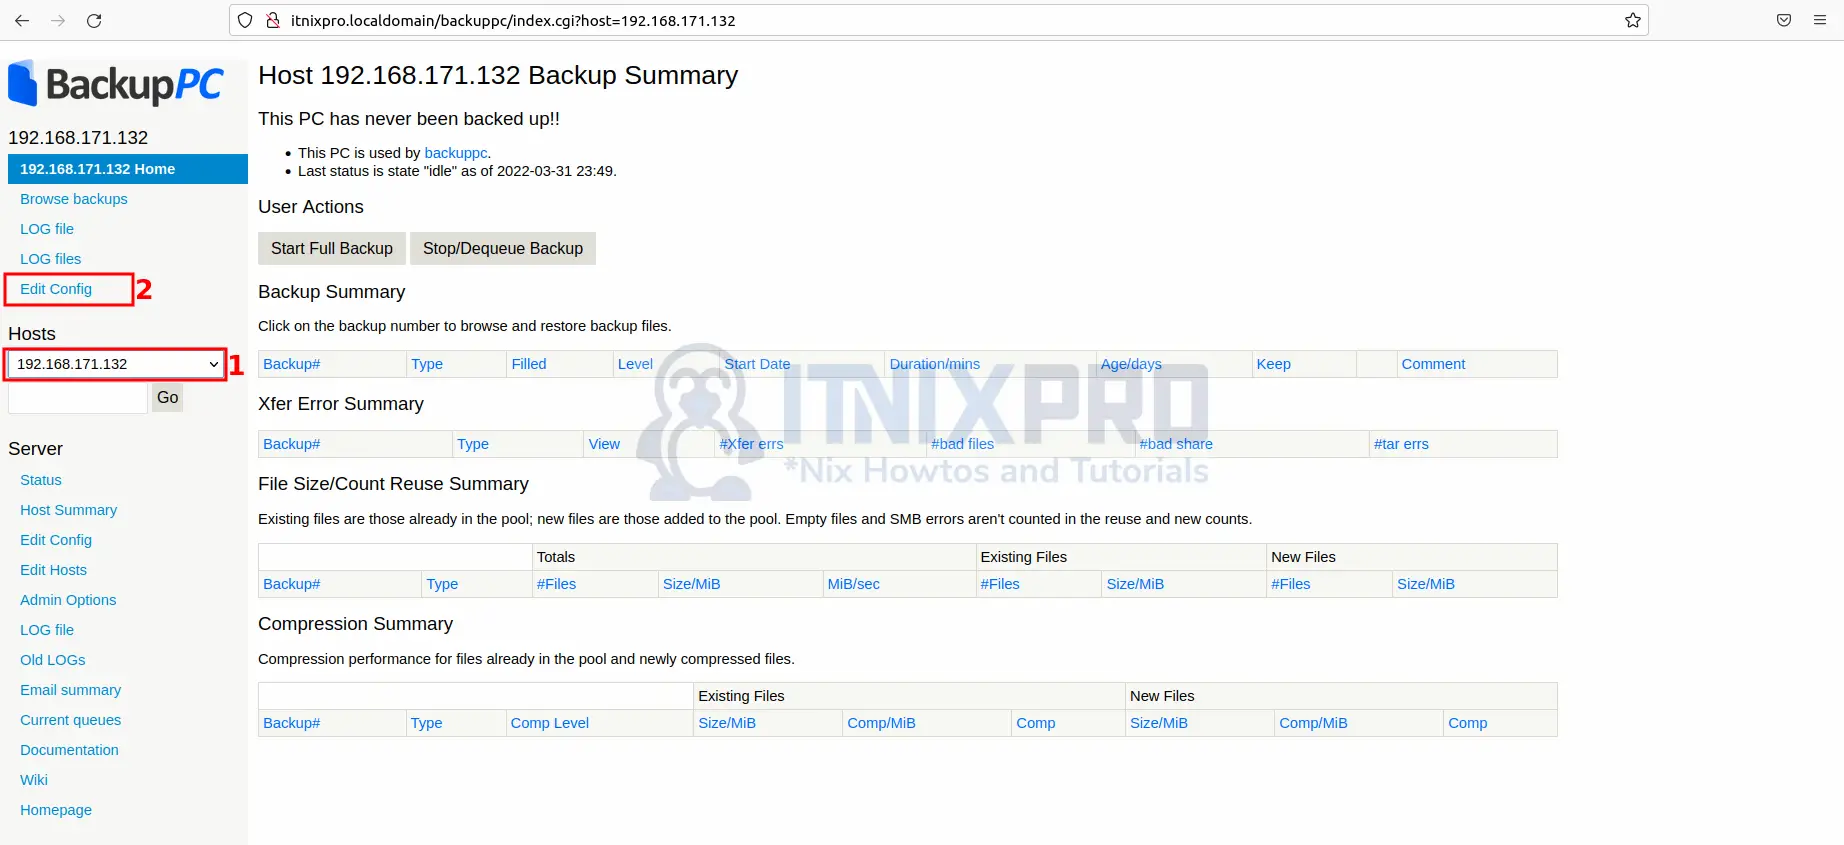
- Next select your host then click edit config as shown below.
- On the configuration page, click Xfer tab then set XferMethod as smb. After that set SmbShareName, SmbShareUserName and SmbSharePasswd then click save button to apply the changes. Note, you can set specific files to backup or exclude under Include/Exclude option.

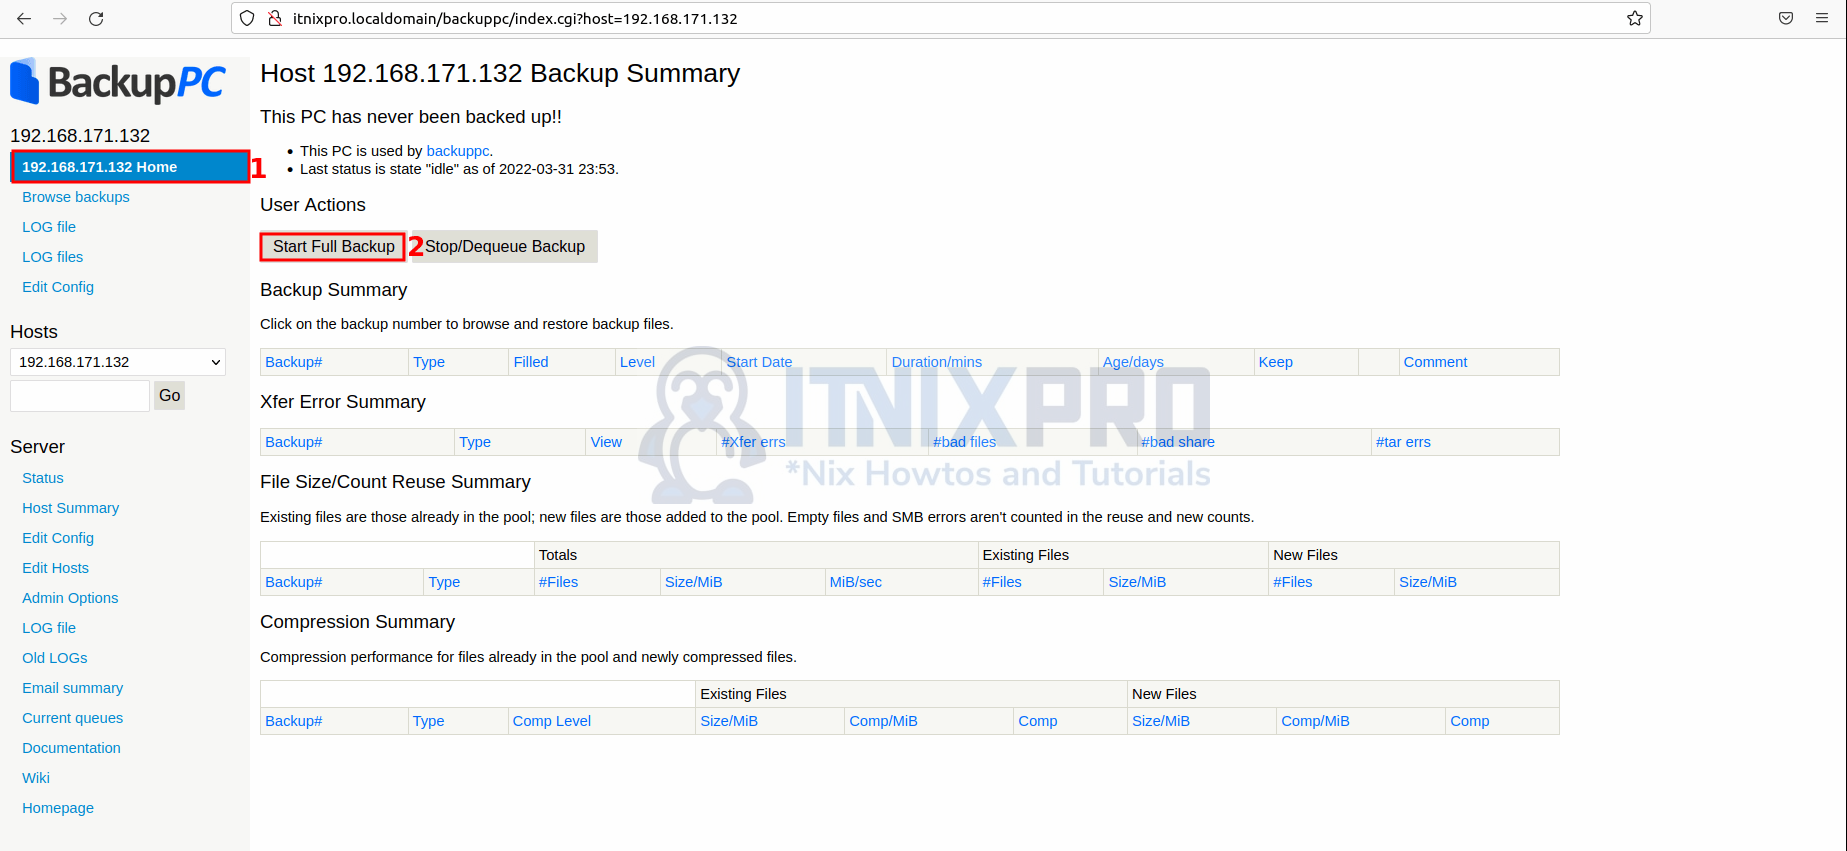
- Click on host name to start backup, then click start full backup to initiate the backup process.
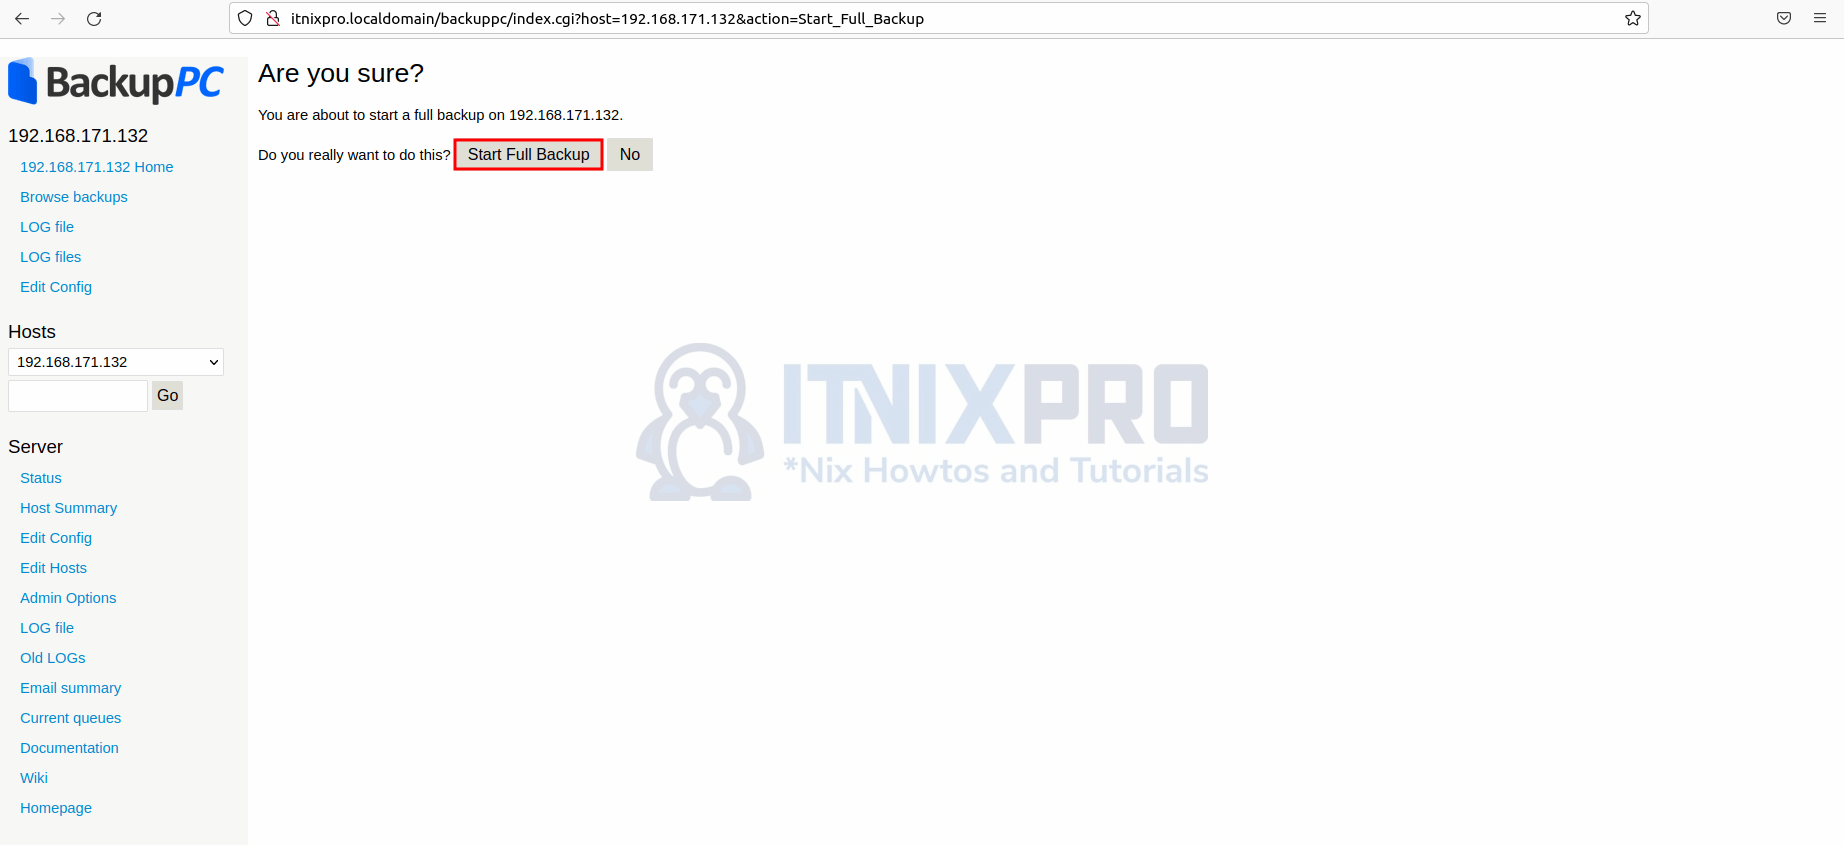
- Confirm you want to backup.
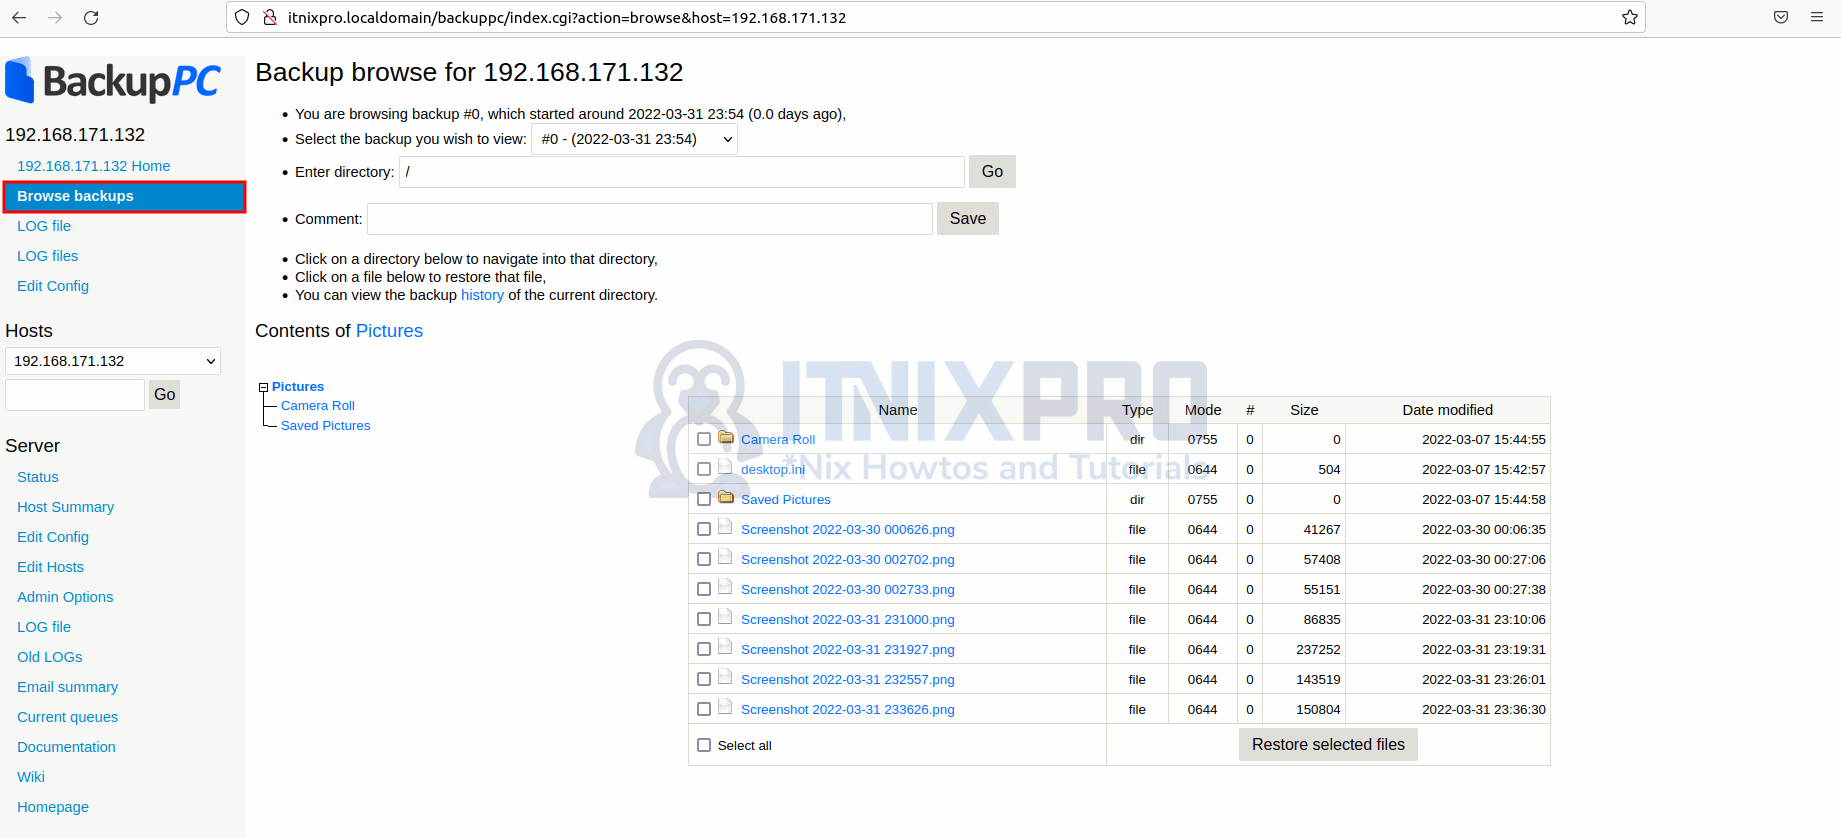
- To check up backed data click on Browse backups.
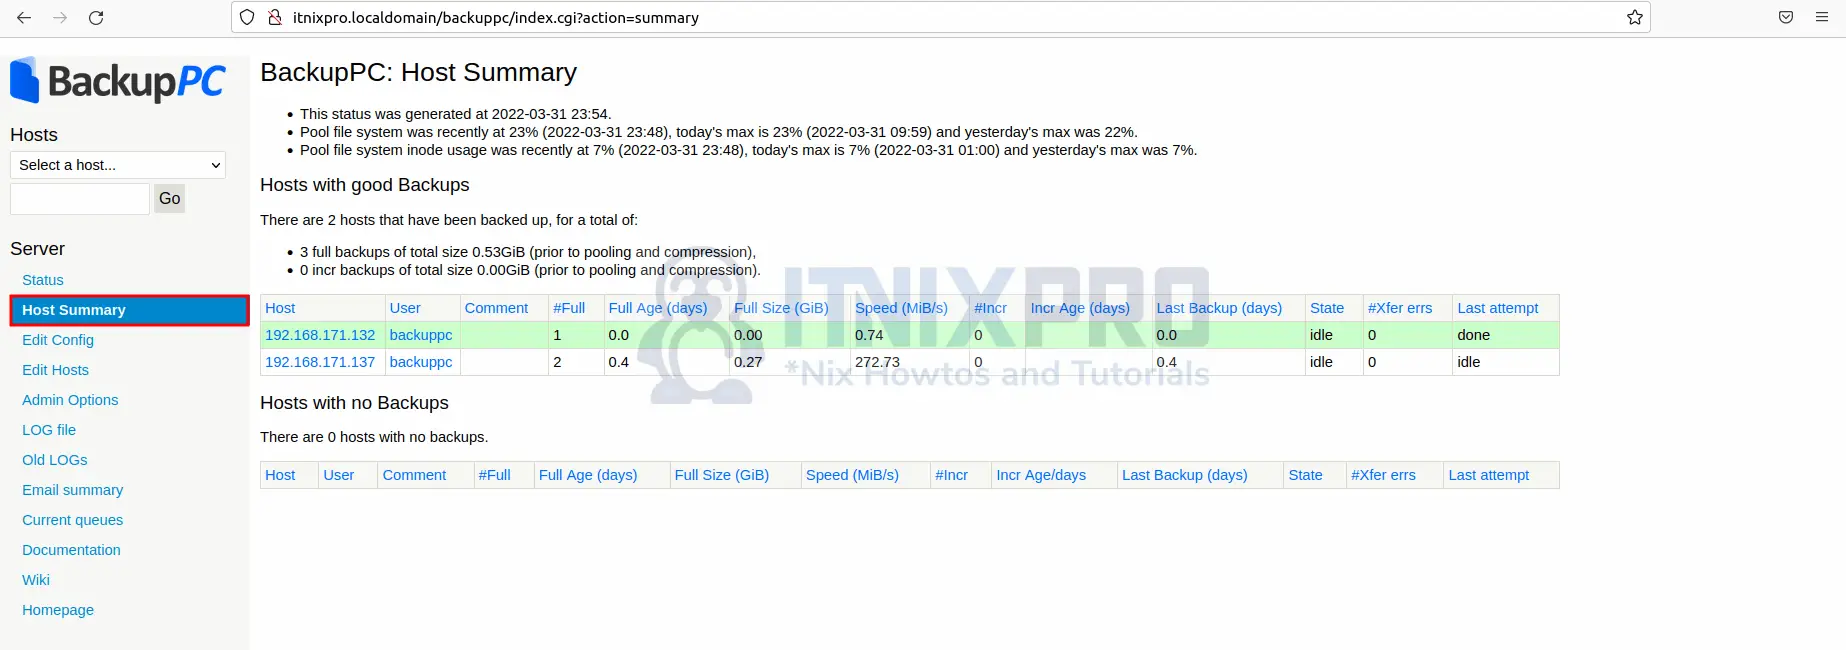
- To check on your backups summary click on host summary.
- You’ve made it to the end of the article, congrats. You have learned how to Backup Windows Systems using BackupPC.
Read more on BackupPC Documentation
Other Tutorials
Install BackupPC on Ubuntu 22.04